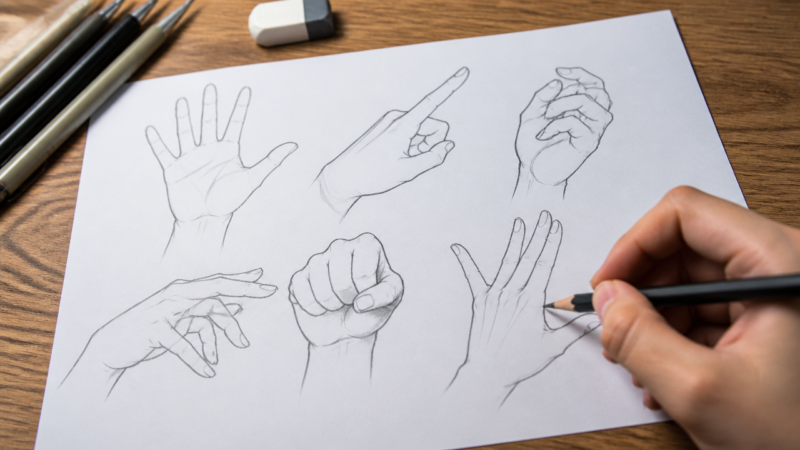
Have you ever wondered what makes a truly great anime hand anatomy stand out from every other stiff sketch you have tried? Whether you are sketching a character for a holiday greeting card or building a portfolio for a summer art show, learning precise hand structure is an essential skill. Anime hands often simplify complex bone structures into clean, dynamic shapes that convey mood without needing hyper-realistic detail. Developing the ability to draw hands helps you improve overall character design and expressiveness. Let’s look at the basic techniques that make drawing anime hands accessible for artists of any age.
Quick Questions and Answers
Question: Why are anime hands so difficult for beginners to draw?
Answer: Anime hands are hard because they require balancing simplified shapes with anatomical accuracy. Beginners often struggle with finger proportions, especially making the middle finger longest and the thumb shortest, while avoiding generic or overly round shapes that look unnatural.
Question: Can I use basic shapes like boxes and circles to draw anime hands?
Answer: Yes, most tutorials recommend starting with basic shapes like a 3D rectangular box for the palm and circles for finger joints. This ‘glove’ or ‘boxy’ method simplifies complex forms, allowing you to build details on top of a clear framework before adding curves and lines.
Question: Do all anime hands look the same, or do they vary by gesture?
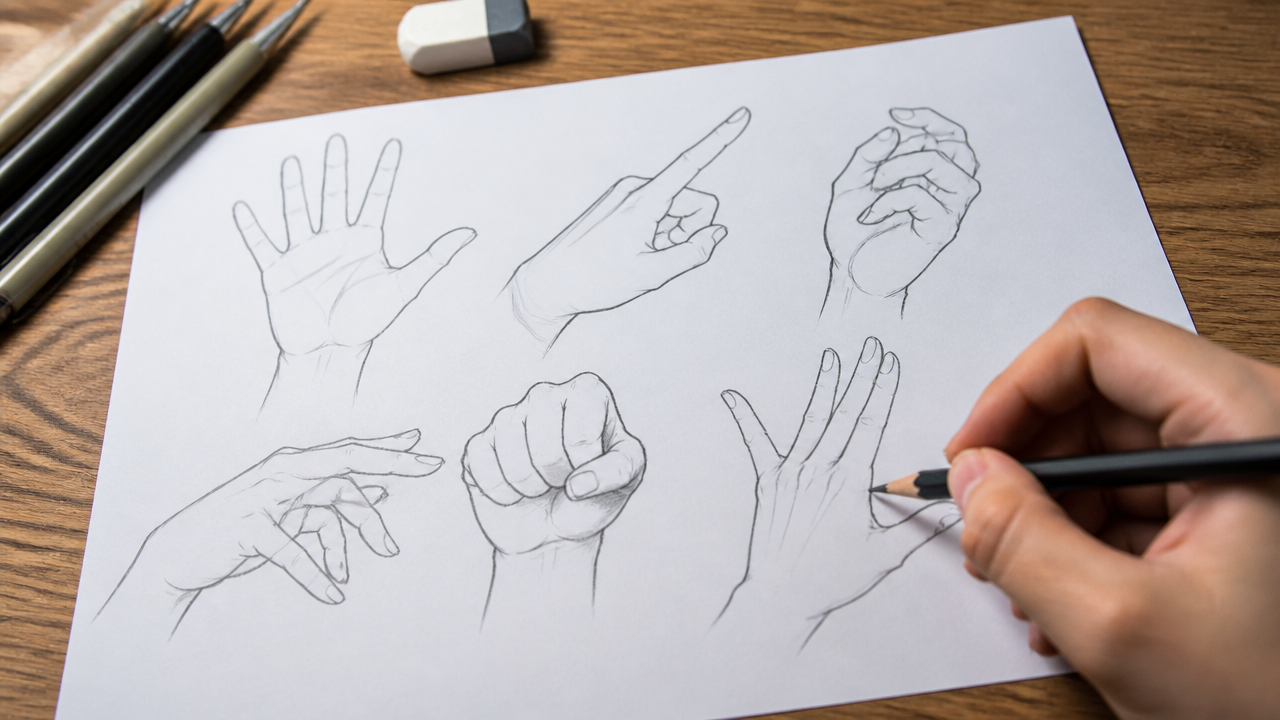
Answer: Anime hands vary significantly by gesture, such as open palms, fists, or pointing. Tutorials show how to adjust the basic box and circle shapes to create different angles and finger positions, ensuring the thumb and fingers align naturally with the intended action.
What You Need
Item
Purpose
Notes
Graphite Pencil
Creating light construction lines
Use HB for sketching; 2B for darker lines
Vinyl Eraser
Cleaning up structural geometry
Avoid using a dirty eraser to keep paper clean
Drawing Paper
Surface for your practice
Smooth tooth paper holds graphite detail best
Reference Images
Visual guidance for anatomy
Using your own hand is the most reliable method
Digital Tablet
Alternative for sketch layers
Helpful for layering and quick undo functions
Step 1: Constructing the Palm and Thumb Base
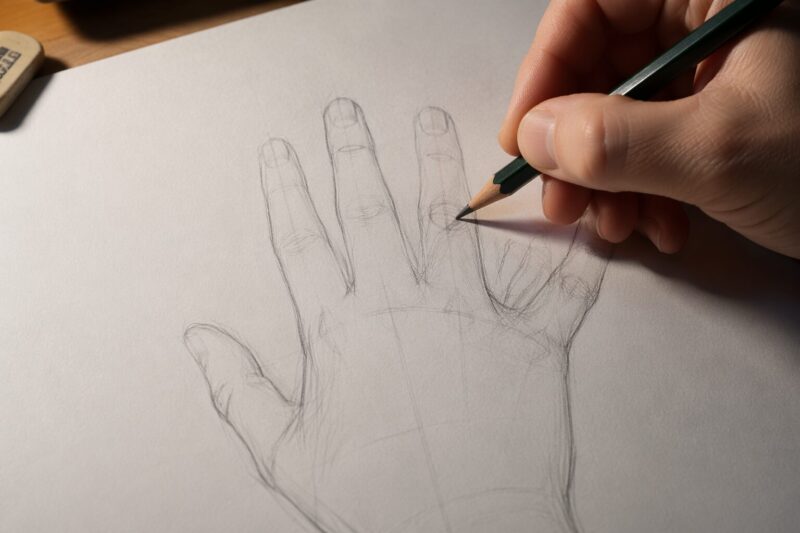
Start your drawing by sketching an irregular pentagon or a slightly curved rectangle. This shape acts as the anchor for the entire hand, establishing the width and tilt of the palm. If you are interested in learning more about the basics of character design, How to Draw Anime Characters: A Simple Step-by-Step Guide for Beginners offers a great foundation for these structural methods.
Define the thumb area by drawing a smaller, rounded rectangle overlapping the side of the palm base. This secondary shape is vital because it creates the foundation for the thumb’s mobility. Ensure the scale of this thumb base is about one-third the width of the main palm. Getting these proportions right early prevents the hand from looking lopsided later.
Step 2: Positioning the Fingers
Map out your fingers using thin, tapering ovals or cylinders. Think of these as flexible segments rather than stiff sticks. In many styles of character design, learning how to add these elements is a natural progression after you How to Draw Eyes for Beginners Step by Step easy. Apply the proportion rule: the tip of the thumb should align roughly with the middle knuckle of the pointer finger.
Keep the fingers slightly curved rather than perfectly straight. Straight fingers appear unnatural and rigid. A gentle, organic flow in the line work captures that classic manga aesthetic perfectly. As noted by AnimeOutline, practicing with an open palm first is the best way to grasp how these proportions interact before moving on to more complex poses.
Step 3: Outlining and Refinement
Connect your finger cylinders to the palm by drawing lines that dip slightly inward at the gaps between digits. This creates the natural webbing found in human hands. You want these lines to be subtle, not aggressive or deep, to keep the hand looking soft yet structured.
Once your outer contour is solid, erase the internal construction lines. This includes the ghost of the pentagon and the overlapping rectangle shapes used for the base. Use light, delicate strokes to add final details like fingernails and faint knuckle lines. Excessive detailing often clutters the design, so work with a “less is more” mindset when adding textures.
Common Mistakes to Avoid
Many beginners attempt to draw all four fingers as parallel “hot dogs.” This ignores the natural fan-like spread of the human hand, which relies on a curved knuckle line to look correct. As explained in guides from WikiHow, drawing the thumb as a flat extension rather than a movable joint is another frequent error that creates a “flipper” appearance. If your hand looks like it is wearing an oven mitt, re-examine how your fingers separate from the palm and ensure they follow the arc of the knuckles.
Troubleshooting Your Drawing
If your hand feels stiff, check the arch of your palm base. A relaxed human hand has a subtle concave curve across the palm, not a flat surface. Adding that slight arch will immediately make the drawing appear more natural and less like a static drawing of a kitchen spatula.
Should your fingers look uneven, check the alignment of the base knuckles against your reference image. If the hand feels too small, remember that in most manga art styles, the length of the palm is roughly equal to the length of the middle finger. If you are struggling with larger character drawings, finding How to Create Anime Art: A Simple Step-by-Step Tutorial can help you contextually place your new hand drawings within full-body poses.
FAQ
Q: Should I draw the fingers one by one?
Grouping them into a “mitten” shape first is the superior strategy. It ensures the fingers maintain consistent proportions and relationship to the palm before you define the individual gaps. Trying to draw individual fingers from the start often leads to scale errors that are difficult to correct once the palm is already set.
Q: How do I draw hands in action?
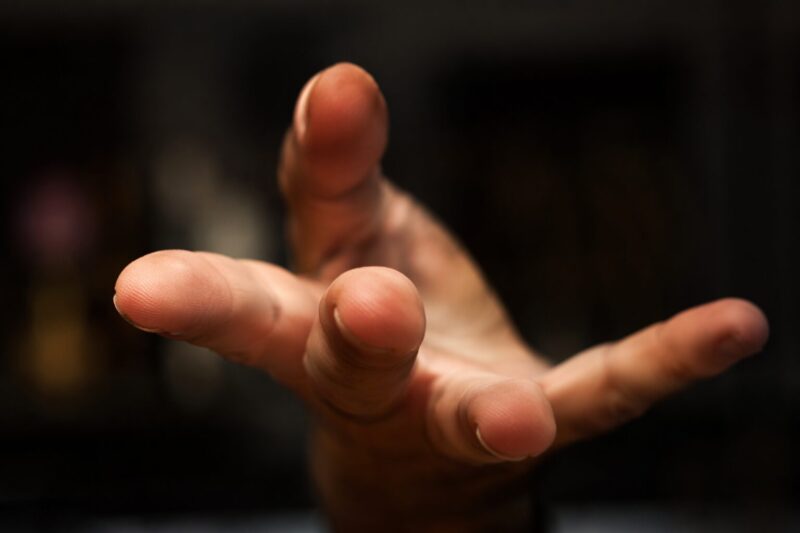
Use the perspective technique of drawing the nearest finger closer to the viewer first. This means starting with the tip of the pointer finger or thumb and allowing it to overlap the others before drawing the rest of the limb. This creates a convincing 3D effect even in a 2D line drawing.
Q: Are the fingers in anime hands always the same length as in real life?
No, anime hands often exaggerate finger length, but they still follow real anatomy rules where the middle finger is longest and the thumb is shortest. Tutorials emphasize not making all fingers equal, as this creates a flat, unnatural appearance that breaks the illusion of depth.
Q: How do I draw realistic-looking anime hands without making them too round?
To avoid overly round hands, use sharp curves and angular lines for knuckles and joints. Start with a boxy palm, add cylinders for fingers, and define edges with short, flat lines. This creates a structured look that mimics bone and muscle without appearing soft or animal-like.
Q: Does drawing anime hands sideways require different steps than front view?
Yes, drawing hands sideways shifts the perspective, so fingers appear shorter and the thumb overlaps the palm differently. You must adjust the basic box shape to show the side profile, curve the fingertips inward, and ensure joints align with the visible angle for realism.
Q: Will adding details like wrinkles and veins make anime hands look better?
Adding subtle wrinkles at joints and faint veins can enhance realism, but too many details clutter the simplified style of anime. Tutorials suggest drawing flat nails first, then adding minimal lines for texture, ensuring the hand remains clean and focused on gesture rather than texture.
Q: When should I erase guide lines in my anime hand drawing process?
Erase guide lines after outlining the final shape and defining all curves. Start with the box and circles, trace the outer hand, then remove the internal guides. This ensures you don’t lose the framework while adding details like knuckles or finger segments.
Q: Is it okay to make anime nails longer than the fingers?
Yes, anime nails are often drawn longer and slimmer than in real life for stylistic effect. However, tutorials recommend keeping them flat and not overly bumped to avoid weird shapes. Start with a flat base, then add slight curves if needed, ensuring they align with finger length.
Q: What is the easiest method for beginners to start drawing anime hands?
The easiest method is the ‘boxy’ or ‘glove’ approach, starting with a 3D rectangle for the palm and circles for finger joints. This simplifies anatomy into basic shapes, letting beginners focus on proportions and gesture before adding curves, lines, and details for a polished look.
My Experience With How to Draw Anime Hands: Easy Step-by-Step Tutorial for Beginners
When I first started drawing, hands were my personal nemesis. I remember staring at my own hand for an hour, totally failing to translate the thumb’s weird, flexible joint onto the page. You will likely feel that same frustration at first—trust me, it’s a rite of passage for every artist. My best advice? Stop trying to draw fingers immediately. Focus entirely on that pentagon or rectangle base. If your base is wonky, your fingers will never look right, no matter how many times you redraw them.
The most common trap is forgetting that fingers aren’t just attached in a straight row; they arch. Think of them like a fanned deck of cards when the hand is open. Once I committed to the “box first, details later” approach, my drawings stopped looking like rubber gloves and started looking like actual hands. It’s strange how shifting to geometric shapes feels less natural in the moment, but the math of anatomy is undeniable. Does that specific “mitten” shape trick make sense for your current style, or do you prefer starting with individual joints?
Latest Updates
In 2026, many artists continue to leverage digital tablet features such as “stabilizer” modes to achieve crisp, clean clean-up lines. Professionals often suggest using different brush opacities—thicker pressure for the outer hand contour and lighter, thinner pressure for the internal finger creases. This slight variation in line weight adds a sense of professional polish that elevates even a simple sketch.
A Teacher with 5 years of experience. Our Expertise, is reliable to meet your full Academic development needs . Worked on many crafts and construction projects offering services from design to development to deployment over the years. You will find many of my works in my business portfolio on request.