How to Create Anime Art: A Simple Step-by-Step Tutorial
Learn how to create anime art with this easy, step-by-step tutorial. Follow simple techniques to draw faces, expressive eyes, and hair like a pro today.
Have you ever wondered what makes a truly great anime drawing stand out from every other character illustration you have tried to sketch? Creating anime art involves mastering youthful features, large eyes, and dynamic hair, which have evolved since the 1950s into a global phenomenon. Whether you are prepping for a summer art marathon or just want a new hobby for the weekend, learning the core geometric foundation is the first step. Developing fine motor skills through consistent practice helps you transform simple lines into vibrant figures. Dive in to see how these fundamental shapes become professional-quality illustrations.
Quick Questions and Answers
Question: Why is drawing a circle the first step in creating an anime face?
Answer: Drawing a circle establishes the basic head shape and provides a guide for placing facial features proportionally. Guidelines are marked across the circle to align eyes, nose, and mouth, ensuring symmetry and the distinctive anime style. This initial sphere acts as the structural anchor for your entire character design.
Question: Can beginners use geometric shapes like triangles to draw the anime body?
Answer: Yes, beginners can use triangles, cylinders, and ovals to sketch the torso, hips, and limbs effectively. These shapes simplify complex body forms, helping to build a balanced posture and correct proportions before adding details. Using a simple step-by-step guide helps maintain these proportions during the initial drafting stage.
Question: Do professional artists erase pencil lines after tracing with ink for anime art?
Answer: Professional artists typically erase pencil lines after tracing with ink or digital strokes to create a clean final image. This step removes construction marks, leaving only the sharp outlines and details needed for coloring or shading. Clean line work is a hallmark of professional anime aesthetics.
What You Need: Essential Drawing Tools
Item
Purpose
Notes
Pencil
Initial sketching
Mechanical pencils provide consistent dark lines.
Eraser
Cleaning structure
Use a kneaded eraser to lift graphite without ruining paper.
Drawing Paper
Surface
Choose a smooth, acid-free surface for clean lines.
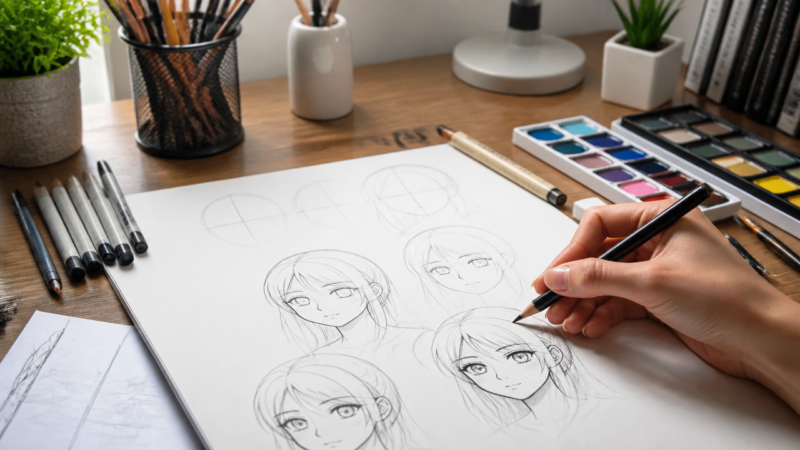
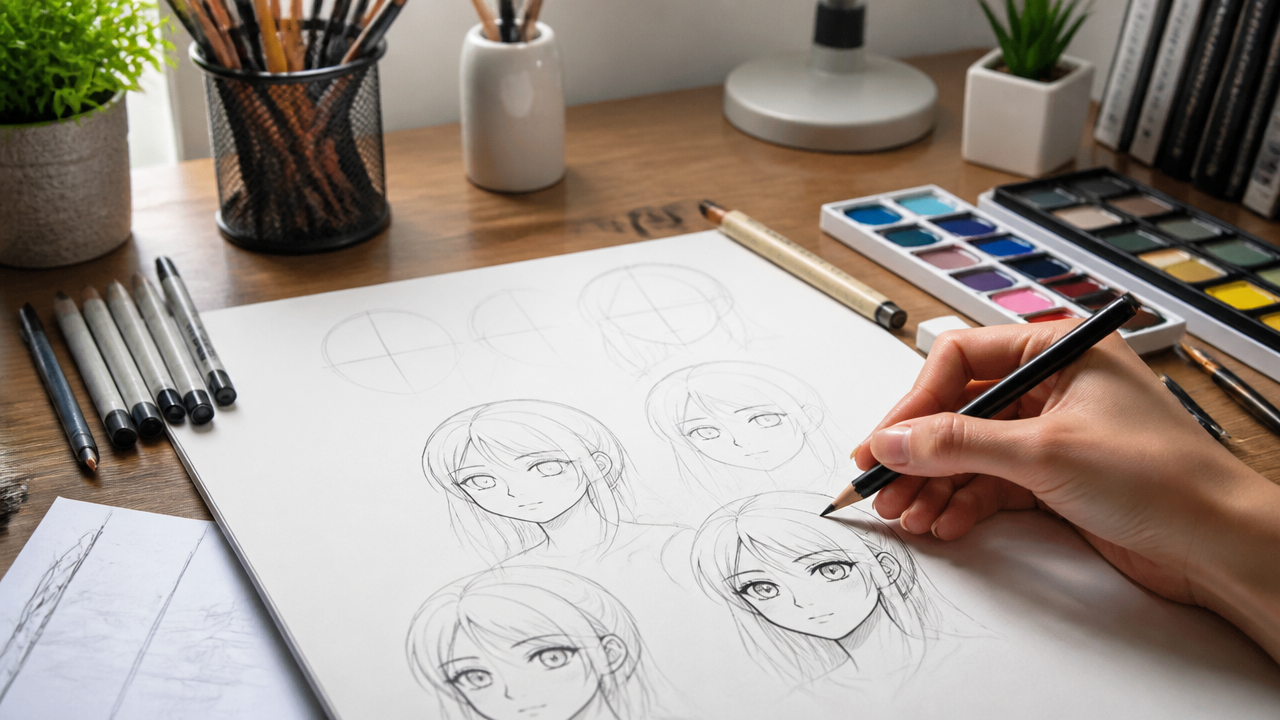
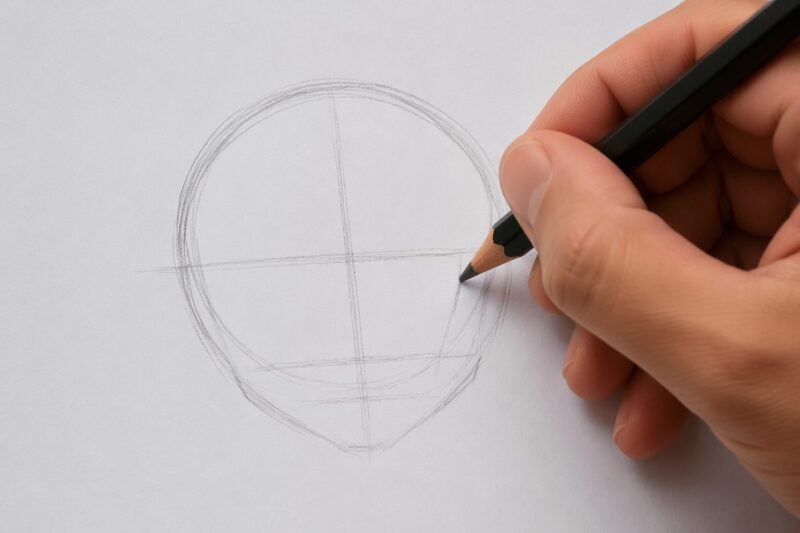
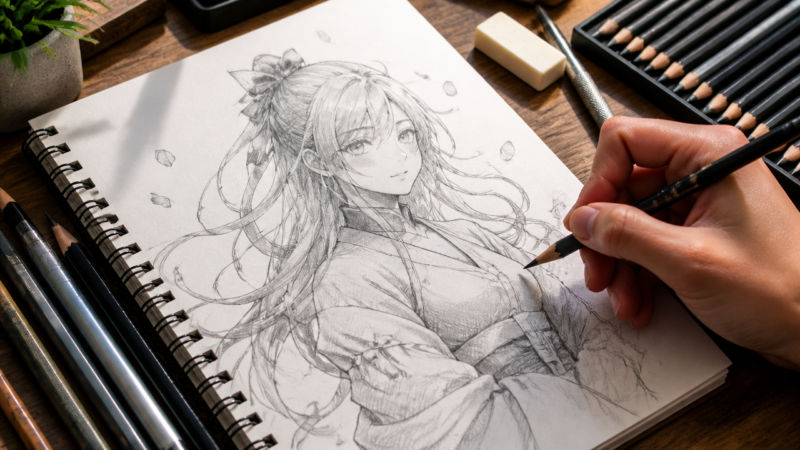
Begin by sketching a circle to establish the cranium crown. Avoid worrying about perfection here; this is only your guide. Add angled lines extending from the bottom of the circle toward the chin. This creates an oval shape that is widest at the top and narrower toward the bottom, which is standard for anime character aesthetics.
Use grid lines to divide the face into horizontal and vertical quarters. These guides ensure that the eyes, nose, and mouth remain symmetrical. Artists at AnimeOutline emphasize that maintaining these proportions early on prevents the face from appearing lopsided once you begin adding intricate details like pupils or hair strands.
Step 2: Styling the Facial Features
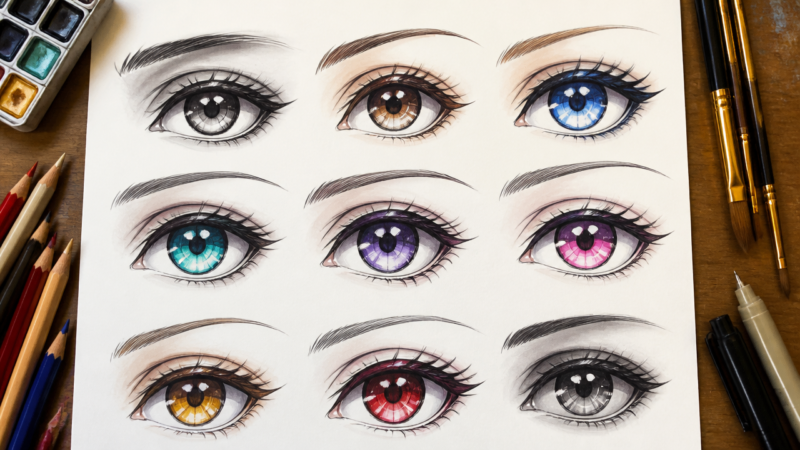
Draw large, expressive eyes using your grid lines as boundaries. Eyes are the most important element for conveying personality in anime, so give them extra attention. Learn more about structuring these features to make your characters look more alive.
Render the nose using a simple slanted L-shaped stroke or two small horizontal marks. Keep it minimalist; anime noses suggest depth rather than defining actual cartilage. Draw the mouth using a clean, thin line. Adjust the angle of the line to express emotion, such as an upward curve for a cheerful face or a simple dash for a neutral expression. According to Astropad, the angle of the mouth is everything when defining your character’s current mood.
Step 3: Drafting Hair and Outlandish Hairstyles
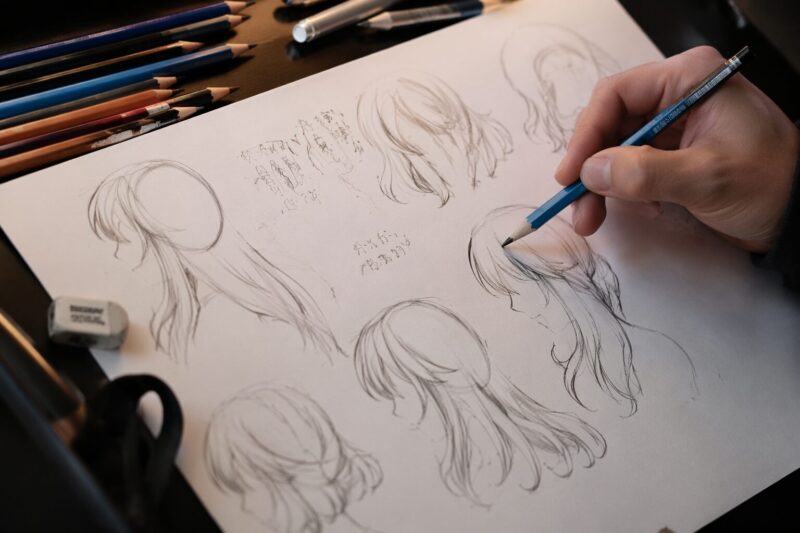
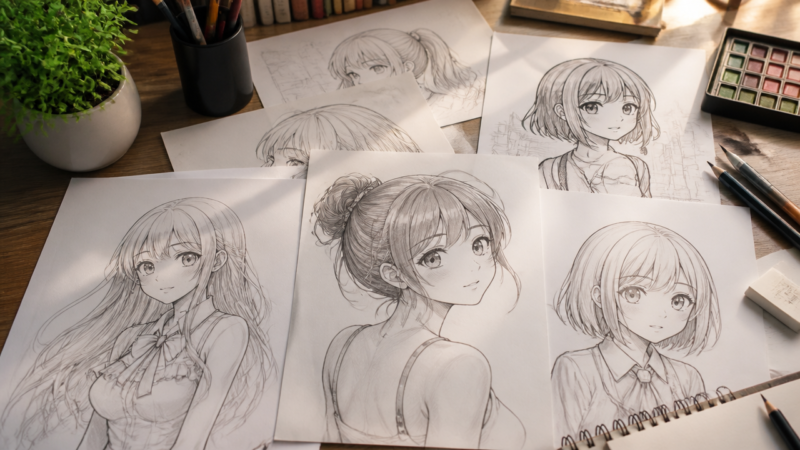
Use blocky, flowing shapes to define hair tufts rather than drawing every individual strand. Think of hair as distinct geometric clumps that fall over the head.
Focus on capturing hair volume by letting the shapes extend slightly away from the scalp outline. Remember that anime hair often ignores realistic gravity, allowing for spiked or flowing styles that frame the face. Follow the curve of your original head circle to ensure the hair looks attached to the skull rather than floating above it.
Common Mistakes to Avoid
Over-detailing the nose ruins the minimalist look. Avoid adding realistic shading or lines for nostrils, as this pulls the viewer out of the stylistic flow.
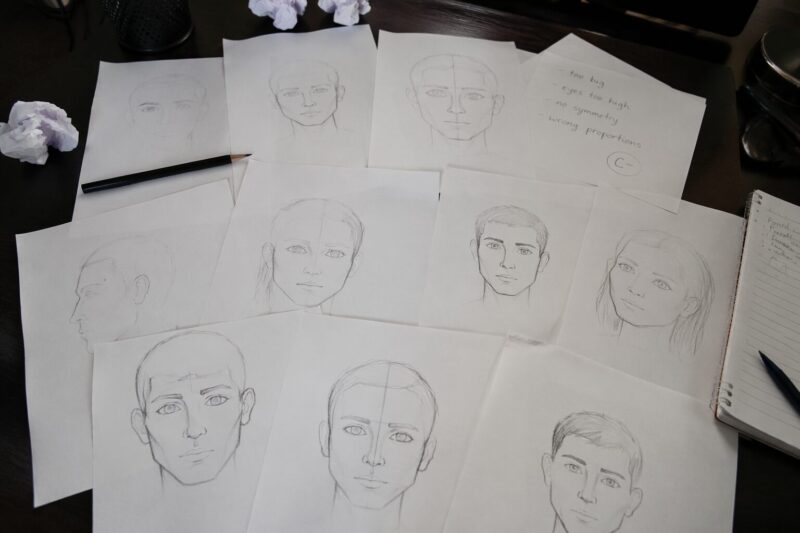
Neglecting the head shape is another frequent error. If you forget to keep the top-heavy oval structure, the character will lack that youthful anime bounce. Always check your symmetry by comparing both sides of the face against your center grid line. Ignoring this often results in eyes that look misaligned or tilted.
Troubleshooting: When Your Drawing Looks “Off”
If the face looks too realistic, the issue usually lies in the chin width or eye size. Narrow the chin and amplify the eyes to regain that specific anime proportion.
If the expression feels flat, adjust the angle of the mouth or the arch of the eyes. A subtle shift in the eyebrow curve can change a character from calm to frustrated immediately. Take a photo of your work and flip it horizontally; looking at a mirrored version often highlights alignment errors you missed while drawing.
FAQ
Q: Are anime eyes drawn differently based on gender or character personality?
Yes, anime eyes vary significantly based on gender, age, and personality, with style influencing their size and shape. Male characters often have narrower eyes, while female characters have larger, more expressive eyes with detailed highlights and lashes.
Q: How do you position the chin and cheeks when drawing an anime face from a circle?
To position the chin, draw a triangle pointing downward from the bottom of the circle, erasing the tip to create a soft chin. Cheeks are formed by connecting angled vertical lines from the chin to the sides of the circle.
Q: Will using a digital layer for shadows and highlights improve your anime art?
Using a separate digital layer for shadows and highlights allows for easy adjustments without altering the line art. This technique enhances depth and realism, making it easier to experiment with colors and lighting effects in the final illustration.
Q: When should you switch from sketching to refining the outline in an anime drawing?
You should refine the outline after sketching the basic geometric shapes and ensuring the proportions are correct. Darkening the lines and cleaning up the edges helps define the character’s features before adding final details like hair or clothing.
Q: Is it necessary to follow strict guidelines for the neck width in an anime body?
While not strictly necessary, guidelines help maintain proportionality, with neck width often matching the character’s gender and build. For example, a girl’s neck is typically thinner than a boy’s, which is wider to support a larger shoulder structure.
Q: What is the best way to draw bangs and hair for an anime character?
The best way is to sketch flow lines above the eyes and head, creating clumps that slope toward the face with small gaps. Bangs should follow the circle’s curve, using shorter lines at the bottom to add texture and movement.
Q: Which tools are recommended for creating clean line art in an anime tutorial?
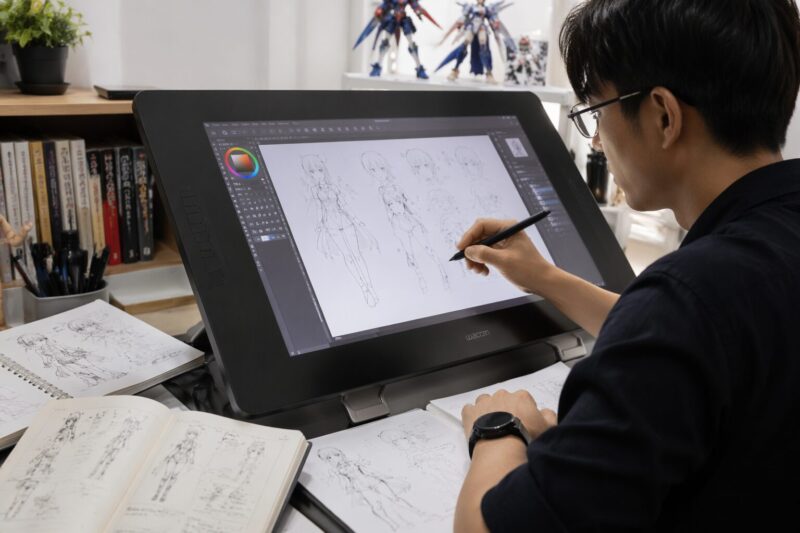
Recommended tools include fine-liner pens, India ink with artist pens, or digital brushes in software like Photoshop or Clip Studio Paint. These provide smooth, consistent lines that are essential for the polished look of professional anime art.
Next Steps: Deepening Your Skills
Study body proportions once your faces are consistent. Moving beyond the head requires understanding how the torso and limbs connect using cylinders and ovals.
Explore storytelling by creating simple multi-panel layouts. Even a two-panel sequence where a character changes expression helps you practice composition. Sophia Williams, author of anime drawing tutorials, notes that constant practice establishes the concepts of concentration needed to advance from simple sketches to complex, emotive character designs.
My Experience With How to Create Anime Art: A Simple Step-by-Step Tutorial
I remember my first attempt at drawing anime—it looked less like a hero and more like a potato with eyes. The key, as I eventually discovered, is resisting the urge to jump straight into the details. I used to agonize over individual hair strands before even getting the chin shape right. That was a mistake.
The real secret is treating the face like a set of blocks. Once you establish that circle and those initial guide lines, the rest of the facial features sort of click into place. If your eyes look like they are floating, it is probably because you skipped the grid lines. Trust the grid. It feels tedious, but it saves you an hour of erasing later. My favorite trick is using a kneaded eraser to soften my initial sketch before inking; it keeps the final lines crisp. I found that experimenting with different eye shapes completely changed the character’s personality, which is honestly the most addictive part of this whole process. Do you find that a specific facial feature is tripping you up, or are you ready to start on the body next?
Latest Updates
As of 2026, many artists are shifting toward hybrid workflows. They sketch the core structure traditionally on physical paper to build muscle memory before moving to software like Clip Studio Paint for final inking and coloring. This combination of tactile drawing and digital flexibility is the current standard for aspiring manga creators.
A Teacher with 5 years of experience. Our Expertise, is reliable to meet your full Academic development needs . Worked on many crafts and construction projects offering services from design to development to deployment over the years. You will find many of my works in my business portfolio on request.