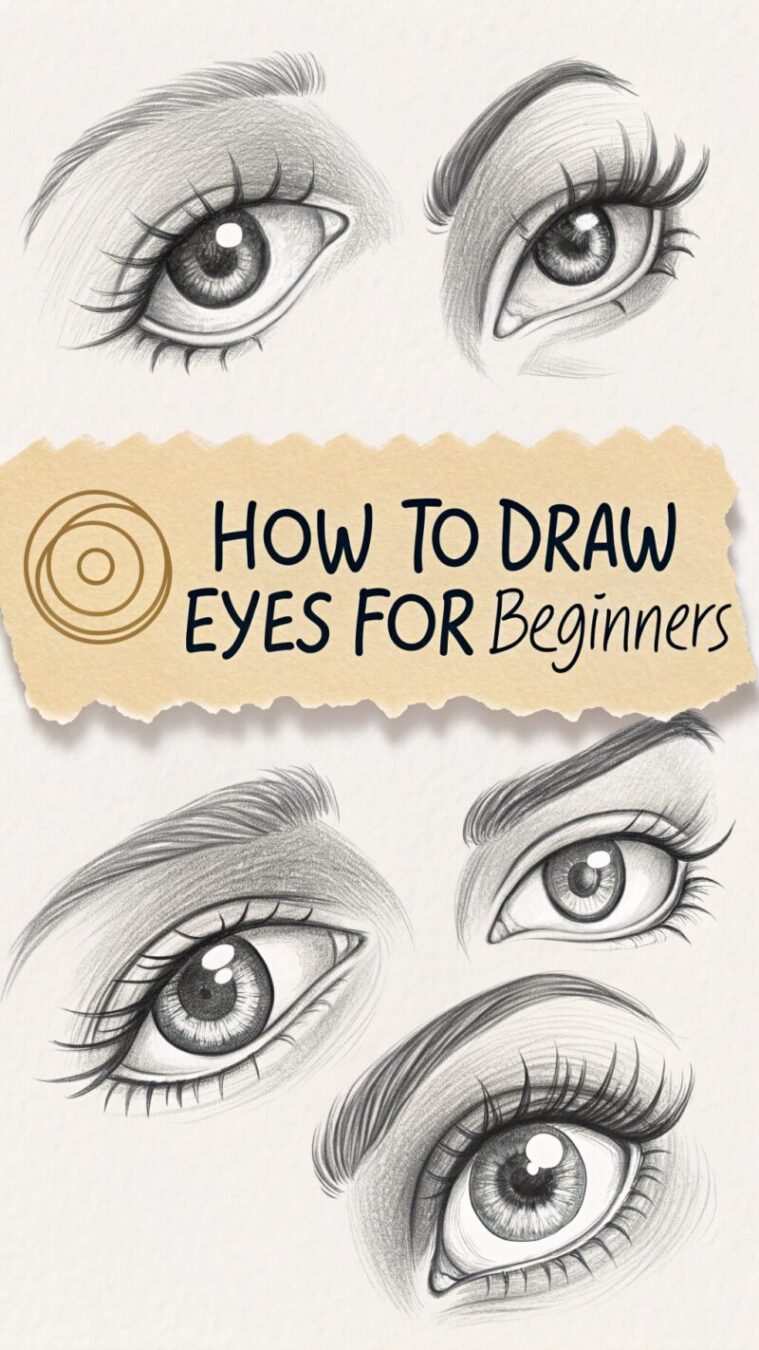
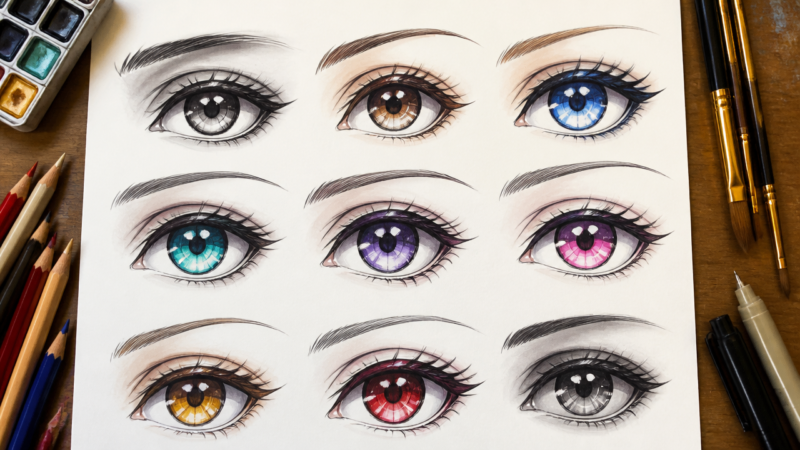
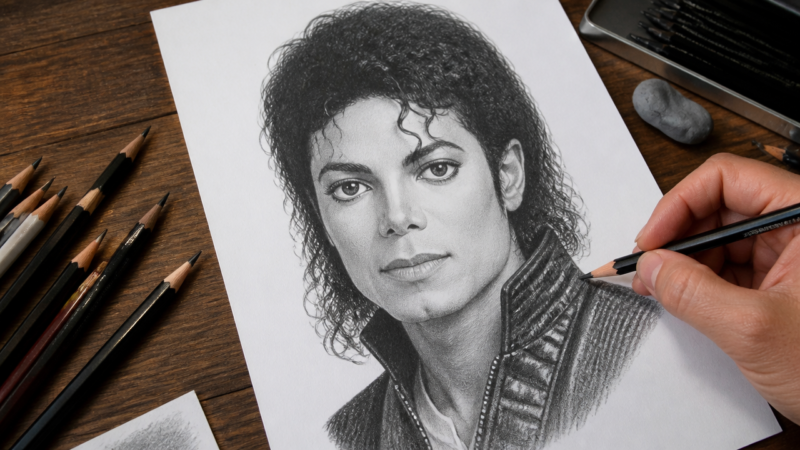
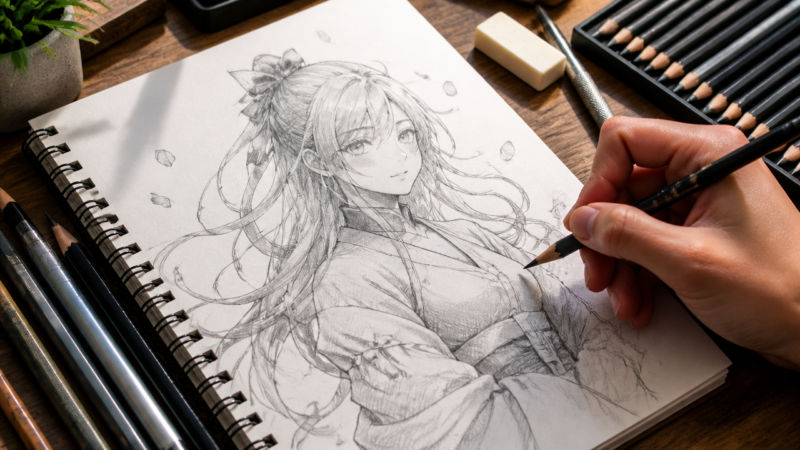
A simple, friendly guide with two easy methods — no experience needed!
👁 👁
Have you ever tried to draw a face and the eyes just looked… weird? Don’t worry — you’re not alone! Eyes are the most expressive part of any drawing. But here’s the good news: once you break them down into simple shapes, they’re actually really fun to draw. In this guide, you’ll learn two easy methods — one realistic style and one simple cartoon style. Grab your pencil and let’s go!
What You’ll Need
Before we start, gather a few basic supplies. You don’t need anything fancy — just some everyday art tools will work perfectly.
✏️
HB or 2H Pencil For light sketching lines
✏️
4B Pencil For dark shading and shadows
📄
Plain White Paper Or a sketchbook
🧹
Eraser Kneaded eraser works best
🖊️
Black Pen (optional) For clean final lines
That’s all! Simple supplies, but you can create amazing results with them. Now, let’s talk about the two methods you’re going to learn.
Feature
Method 1 – Realistic Eye
Method 2 – Cartoon Eye
Skill Level
Beginner–Intermediate
Complete Beginner
Time
30–45 minutes
5–10 minutes
Shading Needed?
Yes
No (optional)
Best For
Portraits, realistic faces
Comics, cartoons, fun doodles
1
The Realistic Eye
Step-by-step from a circle to a lifelike eye with shading
This method builds a realistic-looking eye using basic shapes. The secret? Think of the eyeball as a sphere hidden under the eyelids. Everything starts with that simple idea.
Figure 1 — The four main stages of drawing a realistic eye from scratch
1
Draw a Light Circle — Your Eyeball
Using your HB pencil with very light pressure, draw a circle about the size of a coin. This is the whole eyeball underneath the lids. Remember: it’s called an eyeball for a reason — it’s a sphere! Drawing this first gives you a guide so everything lines up correctly. You’ll erase it later, so keep the lines faint.
2
Add the Iris and Pupil
Inside your big circle, draw a medium circle — this is the iris (the coloured part). Then draw a smaller circle right in the centre — that’s the pupil (the black dot). Here’s a key trick: don’t put the top of your iris circle at the very top of the eyelid line. Let the top lid cut into it a little. This one trick instantly makes your eye look more relaxed and natural instead of wide-eyed and surprised!
3
Draw the Eyelids — Almond Shape
Now draw the top and bottom eyelids. The top lid curves more steeply — think of a smooth hill. The bottom lid is flatter, almost like a shallow bowl. The inner corner (near your nose) can be drawn like the letter “C”. The outer corner looks more like a sideways “V”. Important: the top lid overlaps the bottom lid at both corners. Also, the top lid covers the top part of your iris — this is totally normal and correct!
The peak (highest point) of your top lid should sit closer to the inner eye. The lowest point of your bottom lid sits closer to the outer corner. They are NOT mirror images of each other!
4
Mark the Highlight — Don’t Skip This!
Before you shade anything, mark where the highlight (the shiny white glint) will go. Use your eraser or just leave a small circle blank in the upper part of the iris, slightly off-centre. This little white spot is what makes the eye look wet and alive. If you forget and shade over it, the eye will look flat and dull. Think of it as saving a seat — reserve that spot now!
5
Fill in the Pupil and Shade the Iris
Fill in the pupil completely with your darkest pencil (4B), but skip the highlight spot. For the iris, use your 4B to shade in lines that radiate outward from the pupil — like bicycle spokes. Make the outer edges of the iris darker and let it get lighter toward the centre. Add a darker shadow just under the top eyelid — this shows that the lid is casting a shadow on the eyeball.
6
Add Eyelashes
Draw eyelashes starting from the base of the top lid, curving outward and upward. Don’t draw them all going the same direction — they fan out from the centre, going inward near the inner corner and outward near the outer corner. Draw about 8–10 lashes first, then add smaller ones in between. The bottom lashes are shorter and more spread out. Less is more — too many lashes looks messy!
7
Erase Guide Lines and Add Final Details
Now erase the original big circle you drew in Step 1. Clean up any stray lines. You can darken the top eyelid line slightly — it’s usually thicker and bolder than the bottom. Add a tiny pink teardrop shape at the inner corner (the tear duct). Finally, lightly shade the white of the eye — it’s not actually pure white, but very light grey, especially toward the corners.
Start by shading very lightly, then add darker layers gradually. It’s much easier to add darkness than to erase it. Don’t press too hard too soon!
2
The Simple Cartoon Eye
Perfect for doodles, comics & animation-style art
Cartoon eyes are all about big, bold shapes and expression. You don’t need any shading at all — just clean lines and a bit of confidence. This is the perfect starting point if you’ve never drawn before. It’s also super useful for comics, anime, or just fun doodles on your notebook.
Figure 2 — Four stages of the cartoon eye method
1
Draw a Large Oval
Start by drawing a wide, rounded oval — like a stretched egg on its side. This will be the white of the eye. In cartoon drawing, the eyes are much bigger than in real life — that’s what gives characters their expressive, big-eyed look! Make it about twice as wide as it is tall.
2
Draw a Large Circle for the Iris
Inside the oval, draw a large circle for the iris. In cartoon eyes, this circle is usually much bigger than in real eyes. It can even touch the top and bottom edges of the oval. The bigger the iris, the cuter and more innocent the character looks. Centre it in the oval, or shift it slightly to one side to make the character look in a direction.
3
Add the Pupil and Shine Spots
Draw a smaller circle inside the iris for the pupil. Fill it in solid black. Now here’s the fun part — add two white circles (or dots) on the iris to show reflections. One big circle near the top of the iris, and one smaller dot near the bottom. These tiny highlights are the secret to making cartoon eyes look sparkly and full of life! Leave them white (don’t fill them in).
Try different highlight shapes — stars, hearts, or tiny crosses — to give your character a unique personality. Anime characters often have really creative highlight shapes!
4
Add a Bold Top Lash Line
Draw a thick, bold curved line along the top of your oval — this is the eyelid and lash line combined. Make it thicker in the middle and taper toward the corners. You don’t need to draw individual lashes for a cartoon style — the bold line does the job. Add a couple of little curves or flicks at the outer corner if you want a more feminine look.
5
Draw the Eyebrow
Float a curved line or thick arch above the eye — this is the eyebrow. The height and angle of the brow changes the expression totally. Flat brow = calm. Angled inward = angry or serious. High arch = surprised or happy. In cartoons, the brow is one of the most powerful tools for showing emotion, so experiment with it!
6
Optional — Add Colour or Extra Details
Cartoon eyes look great with colour! Use coloured pencils, markers, or even digital tools to colour in the iris. You can also add tiny lines in the iris, a bottom lash line, or even small sparkle stars around the eye to make it pop. This is your character — make those eyes uniquely yours!
Try drawing the same eye with different eyebrow positions to practice emotions. Happy, sad, angry, surprised — the brow and the direction the iris faces changes everything!
Quick Tips to Improve Faster
Now that you know both methods, here are some tips that will level up your skills much faster:
→
Draw from a Photo Reference
Don’t try to draw from memory at first. Find a clear close-up photo of an eye and draw from that. Looking at a real reference helps you notice things you’d never imagine — like how the eyelid has thickness, or how the iris is never a perfect circle when viewed from an angle.
→
Fill Pages with Eyes
Every artist who ever drew amazing eyes did one thing: drew lots and lots of them. Fill up a whole page with different eyes. Try big ones, small ones, left eyes, right eyes. Each attempt teaches you something new, and you’ll see your own improvement happen right in front of you.
→
Don’t Press Too Hard Too Soon
Always start with light, sketchy lines. Mistakes are easy to erase when you draw lightly. Once you’re happy with the shapes and placement, then go darker and bolder. Many beginners press hard from the start and end up with dark lines that are hard to fix.
→
Have Fun with It
Your first eye drawing won’t be perfect — and that’s completely okay! Even professional artists will tell you their early drawings looked rough. The goal right now is to learn, experiment, and enjoy the process. Every single drawing you make — good or bad — is teaching your hand and brain to get better.
📚 References
Winged Canvas. (2022, December 20). How to Draw a Realistic Eye – Step by Step.wingedcanvas.com
BioWars / Popovic, D. (2025, January 21). How To Draw Eyes In 7 Easy Steps.biowars.com
Art by Ro. (2023, April 6). How to Draw Eyes for Beginners.artbyro.com
Nguyen, D. How to Draw a Realistic Eye: 9 Steps.rapidfireart.com
Artistic Haven. (2026, April 2). How to Draw Eyes for Beginners: 10 Step by Step Tutorial.artistichaven.com
Easy Drawing Tips. (2024). How to Draw an Eye Step by Step.easydrawingtips.com
JeyRam Art. How to Draw Eyes Step by Step for Beginners.jeyram.org
A Teacher with 5 years of experience. Our Expertise, is reliable to meet your full Academic development needs . Worked on many crafts and construction projects offering services from design to development to deployment over the years. You will find many of my works in my business portfolio on request.