
Getting nail art right the first time is totally doable when you follow a simple workflow. Simple beginner nail designs are trending because they look polished with less pressure to be “perfect,” and beginner-friendly guides keep emphasizing clean prep plus a repeatable step order. When you learn the basics, you stop guessing and start getting results you actually want to wear. This guide walks you through the exact steps for prepping, applying gel (if you’re using it), and doing three easy designs: dot accents, taped geometric lines, and simple glitter. You’ll also get troubleshooting tips for the most common mistakes, plus a low-stress practice plan for your first set of designs. Let’s get your nails looking cute, neat, and confidently “you” from the very first try.
Key Takeaways
- Nail prep is the foundation: shaping, tidy cuticles, and lightly roughing the nail plate helps products stick better.
- Use a repeatable gel routine: base coat then cure, color in thin layers then cure, finish with top coat then cure.
- Dotting is one of the easiest beginner techniques—use a dotting tool and redip it for consistent dot size.
- Tape makes geometric designs more forgiving because it helps you build crisp lines without freehand perfection.
- Simple glitter is a quick glam option when you use it as an accent or on top of a solid color layer.
- If something looks off, most beginner issues have simple fixes: thin coats, proper curing, and prompt tape removal.
Quick Answer
Start with clean nail prep, apply base coat and cure, then add 1–2 thin color coats with curing after each. For beginner nail art, do dot accent nails (small dots near the cuticle using a dotting tool), then try a taped geometric pattern using natural nail as the “less is more” base, and finish with a simple glitter accent for a fast, celebratory look.
What You Need
| Item | Purpose | Notes |
|---|---|---|
| Nail shape file or buffer | Shape nails and smooth the surface | Choose a gentle grit if you’re new to nail prep |
| Base coat (gel if you’re doing gel) | Helps color and art adhere | Apply thin and cap the edges lightly |
| Gel color (2 shades for many designs) | Creates your base and design contrast | Thin coats cure more evenly |
| Top coat (glossy or matte) | Seals and protects the design | Top coat choice changes the final vibe |
| Dotting tool | Makes dot accents quick and even | Redip the tool each time for consistent dot size |
| Tape (nail or striping tape) | Creates clean geometric lines | Press tape firmly so edges don’t bleed |
| Top coat brush or applicator | Smooths glitter and seals details | Helps prevent texture from looking rough |
| Nail prep cleaner (if using gel systems) | Removes residue and helps adhesion | Follow your gel system’s directions |
| Lint-free wipes (if needed) | Keeps surfaces clean during gel work | Especially helpful for cleanup after curing |
| UV or LED lamp | Cures gel layers | Cure exactly per product instructions |
Step 1: Prep Your Nails Like It’s the “Main Design”
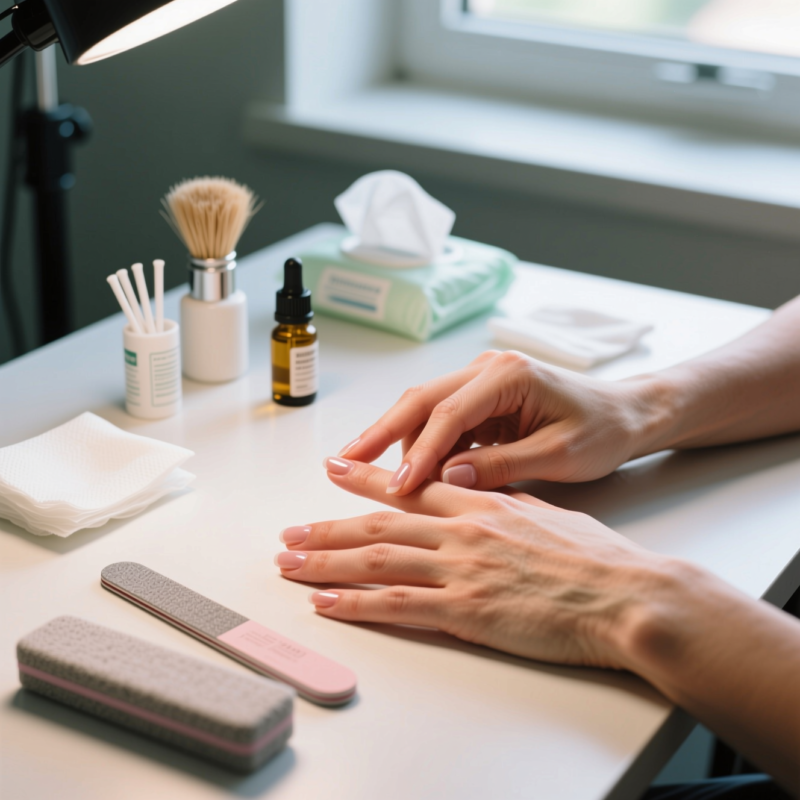
Before you even think about dots or glitter, focus on prep. This is what helps your manicure stay neat longer.
Shape nails to your preferred look
Pick the outline that feels best for your lifestyle:
- Rounded soft shapes are beginner-friendly because small mistakes blend in.
- Squoval (square-rounded) is a great “in-between” option for tidy edges.
Tidy the cuticle area
Push back gently and clean up any extra hangnails. You don’t need to go aggressive—just aim for a clean border so your polish doesn’t lift.
Lightly rough up the nail plate
A quick, gentle buff (not over-buffing) helps product grip. According to Erica’s ATA beginner gel workflow, prepping includes shaping, tidying the cuticle area, and lightly roughing the nail plate for better adhesion. That one detail makes your whole art easier.
Step 2: Run the Core Gel Workflow (Base → Color → Cure → Finish)
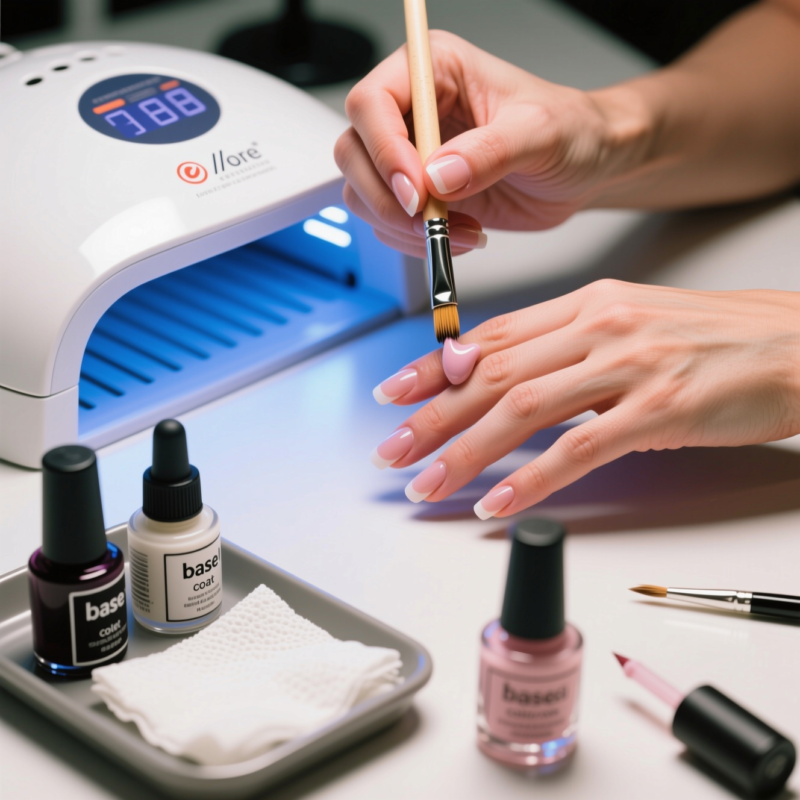
Even if you’re only adding tiny details, keep your steps consistent. This prevents smudges and patchy coverage.
Base coat then cure
Apply a thin base coat, then cure it in your lamp. If you’re new, thin is your friend—thicker layers cure less evenly.
According to Erica’s ATA’s beginner-friendly steps, the workflow is: prep, base coat, cure, then add color in thin layers with curing after each coat.
Add 1–2 thin coats of gel color, curing each layer
- Coat 1: thin, even coverage.
- Coat 2 (optional): for richer color.
- Cure after each coat so you don’t trap tackiness under the design.
Finish with a glossy or matte top coat
Top coat seals your design and makes it look “finished,” not temporary. Erica’s ATA also recommends applying a glossy or matte top coat and curing to lock it in.
Step 3: Beginner Design #1 — Dot Accent Nails (Easy Dotting Technique)
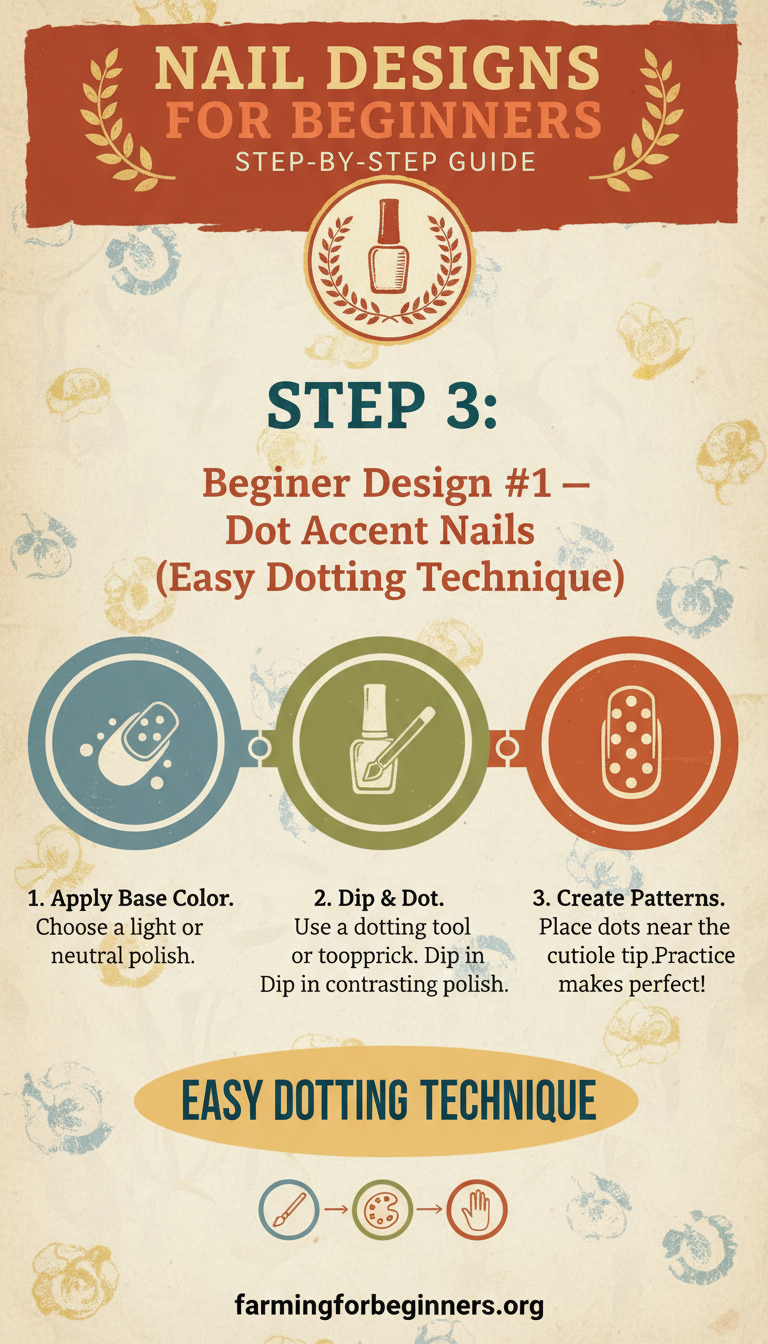
This is the design I recommend first because dotting feels simple, looks intentional, and is forgiving if a dot isn’t 100% perfect.
Choose your colors
Pick:
- A solid base color you like wearing.
- A contrasting dot color (think: dark dots on a lighter base, or bright dots on a neutral base).
Dip the dotting tool into the contrast shade
This is where beginners often mess up by loading too much color. Start light.
According to Erica’s ATA’s dotting technique, dip your dotting tool into a contrasting gel shade.
Place small dots near the cuticle at the center of each nail
- Aim for consistency: similar distance from the cuticle and similar dot size.
- Place dots near the cuticle and centered on each nail.
Redip each time for consistent dot size
This little habit is everything. If you don’t redip, dots get bigger as you go.
Erica’s ATA specifically advises redipping the tool each time for consistent dot size.
Cure and top coat
Cure after you place the dots. Then finish with a glossy or matte top coat and cure again.
Step 4: Beginner Design #2 — Taped Geometric Lines Using Natural Nail as the Base
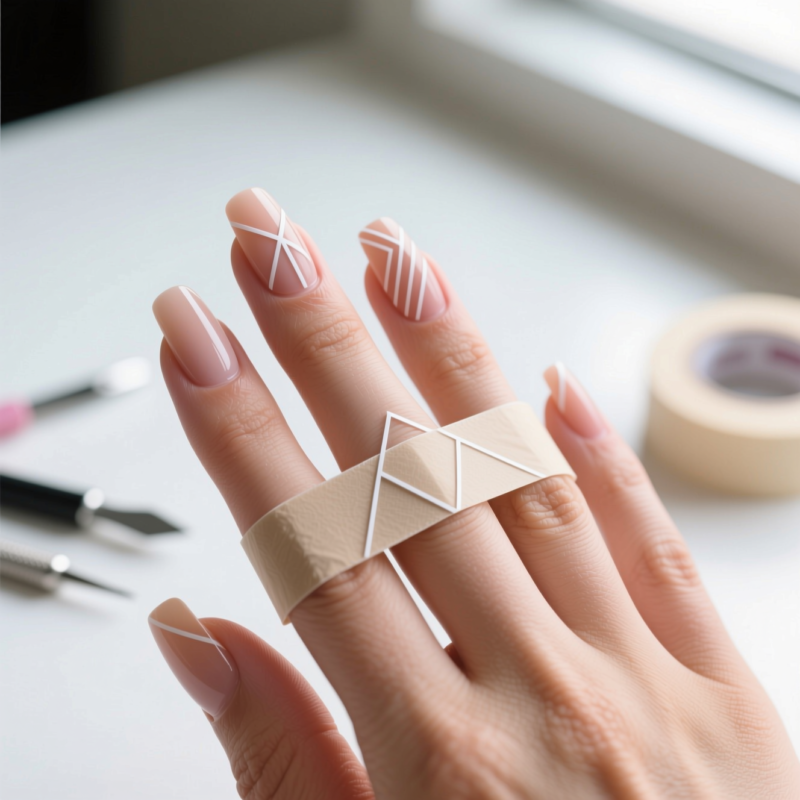
If dots are your “starter,” tape geometry is your “level up.” It still stays beginner-friendly because tape creates crisp boundaries.
Plan a simple geometric pattern
Choose one idea:
- Diagonal line(s)
- A few triangles
- Simple stripes
Keep it minimal so you can focus on technique, not perfection.
Use the “less is more” approach
A beginner tip I love from nail art inspiration guides: leaving natural nail exposed can look more sophisticated. Mirellé Inspo describes the “less is more” method where you leave natural nail showing through to create a clean, intentional look.
Place tape to form your pattern
Press tape down firmly so color doesn’t creep underneath.
Paint over the nail while tape is in place
Brush on your gel color carefully. Don’t overwork it—multiple passes can cause smudging under the tape.
Remove tape immediately after coloring
Timing matters. Remove tape right after you finish the colored layer so the edges stay sharp.
Mirellé Inspo also notes that mistakes become part of the artistic intention, and imperfect results can still look deliberate with this taped, geometric style.
Top coat the full nail to lock in crisp edges
Finish with top coat and cure fully so the lines stay clean.
Step 5: Beginner Design #3 — Simple Glitter (Quick Glam Without Complexity)
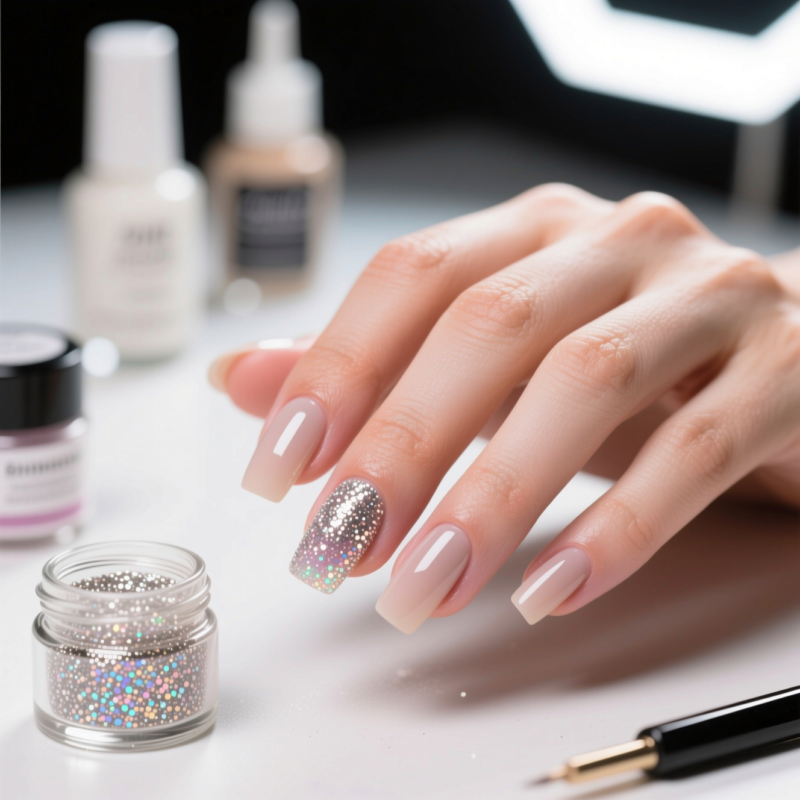
Glitter is a mood. It’s also one of the easiest ways to make your nails feel “done” fast.
Pick a glitter approach that matches your comfort
Go for one:
- All-over glitter on one nail or two nails
- Glitter concentrated in a strip or small accent area
Research-style nail inspiration roundups often highlight “simple glitter nail designs” as an easy DIY-friendly upgrade, especially when you keep the placement simple. Green Wedding Shoes, for example, features simple glitter ideas and notes that adding glitter is an easy way to elevate a basic look.
Apply glitter on top of a solid color layer
If your glitter is designed to be applied over gel color, follow the product instructions. Generally, you want a stable base first so glitter doesn’t cling messy.
Cure and top coat for smoothness
Cure. Then top coat helps smooth the look and seals the glitter so it feels less scratchy.
Make glitter look intentional (not messy)
A few tricks that help:
- Use glitter on accent nails instead of every single nail at first.
- Keep glitter placement consistent across nails (same corner, same width, same density).
- Seal well with top coat so glitter edges look crisp.
Step 6: Troubleshooting Common Beginner Issues
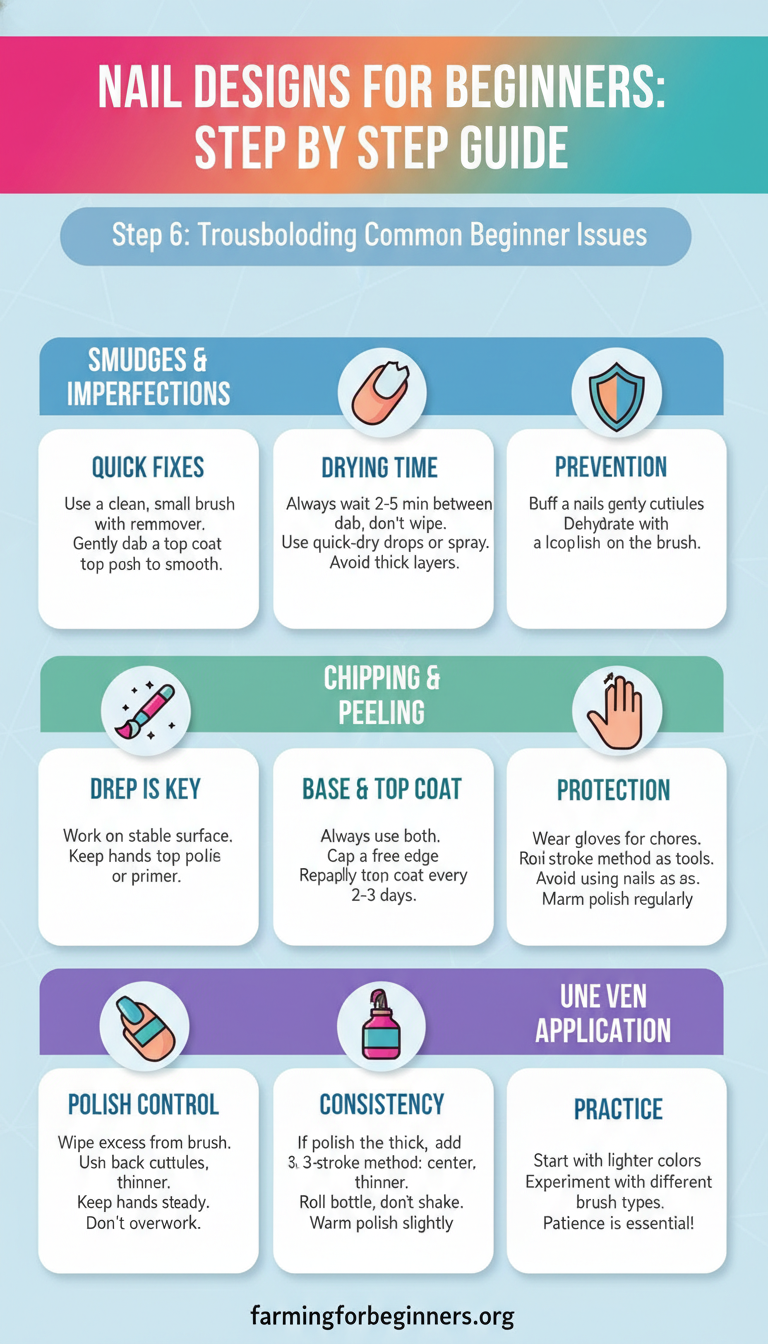
Even when you follow steps, things can look “almost right.” Here’s how to fix the most common beginner nail art problems quickly.
Dots look uneven
Fixes:
- Redip the tool each dot to keep the same amount of polish on it.
- Keep your dot placement distance from the cuticle consistent.
- Don’t press hard—light contact makes cleaner circles.
According to Erica’s ATA, redipping for consistent dot size is key, especially as you move across each nail.
Color looks streaky or patchy
Fixes:
- Apply 1–2 thin coats, and cure after each coat.
- Avoid trying to fix streaks by using thick layers.
- Make sure the first coat cures fully before adding the next.
Erica’s ATA’s core routine emphasizes thin coats and curing after each layer.
Tape edges look fuzzy
Fixes:
- Remove tape promptly after coloring.
- Press tape down firmly from the start.
- Don’t flood the tape line with heavy gel thickness.
A guide theme from geometric tape method descriptions is that tape helps reduce pressure to be perfect, but crisp edges still come from firm placement and prompt removal.
Finish looks dull, rough, or textured
Fixes:
- Add a proper top coat layer and cure fully.
- Make sure you seal the free edges.
- If your glitter is chunky, top coat is what smooths it most of the time.
Step 7: Practice Plan for Your First 3 Designs (Low-Stress Progression)
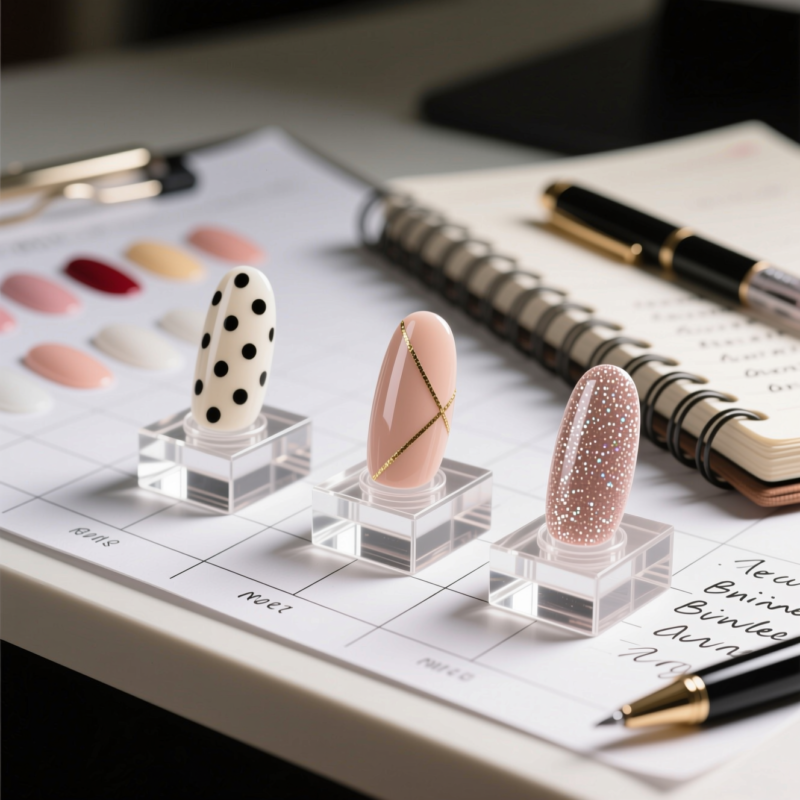
Let’s keep your learning fast and fun. Your goal is to build skill, not burn time.
Practice order (start simple, then add complexity)
- Dot accent nails
You’re training spacing and dot size. Repeat makes it easy.
- Taped geometric lines
You’re training clean boundaries and timing with tape removal.
- Simple glitter
You’re training placement and finishing with top coat for a smooth seal.
Time expectations (and how to scale)
One beginner nail art overview suggests a low-difficulty DIY approach can take about 18 minutes for an easy concept. Mirellé Inspo lists example difficulty and time estimates for simple designs, which can help you set realistic expectations while you learn.
If your first attempts take longer, that’s normal. You’ll speed up as you stop redoing steps and start trusting your routine.
How to scale difficulty
- If dots are perfect but you want more, add a second dot row (still near the cuticle).
- If tape works, try a slightly more complex triangle layout.
- If glitter is fun, add a small glitter “half-moon” accent next time.
Tips
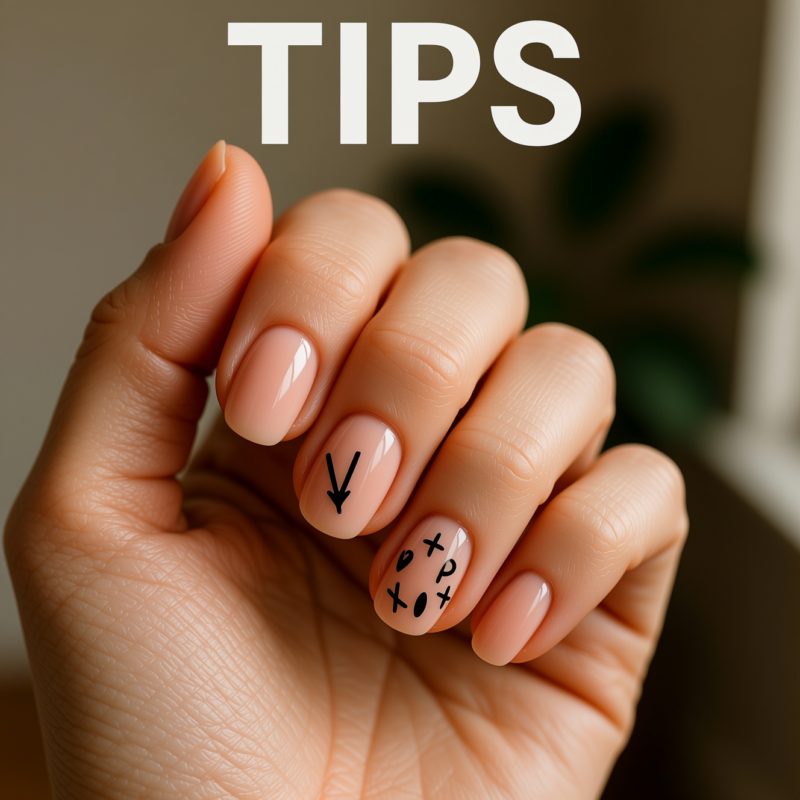
- Keep coats thin. Thin layers cure better and look smoother.
- Work one nail at a time if you’re prone to smudging.
- Use a consistent dot size and consistent placement distance to make your design look “designed,” not accidental.
- For tape designs, keep the pattern simple until you’re confident.
- Seal everything with top coat. It’s the difference between “okay” and “wow.”
A simple beginner mindset
Mistakes are part of learning. With taped geometry, imperfect lines can even read as intentional. Guides like the “less is more” tape method also point out that leaving natural nail exposed makes the whole look more forgiving when you’re still building control.
FAQ
Do I need gel to do beginner nail designs?
No. You can do many designs with regular polish too. Still, gel workflows are especially beginner-friendly because curing creates a more stable finish and helps layers stay neat. If you use gel, follow the base coat, cure, color, cure, then top coat steps carefully.
What’s the easiest nail design for absolute beginners?
Dot accent nails are usually the easiest because they use one tool and one repeating motion. According to Erica’s ATA, dotting plus consistent redipping gives beginners a fast, polished result.
How do I keep my dots from bleeding or smearing?
Two habits help:
- Cure your base coat and color properly before dotting.
- Place dots gently without pressing too hard, then cure right after dot placement.
Can I do taped nail art even if I’m not steady with freehand painting?
Yes. Tape is your “helper.” Geometric tape designs reduce the need for perfect freehand control. Just make sure you press tape firmly, paint carefully, and remove tape promptly.
How do I stop glitter from looking messy?
Choose a simple glitter placement strategy first, like glitter accents on one nail. Then seal with a good top coat so the surface looks smooth and finished.
Latest Updates or ## 2026 Trends
In 2026, the biggest “beginner-friendly” nail trend I keep seeing is the push toward clean-looking, minimal nail art that uses structure (like dot placement and tape geometry) rather than complicated freehand detail. Guides such as Mirellé Inspo continue to emphasize the “less is more” style, especially designs that leave natural nail visible for a more modern, sophisticated look. Meanwhile, quick glam upgrades like simple glitter remain a go-to because they add impact without requiring advanced techniques.
Conclusion
You don’t need nail art talent to get great results—you need a repeatable process and a few beginner designs that teach the right skills. Start with thorough nail prep, follow the base coat to color to cure to top coat workflow, then practice dot accent nails for control. After that, move into taped geometric lines for crisp structure with less pressure, and finish with simple glitter when you want quick glam. If you run into streaks, uneven dots, or fuzzy tape edges, use the troubleshooting fixes above and keep going—each attempt builds your “nail sense.” Once you complete your first three designs, you’ll be surprised how fast your confidence grows. Now pick your colors and try Step 1 today—you’ve got this.
References
- Erica’s ATA. (n.d.). Easy Nail Art Designs for Beginners. https://ericasata.com/blogs/news/easy-nail-art-designs-for-beginners?srsltid=AfmBOora-uRXiKMcDB7i8i8n2s3JZ1EFJVBJ8zWrMaTmF739gEON849b
- Erica’s ATA. (n.d.). Easy Nail Art Designs for Beginners (dotting and gel workflow steps). https://ericasata.com/blogs/news/easy-nail-art-designs-for-beginners?srsltid=AfmBOoo9NWEmmco6MgCJ2u6EucEqs8F8je9eBt5K1zFT4jRsMgBQM7TQ
- Erica’s ATA. (n.d.). Easy Nail Art Designs for Beginners (prep, cure, top coat guidance). https://ericasata.com/blogs/news/easy-nail-art-designs-for-beginners?srsltid=AfmBOoqhshaQsRcDFC_EZzhr_P1nWkuoTVTIYwgnF-cyEvHfjaMpKS5g
- Mirellé Inspo. (2026). Easy nail art concepts and “less is more” taped geometric method notes. https://mirelleinspo.com/topics/nail-art-guides
- Green Wedding Shoes. (2025). 27 Trendy Simple Nail Designs And Art Ideas To Rock in 2025 (simple glitter ideas). https://greenweddingshoes.com/simple-nail-designs-ideas/

A Teacher with 5 years of experience. Our Expertise, is reliable to meet your full Academic development needs . Worked on many crafts and construction projects offering services from design to development to deployment over the years. You will find many of my works in my business portfolio on request.