What makes simple face paint look clean instead of muddy, especially for quick face painting ideas? If you’ve searched for easy face paint designs and beginner face painting techniques, you’re in the right spot. Simple face paint works great for birthdays, costume days, and quick party requests. This beginner-friendly guide shows how to do simple face paint with water-activated paint, basic brushes, and smart timing. You’ll use easy face painting ideas, quick animal looks, and clean line details that hold up all afternoon.
Quick Questions and Answers
Question: What are the easiest face paint designs for beginners?
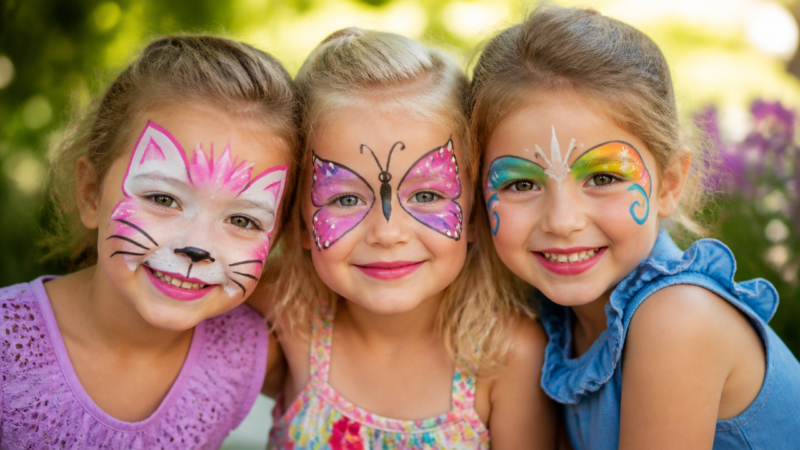
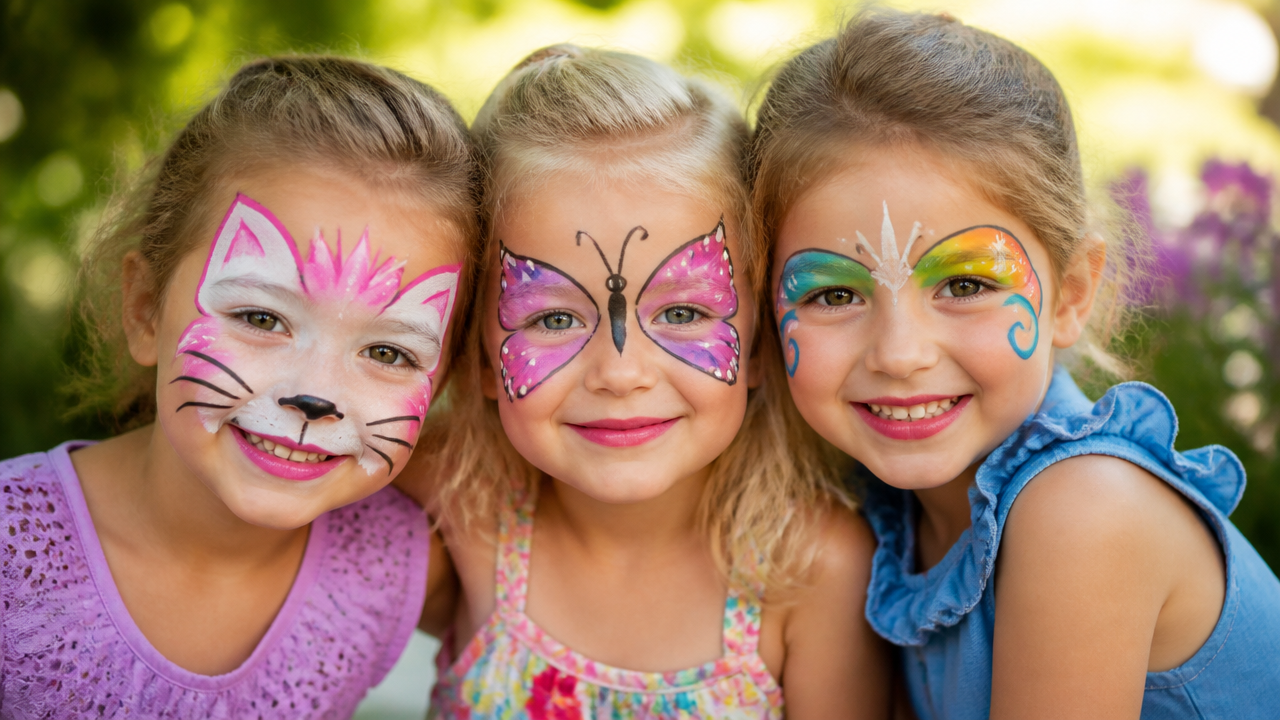
Answer: The easiest designs for beginners include simple cats with a pink heart nose and whiskers, dogs with a black dot nose, butterflies with wings around the eyes, and colorful swirls from chin to eye. These require minimal colors and broad strokes, making them quick and efficient for kids.
Question: Why should I use only one or two colors for simple face paint?
Answer: Using one or two colors keeps designs simple and prevents them from becoming too complex or messy. Limiting the palette helps the paint dry faster between coats and ensures the design remains clear and easy to execute without overwhelming the artist or child.
Question: Can I use regular acrylic craft paint for face painting?
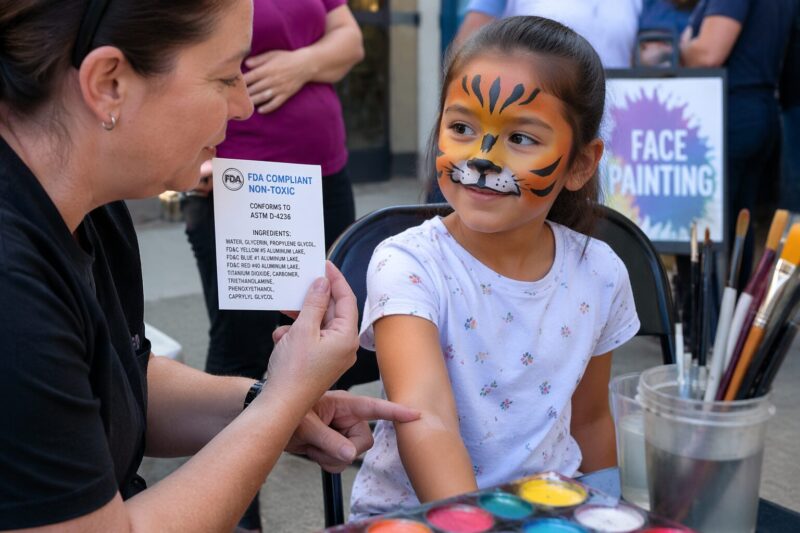
Answer: While some people use inexpensive acrylic craft paints, it is recommended to use water-activated face paints specifically made for skin to avoid allergic reactions or skin damage. Reputable brands ensure safety, whereas acrylics may irritate sensitive skin.
Key Takeaways
Simple face paint looks best when you control three things: skin prep, paint consistency, and drying time. Start with clean, dry skin, activate paint with a tiny amount of water, and apply thin layers. Let each color dry before you add the next so they don’t blend. Use a limited color palette for sharper edges and faster coverage. With basic brushes and a sponge, you can knock out cute designs in minutes.
What You Need
Option
Feature
Best For
Notes
Water-activated cosmetic face paint (cake)
Soap-and-water friendly, skin-safe
Most simple designs
Thin with water until creamy, not runny
Split-cake / one-stroke design
Multi-color in one swipe
Quick butterflies, masks, gradients
Use a flat brush and steady pressure
Sticker tattoo stencils
Consistent shapes
Easy winners for groups
Sponge and dab for clean transfers
Regular acrylic craft paint
Not skin-formulated
Not recommended
Can irritate skin, avoid for face use
Item
Purpose
Notes
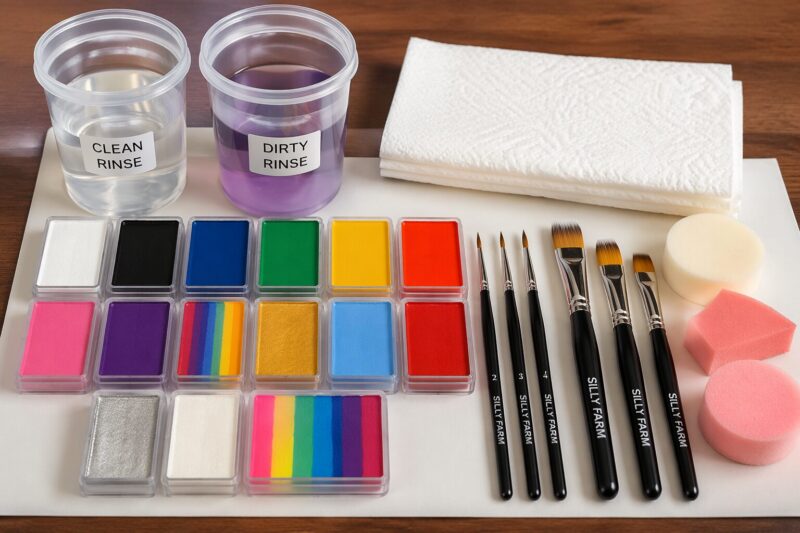
Water-activated, cosmetic-grade face paint
Color coverage that’s designed for skin
Choose reputable brands made for face and body
Flat brush for base and one-stroke work
Wide strokes for smooth coverage
Often used for split-cake techniques
Round brushes (fine-tip)
Lines, dots, and outlines
Common beginner range is sizes 3–7
Cosmetic sponges
Fast, even base coat
Use damp, not dripping
Two water containers
Clean water + rinse water
One cup rinses dirty brushes; the other stays clean
Paper towels or a clean cloth
Blotting and controlling paint on brushes
Prevents extra water from thinning pigment
Palette (or paint tray)
Mixing tiny amounts and keeping paint usable
Useful if you separate colors
Optional: sticker tattoo stencils
Quick, consistent simple shapes
Great when you want crisp edges fast
Step 1: Prep the skin (and your setup)
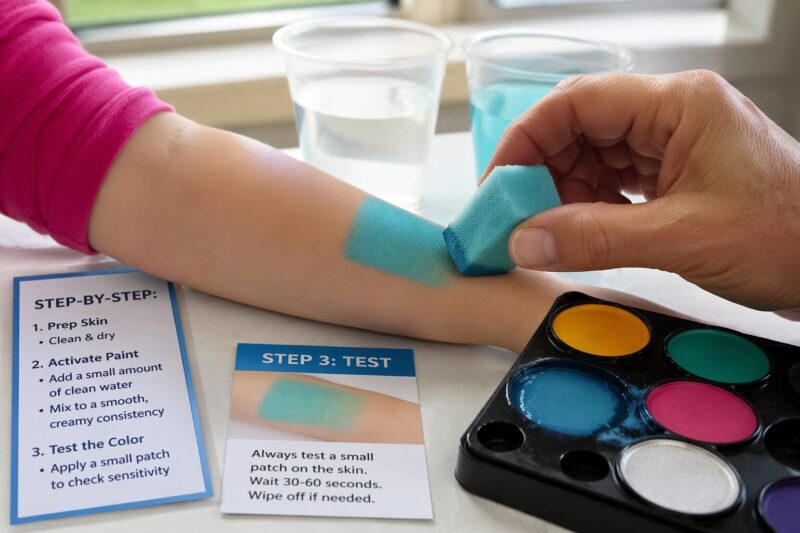
Start with clean, dry skin so paint sticks evenly. If you’re painting a child with sensitive skin, do a patch test on a small arm area first, then wait to see how the skin reacts.
Then set up like you’re working a tiny production line: paint cakes within reach, sponge and brushes on a paper towel, and your two water cups already filled. Research and beginner guides consistently stress that paint success depends on prep, not luck—especially for water-based face paints that need the right skin surface to grip.
Step 2: Activate the paint to a creamy consistency
Tap a tiny amount of water onto the paint surface (especially on water-activated cakes) until it turns creamy and spreadable. If it looks thin like ink, it’ll drip and turn see-through. If it looks dusty and clumpy, it’ll skip and crack.
A guide from IFPS-style beginner resources explains that learning the paint’s “melted-chocolate” texture makes application smoother and prevents patchy coverage. When you get the consistency right, you can move faster without redoing the same area.
Step 3: Apply a base coat with a damp sponge
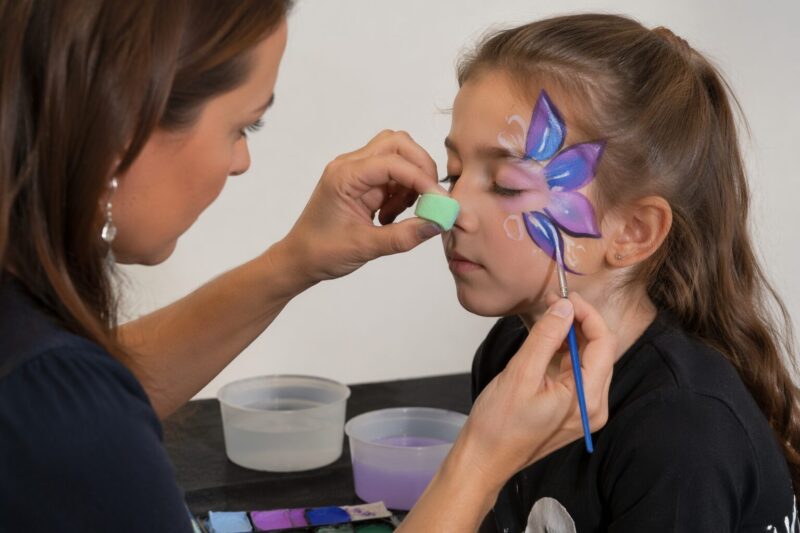
Dip your sponge in clean water, then blot it so it’s damp, not dripping. Pat the base color onto the face in gentle layers. Don’t drag hard; patting keeps edges cleaner and helps the paint lay down evenly.
Keep your color area inside the shape you want, like a mask outline or butterfly wing region. Also, let the base dry before you add new colors on top—wet layers mix and smudge.
According to Snazaroo’s beginner-friendly face paint guides, simple designs stick best when you work in steps and let layers set before moving to details. That alone cuts down most of the “why does it look smeared?” frustration.
Step 4: Use one-stroke or split-cake techniques for quick gradients
If your design needs multiple colors but you don’t want lots of tiny brush work, use a one-stroke or split-cake technique. Pick a flat brush, load two colors on opposite sides of the brush, then swipe in one smooth pass across where the gradient should be.
This technique speeds up simple face paint because you do fewer separate applications. It also helps your design look intentional, since the blended area comes from one controlled stroke instead of repeated dab-and-mess attempts.
If you like structure, follow the pacing from face painting tutorial channels that teach one-stroke practice and brush pressure basics. Search for “one-stroke face painting” demos and mimic the hand speed you see.
Step 5: Add details with a round brush (outer edges first)
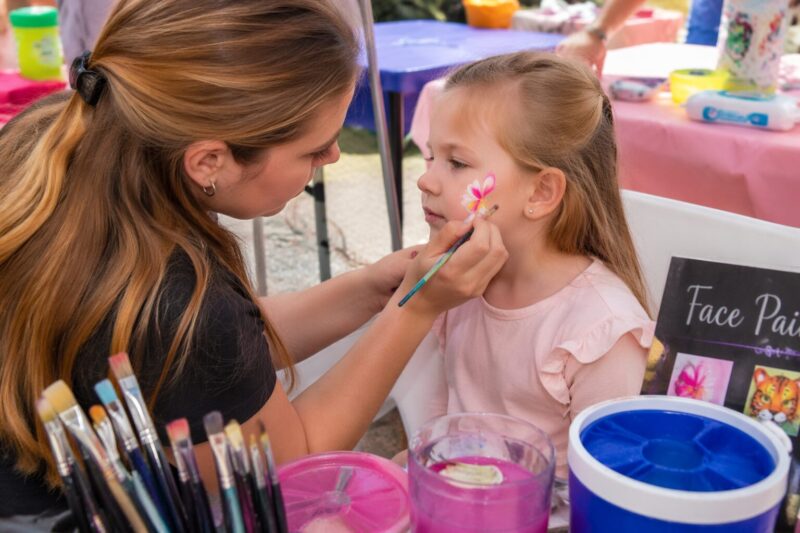
Switch to a round brush for outlines, dots, and small shapes. Start at the outer edges and move toward the center so your line work doesn’t get dragged through fresh paint.
For simple animals, this is where a nose dot, whisker lines, or butterfly wing lines turn “paint blob” into “oh cute!” Use small, controlled strokes. If your lines look broken, your paint is too dry; add a tiny water touch to the paint cake and try again.
When you limit your palette to one or two colors, your details stand out more clearly, which is why beginner face paint guidance often recommends fewer colors for cleaner results.
Step 6: Keep colors from turning muddy (clean brush water rules)
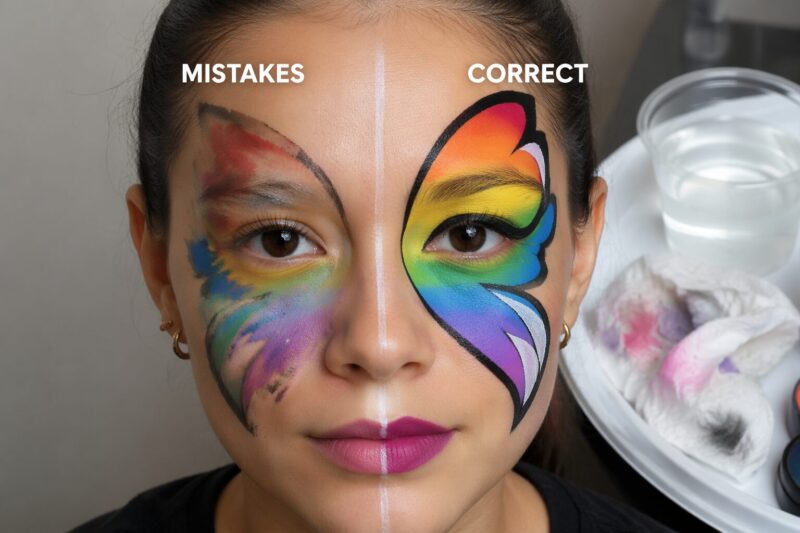
Mud happens when you rinse dirty pigment into the same cup you dip into for clean color. That’s why you need two water containers: one for rinsing dirty brushes, one for clean water only.
After each color, rinse your brush thoroughly, blot on paper towel, then load the next color. If your new color is bleeding into the last block, your brush still has pigment on it. Slow down for two seconds, rinse again, and you’ll save ten minutes of repainting.
IFPS beginner tips and other beginner instruction sources repeat the same “two waters” approach because it directly prevents muddy transitions, especially on small faces where colors can travel.
Step 7: Avoid the eye area and check comfort often
Keep paint away from the lash line. If you’re doing a butterfly or mask near the eyes, use a safe gap and work from the upper cheek area outward. You’re not racing a deadline; you’re creating comfort.
If the child gets fidgety, pause and let them settle. Paint smears when skin moves while paint is still wet, and smears turn into panic touch-ups. Take micro-breaks and keep strokes light and controlled.
Also, don’t crowd the face with constant requests. If you’re painting multiple kids, do quick designs that you can finish cleanly rather than starting elaborate ones you’ll rush at the end.
Tips
Use simple face paint designs that match your tools: sponge for big color zones, flat brush for gradients, round brush for lines and dots.
Pick one main motif like cat, dog, or butterfly, then repeat it across multiple kids for faster setup and consistent results.
Limit to one or two colors for the base so the design stays crisp and dries faster between coats.
Practice two designs on your own forearm before event day so you know your stroke speed and drying time.
If you’re using a stencil, sponge and dab rather than swipe. Dabbed paint holds shape better on the edges.
Build time into your schedule for drying. A thin base plus a dry wait makes the next layer apply smoothly.
FAQ
Q: How do I apply base coats of face paint effectively?
Start with clean hands and apply base coats using your fingers or a brush dipped in a small amount of water to thin thick paints. Let the base dry completely before adding additional colors, working from lightest to darkest shades for best results.
Q: Are stencil stickers good for simple face painting?
Yes, sticker tattoo stencils are excellent for quick and simple designs, allowing you to sponge and dab glitter or paint easily. They eliminate the need for freehand drawing and ensure consistent shapes, making them ideal for beginners or large groups.
Q: What tools do I need for simple face painting at home?
You need basic face paints from a reputable brand, a set of fine-tip brushes (sizes 3–7), sponges, a small water bottle, paper towels, and a palette. Toothpicks help stir paint, and mirrors let kids watch the process, enhancing the experience.
Q: Does face paint need to dry between color applications?
Yes, letting paint dry completely between applications prevents colors from mixing and smudging, ensuring a clean final design. This is especially important when using multiple colors, as wet paint can blend unintentionally and ruin the intended pattern.
Q: Will simple face paint designs work for older children?
Simple designs work well for older children too, but you can add extra details like eye bases or glitter for more excitement. Always avoid getting paint too close to the eyes for younger kids, while older ones can tolerate slightly more elaborate touches.
Q: How can I make face paint designs look more professional quickly?
Focus on broad strokes for main colors first, then add outlines and details like black lines or dots for definition. Use contrasting colors for borders, add dimension with shading, and include glitter or swirls to enhance the visual appeal without extra complexity.
Q: What are common mistakes when doing simple face paint?
Common mistakes include using too many colors, not letting paint dry between layers, improvising complex designs like Spiderman on the spot, and failing to practice a few confident designs beforehand. Stick to simple, rehearsed patterns for better efficiency and results.
My Experience With simple face paint section
I learned the hard way that simple face paint isn’t “simple” because it’s low effort. It’s simple because it’s controlled. The first time I painted a butterfly, I rushed the wing colors and ended up with a sort of colorful bruise look. That moment taught me to wait for the base to dry and to keep a clean water cup always clean. When you follow that, the design snaps into place.
I’ve also noticed something practical: your clean edges matter more than perfect artistry. If you load the right brush texture and start outlines from the outside toward the center, your lines look intentional even when your hand shakes a little (kids tend to wiggle, even when they’re “totally still”). For fast events, I stick to one or two colors and add details last, after the base sets. That order is the difference between “painted” and “polished.”
What’s the simplest design you’ve actually gotten compliments on?
Conclusion. Add ## Latest Updates or ## 2026 Trends when relevant.
For 2026 party schedules, people keep asking for quick, repeatable face painting that still looks neat at a glance. The best approach is simple face paint with a tight palette, thin layers, and strict drying time between colors. Use sponge for bases, flat brush for blended swipes, and round brushes for clean dots and lines. Keep two cups of water so colors stay separate. Avoid the eye area, and don’t rush when the skin is moving.
If you’re painting beyond face paint (like party activities), you might also like pairing it with easy sensory play ideas—this helps keep the rest of the group busy while paint dries.
Face painting instruction keeps trending toward safer, skin-formulated products and faster techniques that reduce waiting and smudging. Beginner guides also keep reinforcing brush control and water management: two-cup rinsing, blotting excess water, and letting layers dry. When you treat “dry time” like part of the recipe, simple face paint looks better on day one.
A Teacher with 5 years of experience. Our Expertise, is reliable to meet your full Academic development needs . Worked on many crafts and construction projects offering services from design to development to deployment over the years. You will find many of my works in my business portfolio on request.