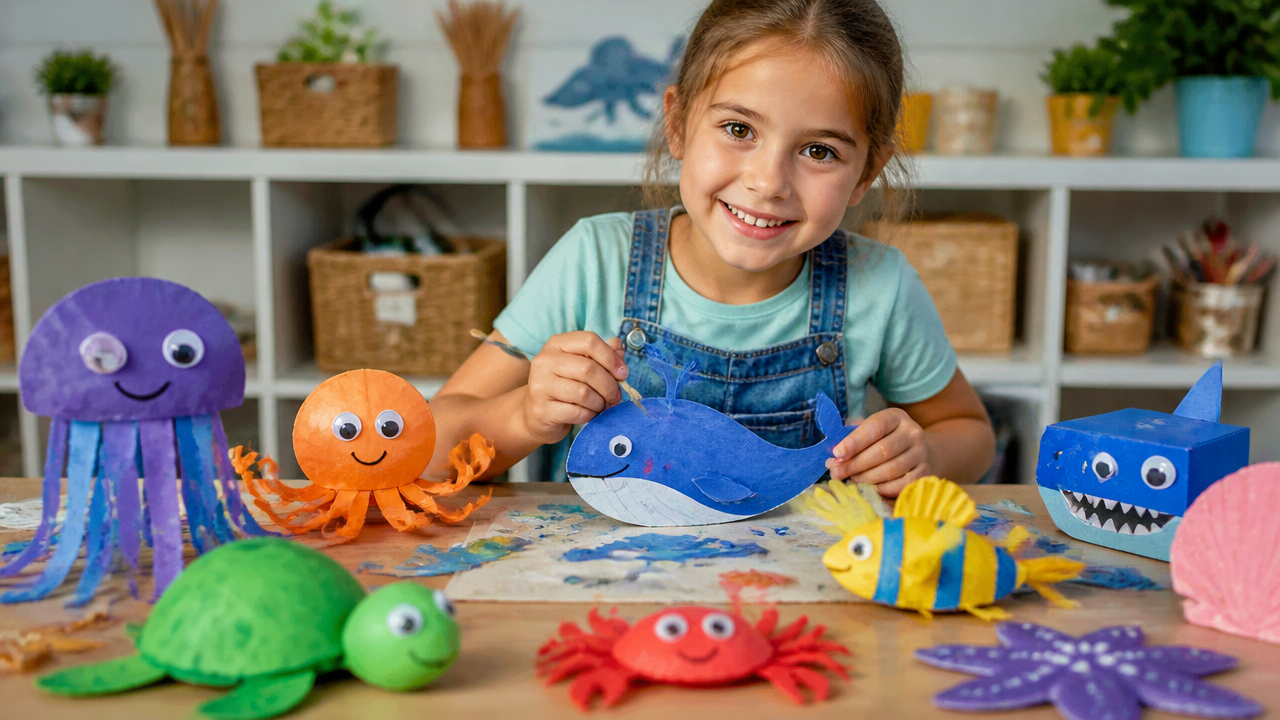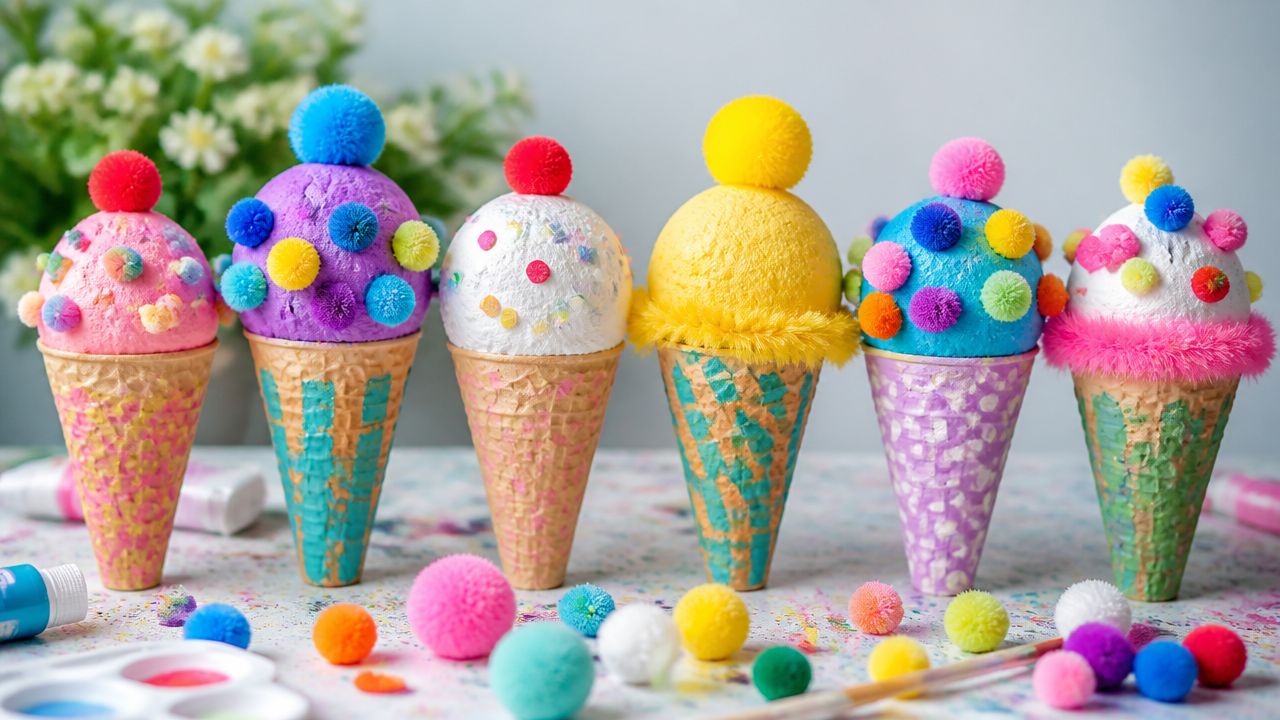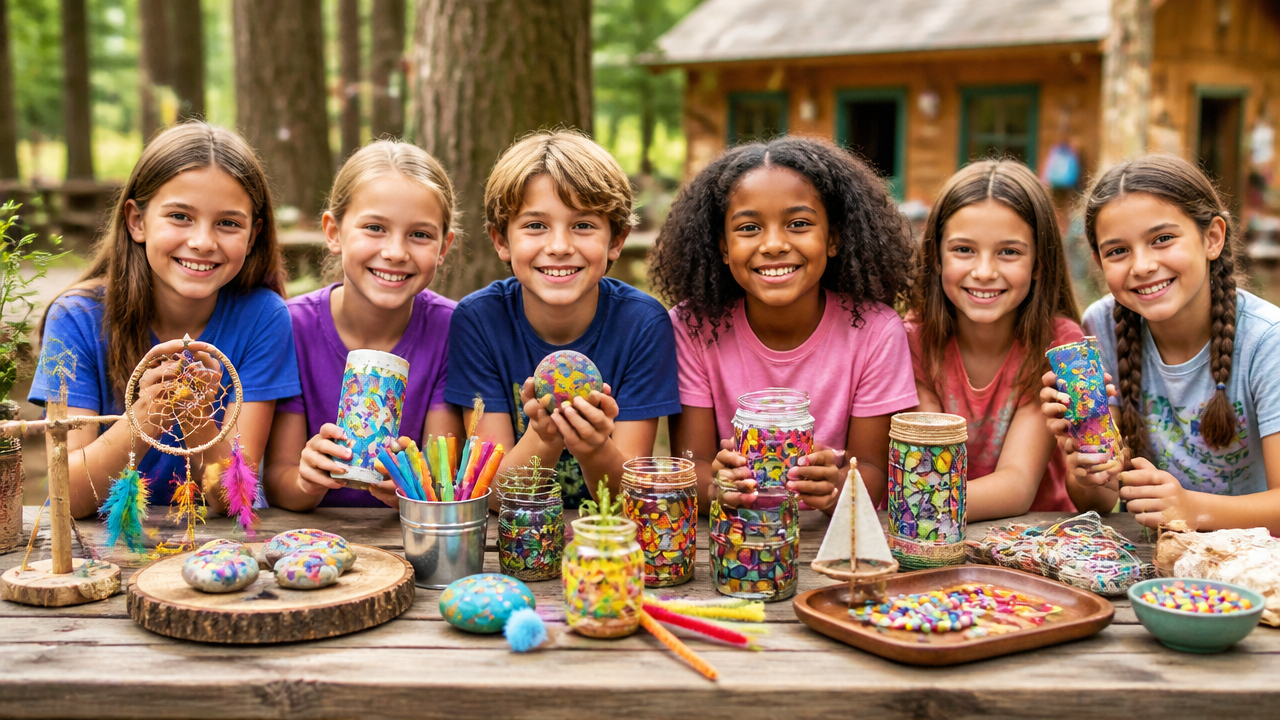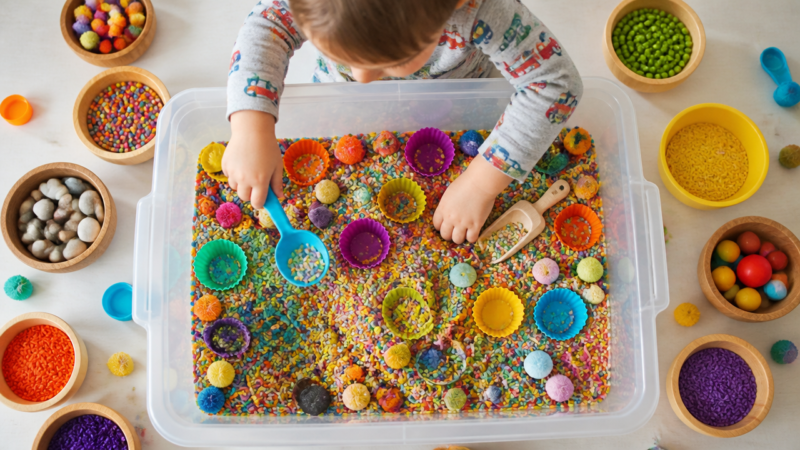

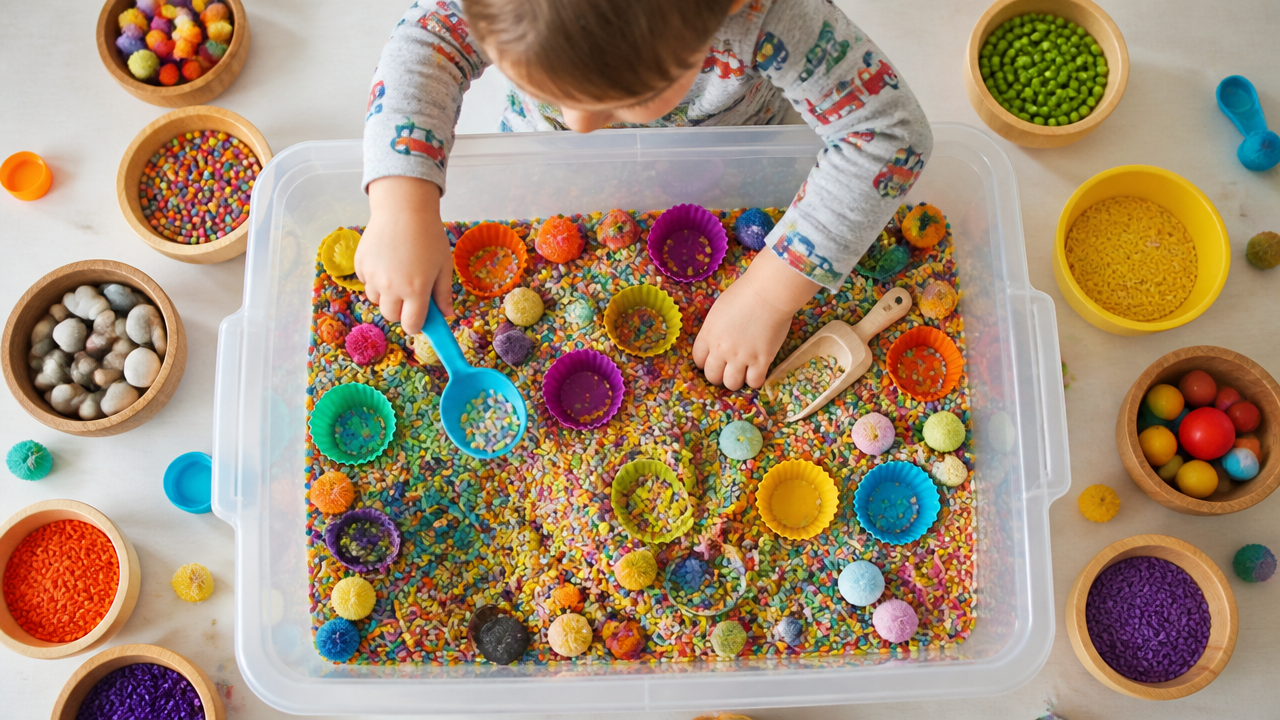
Are you looking for creative ways to keep curious hands busy while teaching them to explore the world through touch, smell, and sight? Sensory play serves as a foundational building block for childhood development, supporting both emotional regulation and fine motor skill growth. Whether you are prepping for a rainy afternoon inside or looking for 12 easy summer crafts to do at home with simple supplies, these sensory play recipes offer endless hours of engagement. Using common household items makes these sensory play ideas both accessible and affordable for every family.
Why Sensory Play Recipes Matter
Sensory play builds essential neural pathways that support how children process and respond to environmental stimuli. According to The OT Toolbox, intentional tactile activities assist in sensory integration, which is necessary for attention and regulation. Engaging these senses helps children manage their transitions effectively, especially during the challenging moments before and after school. By providing a structured outlet for energy, you turn everyday kitchen ingredients into powerful tools for development and calm.
Quick Questions and Answers
Question: What are the easiest 2 ingredient sensory play recipes for kids? Answer: Cloud dough is the top choice, made simply with flour and oil for a moldable, amazing texture. Another easy option is clean mud, combining soap, toilet paper, and water. You can also make foamy water by blending water and baby soap together. These mixtures are quick to prepare and use standard pantry staples that you likely already have on hand for a spontaneous afternoon of play.
Question: Why does cloud dough have such a soft sand texture for play? Answer: Cloud dough softens because the oil coats the flour particles, preventing them from sticking together like dry sand. This creates a moldable, crumbly consistency that feels like wet sand but does not get messy. It is often made with vegetable oil to ensure it is taste-safe for toddlers who might be tempted to put their hands near their mouth during active exploration.
Question: Can toddlers safely play with taste-safe sensory recipes like slime? Answer: Yes, you can make taste-safe slime using gelatin powder and water, which sets into a bouncy, edible texture. Aquafaba foam made from chickpeas and cream of tartar is also safe and whips into a soft foam. Avoid standard borax-based slimes as they are not safe for tasting or mouthing, which is common behavior among younger children during sensory sessions.
Key Takeaways
- Sensory play supports emotional regulation and fine motor coordination in young children.
- Most doughs and slimes can be made using basic pantry staples like flour, oil, and household soap.
- Adult supervision remains essential to ensure children do not accidentally ingest non-food components.
1. Traditional Homemade Playdough
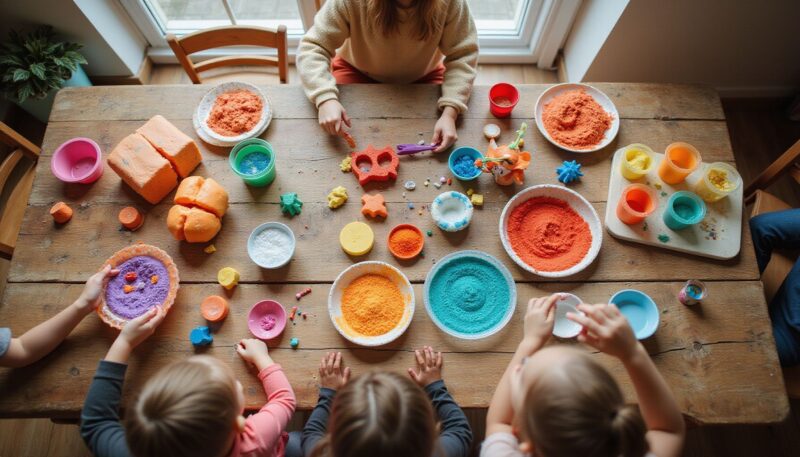
Creating your own dough allows you to control the ingredients and texture, providing a much softer result than store-bought versions. It is a fantastic collaborative project for children to help mix and smell as you add scents.
Ingredients
- 2 cups all-purpose flour
- 1/2 cup salt
- 2 tbsp cream of tartar
- 2 tbsp vegetable oil
- 1 1/2 cups boiling water
- 5 drops essential oil (optional)
Instructions
- Whisk the flour, salt, and cream of tartar together in a large mixing bowl.
- Carefully stir in the boiling water and vegetable oil.
- Mix until the dough cools slightly, then knead on a floured surface until smooth.
- Add the essential oil once the dough is cool enough to handle safely.
- Store in an airtight container for up to 2 weeks.
2. Fizzy Foaming Potions
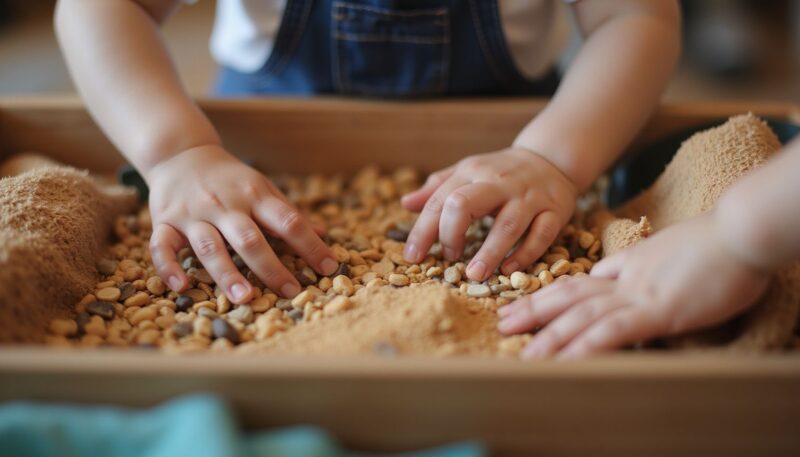
Potions provide a high-energy sensory experience that feels like a chemistry experiment. This activity works best as an outdoor project to manage the inevitable mess of the erupting foam.
Ingredients
- 3 tbsp dish soap
- 1 cup warm water
- 2–3 drops food coloring
- 1 tbsp baking soda
- 1/4 cup white vinegar
Instructions
- Combine the dish soap, warm water, and food coloring in a wide jar or bin.
- Stir well to create a soapy base.
- Add the baking soda and stir lightly.
- Pour the vinegar into the mixture quickly to trigger the fizzy eruption.
- Use a spoon to explore the resulting foam texture.
3. Silky Cloud Dough

Cloud dough is famous for its “moldable sand” quality, appearing dry like powder but clumping together when squeezed. It is remarkably soft and keeps children engaged for long periods.
Ingredients
- 2 cups all-purpose flour
- 2 ounces vegetable or baby oil
Instructions
- Pour the flour into a large, flat storage bin.
- Add the oil slowly while mixing with your fingers or a spatula.
- Continue rubbing the mixture together until all clumps disappear and the texture is consistent.
- Use the dough in a bin with scoops, cups, and molds.
- Store this mixture in a sealed bag between play sessions.
4. Edible Oat Playdough

For the youngest toddlers who might still put toys in their mouths, this edible oat dough provides a safe tactile outlet. It offers a unique, textured experience that differs from smooth flour-based doughs.
Ingredients
- 1 cup rolled oats
- 1 cup water
- 1 cup all-purpose flour
Instructions
- Place the oats into a blender or food processor to grind them into a coarse powder.
- Combine the ground oats with flour in a mixing bowl.
- Add the water gradually, stirring until a dough starts to pull away from the sides of the bowl.
- Knead the mixture on a floured board for 2 minutes.
- Adjust with more flour if the mixture feels too sticky for play.
5. Sand Slime
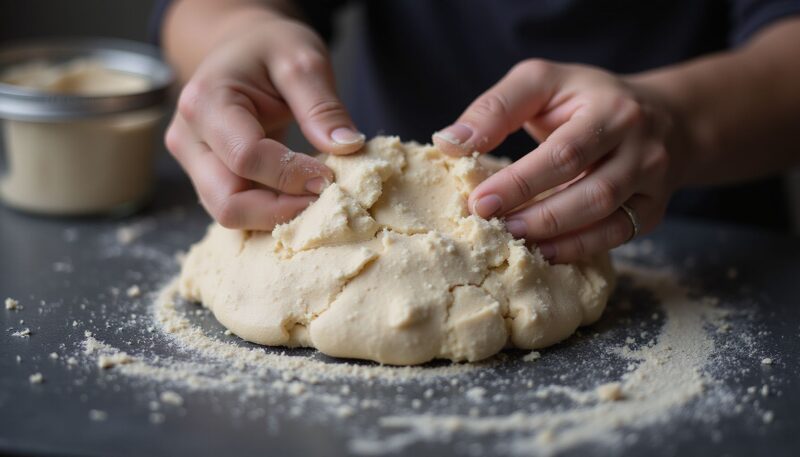
Mixing sand into slime creates a satisfying granular texture that feels like a cross between beach sand and putty. It is an excellent sensory medium if you enjoy how to master DIY sand art: a step-by-step guide for creative kids.
Ingredients
- 1 cup slime base (clear or white glue mixture)
- 1/2 cup fine crafting sand
Instructions
- Pour your premade slime into a clean bowl.
- Sprinkle the fine sand over the top of the slime.
- Fold the sand into the slime using your hands or a silicone spatula.
- Add more sand incrementally if you want a firmer, more kinetic sand-like feel.
- Store in a fully sealed container to prevent the sand from drying out the slime.
6. Pumpkin Seasonal Slime

Harnessing the natural fibers from a fresh pumpkin creates a seasonal slime that is both slimy and surprisingly chunky. It is perfect for October-themed sensory bins.
Ingredients
- 1 cup fresh pumpkin guts (seeds and strands)
- 1/2 cup clear glue
- 1 tsp liquid starch or borax solution
Instructions
- Scoop the inside of a pumpkin into a bowl, including seeds and fibrous strands.
- Pour the clear glue over the pumpkin fibers and mix.
- Gradually add the liquid starch, stirring constantly until the mixture pulls together.
- Adjust the amount of starch until desired clumpiness is achieved.
- Clean up promptly after play, as this is a natural material that will spoil if left out.
7. Basic Swamp Dough
This dough is essentially a colored, dense medium designed to look like murky swamp water. It is a favorite for themed bins involving plastic insects or toy frogs.
Ingredients
- 2 cups flour
- 1/2 cup vegetable oil
- 3 drops green food coloring
- 1 tbsp cocoa powder (to create a muddy tint)
Instructions
- Mix the flour and cocoa powder in a bowl until the color is consistent.
- Gradually pour in the vegetable oil while mixing.
- Add the food coloring to the oil before incorporating it into the flour for an even tint.
- Knead until the dough becomes a deep, swampy green.
- Keep in a bin with plastic animals to complete the swamp theme.
8. Colored Ice Water Sensory Bin
Simple water play becomes a visual and tactile feast when you introduce frozen colors. This is especially refreshing for 12 easy summer crafts for kids to keep them busy.
Ingredients
- Water
- Liquid food coloring
- Ice cube trays
- Kitchen colanders and ladles
Instructions
- Mix food coloring into water and pour into ice cube trays.
- Freeze the water until solid.
- Empty the colored ice cubes into a large plastic basin.
- Provide kids with colanders, ladles, and plastic bowls.
- Allow the ice to melt as they explore the cold temperature and swirling colors.
9. Soda Dough Snowmen
Baking soda dough creates a cool, firm texture that holds its shape well. It mimics the density of packed snow, which is perfect for building small sculptures and figures.
Ingredients
- 2 cups baking soda
- 1 cup water
- 1 cup cornstarch
Instructions
- Combine the baking soda, water, and cornstarch in a saucepan over low heat.
- Stir continuously until the mixture thickens into a matte dough.
- Remove from heat and place on a piece of parchment paper to cool.
- Once cool, take small bits of dough to roll into balls for stacking.
- Experiment with stacking them to create mini snowman figures.
10. No-Mess Window Spelling Paint
Art does not have to be messy. By placing paint under a clear film on a window, you get the tactile experience of spreading color without the cleanup.
Ingredients
- Thick tempera paint (various colors)
- Bubble wrap or window-safe cling film
- Masking tape
Instructions
- Squirt circular dollops of different colored paint onto a smooth window pane.
- Cover the paint with a large sheet of cling film or bubble wrap.
- Tape the edges of the film firmly to the window frame.
- Instruct the child to push the paint around behind the film with their fingers.
- Watch them trace letters or simple shapes using the pressure of their fingertips.
11. Island Luau Water Bin
Water acts as a bridge between play sessions. Adding thematic items like shells and stones keeps the sensory experience engaging for older preschoolers.
Ingredients
- 1 gallon warm water
- 1 plastic floral lei
- 5-10 smooth beach rocks
- 3-4 seashells
Instructions
- Fill a deep play basin with warm water.
- Carefully take apart the floral lei to scatter the synthetic petals in the water.
- Add the smooth stones and shells to the bottom of the bin.
- Provide a small net or shaker tool to help the kids fish out the items.
- Encourage them to sort the shells and stones by size or shape.
12. Frozen Baby Food Tray Cubes
This is an excellent way to introduce sensory play to infants who are just beginning to explore various food textures beyond their daily meals.
Ingredients
- 1 cup pureed fruits or vegetables (different colors)
- Ice cube tray
Instructions
- Portion different colors of pureed food into the compartments of an ice cube tray.
- Place the tray in the freezer for at least 4 hours.
- Pop the frozen food cubes onto a high chair tray or a large safe bin.
- Let the infant explore the cold, melting cubes with their hands and mouth.
- Wash the area thoroughly after the session to prevent sticky residue.
FAQ
Q: Are there any messy play recipes that use baking soda and ice?
Yes, fake snow is a popular recipe made by mixing frozen baking soda with ice water. When you slowly pour the cold water into the baking soda, it fizzes and creates a fluffy, snow-like texture. This activity is great for sensory bins and science experiments. Because the materials are safe for supervised play, it remains a favorite for indoor winter days when outdoor snow is unavailable.
Q: How do you make oobleck slime using water and cornstarch?
Oobleck is an easy slime made by mixing cornstarch and water until it feels firm when squeezed but runny when at rest. You add water slowly to the cornstarch, stirring after each addition to achieve the perfect non-Newtonian fluid consistency. It is often called ‘magic mud’ for kids. The most fascinating aspect is that it defies typical liquid properties during play, fascinating children and adults alike.
Q: Does chia seed slime require a long soaking time to work?
Yes, chia seed slime needs at least 3 hours of soaking time to develop its thick, slimy texture. You simply mix chia seeds and water in a covered container and let them absorb the water until they become gel-like. This slow process creates a unique sensory experience for little hands that is entirely taste-safe and offers a distinct, squishy tactile profile compared to starch-based doughs.
Q: What is aquafaba foam and how is it made for sensory play?
Aquafaba foam is made by whipping the liquid from canned chickpeas with cream of tartar until stiff peaks form. It creates a light, airy foam that is taste-safe and perfect for toddlers. You can add food coloring to make it more colorful and engaging for play. This foam is incredibly soft and provides a airy sensory experience that is light enough for even the smallest hands to manipulate.
Q: When is psyllium husk slime ready to play after heating?
Psyllium husk slime is ready after heating the mixture until it is about to boil, then letting it cool completely. You repeat the heating process several times until the slime stops sticking to the pan. Once cooled, it becomes a smooth, stretchy texture ready for messy play. This recipe is favored for its elastic properties, often feeling more like professional slime than flour-based household dough alternatives.
Q: Is there a simple recipe for homemade silly putty using cornstarch?
Yes, homemade silly putty can be made by mixing cornstarch and dish soap together until smooth. This creates a stretchy, moldable putty that is fun for sensory exploration. Some versions also include vinegar to adjust the consistency for better play. It is one of the quickest ways to create a putty-like substance without needing borax or other specialized slime activators.
Q: Which sensory recipes are best for creating colorful painting activities?
Shaving cream painting is a top choice, using shaving cream and cornstarch to create a soft, colorful paint. You can also use baking soda art for a fun science experiment combined with sensory play. Adding food coloring to foam dough or cloud dough makes it even more vibrant. These painting variations allow for a range of textures, from fluffy foam to smooth, thick paste-like mediums.
My Experience With sensory play recipes
I have spent many afternoons cleaning up clouds of flour, and I’ve learned that the best sensory recipes are the ones that save your sanity. My biggest takeaway? Keep a laminated “potions station” mat in the closet. When the kids start bouncing off the walls, dumping a bit of baking soda and vinegar into a bin is my secret weapon for a “forced chill.”
One mistake I made early on was using too much food coloring in the cloud dough; my kitchen floor looked like a crime scene for a week. Always, and I mean always, add the color to the oil before mixing it into the flour. It is a small detail that saves hours of scrubbing. I also find that engaging my children in the prep work—letting them dump the ingredients or stir the pots—often keeps them focused longer than the play itself. Watching them transition from frantic energy to focused, intent manipulation of a pile of cornstarch is a small parenting victory. Have you ever attempted a homemade recipe that ended in a total, messy disaster, or do you have a secret trick for keeping it contained?
Conclusion
Sensory play recipes do not need to be expensive or overly complicated. By utilizing common ingredients from your pantry, like flour, salt, and cornstarch, you can create meaningful activities that support your child’s emotional and physical development. Whether you are building swamp dough or experimenting with fizzy potions, the most important element is your active participation. Modeling how to touch, smell, and describe these textures helps children build the vocabulary and confidence they need to regulate their own emotions throughout the day.
References
- Bored Teachers. (n.d.). 20 Best Sensory Activities Your Kids Will Love. https://www.boredteachers.com/post/20-best-sensory-activities-your-kids-will-love
- Empowered Educator Online. (2024, February). Easy Recipes For Safe Sensory Play Activities. https://theempowerededucatoronline.com/2024/02/safe-sensory-play-recipes.html
- Eating Richly. (n.d.). Sensory Activities for Toddlers and Preschoolers. https://eatingrichly.com/sensory-activities-for-toddlers-and-preschoolers
- NAPA Center. (n.d.). Sensory Bins for Toddlers: Our Favorite Ideas and Items. https://napacenter.org/sensory-items
- The OT Toolbox. (n.d.). Sensory Play Ideas to Support Sensory Processing. https://www.theottoolbox.com/sensory-play
- Busy Toddler. (n.d.). Sensory Activities for Toddlers & Preschoolers. https://busytoddler.com/sensory-activities
- Learning Babies. (n.d.). Learning Babies. https://www.learningbabies.com/sensory-activities
- YouTube. (n.d.). 10 Sensory Activities to Calm & Energize Your Child Before & After School. https://www.youtube.com/watch?v=iZSDkcKMjSc

A Teacher with 5 years of experience. Our Expertise, is reliable to meet your full Academic development needs . Worked on many crafts and construction projects offering services from design to development to deployment over the years. You will find many of my works in my business portfolio on request.