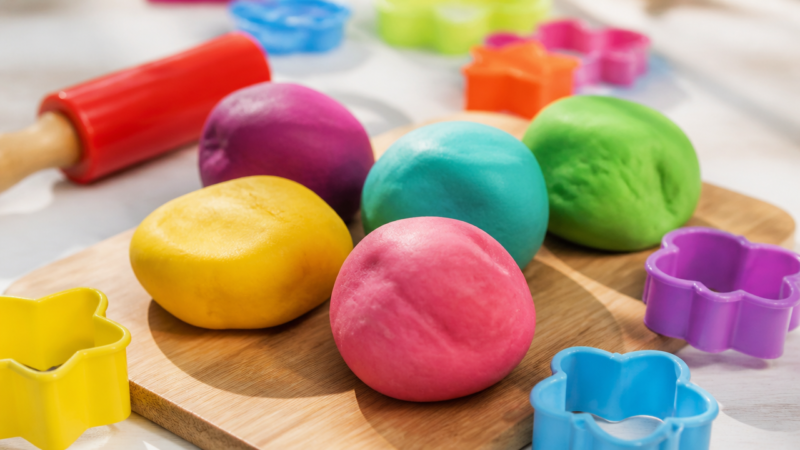


What makes a truly great homemade playdough stand out from every other store-bought alternative you have tried? Whether you are planning a rainy afternoon activity or a weekend project, homemade playdough offers a sensory experience that feels just right. Keeping children busy with their own creations is a simple pleasure, and making this reliable base at home gives you full control over ingredients and texture. If you want to know how to create the softest, longest-lasting version of this classic toy, the right technique helps you skip the mess and get straight to the crafting.
Quick Questions and Answers
Question: why does homemade playdough get hard after a few days? Answer: Homemade playdough gets hard because it dries out when exposed to air. The moisture evaporates over time, especially if not stored in a sealed container or bag. To keep it soft, store it in a zip-top bag or airtight container, and place it in the refrigerator. Properly stored, it can last up to 3 months.
Question: can you make playdough without cooking it on the stove? Answer: Yes, you can make no-cook playdough by mixing flour, salt, and water in a bowl, then kneading until smooth. This method is faster and easier for busy parents. Some recipes also include cornstarch and hair conditioner for a stretchy texture. No-cook playdough lasts about 4 weeks if stored properly.
Question: do you need cream of tartar for homemade playdough? Answer: Cream of tartar helps give homemade playdough a smooth, stretchy texture and improves its shelf life. While not absolutely necessary, skipping it may result in a less pliable dough that dries out faster. Most reliable recipes include it for better consistency. You can substitute a small amount of vinegar if needed.
Ingredients and Tools You Will Need
| Item | Purpose | Notes |
|---|---|---|
| Flour | Structure | All-purpose white flour is standard. |
| Salt | Preservation | Prevents mold and adds texture. |
| Cream of Tartar | Elasticity | Acts as a stabilizer for long-term softness. |
| Vegetable Oil | Lubrication | Prevents sticking and adds a soft sheen. |
| Water | Hydration | Use warm water for easier activation. |
Beyond the pantry staples, having the right gear makes the process move along gracefully. You will need a large heavy-bottomed pot if you choose the stovetop method. Mixing bowls are essential for prep work, and if you are looking for more inspiration for your next project, these 12 Easy Crafts to Do at Home with Simple Supplies provide excellent ways to expand your kids’ creativity once the dough is ready. Measuring cups help you maintain the critical ratios that separate a perfect batch from a gummy mess.
Step-by-Step Stovetop Recipe
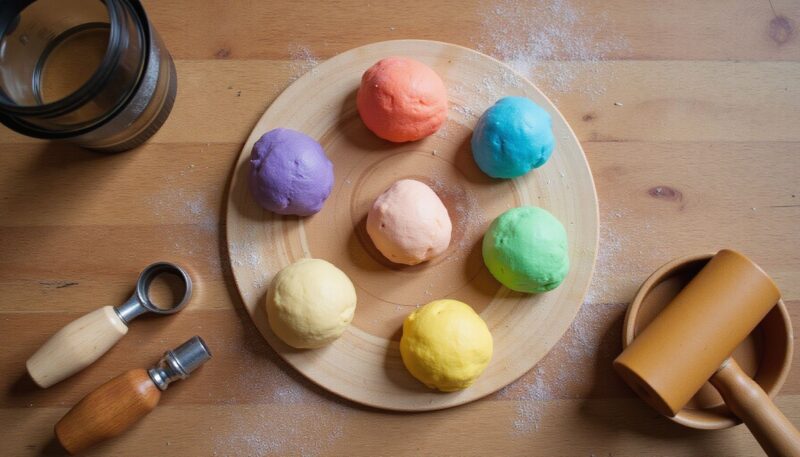
Begin by whisking together 2 cups of all-purpose flour, 1 cup of salt, and 2 tablespoons of cream of tartar in your pot. Combining these dry components thoroughly ensures that your dough will have an even texture.
Next, add 2 cups of warm water mixed with 2 tablespoons of vegetable oil. If you are aiming for one uniform color, add your food coloring directly into this liquid mixture before pouring it over the dry base to ensure it blends seamlessly. According to Living Well Mom, adding the color at this stage is much more effective than kneading it in later.
Place your pot on the stove over medium-low heat. Stir constantly using a sturdy spoon or spatula. The mixture will look like a lumpy batter initially, but stay consistent with your stirring.
Watch for the moment the mixture pulls away from the sides of the pot and forms a cohesive ball. This usually happens within a few minutes. If you are looking for other ways to keep active minds engaged, these 10 Quick Summer Camp Crafts Kids Actually Love act as great follow-up activities.
Once the dough forms, turn it out onto a piece of wax paper. Allow it to cool for a few minutes until it is safe to touch. Knead the dough gently until it feels smooth and supple.
The No-Cook Alternative

If you are short on time, the no-cook method is a reliable backup. Mix 2 cups of flour and 1/2 cup of salt in a large bowl. Separately, combine 1 cup of warm water, 1 tablespoon of oil, and a few drops of food coloring.
Pour the liquid into the flour mixture gradually. Stir until a loose dough begins to form. Reach in with your hands to finish kneading, adding a tiny dusting of extra flour if it feels too sticky.
Understand that this version typically holds its texture for about 4 weeks. It lacks the long-term shelf stability of the cream-of-tartar-based cooked version, but it is an excellent way to introduce kids to the basic chemistry of dough making.
Common Mistakes to Avoid

Uneven coloring often happens when you try to add dye after the dough has cooled. While it is physically possible to knead color into a cold ball, your hands will likely end up looking like a rainbow for the rest of the day.
Heat control matters significantly. If you crank the heat to high, you risk scorching the outside of the dough while leaving the center raw or under-bonded. Medium-low is the sweet spot.
Rushing the cooling phase causes unnecessary frustration. Trying to handle scorching hot dough leads to inconsistent texture and minor skin irritation. Be patient and wait for the dough to reach a comfortable temperature.
Troubleshooting Your Dough
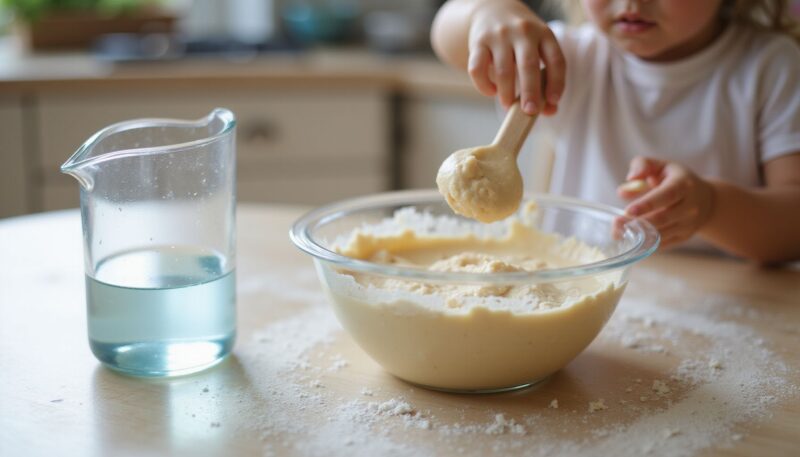
If the dough sticks to everything like glue, add a light dusting of flour. Knead it in thoroughly. You only need a small amount to tip the balance back toward a pliable consistency rather than a sticky one.
Dry or crumbly dough is usually a result of too much flour in the initial measurement. Add warm water one teaspoon at a time while kneading. The moisture will rehydrate the mixture effectively.
If your playdough feels lifeless or fails to hold a shape, it is likely undercooked. Simply pop the mixture back into the pot and stir it over low heat for another 2 minutes. The added time will allow the starches to bond properly.
FAQ

Q: Are homemade playdough recipes safe for toddlers?
Homemade playdough is generally safe for toddlers when made with food-grade ingredients like flour, salt, and water. However, it is not food, so adult supervision is necessary to ensure they do not eat large amounts. Avoid using scented additives that might encourage snacking, and always test for potential skin allergies before letting your child play for extended periods.
Q: How long does homemade playdough last in the fridge?
Stored in an airtight container or a heavy-duty zip-top bag, homemade playdough stays soft for up to 3 months. The cold environment slows the natural evaporation of moisture. If you notice a faint smell or visible changes after a few weeks, it is usually time to recycle the batch and make a fresh one.
Q: Will playdough made with conditioner last longer?
Recipes using hair conditioner often feel softer and stretchier for a few weeks, but they do not necessarily outlast traditional flour-and-salt recipes. The conditioner adds moisture, which is helpful, but these versions still tend to dry out after about a month. Always use an unscented, natural conditioner to keep the play session gentle on sensitive skin.
Q: What if my playdough is too sticky to knead?
Sticky dough needs a little more body. Sprinkle a half-teaspoon of flour onto your hands and work the dough surface until it stops grabbing your skin. Avoid dumping massive amounts of flour all at once, as you can quickly turn a sticky batch into a rock-hard one. Aim for the texture of a soft earlobe.
Q: Is homemade playdough better than store-bought versions?
Parents often prefer homemade dough because it is cost-effective and free from the preservatives or artificial scents found in factory-made versions. Being able to customize colors and scents at home makes it a more engaging experience. While commercial versions are convenient, homemade playdough offers a cleaner ingredient list and a fresher sensory feel.
Q: When should I add food coloring to homemade playdough?
The most effective time to add color is during the mixing stage, either in the water before heating or while stirring the uncooked ingredients. This ensures the pigment distributes evenly throughout the batch. If you decide to make a rainbow of colors, divide your cooked dough into separate balls after it cools, then knead a few drops of different colors into each.
Q: Where can I store homemade playdough to keep it soft?
Place your playdough in a clean glass jar or a high-quality silicone bag. Squeeze out as much air as possible before sealing the container. Store it in a cool, dark cupboard or your refrigerator. By minimizing air contact and heat exposure, you effectively prevent the moisture from escaping, which keeps the dough pliable for months.
Next Steps: Creative Play and Storage
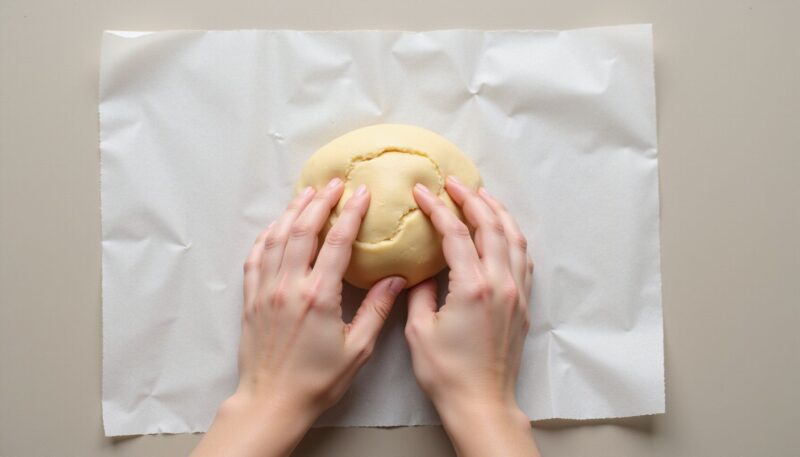
Beyond the mixing bowl, this activity acts as a foundation for learning. Use the measuring portion of this guide as a gentle math lesson. Encouraging kids to count the scoops of flour or pour the water builds their confidence. For other ways to keep your home creative, these 12 Easy Summer Crafts for Kids to Keep Them Busy are perfect for warm afternoons.
Store your finished creations in sealed containers. If you decide to add scent, a few drops of peppermint or lavender essential oil can transform a regular afternoon into a calm sensory experience.
My Experience With homemade playdough
I have lost count of how many batches of this dough I have made over the years. My biggest initial struggle was definitely the “sticky phase.” I used to panic, throwing half a cup of extra flour into the mix, which inevitably turned the dough into a crumbling brick. The trick, I finally learned, is patience. Just keep kneading with a tiny bit of flour at a time. It feels like it isn’t working for the first thirty seconds, but then the gluten chains align and it suddenly clicks into that perfect, smooth texture.
It is also worth mentioning that even though the recipe is simple, the quality of the salt matters. Use a fine-grain salt if you have it; the chunky rock salt often stays gritty and creates a sandpaper-like texture that kids notice immediately. I personally think adding the color while the water is cool is the biggest game-changer. It saves so much effort compared to kneading dye into already thickened dough. Do you prefer making one large batch of a neutral color and dyeing it later, or do you dive straight into making multiple colors at once?
Conclusion
Making homemade playdough is a simple, rewarding project that bridges the gap between science and creative play. By understanding the roles of salt and cream of tartar, you ensure your creations stay soft and ready for the next session. Consistency in cooking and proper airtight storage will grant you a pantry staple that holds up for months of fun.
References
- Living Well Mom. (n.d.). The Easiest Homemade Playdough Recipe. https://livingwellmom.com/easy-homemade-playdough-recipe
- I Heart Naptime. (n.d.). The BEST homemade playdough recipe. https://www.iheartnaptime.net/play-dough-recipe
- TulsaKids Magazine. (n.d.). Easy Playdough Recipe: No Cooking Required. https://www.tulsakids.com/easy-playdough-for-toddlers
- Spanglish Spoon. (n.d.). Simple Homemade Playdough Recipe. https://spanglishspoon.com/simple-homemade-playdough-recipe
- BBC Good Food. (n.d.). Playdough recipe. https://www.bbcgoodfood.com/howto/guide/playdough-recipe
- Little Eats & Things. (n.d.). Easy No-Cook DIY Playdough. https://littleeatsandthings.com/easy-no-cook-diy-playdough
- Sea Lemon. (n.d.). How to Make Play Dough – Easy No Cook Recipe!. https://www.youtube.com/watch?v=oAIAm6BF0fs
- TinkerLab. (n.d.). The Best Homemade Playdough Recipe (Super Soft, Lasts For Months). https://tinkerlab.com/rainbow-play-dough

A Teacher with 5 years of experience. Our Expertise, is reliable to meet your full Academic development needs . Worked on many crafts and construction projects offering services from design to development to deployment over the years. You will find many of my works in my business portfolio on request.