How to Make a DIY Calming Bottle: Step-by-Step Sensory Success
Has your child ever struggled to regulate frustration after a long, overstimulating day? Crafting a DIY calming bottle provides a practical, hands-on tool
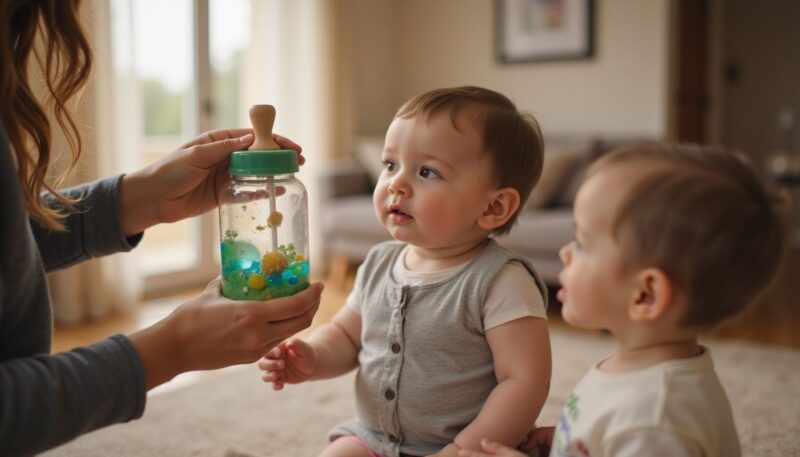
Has your child ever struggled to regulate frustration after a long, overstimulating day? Crafting a DIY calming bottle provides a practical, hands-on tool for sensory play, helping children find focus during quiet moments or emotional transitions. These sensory jars, sometimes called calm-down bottles, act as a visual anchor that encourages deep breathing and sustained attention. Whether you are prepping for a busy weekend at home or setting up a classroom, building a homemade sensory bottle is a simple way to foster self-regulation. When you keep these tools ready in a coping skills toolbox, you help children manage their responses to stress in a way that feels rewarding and intentional.
Quick Questions and Answers
Question: Why make calming bottles for kids diy at home?
Answer: Calming bottles help kids regulate emotions by providing a sensory tool for focus. When upset, children shake the bottle to release frustration, then watch the glitter slowly settle while practicing deep breathing. This simple DIY activity supports emotional development and teaches coping skills in a fun, visual way.
Question: Can you use clear glue instead of glitter glue?
Answer: Yes, clear glue works effectively and is often preferred because it allows the glitter and decorations to show clearly. The amount of glue determines how slowly the glitter falls. You can also mix in glitter glue for a different effect, but clear glue creates a classic marquee or snow globe look.
Question: Do calming bottles really help kids calm down?
Answer: Research and parent experiences show that calming bottles are effective sensory tools for emotional regulation. The visual motion of the falling glitter helps children shift focus from stress to calm. By combining the bottle with deep breathing or counting, kids learn to manage anxiety and frustration independently.
Key Takeaways
The primary goal of a sensory bottle is to provide a slow-moving visual distraction that supports emotional regulation.
Clear school glue acts as a suspension agent; the more glue used, the slower the glitter floats.
Securing the lid with a high-strength adhesive is non-negotiable for safety.
Using distilled water keeps the contents clear and prevents bacterial growth over time.
What You Need: Essential Materials and Tools
Item
Purpose
Notes
Clear Plastic Bottle
Primary container
VOSS or smooth-walled bottles work best.
Clear School Glue
Suspension agent
Must be clear, not white, for transparency.
Distilled Water
Filler fluid
Boiled/cooled water is an acceptable home alternative.
Fine Glitter
Visual interest
Choose heavy-duty or polyester glitter to prevent clumping.
Hot Glue Gun
Security
Required to permanently seal the cap threads.
Dish Soap
Clearing bubbles
A tiny drop cuts surface tension in the fluid.
Step 1: Prepare Your Base and Ingredients
Start by ensuring your container is clean and completely dry. Most experts, including those from Understood, suggest clear plastic bottles because they are lightweight and resistant to shattering. Pour 5 fl oz of clear school glue directly into the container. This volume provides a solid foundation for the suspension of your glitter.
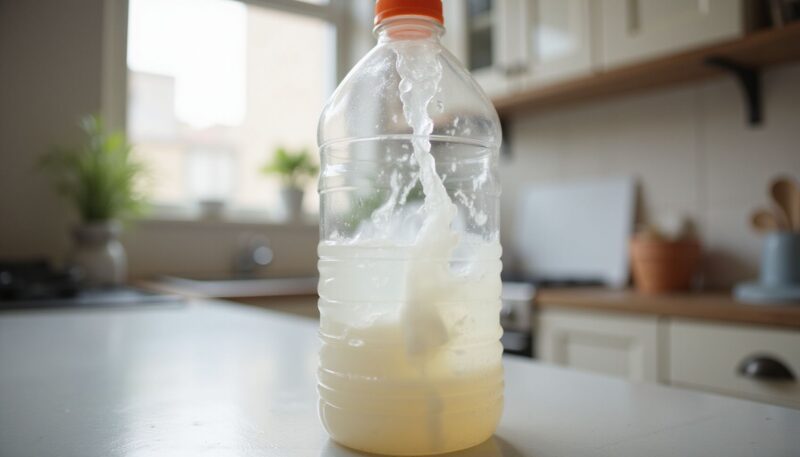
Refill your empty glue bottle with warm water. Using warm water simplifies the mixing process, as it helps the glue dissolve evenly throughout the liquid. Pour this water into your main bottle with the glue. Stir the mixture gently with a skewer or thin spoon. You want a consistent, syrupy texture before you move on to adding the rest of your sensory components.
Step 2: Adding Visual Sensory Elements
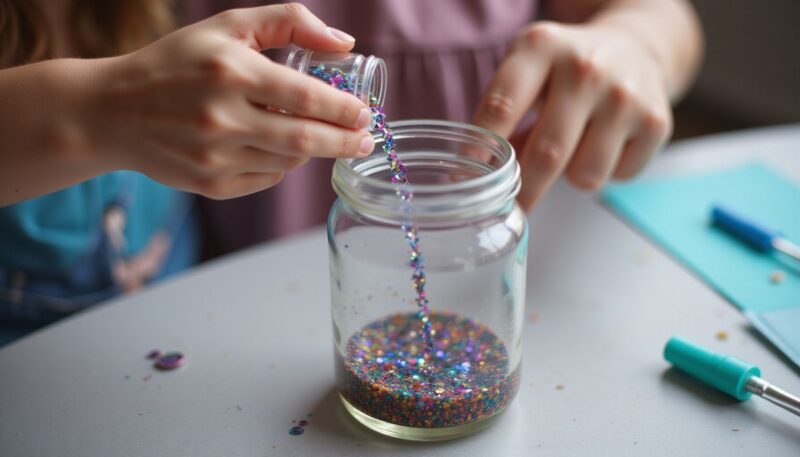
Now that your base is ready, introduce the glitter. Add 1 to 2 tablespoons of glitter to the bottle. Starting with a smaller amount allows you to gauge the density of the visual effect. If it feels sparse, you can always add more later, but removing glitter is nearly impossible once mixed.
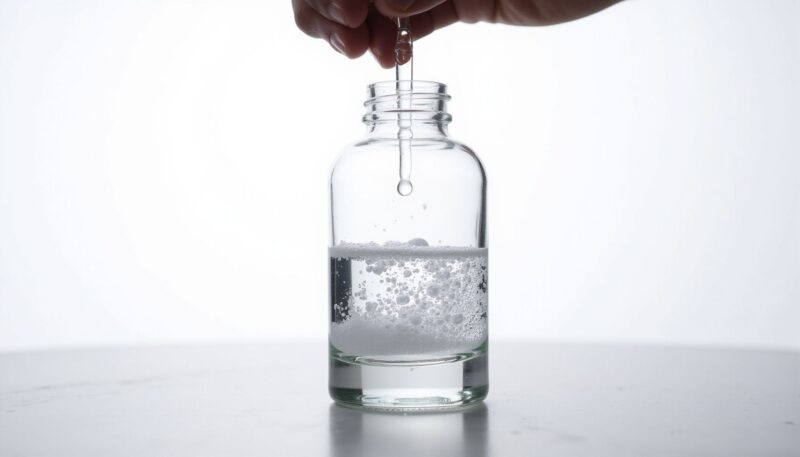
If you desire a specific aesthetic, such as a deep ocean theme or a night sky, add 1 or 2 drops of food coloring. A little goes a long way. To ensure the mixture stays crystal clear, add a single drop of dish soap or glycerine. This helps decrease the surface tension, which prevents annoying bubbles from masking your view. You might also want to explore other 12 Simple Sensory Play Recipes the Whole Family Will Love to expand your collection of tools.
Step 3: Sealing and Securing the Bottle
Fill the remainder of the container with warm water, leaving about an inch of space at the top. This small air pocket is essential because it allows the liquid to move freely when the child shakes the bottle. Without that bit of air, the mixture will remain rigid.
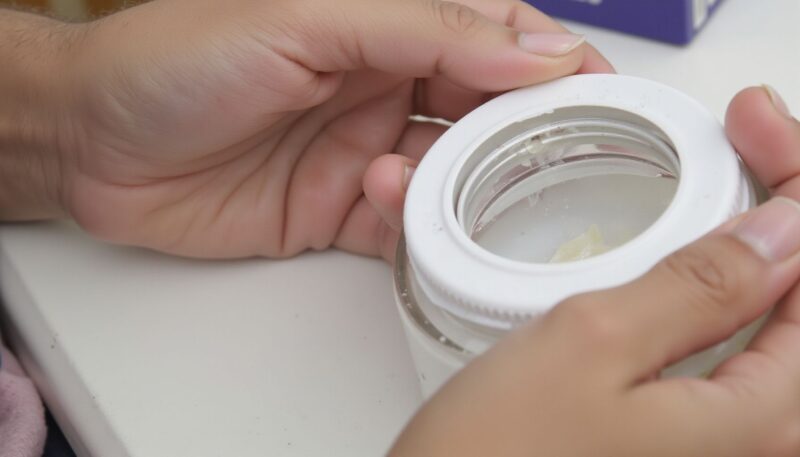
Apply a generous ring of hot glue or industrial-strength super glue around the bottle threads. Immediately screw the cap on as tightly as possible. This step makes the bottle a permanent sensory device. Before handing it over, invert the bottle over a sink to verify no fluid escapes. If you notice a leak, wipe the threads dry and re-apply the adhesive until the seal is absolute.
Common Mistakes to Avoid
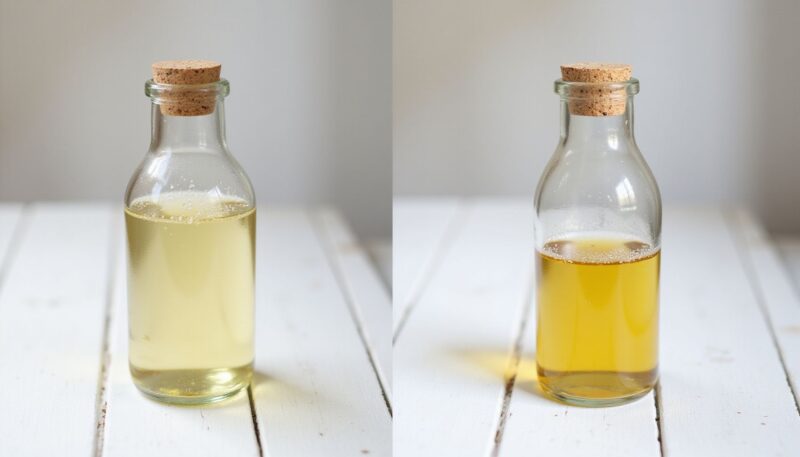
Tap water is a frequent culprit for cloudy or deteriorating sensory bottles. It contains minerals and impurities that can harbor microorganisms. Elmer’s recommends using distilled water to extend the life of your creation and keep the liquid visually clean. If you use tap water, ensure it has been boiled and cooled to room temperature first.
Another error is ignoring the necessity of internal space. When you fill a bottle to the very brim, you create a hydraulic lock. This keeps the glitter stuck to the sides rather than allowing it to drift. Always leave that top air pocket so the fluid flows with ease. Furthermore, never underestimate the curiosity of a child. If you fail to glue the lid, you are essentially inviting a sticky, glittery catastrophe into your living room.
Troubleshooting: Fixing Cloudy or Rigid Bottles
If your glitter drops to the bottom with lightning speed, your mixture is too thin. Add a few more ounces of clear glue to increase the viscosity of the fluid. Conversely, if the glitter barely moves and seems suspended in a thick gel, add a small splash of warm water to loosen the consistency.
Cloudy water often results from improper mixing or the use of cheap glue that does not clarify well. If the bottle already contains a few drops of dish soap and still looks murky, you might need to empty it and start fresh with a higher-quality clear glue. Small adjustments to the ratio of water to glue yield the best results. As Connecticut Children’s notes, these bottles become invaluable components of a child’s broader coping strategies.
FAQs: Quick Answers for Caregivers
Q: Are calming bottles safe for toddlers to use?
Calming bottles are generally safe for toddlers if made with secure lids and non-toxic materials. However, the lid must be glued tightly to prevent leaks or choking hazards. Always supervise young children while using them, and opt for small, non-breakable items like sequins or beads instead of sharp objects.
Q: How long does it take for glitter to settle in a bottle?
The settling time depends on the amount of glue used; more glue makes the glitter fall slower. Typically, it takes 1 to 5 minutes for all glitter to settle completely. You can adjust the ratio of water and glue to get the desired speed, making it a customizable activity for different age groups.
Q: What is the best bottle to use for calming bottles?
VOSS water bottles are popular because their clear glass and smooth shape make them ideal for viewing the glitter. Plastic water bottles or Mason jars also work well. Choose a bottle with a tight-sealing lid that can be securely glued to prevent leaks during vigorous shaking by children.
Q: How much water and glue should go in a calming bottle?
Fill the bottle about 2/3 to 3/4 full with warm water, then add clear glue to within an inch of the top. The glue slows the glitter’s fall. If you want faster settling, use more water. For a slower effect, increase the glue. Always leave a little air space at the top.
Q: When should you introduce calming bottles to children?
Calming bottles can be introduced as soon as a child shows signs of emotional overwhelm, usually around age 3 or 4. They are especially useful during preschool when tantrums are common. Parents can start using them during calm moments to teach the child how to shake and watch the glitter settle.
Q: Is food coloring necessary for making calming bottles?
Food coloring is optional but adds a beautiful visual effect that enhances the sensory experience. It can make the water look like a snow globe or ocean. A few drops are enough to tint the water without making it too dark. You can skip it for a clear, natural look if preferred.
Q: What can you add besides glitter to calming bottles?
Besides glitter, you can add sequins, beads, small toys, pom-poms, or LEGO pieces. Lighter items float better and create a more magical effect. Glow-in-the-dark pieces make it a night light. Avoid sharp or heavy objects that might sink too quickly or damage the bottle.
Next Steps: Enhancing Your Sensory Toolbox
Broaden your sensory collection by incorporating themed elements. Alphabet beads are excellent for early learners, while glow-in-the-dark stars work well for children who startle easily at bedtime. You can even pair these bottles with DIY Worry Stones: A Simple Guide for Mindfulness and Calm to offer a physical texture for grounding in addition to the visual distraction.
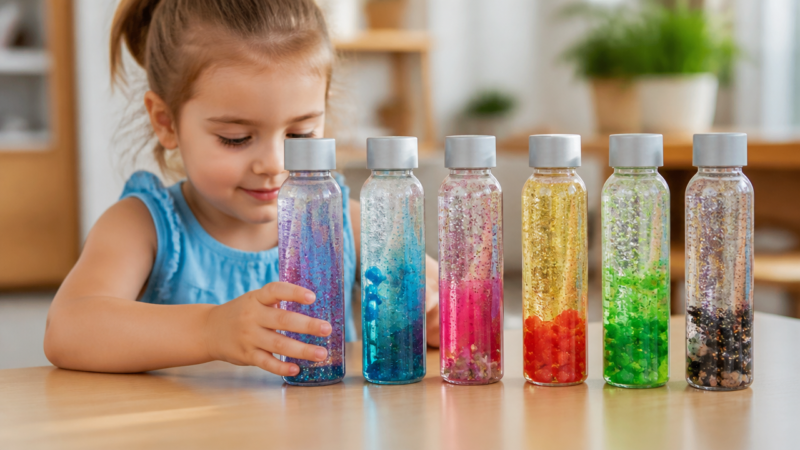
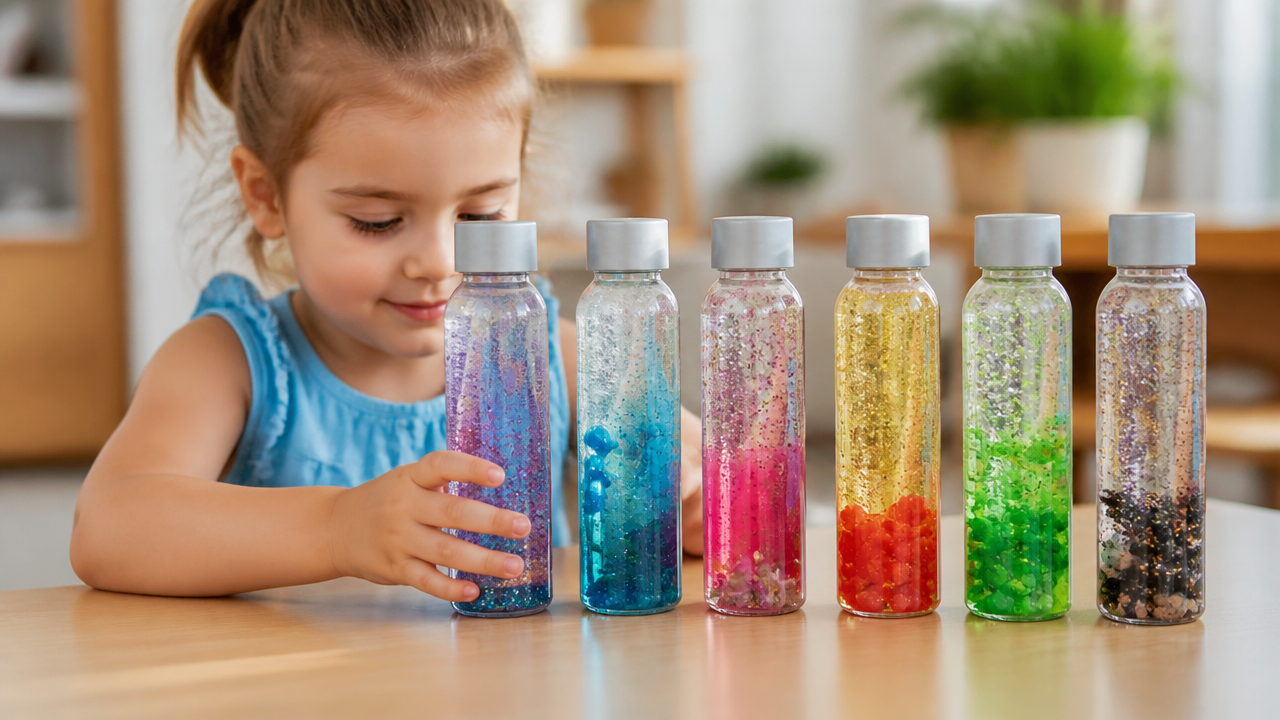
Building a set of 3 or 4 bottles in distinct colors helps children practice emotional labeling. They can associate a blue bottle with sadness, a red one with frustration, or a green one with calm. Over time, the child learns to reach for the tool that matches their internal state, turning a simple craft into a sophisticated emotional vocabulary.
My Experience With calming bottles for kids diy
I remember the first time I made a calming bottle for my nephew. I assumed a standard water bottle would do, but I was wrong; the plastic was flimsy, and the seal barely held. After I upgraded to a rigid-walled bottle and used actual waterproof construction adhesive, the result was a genuine game-changer. The trick I learned is that the ratio of glue to water is personal; some kids prefer a slow, mesmerizing crawl of glitter, while others want a quick flurry of chaos that settles in seconds.
If you are struggling with a persistent air bubble that just won’t disappear, a tiny drop of dish soap is usually the remedy. It breaks the surface tension perfectly. However, I have found that “over-mixing” can sometimes introduce too many tiny bubbles, so stir gently. The most important lesson is keeping it simple. Don’t crowd the bottle with too many heavy objects, or they will just sink and lose their appeal. These tools are not just toys—they are bridges to communication when a child lacks the words to explain their distress. Have you experimented with different themes, or do you have a favorite color combination that works for your little ones?
A Teacher with 5 years of experience. Our Expertise, is reliable to meet your full Academic development needs . Worked on many crafts and construction projects offering services from design to development to deployment over the years. You will find many of my works in my business portfolio on request.