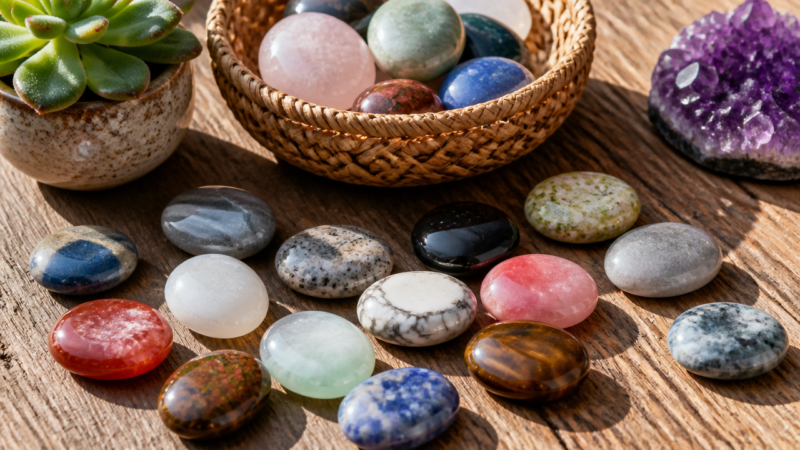

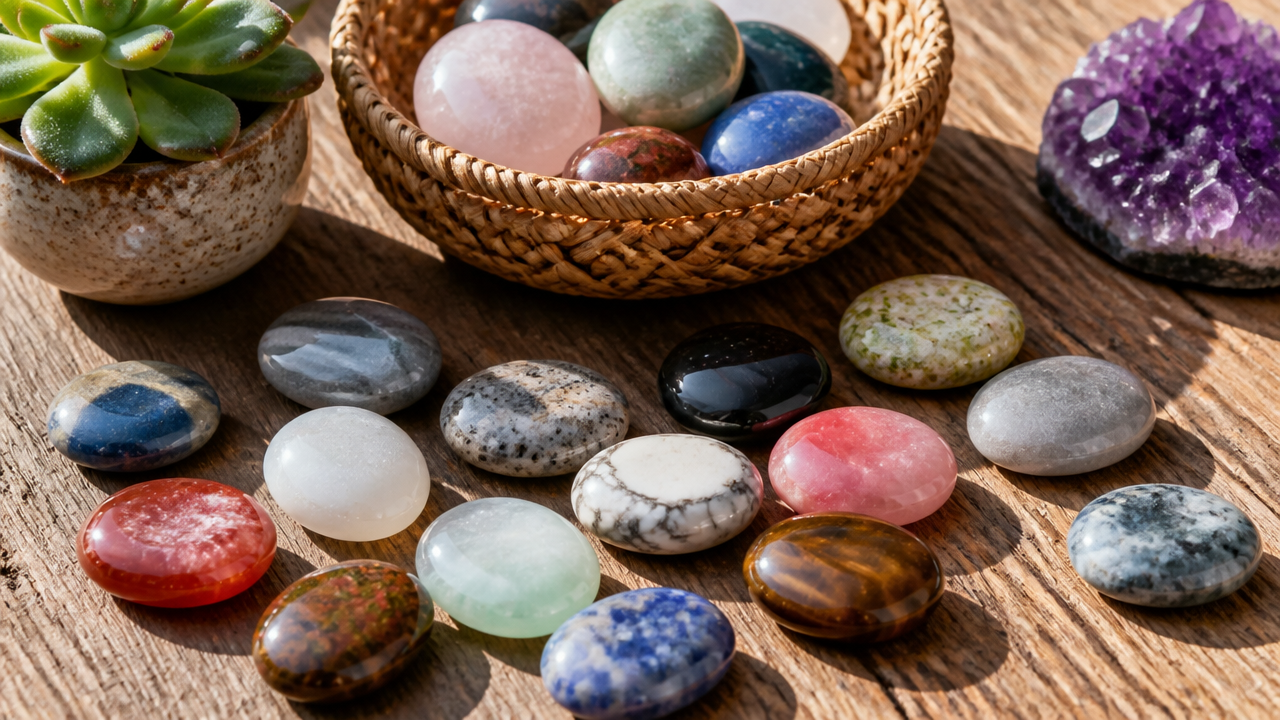
Have you ever wondered how a small, smooth piece of clay could become a powerful tool for 12 Easy Crafts to Do at Home with Simple Supplies and emotional regulation? Creating a worry stone is a tactile way to ground yourself when life gets overwhelming. These stones serve as sensory anchors, helping you manage stress through a simple, repetitive rubbing motion. Whether you are prepping for a stressful week or looking for a holiday project to share with friends, crafting a custom worry stone provides a tangible sense of control. Making your own personalized worry stone is an easy, beginner-friendly way to bring calm into your daily life.
Quick Answer: What are Worry Stones and Why Build Them?
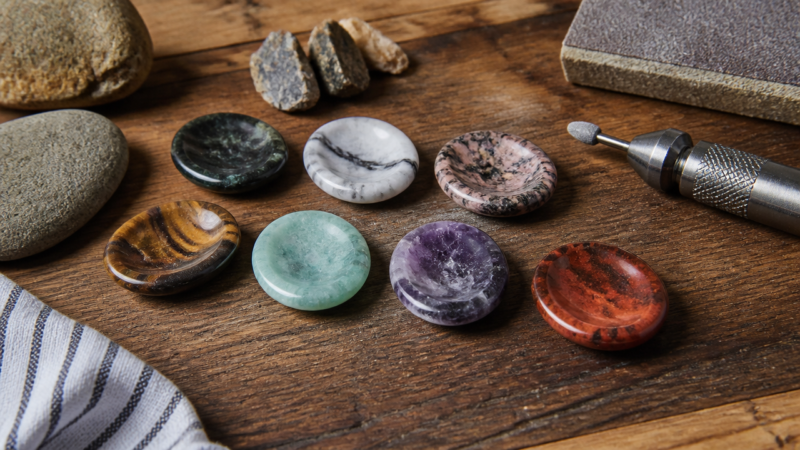
Worry stones are small, smooth objects typically featuring a gentle thumb-sized indentation. They serve as tactile tools designed to help both students and adults regulate their emotions and lower stress levels during challenging moments. According to the Soul Shoppe, these stones function as creative aids that help individuals “empty their balloon” by providing a physical focus for anxious energy.
The process of building them is intentional, turning a raw lump of clay into a personalized object that provides a physical anchor. By rubbing the smooth surface back and forth, you engage your sense of touch, which can help redirect focus from racing thoughts to the present moment. This practice is a form of tactile mindfulness that is increasingly used in educational and therapeutic settings.
What You Need
| Item | Purpose | Notes |
|---|---|---|
| Clay | Base structure | Choose air-dry, ceramic, or polymer options. |
| Cookie Cutters | Consistent shaping | Mini sizes work best for handheld comfort. |
| Detailing Tools | Texture and depth | Wooden styluses or stamps add sensory interest. |
| Sandpaper | Edge refinement | Use fine grit to prevent skin irritation. |
| Protective Gloves | Clean handling | Essential for keeping your materials lint-free. |
Step 1: Prep your clay

Starting with clean hands is vital, as clay tends to pick up every stray piece of dust or lint in your workspace. Knead your chosen clay for several minutes until it reaches a soft, pliable consistency. This action removes trapped air bubbles that could otherwise expand and cause cracks during the curing phase. If the clay feels too firm, add a tiny drop of water or a bit of baby oil to restore its elasticity, but be careful not to make it sticky.
Step 2: Roll the clay

Take your kneaded clay and roll it into a smooth, uniform ball between your palms. Once you have a perfect sphere, set it down on a flat, non-stick surface and gently flatten it until it reaches a thickness of about half an inch. You want the slab to be substantial enough to withstand pressure without warping or snapping. This 14 Easy Art Projects for Teens That Are Super Fun resource often highlights why consistent base thickness is the secret to a professional-looking finished product.
Step 3: Use a mini-cookie cutter

Press your mini cookie cutter firmly through the slab to create your core shape. A heart, circle, or oval silhouette works best because it lacks sharp corners that might poke your pocket or palm. Lift the cutter carefully, and then peel away the excess clay from the outside. If the edges of your shape look a bit ragged, don’t worry, as the next steps will resolve those minor imperfections.
Step 4: Imbue the stone with intention

This is where the object gains its purpose. As you press your thumb into the center of the shape, focus your thoughts on a specific intention, such as peace, strength, or clarity. The resulting bowl-shaped indentation serves as the focal point for your future fidgeting. Some people find that focusing on a positive affirmation while molding the material makes the finished piece feel more meaningful. You are essentially building a physical reminder that you can hold onto whenever things feel heavy.
Step 5: Add detailed texture
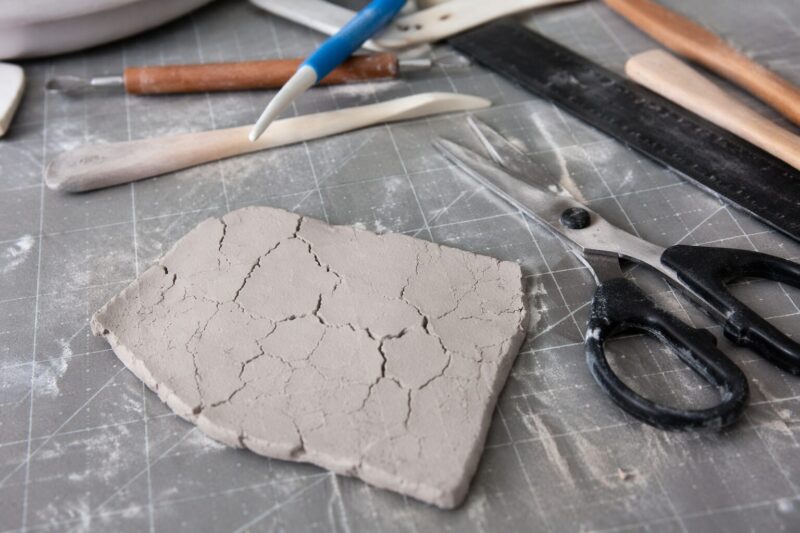
Give your stone character by carving lines, dots, or patterns into the surface using a wooden stylus or a rubber stamp. These textures provide extra sensory input, which can be useful when you need a distraction. Keep the designs shallow; deep grooves can collect debris or create sharp ridges that become uncomfortable to touch after long periods of movement. If you are making these for kids, 12 Easy Summer Crafts for Kids to Keep Them Busy suggests that simple, tactile shapes often hold their interest longer than intricate designs.
Step 6: Smooth all edges

Run a dampened finger or a slightly moist sponge around the entire perimeter of your stone. This step is non-negotiable if you want your worry stone to feel soothing rather than scratchy. Ensure the inner lip of your thumb indentation is also smooth, as this is the part your skin will brush against most frequently. It is often easier to catch rough spots now while the material is still workable than to fix them after it has hardened.
Step 7: Cure the stone
Follow the specific manufacturer instructions for your clay type to finalize the hardening process. If you are working with bakeable polymer clay, place the stones on a foil-lined tray and bake them at the temperature recommended on the package, usually between 230 and 275 degrees Fahrenheit, for 15 to 30 minutes. Air-dry clays generally require 24 to 48 hours to cure completely. Once finished, ensure the stones are allowed to cool or dry slowly on a flat, even surface to avoid any accidental warping.
Mistakes to Avoid
The most common error is failing to smooth the edges properly, which results in a stone that irritates the skin rather than calming it. Sharp ridges or little burrs of dried clay can be distracting and even painful during a long day of fidgeting. Another frequent mistake is moving the stone to a different location before it has fully set, which can introduce micro-cracks into the structure. Finally, avoid using clay that is too brittle; pick a professional-grade brand that is designed to remain durable even when carried in a pocket or backpack daily.
Troubleshooting
If you notice surface cracks after the drying process, it usually means the clay dried too quickly or was exposed to a drafty area. You can fill these small gaps with a little bit of fresh, thinned clay and let it set again. If the surface feels uncomfortably rough, a light buffing with extra-fine grit sandpaper works exceptionally well to bring it to a professional-looking, satin-smooth finish. Should you find your final shape is slightly uneven, use a flat surface to gently press the stone back into alignment before the final curing step is fully complete.
FAQ
Q: Can children make these?
Yes, worry stones are a therapeutic and safe craft for kids of almost any age. The process is tactile and improves fine motor skills while encouraging children to express their internal feelings through a creative outlet.
Q: How long do they take to make?
The hands-on shaping phase typically takes 10 to 15 minutes of dedicated time. The rest of the process involves the passive curing stage, which depends on whether you are using air-dry clay or oven-bake varieties.
Q: Can I add paint?
Yes, once the clay is fully cured, you can apply acrylic paints or decorative glazes to personalize the design. Ensure you seal the surface with a clear, non-toxic varnish if you plan to use the stones frequently, as this prevents the paint from scratching or chipping off over time.
My Experience With worry stones diy
I remember the first time I set out to make these; I thought it would be a ten-minute job, but I ended up losing an entire afternoon to the process. There is something intensely meditative about rolling those little clay spheres—it’s like being a kid again, but with a much cleaner desk. One mistake I made early on was trying to rush the drying process by putting the stones near a heat vent. Don’t do that. They ended up with tiny, hairline fractures because the outside dried way faster than the core. Learned that lesson the hard way.
Another thing I’ve discovered is that the thumb indentation needs to be slightly deeper than you think. If it’s too shallow, it feels like nothing, but get it just right, and it becomes the perfect place to rest your thumb while you’re stuck on a boring conference call. It’s a subtle shift that changes the entire function of the tool. I’ve started leaving mine in a small drawstring pouch to keep them from collecting pocket lint, which is a surprisingly effective move for maintenance. What kind of texture do you think you’d enjoy rubbing the most?
Conclusion
Creating your own worry stone is a rewarding blend of artistic expression and practical self-regulation. By following these steps and focusing on a smooth final finish, you can craft a personal anchor that helps you stay grounded throughout your busiest days. Feel free to experiment with different patterns, colors, or materials to see what feels best in your hand. Once you finish your first batch, keep them in your bag or on your desk whenever you need a quick moment of calm.
References
- Soul Shoppe. (2019, August). How to Make Worry Stones. https://soulshoppe.org/wp-content/uploads/2019/08/How-to-Make-Worry-Stones-.pdf
- Crafty Chica. (2025, April). How to make worry stones – I call them LOVE STONES!. https://craftychica.com/2025/04/how-to-make-worry-stones-i-call-them-love-stones
- wikiHow Staff. (n.d.). How to Make a Worry Doll. wikiHow. https://www.wikihow.com/Make-a-Worry-Doll

A Teacher with 5 years of experience. Our Expertise, is reliable to meet your full Academic development needs . Worked on many crafts and construction projects offering services from design to development to deployment over the years. You will find many of my works in my business portfolio on request.