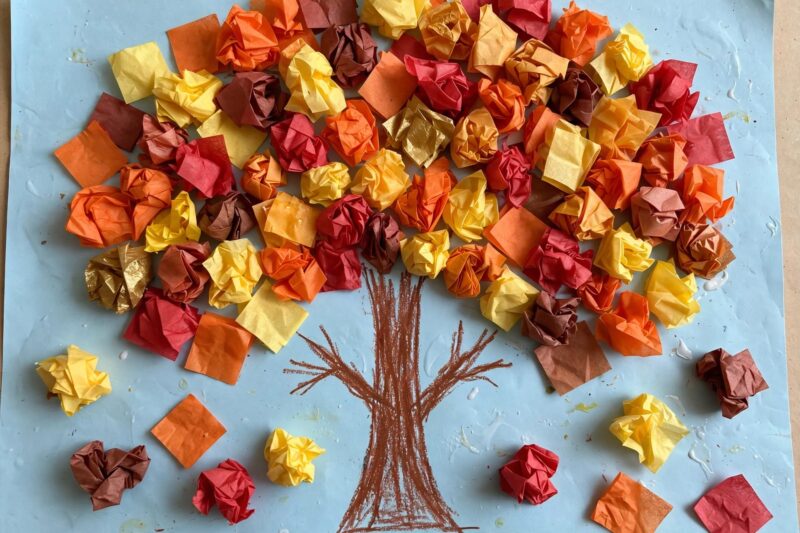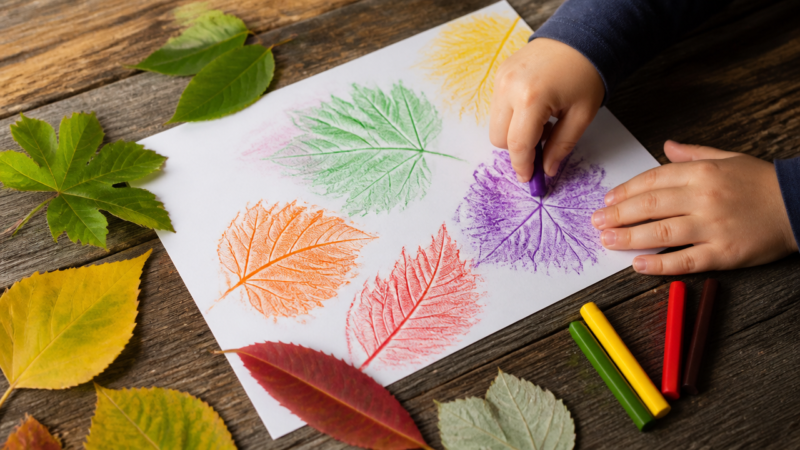

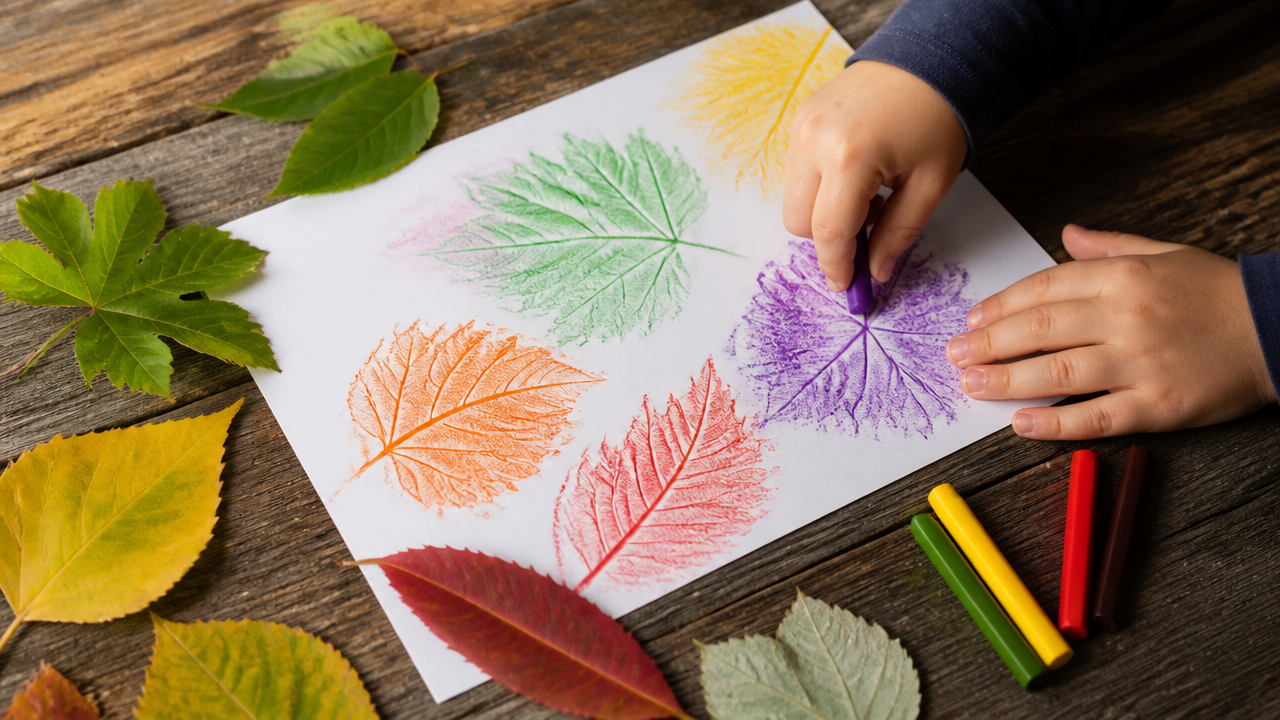
What makes a truly great leaf rubbing project stand out from every other craft you have tried? Whether you are planning a rainy afternoon activity or a weekend nature project, capturing the fine details of the outdoors makes all the difference. Leaf rubbing art remains a favorite among teachers and artists because it is simple, effective, and uses common materials found in most homes. You only need a few leaves, paper, and crayons to get started. These 11 leaf rubbing art ideas will help you produce stunning results quickly.
Quick Questions and Answers
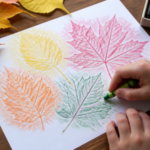
Question: How do you make leaf rubbing art with crayons? Answer: Place a leaf vein-side up under a sheet of paper, then rub the side of a peeled crayon across the paper until the leaf texture appears. Several tutorials recommend keeping the leaf on a smooth, flat surface and using gentle, even pressure so the veins show clearly.
Question: What kind of leaves work best for leaf rubbings? Answer: Fresh leaves with visible veins and few defects work best, because limp leaves can lose texture and make the rubbing less clear. Sources also recommend using a variety of shapes and sizes so the final artwork has more visual interest.
Question: Can you do leaf rubbings with watercolor afterward? Answer: Yes, one common variation is to make the crayon rubbing first and then paint with watercolor around or over the leaf design. Art Bar Blog specifically suggests painting the leaf and the background in different colors, and notes that white crayon can create a resist effect if pressed hard enough.
1. Best Vein-Side-Up Technique
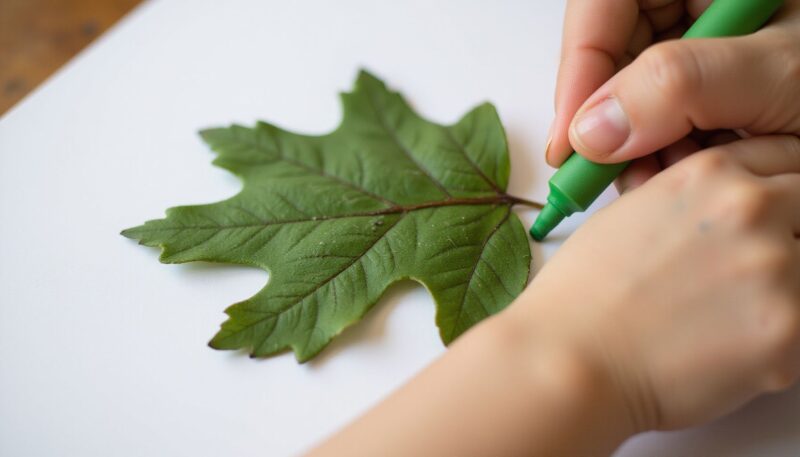
Finding the right leaf is the first step toward a crisp print. You should look for fresh leaves with visible surface structures rather than limp or dried ones. Dried leaves often crumble or lack the depth needed to transfer those beautiful veins to your page.
Once you have your leaves, position them with the vein-side facing upward under a sheet of printer or sulphite paper. Use medium-pressure, sideways crayon strokes to capture the finest details of the leaf veins. If you press too hard, you might actually smudge the texture or shift the leaf out of place.
2. Easy Watercolor Wax-Resist
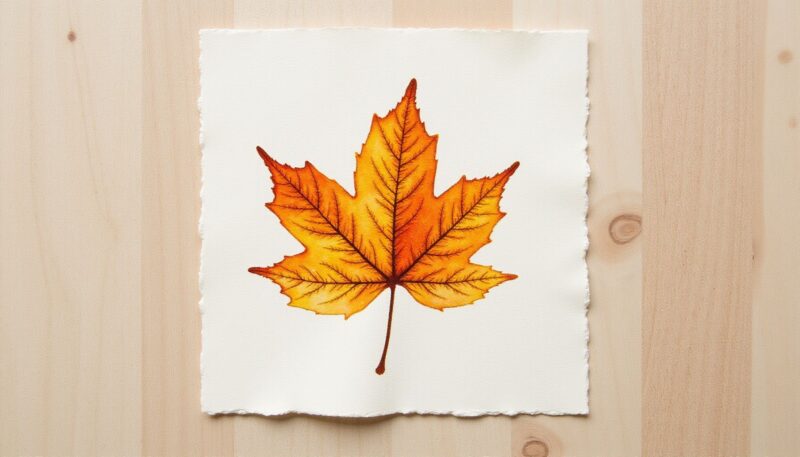
Creating a wax-resist design adds a layer of depth that standard crayon art often lacks. Start by applying heavy pressure with a white or light-colored crayon on a piece of 5×5 inch sulphite paper to create the initial leaf shape. Because the wax is colorless, it stays hidden until you add your next layer.
Brush a layer of watercolor paint over the entire paper. The wax from the crayon will resist the paint, revealing the hidden leaf silhouette as if by magic. Just ensure your paper is high-quality enough to hold watercolor without warping during the application process. You can learn more about 12 Creative Painting Ideas for Beginners to Try Today to build your skills further.
3. Genius Rotational Symmetry Designs
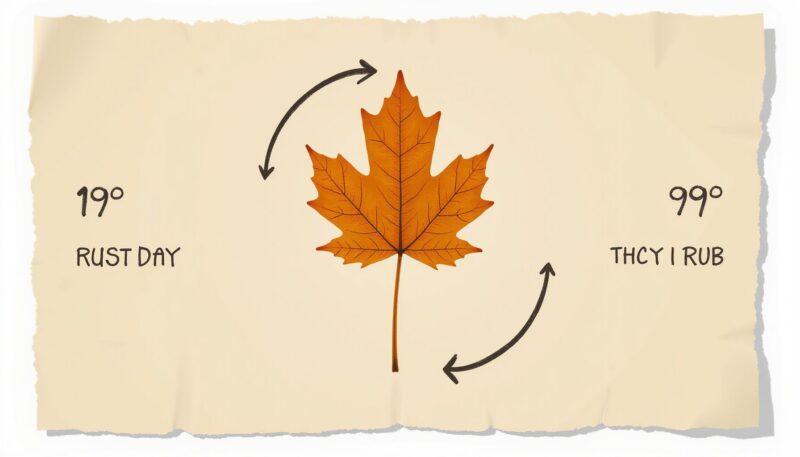
Rotational symmetry turns a single leaf into a geometric puzzle. Start by placing a single leaf on a surface and create a standard rubbing using your preferred medium. Once finished, rotate that same leaf exactly 90 degrees on the paper and perform a second rubbing directly over the first.
The overlapping lines create an intricate pattern that looks far more advanced than a basic nature print. Experiment with secondary color layers to emphasize the geometric patterns created by the intersection of the two images. This simple shift creates a sense of movement across the page.
4. Beautiful Negative Space Compositions

Filling the space between leaves is just as important as the leaves themselves. Arrange 3-4 leaves on your surface to form a balanced base layer. Instead of focusing only on the botanical shapes, rub over the entire page to fill in the gaps.
This technique uses the empty negative space to define the edges of each botanical shape. It makes your design look deliberate and finished rather than just a collection of random prints. The contrast between your filled areas and the white space can make your colors pop.
5. Stunning Plastic Wrap Stabilization
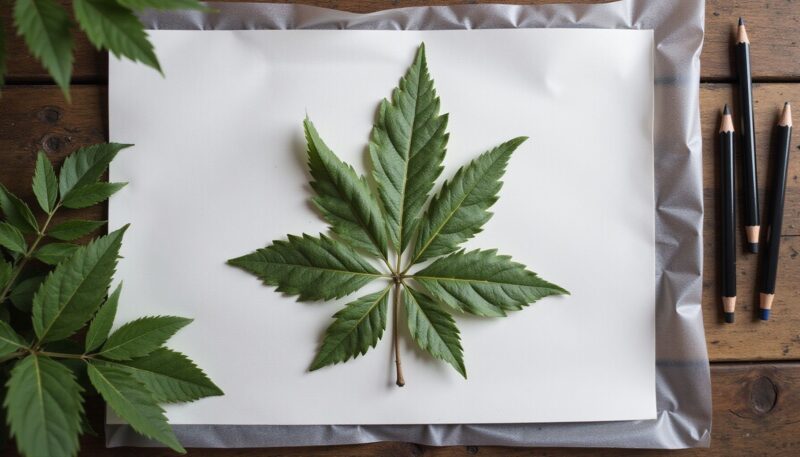
Preventing your leaves from sliding is a common challenge for younger artists. Secure your leaves in place by setting them on top of a sheet of plastic wrap before placing your art paper on top. This provides a firm, slip-resistant base that helps maintain crisp outlines even when using charcoal or colored pencils.
This technique is perfect if you find that your leaves shift the moment you start rubbing. It creates a stable, flat surface that ensures your final print stays clear and sharp. It is also one of those 12 Genius Hacks Every Home Needs to keep your craft space manageable.
6. Amazing Black Paper Contrast
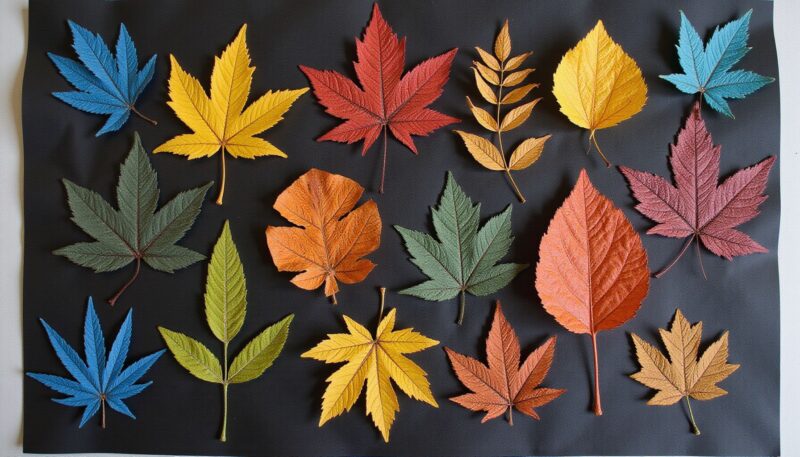
Creating multiple rubbings on standard white paper is great, but black construction paper changes the entire look of your project. After you finish your rubbings using bright, saturated crayon colors, use sharp scissors to cut out the individual leaf shapes.
Affix these cut-outs onto sheets of black construction paper to create high-contrast art. The black background forces the vibrancy of the colors forward. It transforms simple rubbings into professional-looking wall art that highlights your best work.
7. Simple Leaf Mobile Assembly
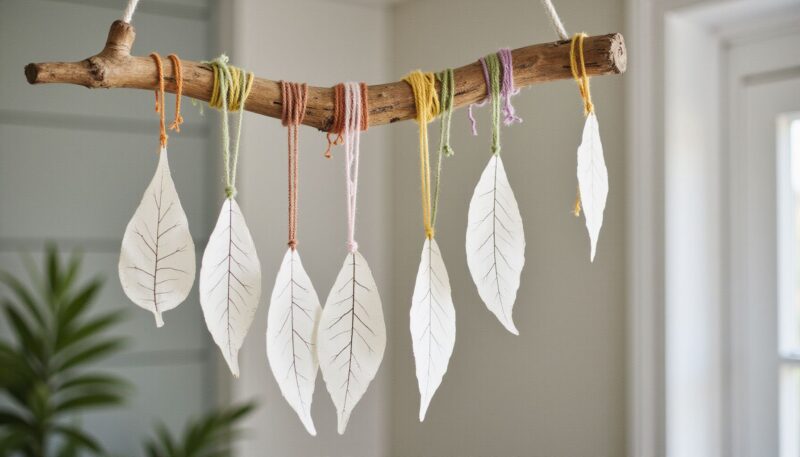
Why keep your art flat when you can turn it into a 3D mobile? Start by creating several individual leaf rubbings and cutting them out to form the decorative elements of your project. You will want a variety of shapes for the best visual interest.
Prepare yarn or string segments between 6 and 12 inches long for hanging each leaf. Attach these strings to a sturdy central stick or branch found in your garden. The resulting wall decoration looks great hanging in a window or near a breeze.
8. Essential Multi-Medium Testing
You do not have to stick with crayons for every project. Experiment with varying your art tools, alternating between peeled crayons, charcoal, and colored pencils to observe how they handle texture. Each medium interacts with the paper differently.
Try layering mediums for a unique look. Use a soft pencil for base shading and a bright crayon for final vein definition. Testing different paper types, such as standard copy paper versus thicker drawing paper, also helps you see how texture affects the final transfer.
9. Brilliant Foraged Garland Art
Garlands provide a simple way to display your collection of rubbings during the changing seasons. Gather leaves and flowers from outdoors, but ensure you have permission before picking any plants. Create a series of uniform-sized rubbings to keep the garland visually consistent.
Tape or glue these finished rubbings onto a long cord or ribbon. You can alternate colors or shapes to create a specific theme, such as a rainbow collection or a series of autumnal golds and reds. It makes for a beautiful, natural display.
| Method | Key Benefit | Best For | Complexity |
|---|---|---|---|
| Crayon Rubbing | Vibrant Color | Beginners | Low |
| Charcoal | Soft Texture | Artistic Style | Medium |
| Wax Resist | Hidden Detail | Surprise Factor | High |
| Multi-Medium | Deep Layers | Advanced Design | High |
Common Mistakes
The most common error is using leaves that are too dry or brittle. As Welcome to Nanas explains, fresh leaves are essential because limp, dried-out leaves lose the surface texture required for a quality result. If you collect leaves in the morning, they will stay fresh longer.
Another issue involves the amount of pressure used while rubbing. Some people press too hard, causing the paper to tear or the leaf to slide. Start with a light, even touch and gradually increase pressure until the veins appear. Finally, remember to de-paper your crayons before you start. Soaking them in warm water for about an hour makes the labels slide right off.
FAQ
Q: Why does the leaf need to face vein-side up?
The vein-side-up placement helps the raised texture transfer through the paper and become visible in the rubbing. Several sources also say to put the bottom side of the leaf upward so the leaf’s contours and veins show more clearly.
Q: How can you make leaf rubbings look more artistic?
You can layer colors, fill in the negative space, arrange multiple leaves across the page, or add watercolor and collage after the rubbing is done. Other options include trimming the rubbings and mounting them on black construction paper for stronger contrast.
Q: Can leaf rubbings be used for other crafts?
Yes, leaf rubbings can become cards, wall hangings, garlands, wreaths, mobiles, gift wrap, tags, and even picture frames or mats. These projects turn a flat rubbing into a finished decorative object.
Q: What tools besides crayons can you use for nature rubbings?
One tutorial uses charcoal, crayons, and colored pencils for nature rubbings, and another suggests exploring different paper and medium combinations. This makes the activity adaptable if you want darker marks, softer textures, or more color variation.
Q: Should you use glue or tape for leaf rubbing projects?
For flat compositions, the sources mainly describe rubbing and coloring rather than mounting the leaves, but some finished projects use tape to attach cut leaf shapes to garlands. If you want to keep leaves from moving during rubbing, plastic wrap is one method, and the leaf can also be held in place by carefully keeping the paper flat.
Q: How much pressure should you use when rubbing leaves?
Use enough pressure to reveal the veins, but not so much that the marks disappear or the leaf shifts. The tutorial from 100 Directions says to start gently and add pressure gradually, while the YouTube tutorial warns that rubbing too hard can prevent a print from appearing.
Q: What are some easy leaf rubbing ideas for beginners?
Good beginner options are a single leaf rubbing, a page filled with multiple leaves, a watercolor leaf rubbing, or a simple seasonal garland. These projects use basic materials and do not require advanced cutting or painting skills, so they are practical for children and first-time crafters.
My Experience With 11 Amazing Leaf Rubbing Art Ideas for Beginners
I have spent many afternoons playing with leaf rubbings, and I honestly think the biggest hurdle is just finding the right leaf. I once spent an hour trying to get a perfect print from a dried maple leaf, only to realize I was fighting physics. Once I switched to fresh, slightly waxy leaves, everything changed.
My favorite discovery was definitely the wax-resist watercolor technique. Seeing the leaf appear through the paint is always satisfying, even after doing it a dozen times. One expert insight I can share is to avoid using printer paper that is too thin. If the paper is flimsy, it creates fuzzy edges that obscure the beautiful, tiny details of the veins. I found that slightly thicker sketch paper provides a much more professional finish. I also learned the hard way that you should keep your crayon strokes in one direction for a cleaner look. If you cross-hatch too wildly, you end up with a muddy mess instead of a clear print. It is a simple craft, but the process is deeply rewarding. Have you ever tried using metallic crayons for a bit of extra shimmer on your nature prints?
Conclusion
Leaf rubbings remain one of the most accessible and open-ended art forms for all ages. By experimenting with composition, layering, and varied mediums, you can turn a simple walk in the park into a creative session that yields professional-looking results. Remember that the quality of your result is directly tied to the freshness of your materials, so pick with care and enjoy the process of capturing nature’s unique designs.
References
- Art Bar Blog. (n.d.). Leaf Rubbings with Crayons and Watercolor. Art Bar Blog. https://www.artbarblog.com/leaf-rubbings-with-crayons-and-watercolor/
- PBS KIDS Utah. (n.d.). Missy’s Leaf Rubbing Craft. PBS Utah. https://www.pbsutah.org/blogs/pbs-kids-utah/missys-leaf-rubbing-craft/
- Learning Here and There. (n.d.). Leaf Rubbings for Kids of All Ages. Learning Here and There. https://www.learningherenthere.com/all-ages/leaf-rubbings-for-kids-of-all-ages
- YouTube. (n.d.). At Home With Art: Nature Rubbings. YouTube. https://www.youtube.com/watch?v=OVgbURKNhz8
- Welcome to Nanas. (n.d.). Fun Leaf Rubbing Craft Projects. Welcome to Nanas. https://welcometonanas.com/fun-leaf-rubbing-craft-projects/
- YouTube. (n.d.). Leaf Rubbing Art. YouTube. https://www.youtube.com/watch?v=AQiryHwXVyg
- YouTube. (n.d.). How to make leaf rubbings. YouTube. https://www.youtube.com/watch?v=T7ywigOR23E
- 100 Directions. (n.d.). How to Make Leaf Rubbing Art and Leaf Art Printable. 100 Directions. https://www.100directions.com/make-leaf-rubbing-art-leaf-art-printable/

A Teacher with 5 years of experience. Our Expertise, is reliable to meet your full Academic development needs . Worked on many crafts and construction projects offering services from design to development to deployment over the years. You will find many of my works in my business portfolio on request.