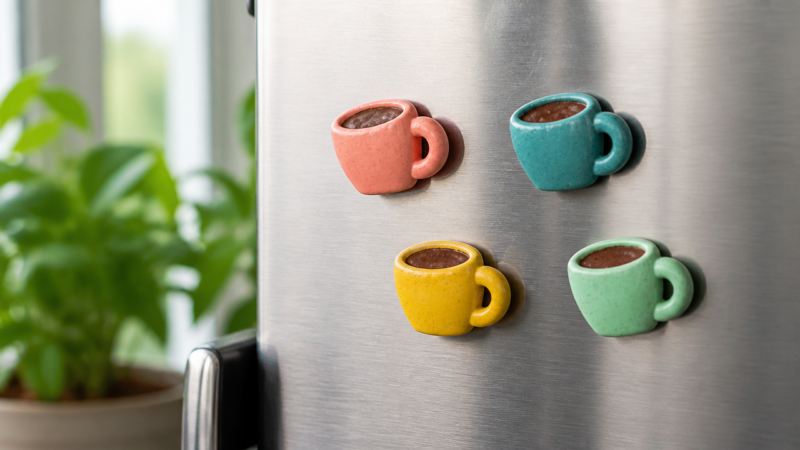

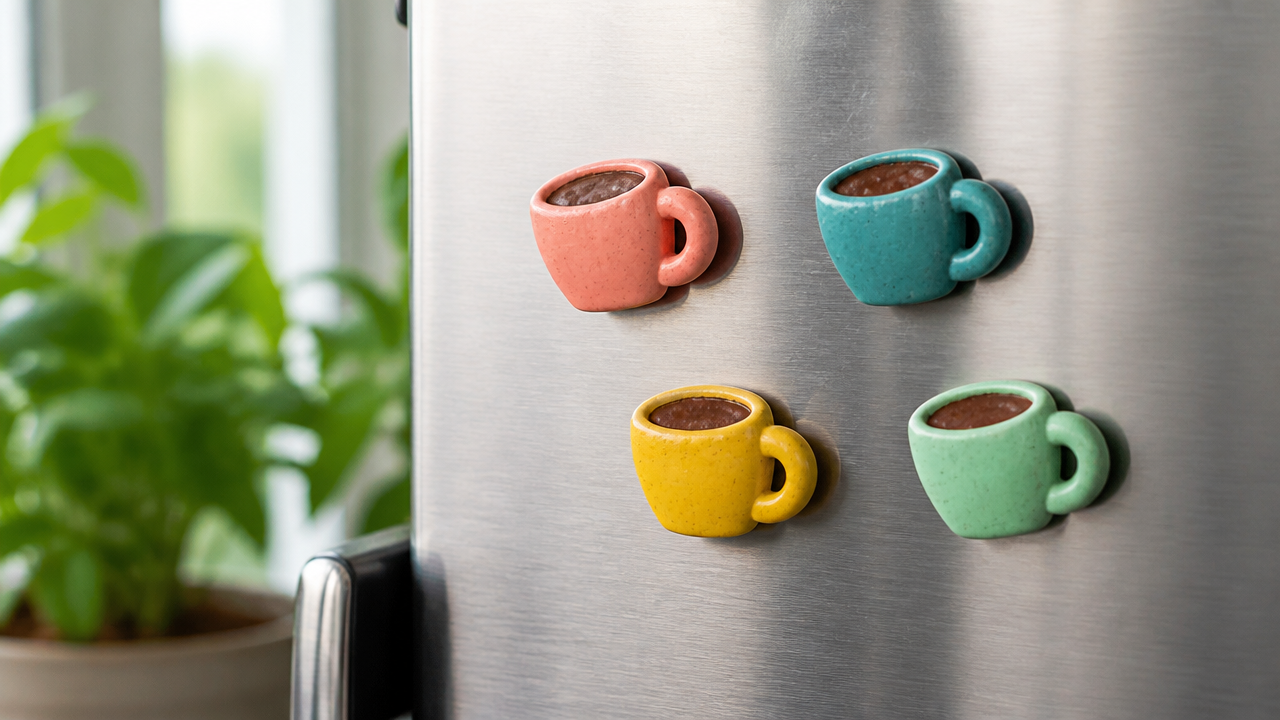
Have you ever wondered how to turn a simple lump of moldable craft clay into a charming coffee cup clay magnet that captures the cozy essence of your favorite morning ritual? Crafting these miniature, fridge-ready coffee cup clay magnets is a creative way to organize your space while showcasing your personal style. Whether you are prepping for a cozy autumn kitchen refresh or looking for a meaningful gift idea, these custom coffee cup clay magnets offer a unique, handmade touch that brightens any metal surface. Designing your own coffee cup clay magnet is an approachable project for anyone ready to get their hands a little messy.
Quick Questions and Answers
Question: Why do people make polymer clay coffee magnets? Answer: People make polymer clay coffee magnets to add creativity and personality to refrigerators or metal surfaces. These unique items are crafted from versatile polymer clay that can be molded into various shapes and designs, often featuring pastel colors and whimsical details like flowers or stars.
Question: Can you bake polymer clay to create fridge magnets? Answer: Yes, you can bake polymer clay to create fridge magnets by following the manufacturer’s instructions for temperature and time. After baking, the pieces must cool down before applying a gloss varnish and attaching magnets to the back using super glue.
Question: Do polymer clay magnets require special glue for strength? Answer: Polymers clay magnets typically require strong adhesives like super glue, epoxy glue, or Gorilla Glue to securely attach small stack magnets to the back. Users recommend applying a tiny bit of glue, holding it for a few seconds, and letting it dry completely for a strong bond.
Key Takeaways
- Focus on keeping designs small and relatively flat to ensure they stay flush against your refrigerator door.
- Consistency in prep work, such as kneading your clay thoroughly, prevents cracking and air bubbles.
- Always dedicate a specific baking tray to your clay projects to keep food-grade cookware safe from raw materials.
What You Need
| Item | Purpose | Notes |
|---|---|---|
| Clay | Creating the base | Use polymer or air-dry clay like Das |
| Rolling pin | Flattening the clay | Use a smooth surface to avoid texture |
| Sculpting tools | Adding fine details | Includes knives for rims and handles |
| Adhesive | Securing the magnet | Choose a strong super glue or epoxy |
| Magnetic pieces | Attachment | Small stack magnets work best |
| Aluminum foil | Oven protection | Essential for polymer clay hygiene |
Step 1: Prep Your Clay and Workspace
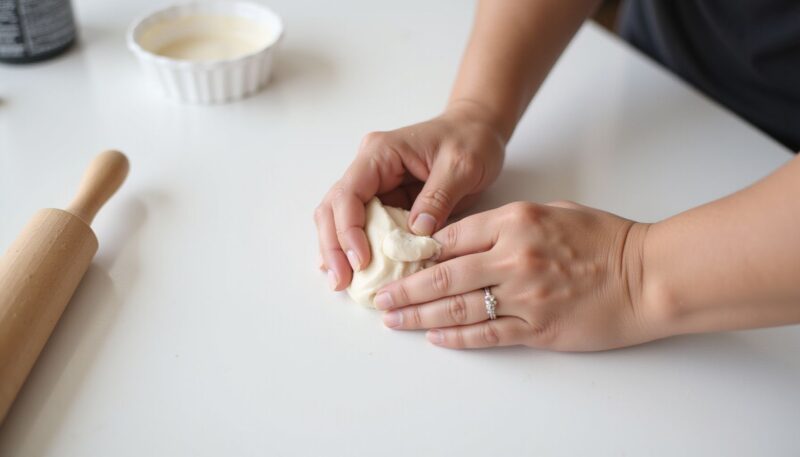
Success starts with setting up an organized environment. Begin by clearing your workstation and laying down parchment paper or a smooth, non-stick surface to prevent the clay from grabbing onto your table. Kneading the clay is a non-negotiable step; by working it between your palms, you distribute the plasticizers—or remove air pockets—ensuring a consistent, professional-looking material before you start building.
When you are ready to sculpt, remember that less is often more with your first attempt. It is wise to work in small batches of 3 to 5 pieces until you become familiar with how the specific clay brand behaves. If you are dealing with a larger block of material, keep the extra portions stored in an airtight container or tight plastic wrap to prevent them from drying out while your focus remains on the current piece. You can find inspiration for other 12 Easy Crafts to Do at Home with Simple Supplies to pair with your magnet making.
Step 2: Sculpting the Coffee Cup
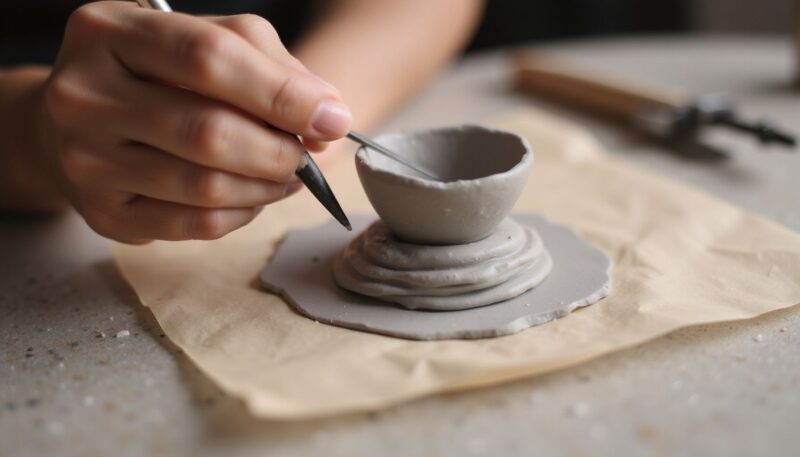
Creating a recognizable cup shape requires patience. Roll a small ball of clay, then flatten it slightly into a disc or pill shape to form the main body of your coffee cup. Keep in mind that a flatter silhouette is much better than a deeply rounded one; heavy, bulky magnets will inevitably slide down your fridge when you try to hang them. Use a small carving tool or even the back of a knife to press into the top of the clay, creating a recessed area that mimics a filled cup.
Adding a tiny handle is the final touch that makes it truly look like a coffee cup. Roll a thin “snake” of clay, bend it into a loop, and press it firmly against the side of the main body, ensuring both connection points are well-blended so it doesn’t snap off later. If you want to dive into larger projects with kids, you might find some 12 Easy Summer Crafts for Kids to Keep Them Busy helps build the motor skills needed for this delicate sculpting work.
Step 3: Curing the Magnet
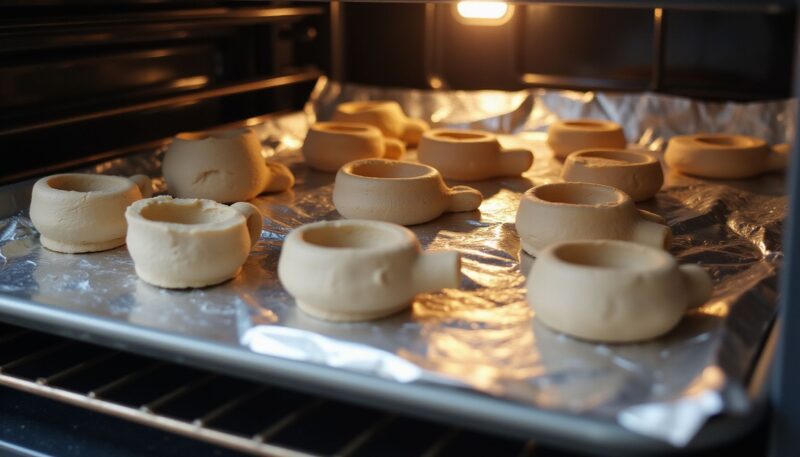
The curing process is where your hard work becomes permanent. If your project uses air-dry clay, simply leave your cups on the parchment paper in a cool, dry area. Most air-dry varieties take about 24 hours to fully harden depending on the climate in your home. According to guidance from the Craft and Hobby Association, proper drying room environments generally require low humidity to avoid warping or mold production in the material.
If you have chosen polymer clay, the oven is your primary tool. Line your cookie sheet with a layer of aluminum foil; this step is vital because polymer clay is not intended for food contact, and you want to keep your bakeware pristine. Set your oven to the exact temperature stated on the product packaging, as varying brands have distinct chemical requirements for safe curing. Research from the Polymer Clay Guild suggests that overheating your project can release harmful fumes, so use an external oven thermometer to monitor the actual temperature rather than trusting the dial.
Step 4: Attaching the Magnet
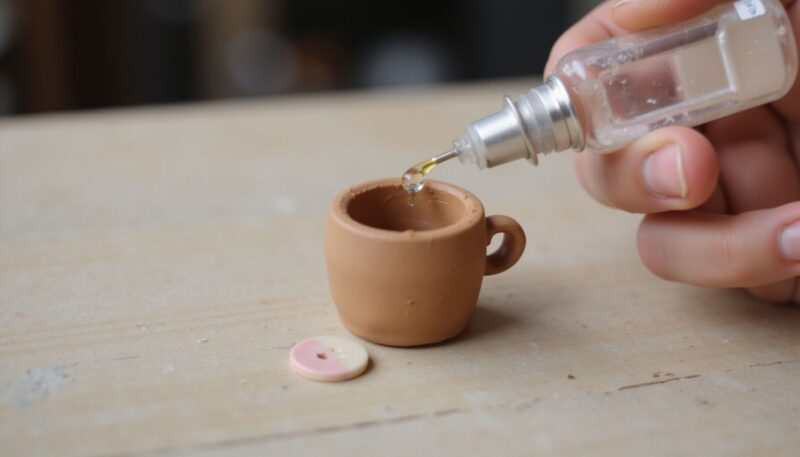
Bonding the magnet to the clay is the final hurdle. Wait until your coffee cup has completely cooled to room temperature, as applying glue to warm clay can weaken the thermal bond. Use a high-quality cyanoacrylate glue—commonly known as super glue—or a two-part epoxy for the strongest possible hold. Place a small dot of adhesive on a flat section of the back of your cup and press the stack magnet firmly into place.
Avoid the temptation to move the magnet immediately. Hold it for at least 15 seconds to ensure the glue has grabbed properly, then set it aside face-down for at least an hour. Depending on the brand of adhesive you use, the bond might take up to 24 hours to achieve its full, hardened status. Once the cure time has elapsed, your coffee cup is ready to display on the fridge. If you notice any jagged edges on the back, you can gently sand them down with fine-grit sandpaper for a smooth fit.
Mistakes to Avoid
The most common error is attempting to create a deep, high-relief sculpture that protrudes too far from the surface. These pieces tend to tip forward under their own weight, causing the magnets to lose their grip and slide down the door. Stick to flat, low-profile designs that maximize contact area between the magnet and the metal surface.
Another frequent oversight involves the surface finish of the clay. Skipping the kneading stage can leave tiny air pockets trapped inside, which creates weak points that lead to cracking during the baking cycle. Always take the extra minutes to knead and roll the clay until it feels supple and uniform. Finally, ensure your hands are clean before working, as dust and lint are notorious for getting trapped in lighter-colored clays, ruining the pristine look of your tiny mugs.
Troubleshooting
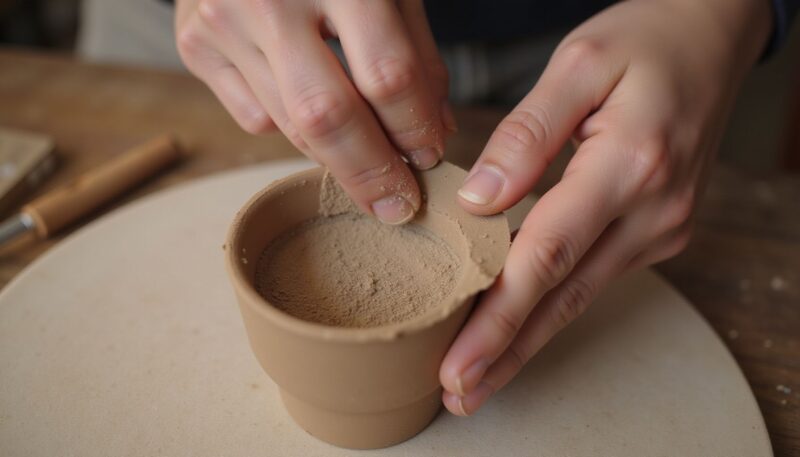
If the clay remains stubbornly stuck to your workstation, you may be using too much pressure or working in a room that is too humid. Try placing a piece of waxed paper down, or lightly dusting your fingers with a cornstarch-based powder to reduce tackiness. For those moments when the magnet separates from the clay after a few days, it usually means the surface finish of the clay was too oily. Use a bit of rubbing alcohol on a cotton swab to clean the back of the dried clay before applying fresh glue.
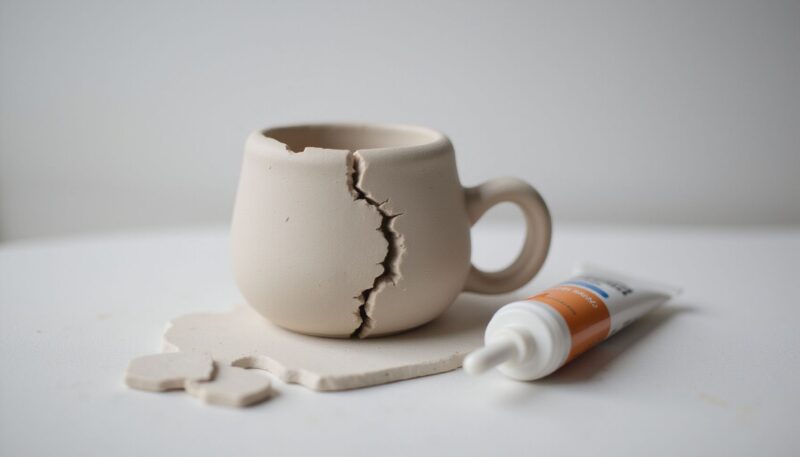
Should your clay show signs of breakage, all is not lost. For air-dry varieties, a dab of water can often re-activate the surface to smooth over small tears. With polymer clay, you can use a small amount of “clay softener” or mineral oil to repair structural cracks before the final bake. If you struggle with the magnet strength, look for neodymium magnets—often called “rare earth” magnets—as their high magnetic flux density allows a very small magnet to hold significant weight.
FAQ
Q: Are handmade polymer clay magnets better than mass-produced ones?
Handmade polymer clay magnets are often preferred for their unique designs and personal touch compared to mass-produced options. Key features to look for include high-quality design, strong magnet strength, and appropriate size that fits your decor style.
Q: How can I choose the best coffee magnets for my fridge?
To choose the best coffee magnets, look for designs that match your aesthetic preferences and check the magnet strength for durability. Consider the size based on what you plan to display and ensure they are stored in a cool, dry place to maintain quality.
Q: What are the key features of good clay magnets?
Good clay magnets feature intricate designs, strong magnet strength, and a size suitable for your refrigerator or display area. It is also important to verify if they are handmade or mass-produced and to avoid common mistakes like overlooking size or weak magnets.
Q: Will nail polish work as a top coat for clay?
Nail polish can work as a top coat for clay magnets but may collect in ridges, creating an uneven finish. Many creators prefer using a gloss clay varnish for a smoother, more professional look that protects the clay effectively.
Q: How do I clean and store polymer clay magnets?
You should clean polymer clay magnets with a damp cloth and avoid harsh chemicals that could damage the surface. Store them in a cool, dry place to maintain their quality and prevent mold or discoloration over time.
Q: Is it difficult to mold shapes for clay magnets?
Molding shapes for clay magnets is not difficult; you simply need to warm the clay in your hands until it is pliable. Common shapes include simple flowers, stars, and coffee cups, which can be easily created using pastel colors and pops of red.
Q: Where can I buy small stack magnets for clay projects?
You can buy small stack magnets for clay projects from online retailers like Amazon, where they are often available in sets of 6mm x 3mm sizes. These tiny magnets are surprisingly strong and perfect for attaching to the back of handmade polymer clay creations.
Recipe Card
Homemade Coffee Cup Clay Magnets
A simple guide to crafting your own miniature coffee cup magnets from polymer clay.
Prep: 15 minutesCook: 20 minutesTotal: 35 minutesYield: 5 magnetsCategory: CraftingCuisine: Hobby
Ingredients
- 1 pack polymer clay (your preferred choice of colors)
- 5 strong rare-earth magnets
- Super glue or strong epoxy adhesive
- Sculpting knife
- Rolling pin
Instructions
- Knead the clay until smooth and malleable.
- Roll a small ball of clay and flatten into a cup shape.
- Carve a rim and attach a tiny handle using extra clay.
- Bake in the oven based on package temperature guidelines.
- Once cool, glue a magnet to the back of each piece.
Notes
- Always line your metallic baking sheet with foil before beginning.
- Ensure the magnet is fully flush with the clay surface for the best hold.
My Experience With coffee cup clay magnet
I have to admit, my first attempt at making these magnets was a bit of a disaster. I tried to go for a “fancy” latte art design with intricate swirls, but I made the clay so thick that the whole thing slid down my fridge like a slow-motion car crash. It taught me the most important lesson in this craft: gravity is your biggest enemy. You really need to prioritize a flat, low-profile design.
I found that by focusing on a simple cup shape, I could get the weight distribution just right. Using a basic toothpick for the rim texture and a spare pen cap for the round base helped me achieve a much cleaner look than trying to sculpt everything by hand. The real secret for me was switching to industrial-grade epoxy instead of standard super glue; it gives you just enough wiggle room to reposition the magnet before it sets hard. It’s incredibly satisfying to see someone walk toward the fridge and realize those little cups are actually holding up their grocery lists. Have you tried sculpting anything with clay before, or is this your first time picking it up?
Latest Updates
As of 2026, the trend in home decor leans heavily toward “hyper-minimalist” custom pieces. Many creators are now moving away from bright, multicolored clay towards monochrome, matte-finish mugs that fit into modern, neutral-tone kitchens. Additionally, newer, non-toxic polymer clay formulas have hit the market, making it safer than ever to craft these items in a standard home kitchen without worrying about chemical residue.
References
- Woman and Home Magazine. (n.d.). DIY: Make your own fridge magnets with air dry clay. https://www.womanandhomemagazine.co.za/decor/diy-make-your-own-fridge-magnets-with-air-dry-clay
- Merriment Design. (n.d.). How to make clay fridge magnets – easy DIY tutorial. https://www.merrimentdesign.com/diy-clay-magnets-fridge-clay-crafts.php
- Crafty Art Ideas. (n.d.). How To Make DIY Polymer Clay Fridge Magnets At Home. https://craftyartideas.com/diy-clay-fridge-magnets
- The Happy Ever Crafter Inc. (n.d.). Cute DIY Fridge Magnets Using Air-Dry Clay. https://thehappyevercrafter.com/blog/fridge-magnets-air-dry-clay
- Sculpey. (n.d.). Polymer Clay Magnet Ideas. https://www.sculpey.com/blogs/blog/polymer-clay-magnets

A Teacher with 5 years of experience. Our Expertise, is reliable to meet your full Academic development needs . Worked on many crafts and construction projects offering services from design to development to deployment over the years. You will find many of my works in my business portfolio on request.