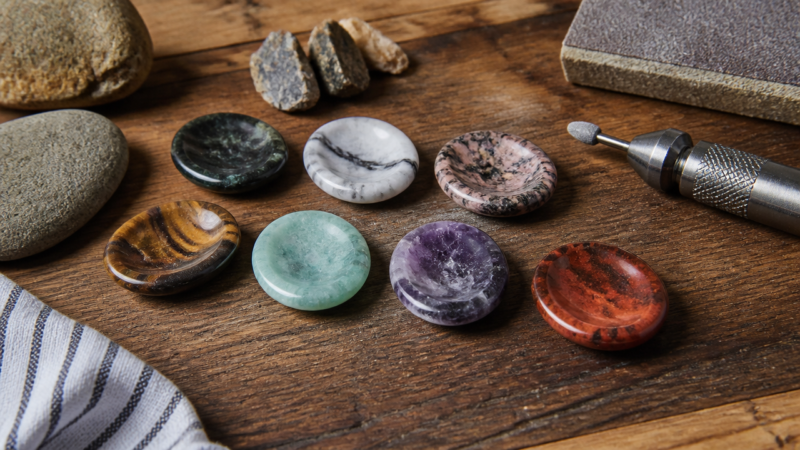
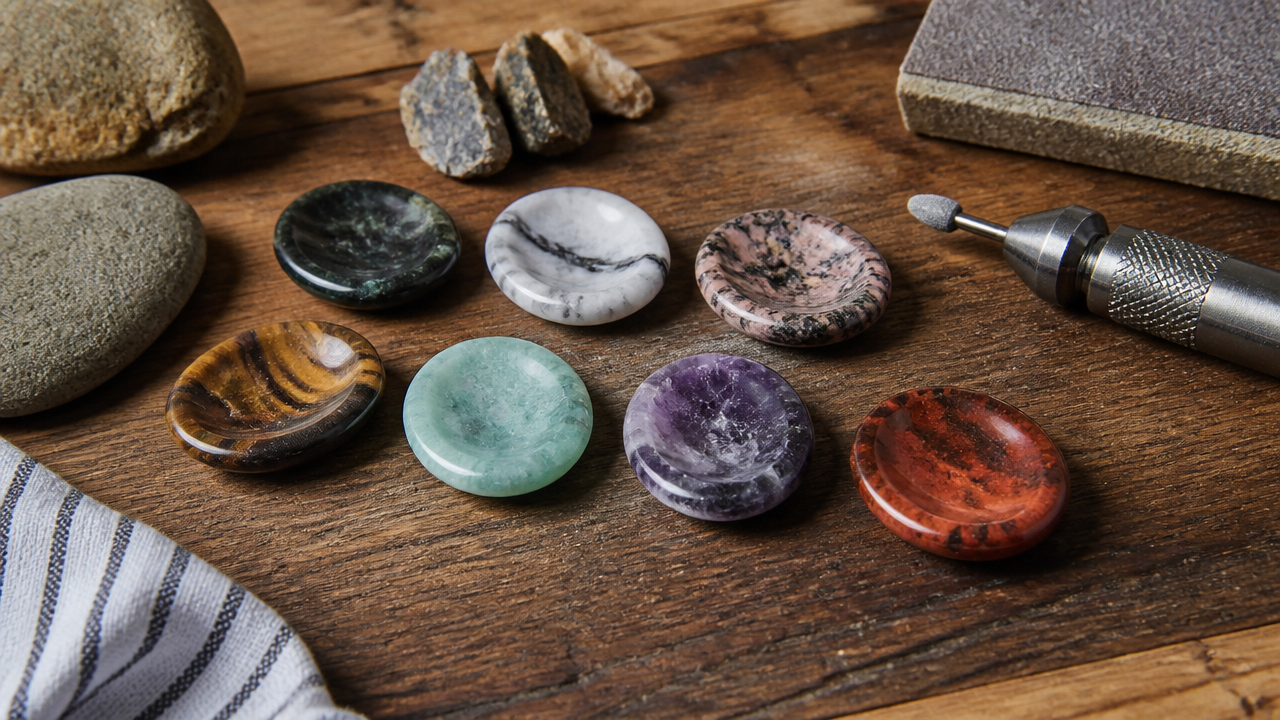
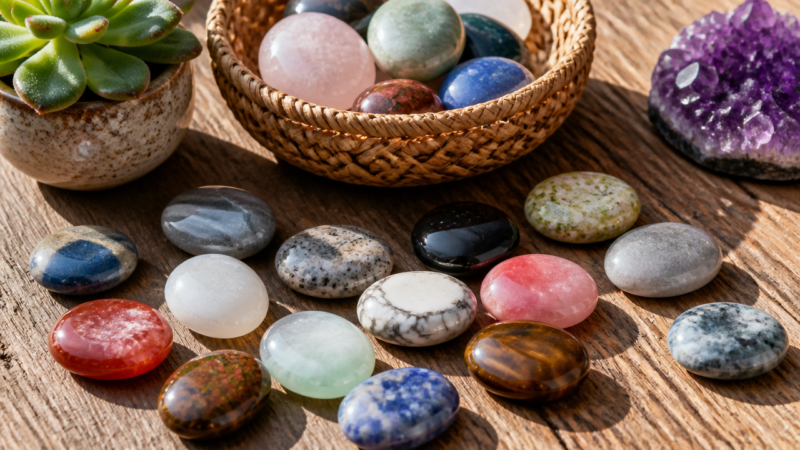
Having a reliable, homemade worry stone nearby offers a focused outlet for nervous energy, especially if you enjoy mindful projects like 12 easy crafts to do at home with simple supplies. Whether you are looking for a project to manage stress during a busy work week or a quiet activity for a rainy afternoon, making a worry stone is a rewarding process. These stones serve as grounding tools to help you navigate tension, providing a consistent texture for your thumb to rub when anxiety spikes. By focusing your attention on the smooth surface of the stone, you anchor yourself in the present moment, making these small, handmade objects a powerful aid for emotional self-regulation.
Quick Questions and Answers
Question: Why do people make worry stones for anxiety?
Answer: Worry stones are tactile tools designed to help manage anxiety by providing a focus for the thumb. Rubbing the thumb in the stone’s indentation creates a soothing sensory experience that can ground a person during stressful moments. This simple fidgeting action redirects nervous energy and promotes mindfulness, making it a popular DIY therapy aid.
Question: Can you make worry stones without clay?
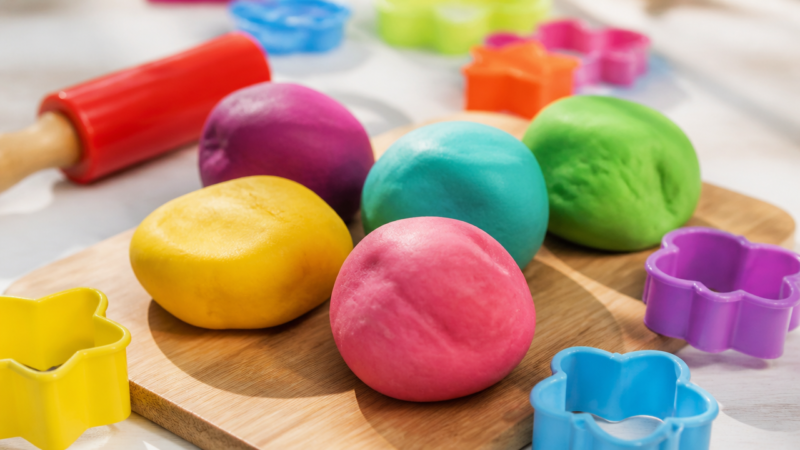
Answer: Yes, you can make worry stones using a simple flour, salt, and water dough instead of clay. This flour method requires mixing two tablespoons of flour, salt, and water with food coloring and glitter. The dough is molded into a stone shape with a thumb indentation and left to dry for a few days or baked to harden.
Question: Do worry stones need a thumb indentation?
Answer: A thumb indentation is essential for a worry stone to function correctly as a fidget tool. You press your thumb into the clay or dough ball to create a bowl-like shape that fits your thumb comfortably. This specific spot allows you to rub your thumb back and forth, which is the core action that provides the calming sensory benefit.
What You Need
Item
Purpose
Notes
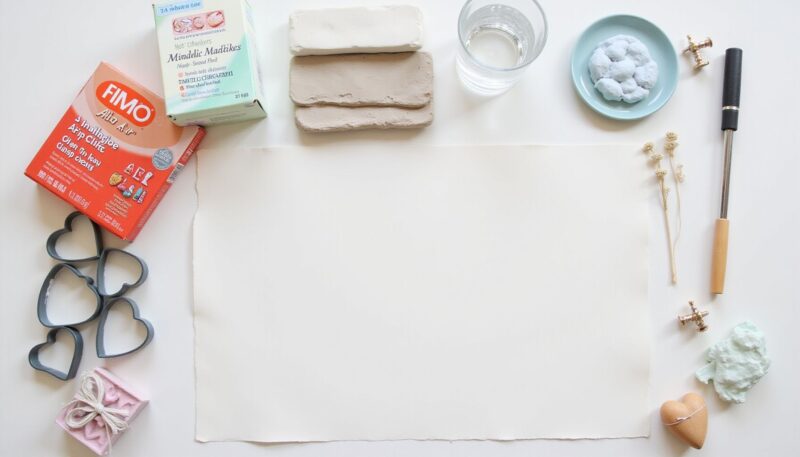
Clay
Base material
Fimo Air is ideal for a smooth, non-sticky finish.
Cookie Cutters
Shape consistency
Mini-heart shapes work well for ergonomic handling.
Water
Smoothing agent
Use sparingly to avoid saturating the clay.
Carving Tool
Personalization
A toothpick or stylus works for adding textures.
Work Surface
Clean workspace
Use a plastic mat or parchment paper for easy cleanup.
Step-by-Step Instructions
Step 1: Prepare your workstation
Setting up a dedicated craft area is key. Because clay acts like a magnet for dust and debris, clearing a flat, smooth surface is essential for a clean result. According to DIY Craftsy, working in a well-ventilated space prevents you from feeling overwhelmed while managing materials. Cover your table with a piece of parchment paper or a plastic mat. This makes cleanup effortless and allows you to move your drying stones without stress.
Step 2: Form a smooth ball
Generating image 3…
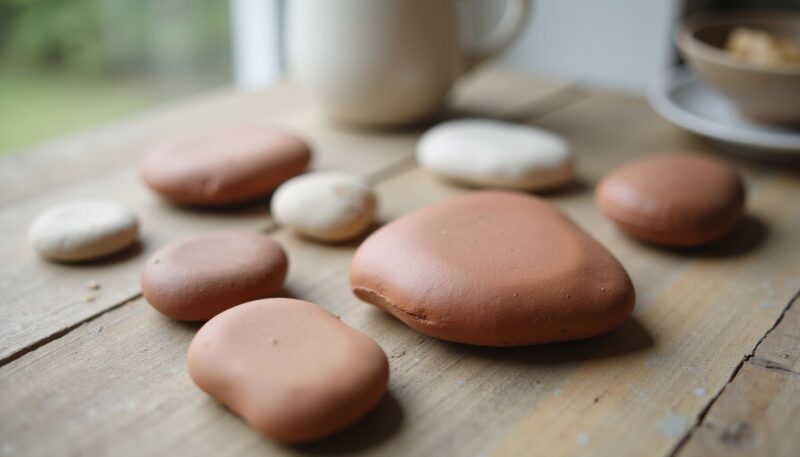
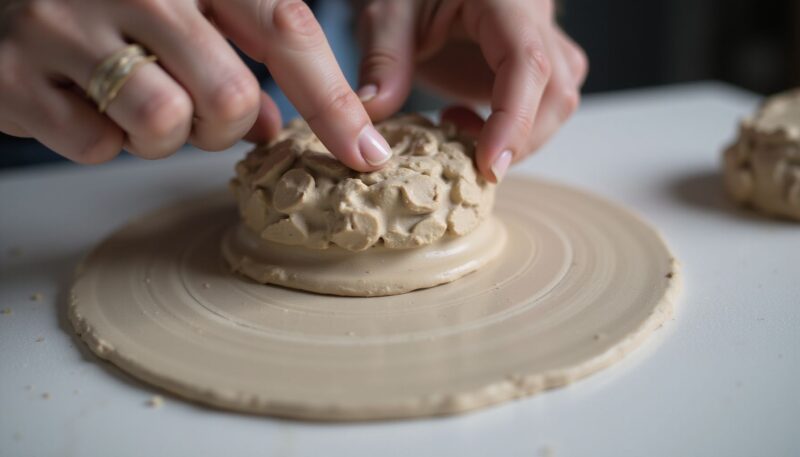
Start by pulling a small amount of clay from your block—about the size of a walnut. Roll the clay between your palms until you have a sphere free of deep creases. This circular motion helps warm the clay, making it more pliable. If the clay is too cold, it may resist shaping; a bit of warmth from your hands works wonders. Check the surface for any lint or dust picked up from your desk; pluck it away now so it doesn’t get baked into the final finish.
Step 3: Shape the stone
Gently flatten your ball into a smooth, rounded oval or disk. You want a shape that sits comfortably in your palm without feeling overly bulky. If you struggle with free-hand shaping, pull out a 14 easy art projects for teens that are super fun reference for inspiration on working with molds or custom stamps. Press the edges of the clay until they feel rounded and soft to the touch. Sharp edges feel abrasive against the skin later, so take your time to push the material into a pleasing, organic frame.
Step 4: Add personalization
This is where your stone becomes unique. Use a stylus, a toothpick, or even an embossing stamp to press a pattern into the face of the clay. Some people carve initials, while others prefer simple geometric lines or a textured hash-mark pattern. The Crafty Chica blog suggests pressing an intention into the clay, treating the object as a focal point for focus and strength. These small carvings provide extra surface area for your thumb to grasp, enhancing the tactile experience of the stone.
Step 5: Incorporate an intention
Mindfulness is a core part of the process. As you work, intentionally breathe and focus on a specific thought or positive affirmation. You might visualize comfort, peace, or resilience as you press those carvings into the clay. This practice turns a mundane craft into an intentional ritual. Much like 12 easy summer crafts for kids to keep them busy, this activity encourages creativity while providing a tangible emotional anchor. Think of this as imbuing the item with a purpose before it even hardens.
Step 6: Smooth the surface
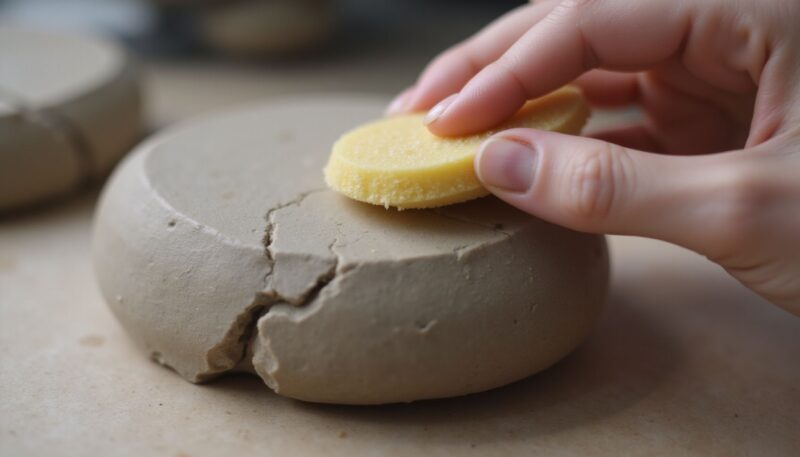
The secret to a professional-looking stone is water. If you notice tiny cracks or rough spots, dip your fingertip into a very small amount of water and lightly rub the surface of the clay. The water acts as a lubricant, allowing the clay particles to settle into a smooth, uniform skin. Do not over-saturate the clay, or it will become mushy and lose its structural integrity. Light, repetitive motions are the most effective way to eliminate texture and create that signature soft-touch feeling.
Step 7: Harden the stone
Whether you use air-dry or polymer clay, follow the manufacturer’s instructions precisely. Air-dry clay needs 24 to 48 hours in a low-humidity area to dry thoroughly; rushing this can result in hidden moisture that leads to later cracks. If you are baking polymer clay, place the finished stones on a foil-lined tray and set your oven to the temperature indicated on the packaging. Once the timer dings, turn off the heat and let the stones cool entirely before you try to handle them or apply a final sealant.
Mistakes to Avoid
The most common trap is ignoring edges. If your stone feels sharp anywhere, it will dig into your skin as you rub it, which is the exact opposite of a relaxing experience. Always take an extra minute to buff the edges with your fingertip.
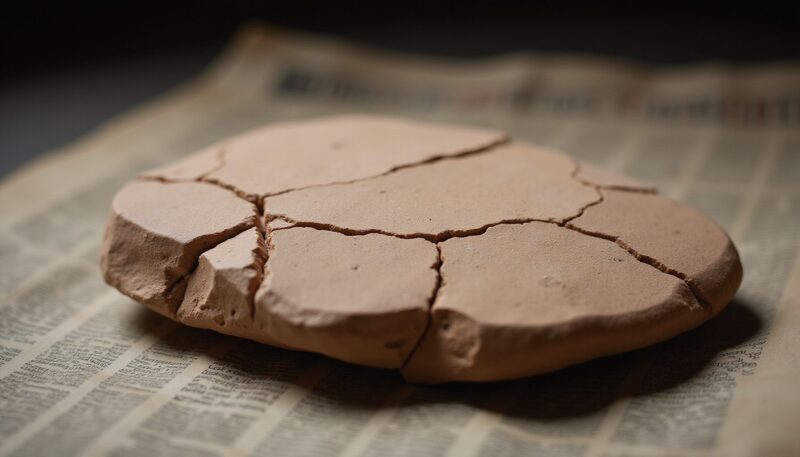
Another frequent oversight involves the drying environment. If you leave the stone near a heater or in direct, intense sunlight, the outer layer will dry faster than the middle. This leads to surface fractures. Let them dry in a cool, shaded spot away from direct heat sources.
Lastly, do not skip sealing your finished product. Even if the clay is hard, the surface can still absorb oils from your skin or collect dirt over time. Using a thin layer of non-toxic varnish preserves your hard work and keeps the stone feeling fresh for years.
Troubleshooting
If the clay has become crumbly or tough to mold, it likely lost too much moisture. Add a single drop of water and knead it gently to restore the texture. Do not force it; persistence pays off as the clay absorbs the water.
Surface cracks are another annoying issue. If you spot them after the stone has started drying, do not panic. Take a tiny bit of fresh clay, smear it into the crack like spackle, and smooth it over with a wet finger. It will blend seamlessly once the piece is fully cured.
Weight issues are mostly about the initial volume. If the stone feels too heavy, your next version should start with 20% less clay. You can also press slightly deeper into the center to create a more substantial basin, which removes a small amount of material from the core.
FAQ
Q: Which clay is best for beginners?
The best choice is often Fimo Air because it is specifically formulated to be supple and easy to handle without leaving a sticky mess on your hands. It responds well to water, allowing you to buff out imperfections with minimal effort. This makes it an ideal, beginner-friendly material for anyone wanting to create a smooth, durable stone without needing access to a high-heat kiln or complex professional equipment.
Q: Can I use these for children?
Worry stones are highly effective tools for kids, particularly for those learning to manage big feelings or separation anxiety in school settings. Creating these in a group encourages open, low-pressure conversations about emotional regulation. You can even personalize them by painting faces or small icons on the back to make them extra special, which helps children form a positive, comforting association with their new coping tool.
Q: Can I paint them?
Painting is a great way to personalize your stones once they are fully cured and cooled. Use high-quality acrylic paints and fine-tipped brushes to ensure durability. You can add artistic designs, abstract patterns, or short, encouraging words like “breathe” to enhance the stone’s therapeutic value. Always wait for the paint to dry completely before applying a final coat of clear, non-toxic varnish to protect your design from daily wear.
My Experience With how to make worry stones
I remember the first time I realized how much the simple weight of a stone in my palm could ground me. I sat at my desk with a block of clay that felt way too stiff, thinking I had made a huge mistake. The trick, I soon learned, is the “warm-up.” If you don’t spend those initial minutes rolling the clay until it feels supple, you’re fighting the material the whole time. It’s essentially a pre-activity warm-up for your hands.
I used a heart-shaped cutter, which felt a little too “craft project” at first, but honestly, having a defined shape gave me a better baseline for the thumb rest. I found that if I pressed my thumb in while the clay was slightly damp, it kept its shape much better than if I tried to carve it later. It is a tiny detail, but it makes the final result feel so much more professional. You don’t need a degree in ceramics to make something that actually helps keep you calm, but you definitely need patience during the drying phase. Have you ever tried making your own tactile tools for stress relief?
Next Steps
Experimenting with different clay textures is the best way to develop your personal style. Some prefer heavier polymer versions that feel solid, while others find the lightweight nature of air-dry clay more comforting. You could also try creating a set of different sizes—a small one for your pocket and a larger one for your nightstand. As your skills grow, look into water-based glazes to give your collection a polished, glass-like finish. Sharing these as handmade gifts is also a thoughtful way to help friends find their own moment of quiet.
A Teacher with 5 years of experience. Our Expertise, is reliable to meet your full Academic development needs . Worked on many crafts and construction projects offering services from design to development to deployment over the years. You will find many of my works in my business portfolio on request.