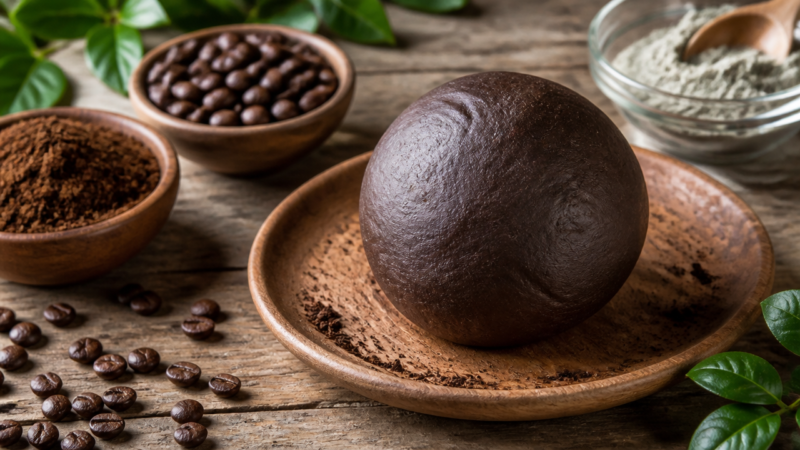
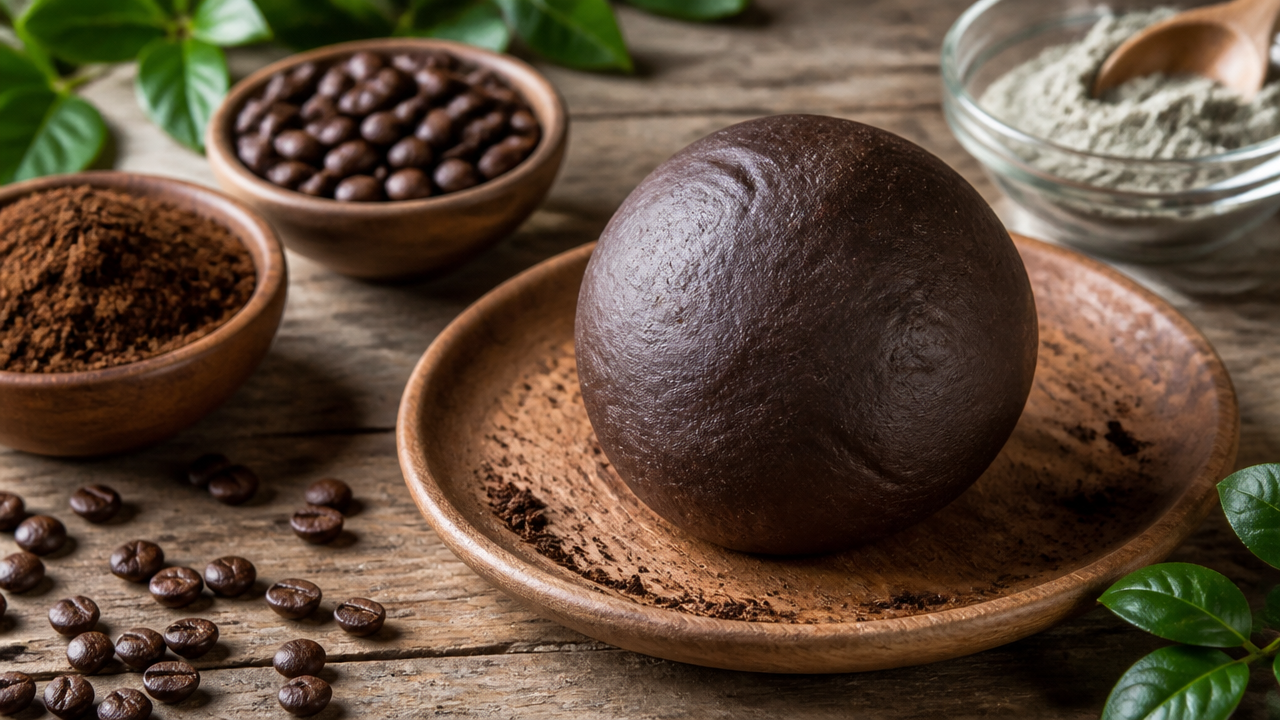
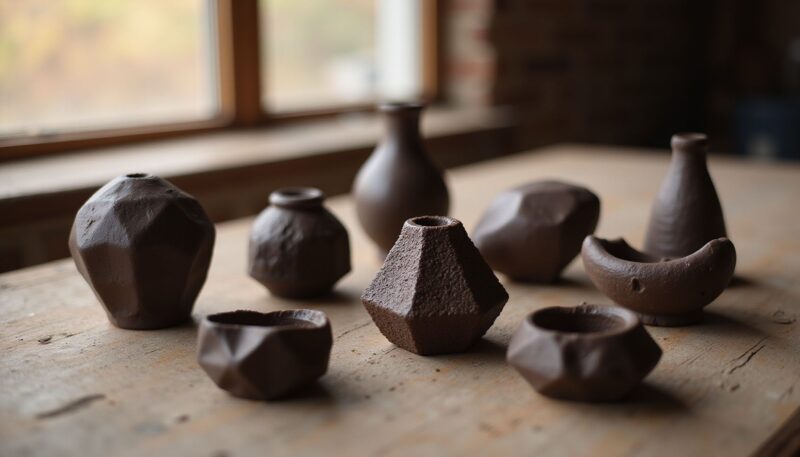
Have you ever wondered how to turn spent grounds into tactile art with our simple coffee clay recipe? Finding creative ways to repurpose daily waste into 12 Easy Crafts to Do at Home with Simple Supplies allows you to explore new sensory textures while freshening up your home decor. Whether you are prepping for a cozy autumn afternoon or looking for a project for 12 Easy Summer Crafts for Kids to Keep Them Busy, this easy coffee clay is a perfect choice. This versatile medium brings a rustic, warm aesthetic to any project, making it ideal for those interested in 14 Easy Art Projects for Teens That Are Super Fun. Let’s start crafting.
Quick Questions and Answers
Question: why does coffee clay stick to my hands?
Answer: Coffee clay sticks because it is naturally soft and slightly sticky to the touch, especially before kneading is complete. You must knead it thoroughly for 2–3 minutes until it holds its shape and feels like bread dough. Adding a little flour to your hands or work surface can also reduce stickiness and make it easier to handle.
Question: can you make coffee clay without drying grounds first?
Answer: Yes, you can use fresh coffee grounds without drying them first because water will be added to the mixture anyway. However, drying the grounds overnight or baking them at 200°F for 30 minutes removes excess moisture, which helps achieve a better consistency. Most recipes recommend drying for optimal results, but it is not strictly mandatory if you adjust the water amount.
Question: do i need sand to make coffee clay?
Answer: Some recipes include sand, such as ¼ cup, to add texture and make the finished clay feel more rustic or stone-like. However, sand is optional, and many simple versions work well using only flour, salt, coffee grounds, and water. You can skip the sand if you want a smoother finish or if you don’t have it available.
Key Takeaways
This modeling medium relies on kitchen staples to create a durable, fragrant dough.
Proper preparation of the coffee grounds is the most significant factor in preventing mold and ensuring structural stability.
You can customize the firmness by adding small amounts of household adhesive or adjusting the liquid ratios during the mixing phase.
What You Need: Ingredients and Tools
Item
Purpose
Notes
All-purpose flour
Provides structure
Essential for binding
Kitchen salt
Preservative/stabilizer
Prevents organic rot
Spent coffee grounds
Texture and aroma
Must be dried fully
Water or cold coffee
Binding liquid
Add slowly to control
White school glue
Enhances firmness
Optional but helpful
Parchment paper
Work surface
Prevents sticking
Rolling pin
Flattening
Useful for tags
Cookie cutters
Shaping
Creates clean edges
Step-by-Step Process
Step 1: Prepare the grounds
Gather your spent grounds and spread them out on a baking sheet. You must ensure all moisture is gone before mixing, as damp organic material is a breeding ground for bacteria, per guidelines from the Environmental Protection Agency regarding organic decay. Allow them to sit overnight in a dry space, or place them in an oven preheated to 200°F for 30 minutes. Dry grounds serve as the backbone of your project, providing the necessary dark, rustic flecks that give this clay its name.
Step 2: Combine dry ingredients
Generating image 3…
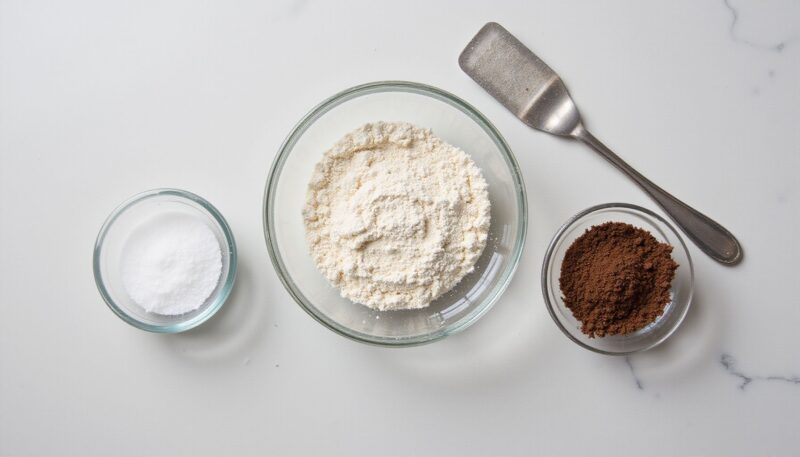
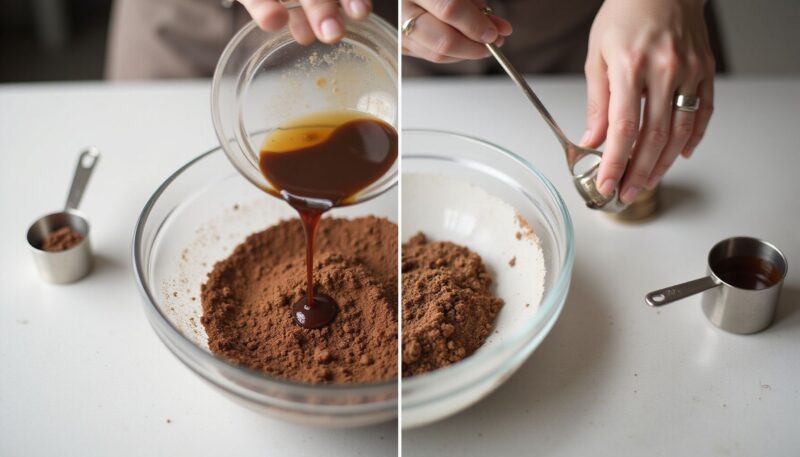
Grab a large mixing bowl and toss in your flour, salt, and prepared coffee grounds. Salt acts as a natural inhibitor and a structural binder, which the American Chemical Society notes is vital for consistent texture in any flour-based dough. Stir these together thoroughly using a spatula or spoon until the coffee grounds are evenly distributed throughout the white flour. Achieving a uniform color before adding liquid is the secret to a professional-looking finish.
Step 3: Add the liquid
Pour your water or leftover brewed coffee into the dry mixture in small increments. Start with only 1/4 cup at a time. Mix slowly while paying attention to the feel of the dough. Stop immediately when the mixture gathers into a cohesive ball that no longer clings to the sides of the bowl. If you use too much liquid, the dough becomes a sticky mess, which is frustrating to work with.
Step 4: Knead the dough
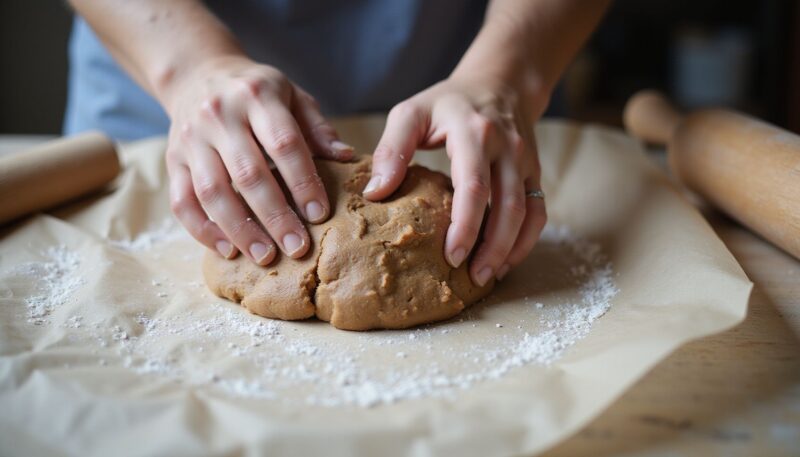
Move your dough onto a sheet of parchment paper. Knead it firmly with your palms for at least 3 minutes, or until the texture becomes consistent and smooth. If you find the dough is too loose, sprinkle a teaspoon of flour onto your hands and fold it in. For those wanting a harder final product, this is the perfect time to swirl in a tablespoon of standard white school glue.
Step 5: Shape your art
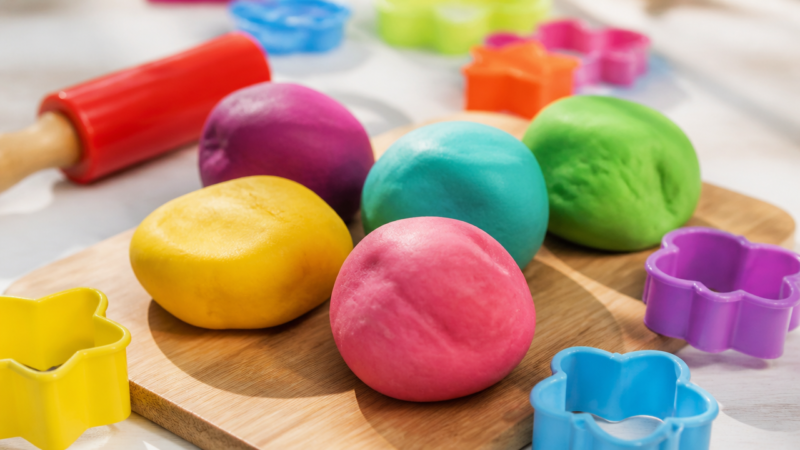
Flatten the clay using a rolling pin until it reaches your desired thickness. Use your favorite cookie cutters to stamp out shapes like stars, hearts, or gift tags. If you are using molds, make sure the surface is lightly dusted with flour first to avoid permanent bonding. Carefully lift your finished shapes and place them on a clean sheet of parchment paper to begin the drying process.
Mistakes to Avoid
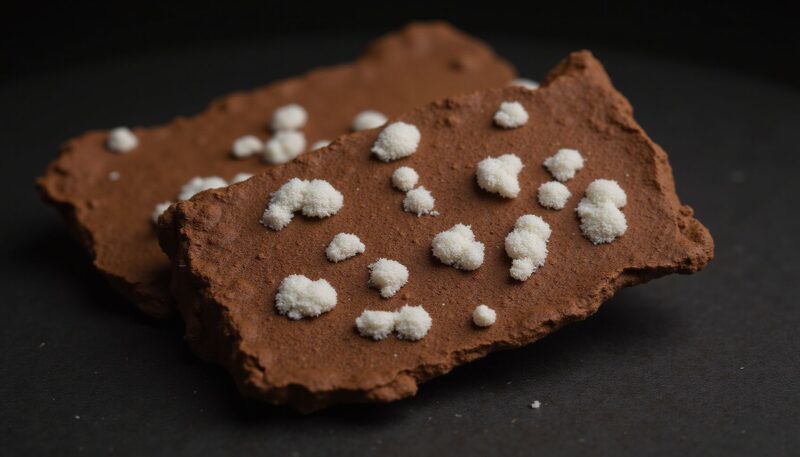
Do not attempt to use fresh, wet grounds immediately. This mistake guarantees your projects will grow mold within days as moisture trapped inside the clay rots the organic matter. Always prioritize the drying step.
Dragging your feet on the liquid addition is another common slip-up. Add water slowly, as you can always add more moisture, but reversing a soup-like mess is incredibly difficult.
Forget to seal your pieces securely. Even when hardened, this clay remains porous. Without a sealant, the finish may degrade if exposed to humidity or spills.
Troubleshooting
If the clay feels sticky even after a minute of kneading, do not panic. Simply add flour one tablespoon at a time until the dough releases from your skin.
Crumbly dough usually means your coffee grounds were too coarse or your liquid ratio is off. Add water in tiny drops while massaging the clay; the consistency should mimic playdough.
Projects that crack often do so because they dry in direct, intense sunlight. Move your pieces away from windows where the air is still and the temperature is moderate to ensure the moisture evaporates evenly.
FAQs
Q: Can I store extra clay?
Yes, you can keep the unused portion for about a week. Seal it inside an airtight bag or a glass container and stash it in the refrigerator. Before using it again, let it reach room temperature to restore its natural pliability. If it feels a bit tough, a tiny drop of water kneaded into the center usually brings it right back to a usable state.
Q: How long does it take to dry?
Depending on how thick your shapes are and how humid your home is, air-drying typically requires 48 hours. Patience is your best ally here. If you are in a rush, you can place the tray in a low-temperature oven at 170°F for an hour, but keep a close eye on it to prevent curling or cracking from the heat.
Q: Is it edible?
No, never eat this mixture. Even though it contains coffee and flour, the salt concentration is quite high and can cause stomach distress. It is strictly a non-toxic craft material meant for sensory play and decoration, not for consumption by pets or children. Always supervise little ones during the creative process to ensure they treat the clay as a toy, not a snack.
My Experience With how to make coffee clay
My first attempt at making this dough was a disaster—I didn’t dry the grounds enough, and the resulting mess smelled more like a swamp than a café. I learned the hard way that impatience is the enemy of craft. Once I started dehydrating the grounds thoroughly in the oven, however, the process became much more reliable.
I’ve found that working on parchment paper is a non-negotiable step. Without that barrier, you’ll spend more time scraping the counter than you will sculpting your creations. One expert tip: if you want jewelry or ornaments that don’t snap, the secret really is in that tiny dash of school glue. It doesn’t change the texture, but it gives the final piece a “snap” resistance that standard flour and salt dough often lacks. The texture is gritty and tactile, perfect for those who enjoy the “mud pie” feeling of crafting. It’s a messy, fragrant, and deeply satisfying way to spend an afternoon. Have you tried adding essential oils to yours yet, or do you prefer the natural scent of the coffee beans?
Conclusion
Coffee clay is a wonderful project that bridges the gap between waste reduction and creative expression. By mastering the ratios and taking the time to prepare your grounds properly, you can produce beautiful, fragrant art that lasts for years. Start small with simple shapes, and soon you will be creating unique decor that perfectly complements a rustic home.
Latest Updates
As of 2026, the trend of using “waste-to-art” materials continues to gain traction, with more crafters focusing on biodegradable sealants like natural beeswax to finish their coffee clay sculptures. This ensures your projects remain durable without relying on synthetic heavy-duty varnishes.
Recipe Card
Classic Coffee Clay
A simple, fragrant, and durable modeling dough made from recycled coffee grounds and pantry staples.
A Teacher with 5 years of experience. Our Expertise, is reliable to meet your full Academic development needs . Worked on many crafts and construction projects offering services from design to development to deployment over the years. You will find many of my works in my business portfolio on request.