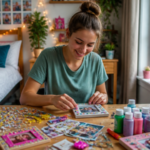
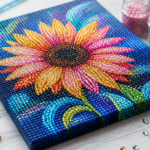
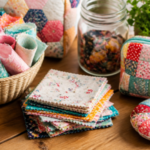
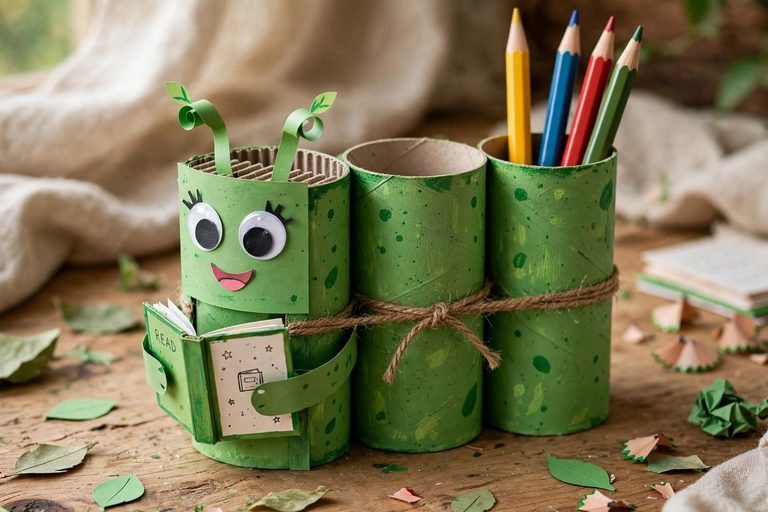
What makes a truly great Mod Podge craft stand out from every other project you have tried to tackle at home? Mod Podge serves as the ultimate creative glue, sealer, and finish for wood, fabric, and paper surfaces alike. Whether you are prepping for a seasonal holiday dinner or just want to organize your craft room, this medium makes personalization easy. You can transform simple household items into beautiful, functional decor that looks like you bought it at a store. Let’s look at 12 beginner-friendly ways to get started.
Quick Questions and Answers
Question: What are easy Mod Podge craft ideas for beginners? Answer: Easy projects for those starting out include lace earrings, scrapbook paper wall art, photo tile coasters, and simple notebook or jar makeovers. Mod Podge Rocks specifically says some beginner projects take only three steps and require no experience. Its massive collection of tutorials includes more than 20 easy ideas to help you build your confidence while working with the medium.
Question: Can you use Mod Podge on wood, glass, and fabric? Answer: Yes. Vaessen Creative lists photo transfers to wood, coloured glass, flower pots, 3D letters, furniture, jewelry, bags, shoes, and dishware as common applications. It demonstrates that the medium works across many surfaces, provided you select the right formula—like the specific versions made for fabric or dishwasher-safe projects—to match your intended material.
Question: What Mod Podge projects make good homemade gifts? Answer: Projects that are easy to personalize tend to work best for gifts, such as monogram pendants, magnets, pressed flower sun catchers, journals, and bookmarks. A YouTube roundup of 12 handmade gifts specifically includes several of these items. These gifts are popular because they allow for a personal touch without requiring a professional studio or expensive equipment.
1. Quick Lace Earrings

These are a perfect beginner project that requires no prior crafting experience. You can find lace scraps in your stash or buy small, inexpensive pieces at a local shop. The entire process takes approximately 20 minutes to complete from start to finish. Success relies on just three simple steps: cutting the lace to size, applying a thin layer of the medium, and letting it dry completely.
2. Personalized Photo Tile Coasters

Transform standard ceramic tiles into functional household decor using your favorite printed photos. Mod Podge acts as both the adhesive to hold the print and the topcoat to protect it from moisture. Using napkins or thin tissue paper is a popular alternative for creating intricate decorative patterns on the tiles. If you are looking for more ways to start a side project, these 12 Creative Handmade Crafts to Sell on a Budget are excellent practice for learning to market your handmade goods.
3. Rustic Photo Transfers to Wood
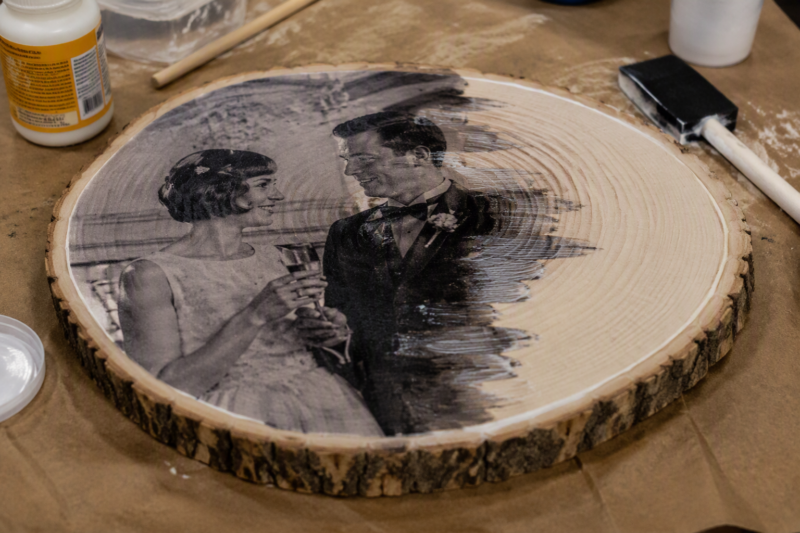
This technique allows a printed image to bond directly to a wood surface. Because the wood grain shows through the image, it provides a natural, vintage aesthetic that is hard to replicate. You should use laser-printed photos for this process. Pro tip: always apply them in reverse to ensure the final image appears correctly on the wood after you peel away the paper backing.
4. Upcycled Mason Jar Lid Coasters

Repurpose metal jar lids as the base for small, circular coasters. You can personalize them by decoupaging patterned scrapbook paper or fabric directly onto the metal insert. Sealing the surface with a clear-coat finish prevents rings from condensation when you set a glass down. These are quick to make in batches and look great when they feature matching or complementary paper patterns.
5. Decorative Wood Slice Magnets
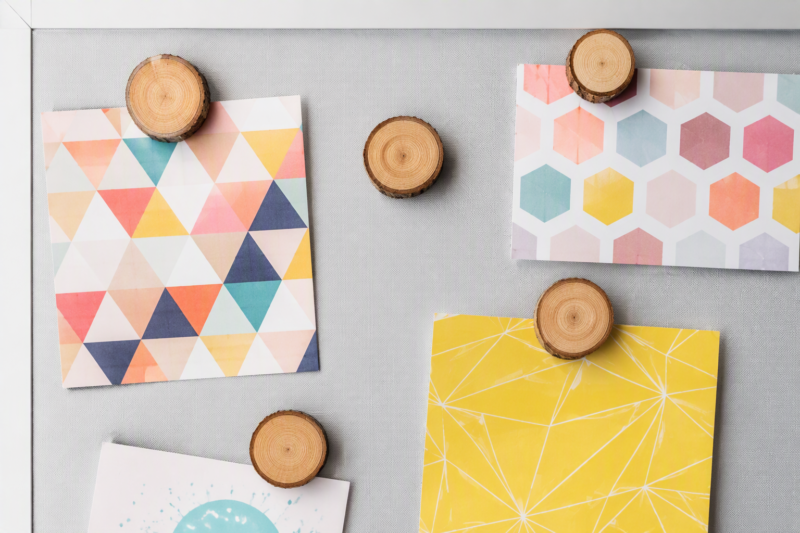
Ideal for fridge organization, these crafts pair well with rustic or cabin-style home decor. Apply paper cutouts or small photos to the wood slice and seal with a matte finish to maintain the organic look. Ensure the wood is sanded smooth before application to prevent bumps in the final finish. You can often find pre-cut wood slices at craft supply stores, which saves time on the prep work.
6. Monogram Glass Marble Pendants
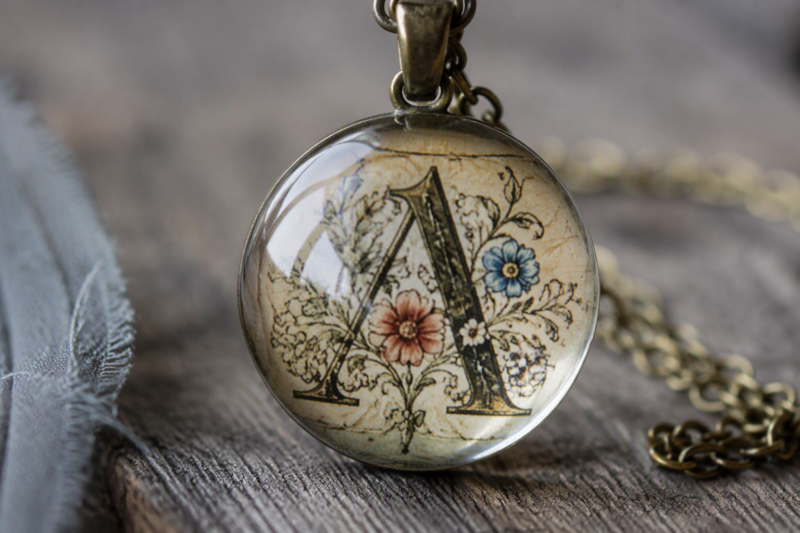
Use clear glass marbles or cabochons to create custom pendant necklaces. The process involves bonding a small monogrammed paper circle to the back of the glass with the glue. Once dry, the piece can be mounted into a jewelry bail for a personalized, handmade gift. These are tiny, delicate projects that make excellent party favors or unique gifts for friends and family.
7. Baked Colored Mason Jars
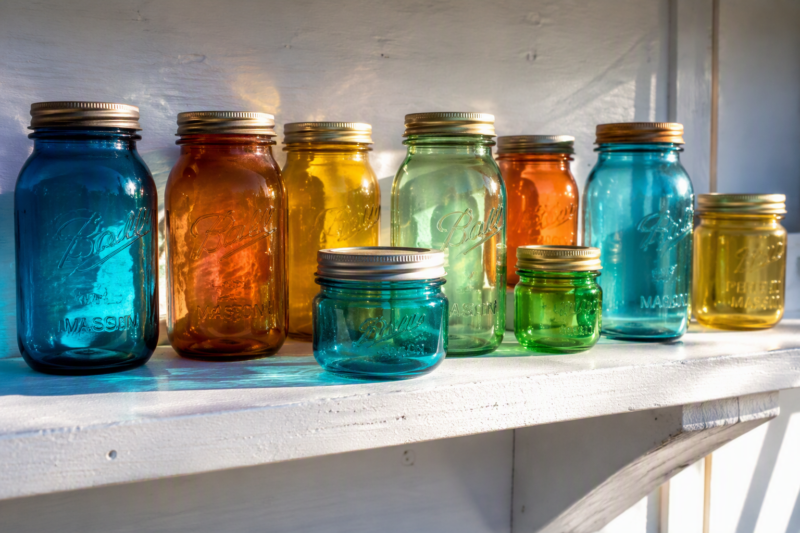
Create custom tinted glassware by mixing small amounts of food coloring or acrylic paint with the sealer. Apply the mixture to the interior or exterior of the glass jar for a beautiful, stained-glass appearance. Bake the jars at 250°F for 30 to 45 minutes to permanently set the finish. This heat process helps the finish harden, which prevents it from scratching off during regular use in your home.
8. Napkin Decoupage Seashells
Perfect for coastal-themed rooms, this craft uses delicate patterned napkins applied to natural shells. You must separate the layers of the napkin to use only the thin printed ply. This prevents the decoupage from wrinkling or tearing. The medium acts as a bridge to secure the paper to the shell’s uneven surface, creating a seamless and decorative finish that brings a bit of the ocean inside.
9. Refurbished Furniture Makeovers
Give a second life to vintage desks, chairs, or chests of drawers using fabric or paper overlays. Apply the adhesive to the furniture surface, smooth down the chosen material, and finish with a heavy-duty topcoat for extra protection. This method is an effective way to hide deep scratches or outdated finishes on thrift store items. It changes the look of a room without needing a full paint job.
10. Custom 3D Letter Displays
Cover wooden or cardboard 3D letters with photos or scrapbooking paper to spell out names or words. This makes for an excellent mantel or shelf display that can be customized to any color scheme. You can apply Dimensional Magic over the letters afterward for a glass-like, raised finish. For younger makers, these are some of the best 10 Simple Handmade Crafts to Sell for Kids to Try Today because they offer instant gratification.
11. Handcrafted Floral Bookmarks
Create unique bookmarks using cardstock or heavy paper decorated with pressed flowers or cut-out images. Seal the bookmark with a thin, even coat to prevent fraying and water damage. Adding a fabric tassel through a pre-punched hole provides a professional, finished touch that makes them look store-bought. These are ideal projects for using up scraps of high-quality paper.
12. Iron-Flat Decoupage Technique
For larger projects, use an iron to ensure the paper lies perfectly flat on the surface. Always place a piece of parchment paper between the iron and the surface to prevent burning or sticking. This pro-tip significantly reduces bubbling and uneven textures during the drying process. It is the secret to getting a smooth, professional look on flat furniture panels or large wall art pieces.
| Project | Difficulty | Best For | Finish Style |
|---|---|---|---|
| Lace Earrings | Beginner | Jewelry | Delicate |
| Photo Tiles | Easy | Home Decor | Glossy/Durable |
| Wood Magnets | Easy | Organization | Matte/Rustic |
| Colored Jars | Intermediate | Gift Giving | Stained Glass |
Common Mistakes
Bubbling is the most common issue people face. It usually happens when you use too much glue or don’t smooth the paper properly from the center outward. You can fix this by using a brayer or a credit card to squeegee out the excess adhesive. Another frequent mistake is forgetting to seal the edges of your paper completely. This causes the paper to peel up over time. Make sure you apply a light coat over the entire edge to lock it in place. Finally, don’t rush the drying process. Even if it feels dry to the touch, the glue needs time to cure so it doesn’t stay sticky in humid weather.
FAQ
Q: How do you choose the right Mod Podge finish?
Selection usually depends on the look and use case. Gloss gives a shiny finish, while Matte provides a softer, non-reflective look. You should use the Fabric formula for textiles, the Outdoor version for items left in the elements, and the Dishwasher Safe formula for decorated dishware. Vaessen Creative names several of these product-specific options when describing different project types, ensuring you have the right base for your specific DIY task.
Q: Why do some Mod Podge photo transfers need laser prints?
Some photo transfer tutorials specify laser prints printed in reverse because the image is flipped during the transfer process. Doodle Craft notes that its method relies on a reversed laser print to ensure the final result faces the correct way. After applying the print to the surface, the project requires drying under pressure for 24 hours to ensure the ink transfers cleanly to the wood or other material.
Q: How long do Mod Podge crafts usually take to dry?
Dry time depends on the project, but sources show ranges from minutes to a full 24 hours. Mod Podge Rocks cites a 20-minute earring project, while other tutorials recommend letting molded or large items sit overnight or for a full 24 hours. Always check your specific project instructions, but when in doubt, giving the piece more time to cure will result in a more durable and professional-looking craft.
Q: What are the best Mod Podge ideas for home decor?
Popular home-decor ideas include wall art, faux stained glass, flower pots, furniture makeovers, decorative candles, and 3D letters. These appear across both Mod Podge Rocks and Vaessen Creative as recurring, high-interest uses for the medium. You can combine these items to create a cohesive look in your living space by using similar papers or fabric patterns across multiple pieces of home decor.
Q: Are Mod Podge candle projects safe to burn?
Decorative Mod Podge candle projects are generally for display only, not burning. Vaessen Creative explicitly warns not to burn its decorated candles. This means you should treat these as decorative objects rather than functional light sources. If you want a candle that you can actually burn, consider using a battery-operated wax candle instead, which allows for the same look without the fire hazard of paper near a real wick.
Q: Which Mod Podge projects are best for kids or beginners?
Simple paper-based projects and small decorative items are the best fit for beginners or kids, such as scrapbook paper wall art, notebooks, magnets, and 3D letters. The beginner roundup emphasizes projects that require no experience. Because the materials are inexpensive and easy to handle, you can learn the basics of decoupage without feeling overwhelmed by complex steps or high costs.
Q: What are the most popular types of Mod Podge crafts?
The most common types across the sources are wall art, photo transfers, coasters, jewelry, jars, journals, furniture makeovers, and seasonal decor. Mod Podge Rocks’ 101-idea list and Vaessen Creative’s application guide both show that the medium is used most often for personalization and surface decoration. Whether you are upcycling an old jar or creating a custom piece of jewelry, the medium remains a go-to for those looking to personalize their belongings.
My Experience With 12 Creative Mod Podge Craft Ideas for Beginners
I have spent many afternoons covered in that familiar, sweet-smelling glue, and I can say one thing for sure: patience is your best tool. Early on, I ruined a perfectly good desk makeover because I got impatient and used too much glue. The paper rippled, and the result was a lumpy mess that had to be sanded off. Learn from my mistake—apply thin, even coats rather than globbing it on.
One expert trick I swear by is using a brayer to flatten my paper. It’s a total game-changer for avoiding those annoying bubbles that seem to appear out of nowhere. I also learned that if you’re doing photo transfers, the quality of your laser print really does dictate how rustic the final piece looks. It’s not just about slapping paper on a surface; it’s about understanding how the medium bridges the texture of the base material. The best part is that if you mess up, you can usually soak it and start over. It is very forgiving once you get the hang of it. Have you tried a project that went a bit sideways, or did your first attempt come out perfect?
Conclusion
Mod Podge is an essential tool for any DIY enthusiast, whether you are a complete novice or a seasoned crafter. By choosing the right formula—be it Matte, Gloss, or Outdoor—you can ensure your projects are both beautiful and durable. Start with simple items like coasters or bookmarks to master your technique before moving on to larger furniture pieces. You will find that the more you experiment, the more you will appreciate how this simple medium transforms everyday objects.
References
- Doodle Craft. (2025, May 25). 25+ Mod Podge Crafts (Craft Project Ideas to DIY). Doodle Craft Blog. https://www.doodlecraftblog.com/2025/05/25-mod-podge-crafts-craft-project-ideas.html
- Intelligent Domestications. (n.d.). 20 Mod Podge Projects. Intelligent Domestications. https://intelligentdomestications.com/20-mod-podge-projects/
- Mod Podge Rocks Blog. (n.d.). EASY Mod Podge Projects for Beginners (20+!). Mod Podge Rocks. https://modpodgerocksblog.com/craft-ideas-for-beginners/
- Mod Podge Rocks Blog. (n.d.). 101 Genius Mod Podge Uses That Will Spark Your Creativity!. Mod Podge Rocks. https://modpodgerocksblog.com/101-mod-podge-uses/
- Mod Podge Rocks Blog. (n.d.). Mod Podge Crafts: Get the Ultimate Collection!. Mod Podge Rocks. https://modpodgerocksblog.com/mod-podge-crafts-tutorials/
- Vaessen Creative. (n.d.). What is Mod Podge? Ideas, Tips & Applications. Vaessen Creative. https://www.vaessen-creative.com/en/blog/what-is-mod-podge-ideas-tips
- YouTube. (n.d.). 12 DIY Handmade Gifts to Craft with Mod Podge How to Tutorial. YouTube. https://www.youtube.com/watch?v=i5nEu4lRC8o
- YouTube. (n.d.). 17 CREATIVE ways to DIY using Mod podge (MUST TRY EASY HOME DECOR CRAFTS). YouTube. https://www.youtube.com/watch?v=8inXAe95YOY

A Teacher with 5 years of experience. Our Expertise, is reliable to meet your full Academic development needs . Worked on many crafts and construction projects offering services from design to development to deployment over the years. You will find many of my works in my business portfolio on request.