Quick answer: The easiest watercolor design ideas to start with are simple, familiar subjects like fruit, flowers, and everyday school supplies, since each one breaks down into a few basic shapes and only needs a light pencil sketch before painting. Starting with a wet-on-dry or wet-on-wet wash and layering in details once the base color dries keeps the process approachable for beginners.
Watercolor can feel intimidating if you are staring at a blank page with no idea what to paint. The good news is some of the best beginner-friendly subjects are things sitting right on your desk or kitchen counter, like an apple, a flower, or a pencil cup. These everyday objects have simple, forgiving shapes, which makes them a great way to practice blending color and controlling water without worrying about complicated proportions. Here are 13 easy watercolor design ideas covering fruit, flowers, and school materials that you can paint today.
Watercolor Basics at a Glance
Supply
Best Use
Status
Round watercolor brush
General shapes and washes
Standard
Fine detail brush
Small lines and texture
Standard
Watercolor paper (cold press)
Holding water without warping
Standard
Masking fluid
Preserving white highlight areas
Varies
Multi-layer realistic shading
Advanced, detailed still life work
Caution
#
Watercolor Idea
Best For
1
Simple Apple
First timers
2
Citrus Slice
Bright color practice
3
Bunch of Grapes
Wet-on-wet practice
4
Watermelon Slice
Summer decor
5
Loose Wildflower
Any skill level
6
Sunflower
Bold, simple shapes
7
Rose in Bloom
Intermediate detail work
8
Eucalyptus Sprig
Loose, minimal style
9
Pencil and Eraser
School supply practice
10
Open Book
Readers and students
11
Backpack
Back to school themes
12
Paint Palette
Art room decor
13
Stack of Books with Apple
Teacher gifts
Time to Paint by Subject
10 min
20 min
30 min
45 min
1 hr
Apple
Wildflower
Grapes
Sunflower
Rose
1. Simple Apple
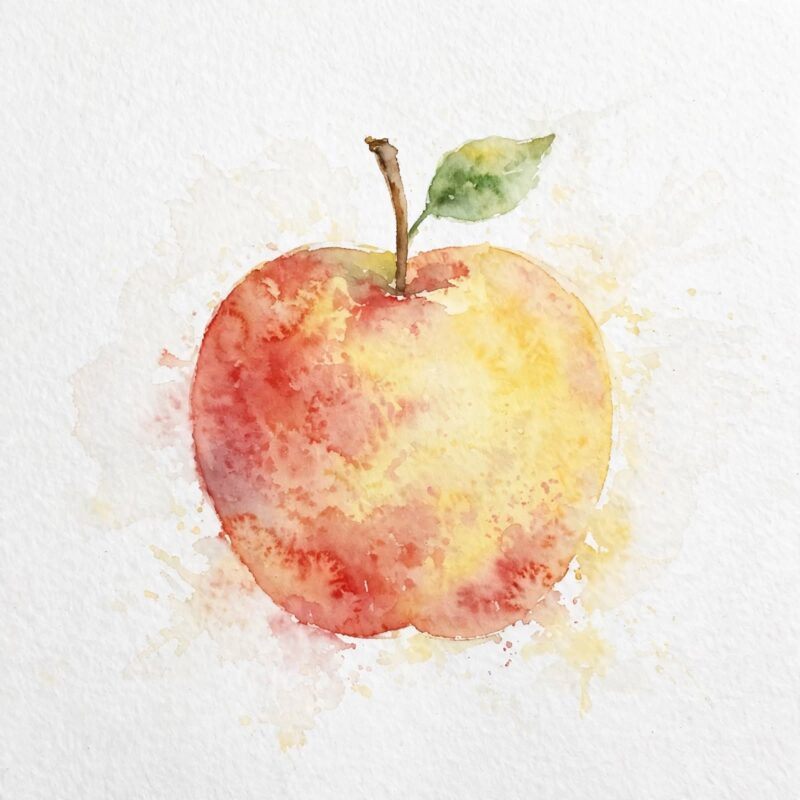
Paint a rounded apple shape with a light indent at the top, then add a small brown stem and a single green leaf. An apple is one of the best first fruit subjects because the body is just a slightly lumpy circle, which forgives uneven brushstrokes. Wet the apple shape first, then drop in red and a touch of yellow or green near the edges so the colors blend softly on the paper. Once the base layer dries, add a small dark red line down one side for shading and a tiny white highlight left unpainted for shine. This subject is quick enough to repeat several times on one page for practice.
2. Citrus Slice
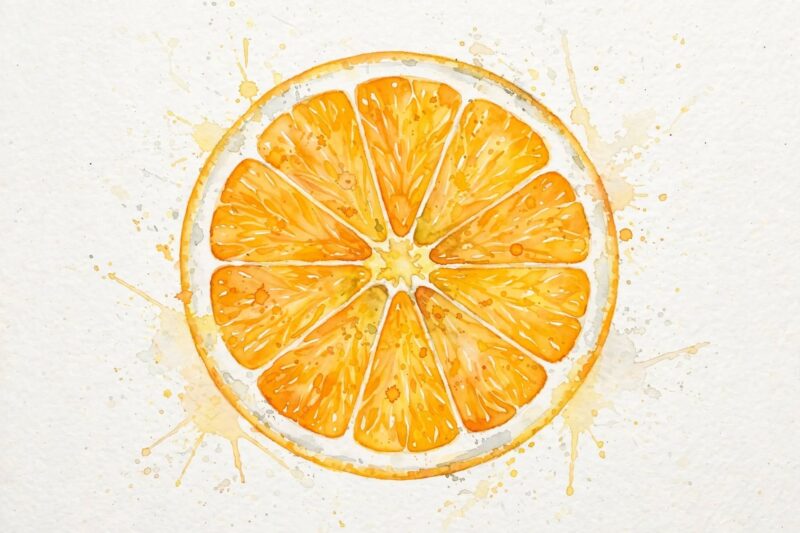
Paint a circle divided into wedges, with a thin white rind ring around the edge, for a bright, graphic citrus slice design. Citrus fruit is popular in watercolor because the wedge pattern is naturally forgiving, even slightly uneven lines still read as juicy segments. Paint the outer rind ring first in a pale yellow or orange, then fill each wedge separately so the wet edges blend just slightly at the seams. Leave a few small white dots inside each wedge unpainted to suggest the juicy texture. This design also works well repeated in a row as a border or pattern on its own.
3. Bunch of Grapes
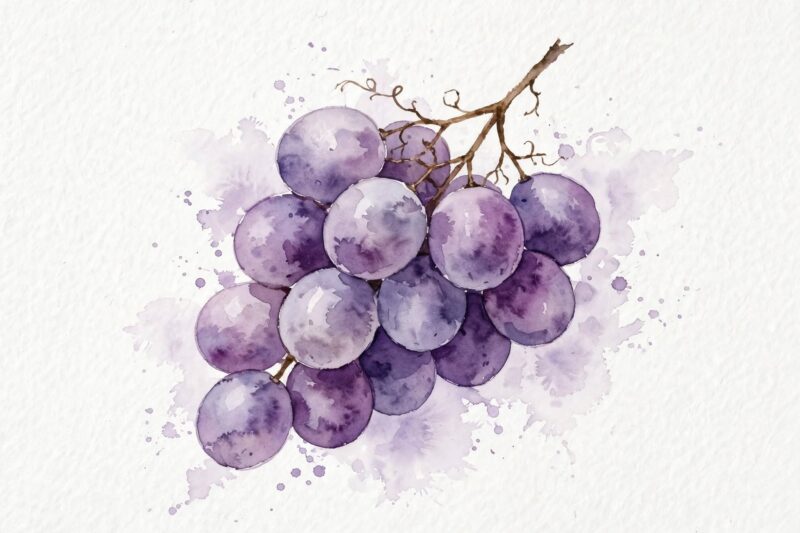
Paint a cluster of small overlapping circles in purple or green, then add a thin brown stem connecting them at the top. Grapes are a great subject for practicing the wet-on-wet technique, since letting neighboring circles bleed slightly into each other actually makes the cluster look more natural. Paint each grape as a loose circle, working from the top of the bunch down so gravity pulls the color naturally toward the bottom of each shape. Once mostly dry, add a small deeper purple dot to one side of a few grapes for simple shading. This subject is a nice way to practice painting many small shapes that still read as one cohesive object.
4. Watermelon Slice
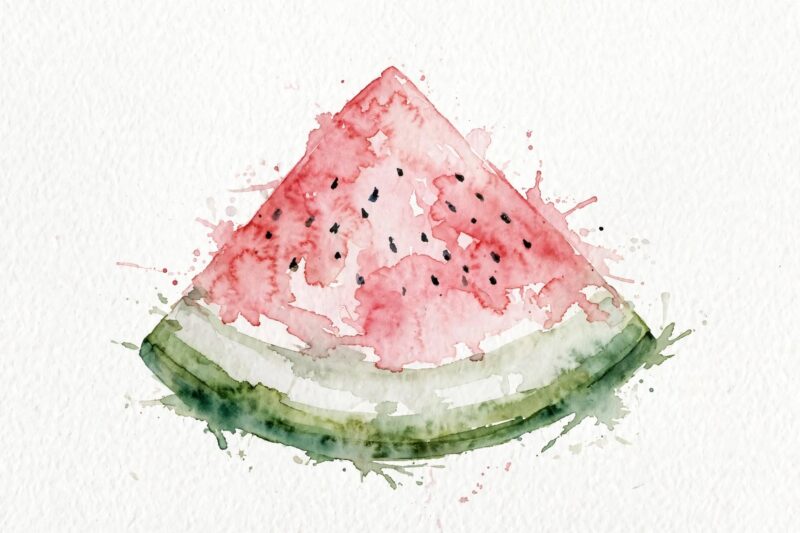
Paint a half-moon shape with a thin white rind, a pale green stripe, and a bold pink or red center dotted with small black seeds. A watermelon slice is an easy, colorful subject since it only needs three or four flat color bands stacked on top of each other. Paint the pink center first and let it dry, then add the green rind stripe just above it, leaving a thin white gap between the two colors. Once fully dry, dot in a handful of small black or dark brown seed shapes scattered across the pink area. This design is a favorite for summer-themed stationery, cards, or kitchen art.
5. Loose Wildflower
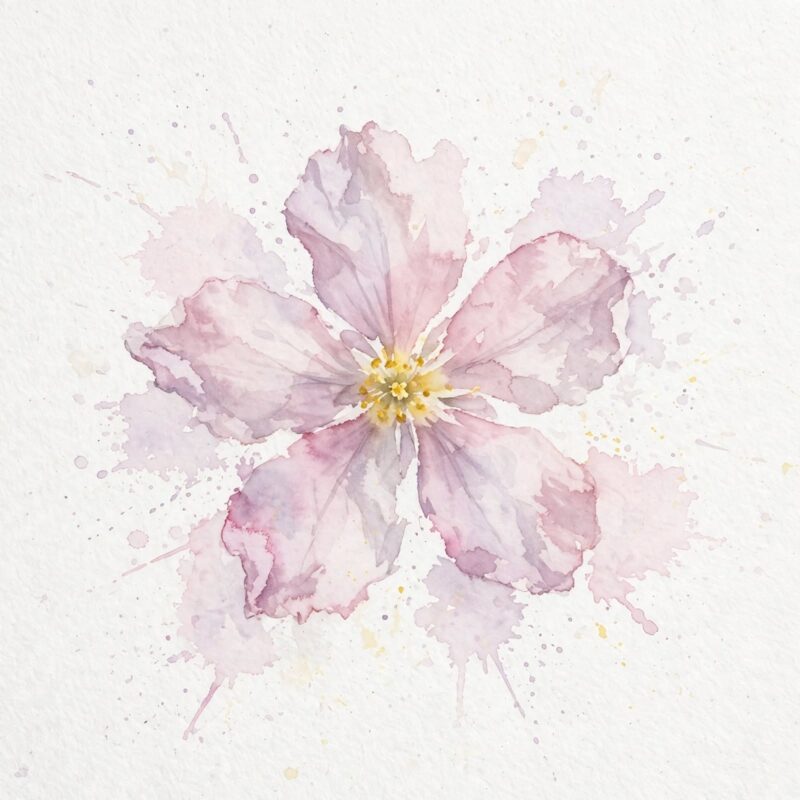
Paint a small flower using five or six loose, uneven petal strokes around a center dot, then add a thin stem and a couple of small leaves. Wildflowers are one of the most beginner-friendly subjects in watercolor precisely because they do not need to look perfect, real wildflowers are naturally a little messy and asymmetrical. Load your brush with paint and water, then touch it to the paper and pull outward in one motion to form each petal, without worrying about making them identical. Once the petals dry, add a small yellow or brown dot in the center. This subject works well painted many times across a page as a simple floral pattern.
6. Sunflower
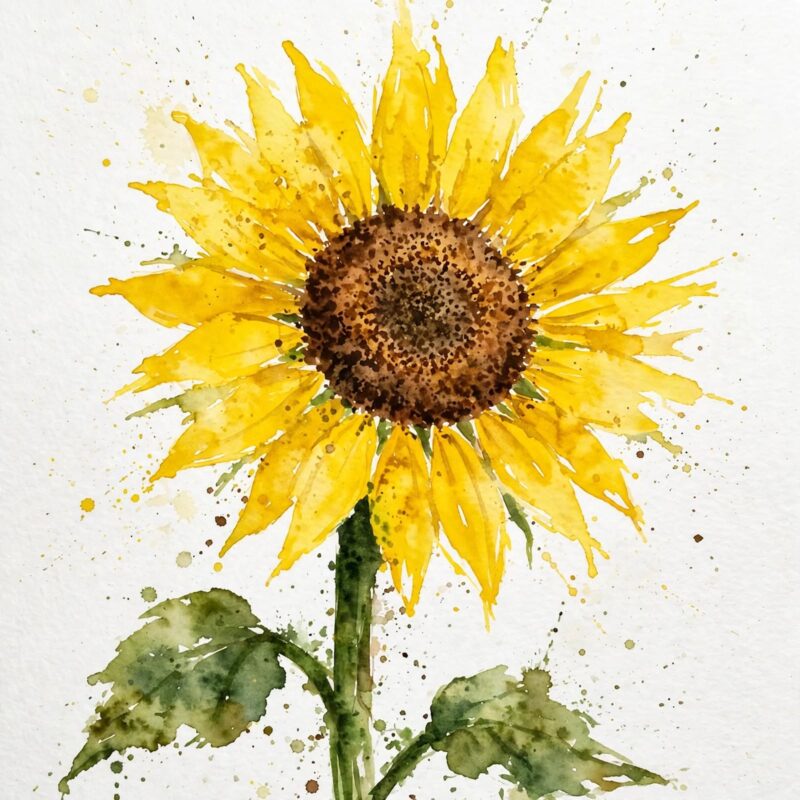
Paint a ring of long yellow petals around a textured brown center for one of the boldest, easiest flowers to recognize in watercolor. Sunflowers work well for beginners because the petals are simple elongated ovals, and the dark center hides small brush mistakes easily. Paint the petals first in a bright yellow, working outward from the center in a rough circle, then let them dry completely. Fill the center circle with brown or dark orange, then dab a slightly darker shade in small dots or texture marks once the base layer is dry. A thick green stem and a couple of large leaf shapes complete the design.
7. Rose in Bloom
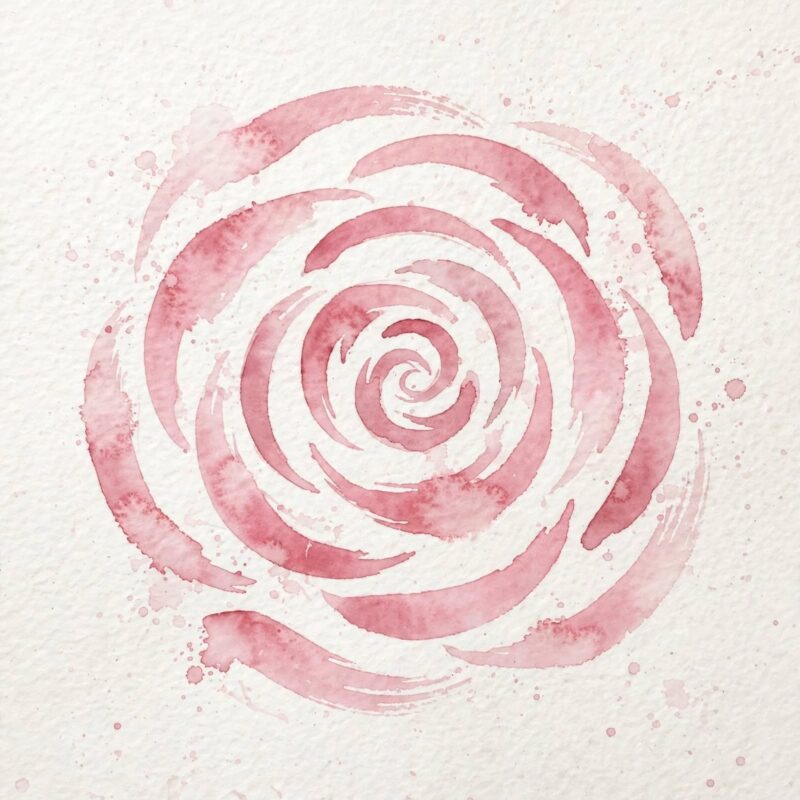
Paint a small spiral of curved petal strokes, building outward from a tight center, for a simplified rose that still reads clearly once finished. Roses look complicated but a loose, impressionistic version only needs a handful of curved brush strokes layered in the right order. Start with a small tight curve in the center, then add slightly larger curved strokes wrapping around it, working outward in a loose spiral. Using a slightly different shade of pink or red for the outer petals adds depth without much extra effort. This subject takes a bit more patience than the wildflower, so it fits well for someone ready for a small step up in difficulty.
8. Eucalyptus Sprig
Paint a thin curved stem with small round or oval leaves branching off on alternating sides for a soft, greenery-only design. Eucalyptus is a popular subject in modern watercolor because the muted green tones and simple leaf shapes create an elegant look without needing any flowers at all. Paint the stem first as one continuous curved line, then add the small oval leaves one at a time along its length, alternating sides as you move up. Mixing two or three shades of green for different leaves adds subtle variation without extra steps. This design works especially well as a border or corner accent around a word or quote.
9. Pencil and Eraser
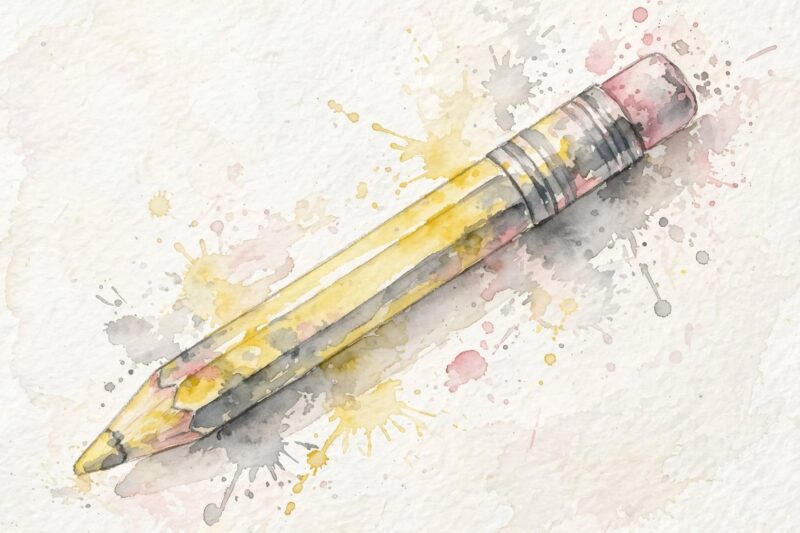
Paint a long yellow pencil shape with a pink eraser tip and a small gray metal band, angled slightly across the page. A pencil is a great beginner school-supply subject since the whole shape is really just a long rectangle with a pointed tip on one end. Paint the yellow body first, then add the pink eraser and gray metal band once that layer is dry so the colors stay crisp instead of bleeding together. A thin brown or black point at the very tip finishes the sharpened look. This subject pairs well with a short phrase like “back to school” for a simple, seasonal design.
10. Open Book
Paint two angled rectangles meeting in the middle, with thin curved lines suggesting pages, for a simple open book design. A book is an easy shape to simplify since the pages are mostly straight edges with just a slight curve where they meet in the center. Paint the cover color first if you want a closed spine showing, then add the lighter page color across both angled sides. Adding a few thin gray or brown lines along the page edges suggests texture without needing to paint individual pages. This subject works nicely paired with a small flower or leaf tucked into the spine for a cozy reading theme.
11. Backpack
Paint a rounded rectangle body with two curved straps and a smaller front pocket for a simple, recognizable backpack shape. A backpack breaks down into just a few overlapping rectangles with rounded corners, which makes it approachable even for someone new to painting objects instead of nature subjects. Paint the main body first in your chosen color, then add the smaller front pocket shape once the base layer is dry so the edges stay clean. Two curved strap lines at the top complete the design, and a small zipper line or buckle detail adds a nice finishing touch. This subject is especially popular for back-to-school cards and classroom decor.
12. Paint Palette
Paint an oval palette shape with a thumb hole cut out and several small dabs of different colors along one edge. A paint palette is a fun, slightly meta subject to paint since it lets you show off several colors in one small design. Paint the oval base first in a neutral tan or white, leaving the small thumb hole area unpainted. Once dry, add small circular dabs of bright color around the edge, letting each one dry before adding the next so they stay separate and vivid. This design works well as a fun art-room themed piece or a small icon next to a “create” or “paint” quote.
13. Stack of Books with Apple
Paint three or four stacked rectangular books in different colors, topped with a small red apple, for a classic teacher-gift design. This combination brings together two easy subjects from this list, the simple apple and basic rectangle shapes, into one slightly larger scene. Paint each book as a flat rectangle, varying the color and size slightly so the stack looks natural rather than perfectly uniform. Once the books are dry, paint a small apple on top using the same technique from the first idea on this list. This design is a popular choice for teacher appreciation cards and end-of-year gifts.
How Do You Paint Easy Watercolor Designs Step by Step?
Start with a very light pencil sketch of your subject’s basic shapes, wet the paper or brush depending on the effect you want, then build up color in layers from lightest to darkest. Sketching lightly first keeps your pencil lines from showing through the finished painting, since heavy graphite can smudge into wet paint. Working light to dark is especially important in watercolor because, unlike other paint types, you cannot paint a light color over a dark one once it dries. Letting each layer dry before adding the next keeps your edges crisp instead of muddy, which matters most on subjects with several separate color areas, like the citrus slice or backpack.
Lightly sketch the basic shapes of your subject in pencil.
Decide whether to work wet-on-wet for soft blending or wet-on-dry for crisp edges.
Paint your lightest base colors first and let them dry fully.
Add mid-tone colors and any secondary shapes, keeping edges clean where colors meet.
Layer in your darkest shading and small details once everything else is dry.
Let the finished piece dry completely before erasing any visible pencil lines.
What Are Common Mistakes to Avoid With Watercolor?
The most common mistake is using too little water, which makes colors look dry and streaky instead of smooth and blended. Painting on regular paper instead of watercolor paper is another frequent issue, since thinner paper buckles and tears once it gets wet. Adding a new layer of paint before the layer underneath has fully dried often causes muddy colors and unwanted blending where you wanted crisp edges. Overworking a small area by going back over it too many times can also lift the color and damage the paper’s surface. Slowing down and letting each layer dry fully solves most of these problems before they happen.
Frequently Asked Questions
What is the easiest subject for beginner watercolor painting?
A simple fruit like an apple or a loose wildflower is usually the easiest subject since both rely on soft, forgiving shapes that do not need to look perfect. Neither subject requires exact symmetry to look finished and recognizable.
What paper works best for watercolor painting?
Cold press watercolor paper is the most common choice for beginners since it has enough texture to hold water without warping or tearing easily. Regular printer or sketch paper is too thin and will buckle once it gets wet.
What is the difference between wet-on-wet and wet-on-dry watercolor?
Wet-on-wet means applying paint to paper that is already damp, which creates soft, blended edges like in the grapes or wildflower designs. Wet-on-dry means applying paint to dry paper, which creates crisper, more controlled edges like in the citrus slice or backpack.
How do you paint school supplies like pencils and backpacks realistically?
Break the object into its basic geometric shapes first, like rectangles for a backpack or a long thin rectangle for a pencil, before adding any color. Painting the base shapes in flat color first, then adding small details once that layer dries, keeps the object looking clean rather than blurry.
Can you combine fruit, flowers, and school supplies in one painting?
Yes, pairing an apple with a stack of books, or a small flower tucked next to an open book, works well as long as the objects are similar in scale. Keeping the number of objects small, usually two or three, helps the composition stay balanced and easy to read.
A Teacher with 5 years of experience. Our Expertise, is reliable to meet your full Academic development needs . Worked on many crafts and construction projects offering services from design to development to deployment over the years. You will find many of my works in my business portfolio on request.