10 Pencil Anime Sketch Tips That Transform Your Drawings
Transform your anime drawings with 10 pencil sketch tips that fix proportions, improve line work, and build daily practice habits. Start sketching better t
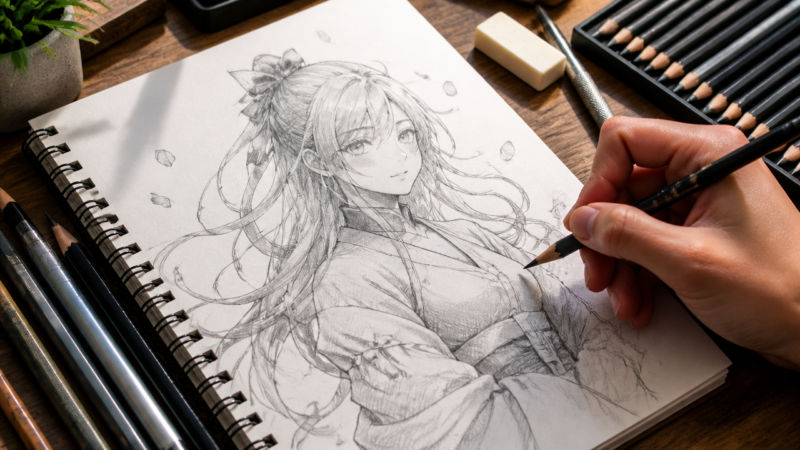
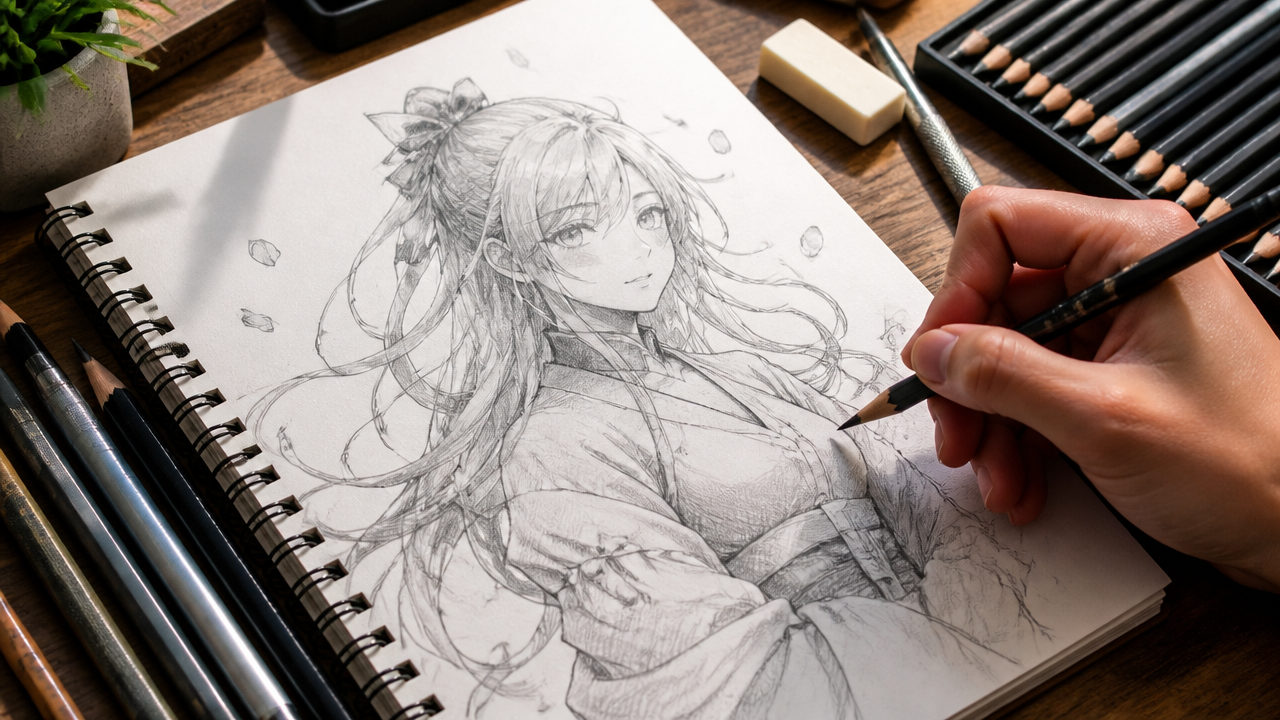
What makes a pencil anime sketch stand out from every other drawing you’ve tried? The difference comes down to technique, not talent. With the right approach to pencil anime sketching, you can create clean, expressive character art that feels professional. Whether you’re sketching for fun during summer break or building a portfolio for art school, these 10 pencil anime sketch tips will help you level up your line work, proportions, and shading. I’ve gathered advice from experienced artists and structured tutorials to give you a clear path forward.
Quick Questions and Answers
Question: Why use reference images when drawing pencil anime sketches?
Answer: Reference images help ensure accurate proportions and provide inspiration for your character designs. You can find them online, in art books, or use your own imagination as a guide. The key is to study how real anatomy and fabric behave so your anime stylization stays grounded and believable.
Question: Can beginners learn to draw stunning anime pencil sketches quickly?
Answer: Yes, beginners can improve fast by following the Draw-Reflect-Learn cycle and practicing consistently. Methods like copy, compare, and change help you spot differences between your work and references, then refine your skills with each attempt. Progress comes from repetition, not talent.
Question: Do pencil quality and paper type affect anime sketch results?
Answer: Yes, they matter. Good pencils like HB for outlines and softer grades like 2B for shading give cleaner lines. Smooth, textured paper also allows better blending and depth. Cheap paper can smudge or tear, making your work look messy before you finish.
Key Takeaways
Light construction lines prevent proportion mistakes before you commit to dark outlines.
Soft graphite pencils (2B, 4B) give you better shading control than harder grades.
Drawing with your whole arm, not just your wrist, creates smoother, more confident strokes.
Layering lines from light to dark lets you correct errors without ruining the page.
Daily practice of 15–30 minutes beats long irregular sessions for skill growth.
1. Start with Light Construction Lines
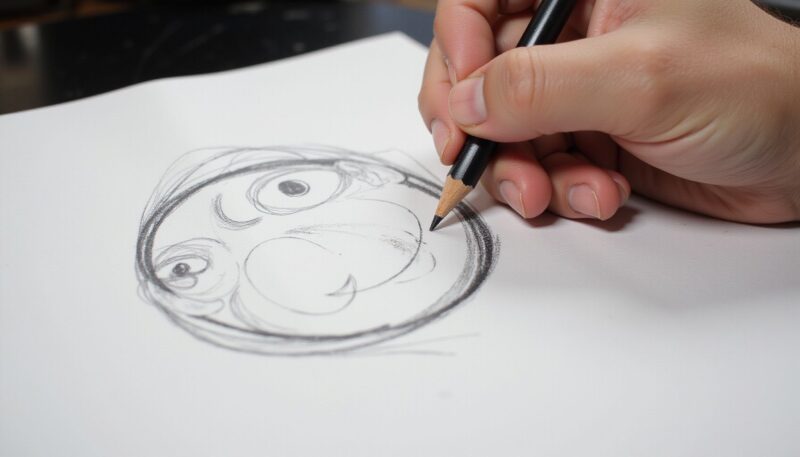
Every good anime sketch begins with structure. Before you draw a single dark line, map out the basic shapes using light, barely visible strokes. A circle for the head, a center line for the face, and simple shapes for the body. These construction lines act as a blueprint.
The trick is to press lightly. Use an H or HB pencil so the lines stay faint. You can erase them later without leaving marks. According to Astropad’s guide on anime drawing tips, starting with light lines lets you adjust proportions before committing to darker strokes. This saves time and keeps your final sketch clean.
Once you have the basic shapes in place, check the proportions. Are the eyes too far apart? Is the chin too long? Fix it now while the lines are still faint. Then trace over the correct lines with more pressure.
2. Use Graphite Pencils for Fluid Sketching
Not all pencils work the same. For anime sketching, graphite pencils are the best choice because the lead is soft and responsive. Hard pencils like H or 2H scratch the paper and leave faint marks that are hard to shade. Soft pencils like 2B, 4B, and 6B give you rich, dark lines and smooth shading.
A common mistake is using a single pencil for everything. You need at least two: an HB for outlines and a 2B or 4B for shading. The softer lead lets you create gradients from light gray to deep black, which is essential for anime hair and eye details.
Keep a kneaded eraser nearby. It lifts graphite without damaging the paper, so you can create highlights and correct mistakes without starting over.
3. Master the Arm-Swing Technique
Most beginners draw from the wrist. That produces short, jerky lines that look stiff. Anime characters need smooth, flowing curves — especially in hair, clothing, and body poses. The fix is to draw from your shoulder or elbow.
The arm-swing technique means keeping your wrist locked and moving your whole arm to create lines. This gives you longer, more consistent strokes. Practice drawing circles and arcs on scrap paper using only your arm motion. Faber-Castell’s basic techniques guide recommends using your entire arm to draw a series of circles until the motion feels natural.
Start with large, loose motions. Then gradually refine them into smaller shapes. This builds muscle memory and makes your lines look confident, not hesitant.
4. Layer Your Lines from Light to Dark
One of the fastest ways to improve your anime sketches is to stop trying to get the perfect line on the first pass. Instead, layer your lines. Start with faint exploratory strokes, then build up to darker, more confident lines.
Here’s how it works: sketch the basic shape lightly. If it looks right, add a slightly darker line on top. Keep refining until the final contour is clean and bold. The intermediate lines add depth and texture if you leave some of them visible.
This approach also helps with shading. Light layers of graphite build up gradually, letting you control how dark each area gets. You can always add more, but you can’t remove too much. Layering gives you that control.
5. Learn Facial Proportions Step by Step
Anime faces follow specific proportion rules. The eyes sit lower on the face than in realistic drawings — about halfway down the head. The distance between the eyes is roughly one eye width. The nose is small and sits between the eyes and the chin. The mouth is even smaller.
These proportions are consistent across most anime styles. Learn them once, and you can draw any character from any angle. AnimeOutline offers structured 12-step tutorials that break down the head and face into repeatable steps. I recommend starting with a front-facing head, then the side profile, then three-quarter angles.
Practice each angle until you can draw it from memory. That’s when the proportions become automatic.
6. Incorporate Professional Inking Tools
Once your pencil sketch is solid, you can add ink for contrast and permanence. Professional manga artists use dip pen nibs — specifically the G-pen, Saji, and Maru nibs. These give you variable line thickness depending on pressure, which creates dynamic, expressive strokes.
G-pen nibs are the most common for general drawing. They produce thick lines with light pressure and thin lines with heavy pressure. Saji nibs are flexible and good for fine details. Maru nibs are the thinnest, used for hair strands and small features.
You don’t need all three at once. Start with a G-pen and India ink. Practice controlling the pressure to get a feel for how the nib responds. Then add the others as you get comfortable.
7. Practice Drawing Heads from Multiple Angles
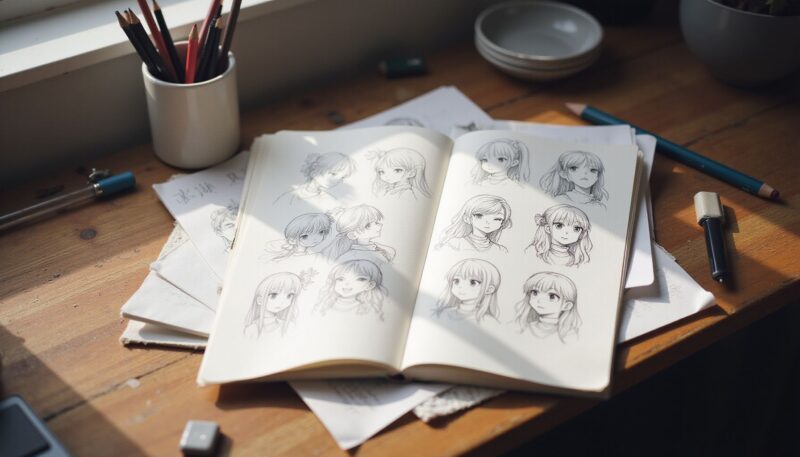
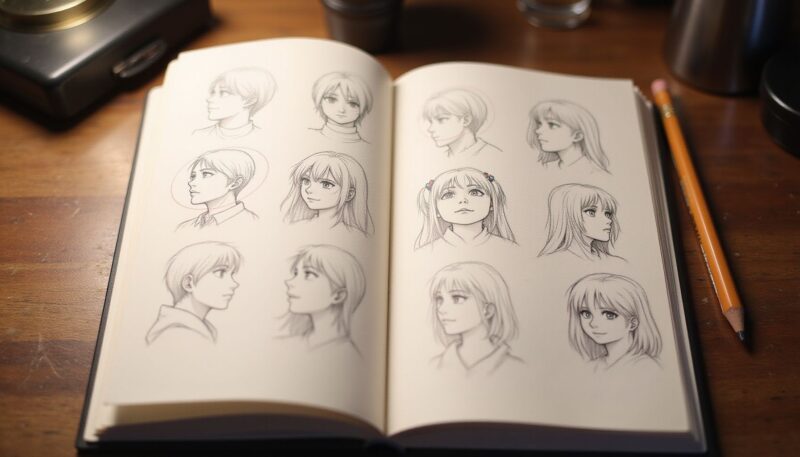
Flat, front-facing characters get boring fast. The real skill is drawing anime heads from any angle — looking up, looking down, profile, three-quarter, and dynamic tilted poses. Each angle changes the proportions and placement of features.
The secret is to use the same construction lines but rotate them in 3D space. Imagine the head as a sphere with a cross-section. The horizontal line marks the eye level. The vertical line marks the center of the face. Rotate the sphere, and those lines rotate with it.
Practice this every day. Draw the same character from five different angles. Compare your results and adjust. This exercise alone will make your character work look more professional.
8. Understand the Traditional vs. Digital Difference
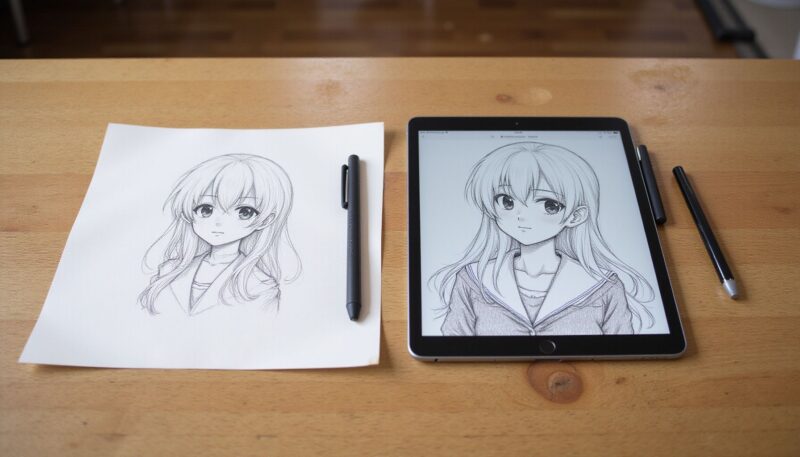
Both traditional and digital drawing have strengths for anime sketching. The best choice depends on your goals and budget.
Method
Best For
Key Tool
Cost
Traditional graphite
Tactile feedback, shading control, portability
HB + 2B pencils, sketchbook
Low
Digital (iPad + Apple Pencil)
Speed, layers, undo, color work
iPad with paper-feel screen protector
High
Hybrid (pencil + scan/ink)
Clean final art with traditional feel
Pencil sketch + digital inking
Medium
I use both. Traditional sketching helps me think through composition without distractions. Digital tools let me experiment with color and effects. If you’re just starting, stick with traditional graphite. It’s cheaper and teaches you the fundamentals.
9. Select Tools for Your Skill Level
Your tools should match where you are right now. Beginners often buy expensive supplies thinking it will make their art better. It won’t. Here’s what I recommend for each level.
Beginners: A standard HB pencil, a 2B pencil, a kneaded eraser, and a smooth sketchbook. That’s all you need. Spend your money on practice time, not gear.
Intermediate: Add a 4B pencil for deeper shading, a blending stump for smooth gradients, and a set of dip pens (G-pen and Maru) for inking. Start experimenting with paper texture — smooth paper for clean lines, slightly textured paper for shading.
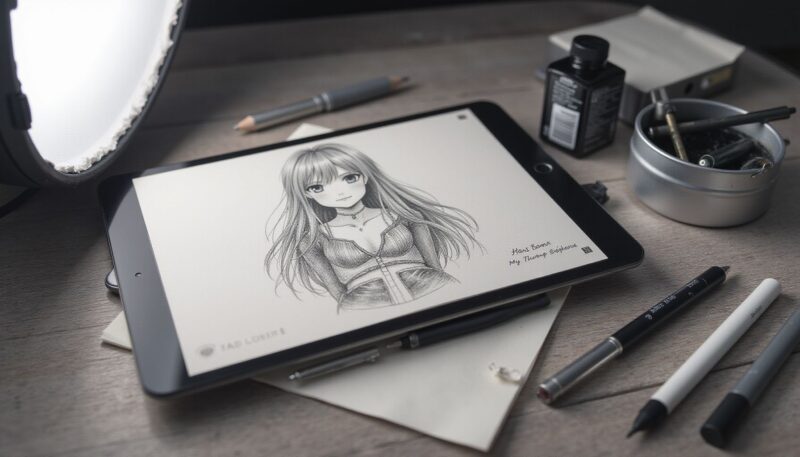
Advanced: Invest in a digital tablet or iPad with a paper-feel screen protector. Programs like Procreate or Clip Studio Paint let you layer, edit, and ink without starting over. The digital workflow is faster, but the skills you built with graphite transfer directly.
10. Build a Daily Practice Habit
Consistency beats intensity. Drawing for 20 minutes every day improves your skills faster than drawing for three hours once a week. The reason is simple: your brain needs regular repetition to build muscle memory.
Set a daily goal that’s small enough to keep. Ten minutes of gesture drawing. Five head sketches from different angles. One complete face study. The goal is to show up every day, not to create a masterpiece.
Track your progress. Take a photo of your first sketch of the month and compare it to your last. You’ll see improvement faster than you expect. If you’re looking for more ways to stay motivated, check out 9 Proven Ways to Use Anime Crusaders Codes for Faster Progression — it’s a different topic, but the same principle of consistent small actions applies.
Common Mistakes
Even experienced artists slip up on the basics. Here are the most common mistakes I see in anime pencil sketches and how to fix them.
Drawing too dark too early. Once you press hard, you can’t erase cleanly. Keep lines light until you’re sure of the shape.
Skipping construction lines. Jumping straight to details without a structural base leads to wonky proportions. Always start with circles and center lines.
Using the same pencil for everything. You need at least two grades. Hard for outlines, soft for shading. One pencil can’t do both well.
Forgetting to rotate the paper. If you’re drawing a curved line, rotating the paper so your arm moves naturally makes the stroke smoother.
Not using references. Even pros use reference images. Your memory isn’t reliable enough for consistent anatomy. Look at photos, other artists’ work, or your own sketches for guidance.
FAQ
Q: Are large eyes essential for creating realistic anime characters?
Large, expressive eyes are a defining feature of anime style and they convey emotion effectively. Proper spacing is key — about one eye width between them keeps your character balanced rather than distorted. If the eyes are too close or too far apart, the face looks unnatural regardless of how detailed the drawing is.
Q: How do you shade hair to look shiny in pencil anime sketches?
Shade wet or shiny hair by marking bright highlights within darker shadow areas. Adding stray strands around the face creates volume and realism. Use lighter strokes and leave paper white for the glossiest sections. The contrast between dark shadows and white highlights is what makes hair look reflective.
Q: Why vary line weight when drawing pencil anime character outlines?
Varying line weight suggests depth and dimension. Thinner lines indicate areas hit by intense light, while thicker lines show parts that are closer to the viewer. This technique guides the eye and makes the character feel three-dimensional. A uniform line weight makes the drawing look flat and unfinished.
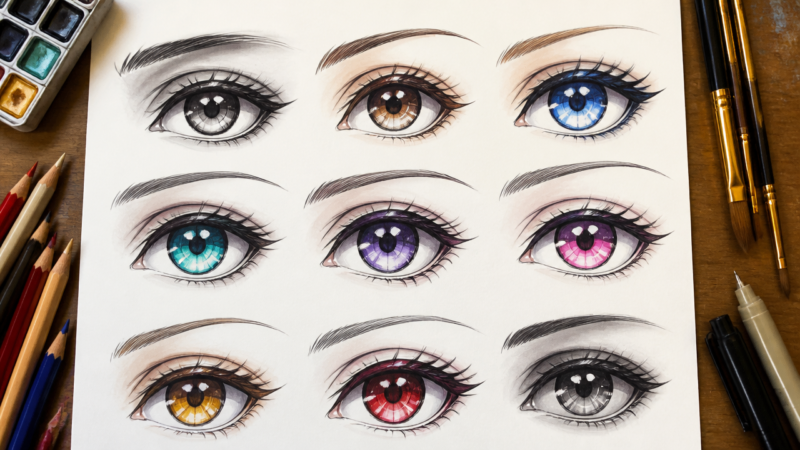
Q: How can you make anime pencil eyes pop with shine?
Leave tiny areas of the paper unshaded in the eyes, or use a white gel pen to add highlights after shading. These bright spots create a sparkling effect that gives the character personality and energy. Without highlights, the eyes look dull and lifeless no matter how detailed the iris is.
Q: Does cross-hatching help create depth in pencil anime artwork?
Yes, cross-hatching uses crossed lines at different angles to build texture and darker shadows. When combined with blending, it creates smooth transitions between light and dark areas. Use cross-hatching for clothing folds and shadows, and blending for skin and soft surfaces.
Q: When should you refine guide lines in pencil anime sketches?
Refine guide lines after you’ve blocked out the basic shapes and added facial details. Trace only the important lines with a darker pencil or pen, then erase the construction guides. This step cleans up the drawing and gives it a polished, finished look.
Q: What is the best way to practice improving pencil anime skills?
Set aside daily or weekly time for sketch challenges, anatomy studies, and recreating scenes from your favorite anime. Regular practice is the only reliable path to improvement. Studying other artists and seeking feedback from online communities also helps you spot blind spots in your own work.
My Experience With 10 Pro Tips for Stunning Pencil Anime Sketches
I’ve been drawing anime characters since I was twelve, and I made every mistake on this list. My early sketches had eyes floating halfway up the forehead and hair that looked like a helmet. I pressed so hard with my pencil that the grooves stayed on the paper even after erasing. Not great.
The tip that changed everything was learning to use construction lines. Once I started mapping out the head as a sphere with a cross-section, my proportions fixed themselves. The second breakthrough was switching from a single HB pencil to a set with 2B and 4B grades. The shading difference was immediate.
I still use the same principles today. The arm-swing technique took me weeks to get comfortable with, but now my lines flow naturally. The layered line approach saved me from starting over every time I made a mistake. These aren’t tricks — they’re fundamentals that every artist learns sooner or later. The sooner you start, the faster you improve.
What tip made the biggest difference in your own sketching? I’d love to hear what worked for you.
Conclusion
These 10 pencil anime sketch tips cover the essential techniques for cleaner lines, better proportions, and more expressive characters. Start with light construction lines, use soft graphite pencils, and practice the arm-swing technique. Layer your lines from light to dark, learn facial proportions step by step, and incorporate professional inking tools when you’re ready. Practice drawing heads from multiple angles, understand the traditional vs. digital difference, and select tools that match your current skill level. Build a daily practice habit, even if it’s just 15 minutes. The progress will come faster than you expect.
A Teacher with 5 years of experience. Our Expertise, is reliable to meet your full Academic development needs . Worked on many crafts and construction projects offering services from design to development to deployment over the years. You will find many of my works in my business portfolio on request.