How to Master Anime Sketching: The Simple Way to Draw Like a Pro
Master anime sketching with this easy, step-by-step tutorial. Learn how to draw heads, facial features, and proportions using a proven practice method.
What makes a truly great anime sketch stand out from every other character design you have tried? Mastering art requires focusing on foundational shapes, consistent practice cycles, and the right tools. Whether you are prepping for a local art showcase or just starting a new hobby this winter, learning how to sketch anime correctly makes all the difference. Understanding core anatomy and precise line work transforms your raw sketches into solid, expressive manga art. Getting back to basics is the most reliable way to build your skills.
Quick Questions and Answers
Question: Why do beginners struggle with anime sketching?
Answer: Beginners often struggle because they try to copy without understanding basic forms, shapes, and perspective first. They may also trace instead of drawing from reference, which prevents improvement in line control and muscle memory. The key is to learn head shapes, gesture drawing, and basic anatomy before focusing on details.
Question: Can you learn anime sketching without art classes?
Answer: Yes, you can learn independently by following online guides, practicing blind contour drawing, and copying references regularly. Many successful artists started by studying tutorials, analyzing good art, and critiquing their own work daily. Consistent practice, observation, and self-feedback are more important than formal classes.
Question: Do I need to watch anime to draw it?
Answer: No, watching anime isn’t required, but studying its style, character designs, and expressions helps understand the aesthetic. You can learn anime sketching by drawing from tutorials, reference images, and art books focused on anime fundamentals. The focus should be on mastering head shapes, eyes, hair, and proportions.
Key Takeaways
Focus on the cranium circle before any facial details.
Use 4B pencils for a versatile range of shading and line weight.
The Draw-Reflect-Learn cycle is the fastest way to progress.
Never skip the foundational shapes for arms, legs, or facial features.
What You Need
Item
Purpose
Notes
4B Drawing Pencils
Sketching and Shading
Provides soft, dark lines that are easy to control.
High-Quality Paper
Surface for drawing
A thick sketchbook prevents ink or graphite bleed-through.
Kneaded Erasers
Removing graphite
These lift pigment without tearing the paper fibers.
Anatomy References
Guiding proportions
Useful for checking eye placement and hair flow.
Step 1: Establishing Head Proportions
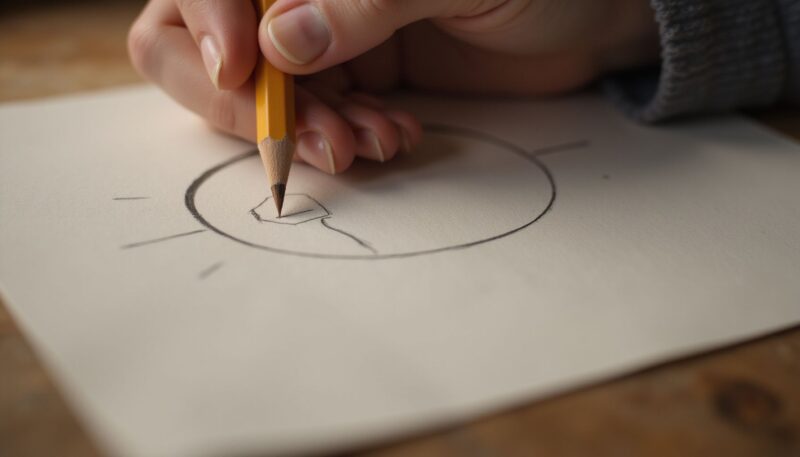
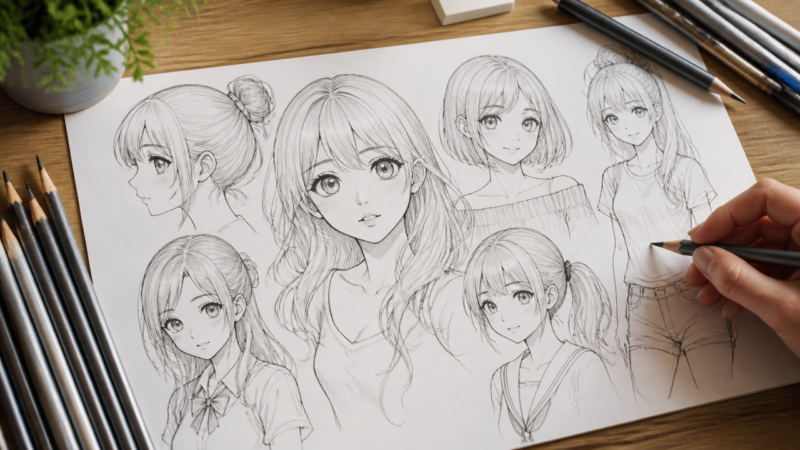
Drawing a circle serves as the foundation for the head cranium. Place this shape lightly on your paper as it represents the main mass of the skull. According to the Mangaestudio guide, you should then draw cross-hair center lines to establish symmetry. One vertical line handles the nose axis, while a horizontal line defines where the eyes rest. Connect the sides of the circle down to the chin to finish the basic head shape. Avoid heavy pressure here, as these lines will likely be adjusted later.
Step 2: Detailing Facial Features
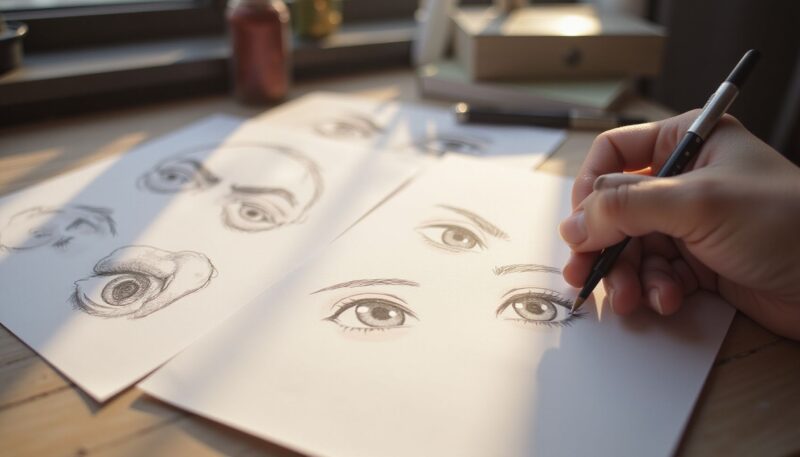
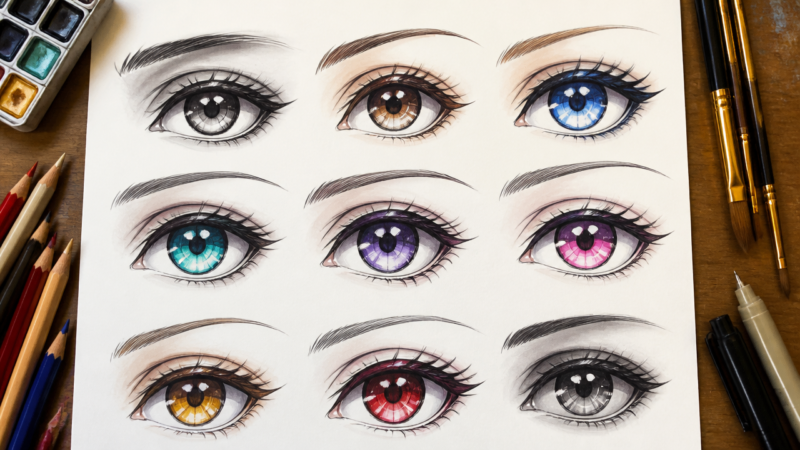
Place the eyes along that horizontal line you mapped out during the first step. Anime-style eyes are usually larger than realistic ones, so emphasize the iris width to create that characteristic look. You might also want to look into how to redeem codes in Anime Crusaders while taking a break between long study sessions. Once the eyes are set, use a structured 12-step facial cycle to map the nose and mouth dimensions. Beginners often find that practicing closed eyes in isolation helps them understand how the facial structure curves around the cranium without getting overwhelmed by full-face complexity.
Step 3: Applying the 3-Step Practice Method for Faster Progress
Speed up your skill acquisition by using the Draw-Reflect-Learn formula. First, observe your reference carefully, noticing why an artist chose specific line weights. Next, build your sketch construction starting with the basic shapes. Finally, refine your work by comparing it against the original, noting where your proportions went astray. As AnimeOutline explain, breaking down complex figures into smaller parts is the key to consistent improvement. It’s better to draw fifty perfect eyes than one messy, incomplete character body. Consistent recursion on individual elements builds the muscle memory necessary for more complex poses.
Mistakes to Avoid
Most beginners make the mistake of pressing too hard with their 4B pencils. Dark, heavy lines are notoriously difficult to erase, which complicates the cleanup process later. Never skip the initial light “sketch-in” phase; those faint guidelines protect the integrity of your paper. Another common error is ignoring the “circle-first” rule, which frequently results in distorted head shapes that look lopsided or flattened. Focus on the structural integrity of the head before adding hair or shadows. If you find your lines look inconsistent, remember that 9 proven ways to use Anime Crusaders codes remind players that efficiency matters in every practice session.
Troubleshooting Common Sketching Issues
Is your drawing looking off? Check those initial cross-hair center lines. A slight tilt in the horizontal line can make the entire face look distorted or sleepy. If the jaw feels too long, you likely connected the jawline too low on the circular cranium mass. Adjust the anchor points where the jaw meets the circle to shorten the face. When your shading looks muddy, you might be using too soft a lead or pressing too hard; swap to a harder pencil grade, like an HB, for lighter shadows. Consistency is your best friend when diagnosing these architectural errors in your work.
Frequently Asked Questions
Q: Are anime faces harder to draw than realistic ones?
Anime faces are stylized with larger foreheads, pointed chins, and exaggerated features like big eyes, which can be simpler in structure but harder to make expressive. Realistic faces require accurate anatomy and subtle shading, while anime needs clean lines and emotional clarity. Both have unique challenges depending on your skill level.
Q: How long does it take to master anime sketching?
Mastering anime sketching typically takes months to years of consistent practice, depending on your dedication and learning method. Many artists see significant improvement after drawing the same character 500 times or practicing daily for 100+ sessions. The Draw-Reflect-Learn cycle accelerates progress by combining copying, comparing, and learning from resources.
Q: What is the fastest way to learn anime style art?
The fastest way is the Draw-Reflect-Learn cycle: draw what you want to improve, reflect on mistakes, and learn from resources like tutorials or references. Using the CCC method (Copy, Compare, Change) while analyzing why artists make certain choices also speeds up skill development significantly.
Q: Which tools are best for anime sketching?
Basic tools like pencils, erasers, and paper are sufficient, but grip and arm motion matter more. Using a firm pencil grip and drawing with your shoulder instead of wrist helps create smooth lines and circles. Digital tools or manga-style pens can be added later for shading and finishing.
Q: When should I start drawing anime anatomy?
Start with basic forms, shapes, and gesture drawing before diving into detailed anatomy. Learn head shapes, body proportions (6–7 heads tall), and stick figures first. Once you can draw poses and structures confidently, then add muscles, joints, and facial details for more realism and expression.
Q: Is tracing anime characters good for practice?
No, tracing is not helpful for improvement because it doesn’t build line control, muscle memory, or understanding of form. Instead, look at references and try to recreate images using what you’ve learned from tutorials. Compare your work with the original, note differences, and redraw to improve.
Q: What mistakes do most anime sketchers make?
Common mistakes include tracing instead of drawing, skipping basic forms and perspective, and focusing too early on details like eyes or hair. Many also fail to analyze their work, compare with references, or practice consistently. Learning head shapes, values, and composition first prevents these foundational errors.
Next Steps to Advance Your Skills
Shift your focus from static portraits toward dynamic poses once you master the head anatomy. Practice drawing figures from different angles to understand how clothing drapes over limbs. Utilize Skillshare resources to find classes that provide structured critique. Feedback from other artists is invaluable for spotting errors you cannot see yourself. Keep your old sketches to track how much your line confidence or proportion accuracy has grown over several months of dedicated study.
My Experience With The Simple Way to Master Anime Sketching
Looking back at my first few attempts, I realize my biggest mistake was trying to jump straight into drawing complex hair before I could even draw a decent circle for a head. It looked like a potato with eyes. After following the 12-step construction method, I found that the head actually holds the key to everything else; if the skull isn’t right, the hair, the eyes, and even the neck placement fall apart.
There is something strangely meditative about drawing those cross-hairs perfectly vertical and horizontal. It’s the “boring” part of art, but it’s where the actual skill lives. I’ve noticed that when I rush, the results are always muddy, but when I slow down to map the cranium mass properly, the rest of the sketch flows much faster. It is less about being naturally talented and more about building a reliable mental template for the human head. You don’t have to be perfect; you just have to be consistent with your practice cycle. Do you struggle more with getting the facial features symmetrical or with the overall head shape?
Conclusion
Mastering anime sketching is a process of refining your eye for form rather than just “getting better at drawing.” By using the 12-step head construction, 4B pencils, and the Draw-Reflect-Learn cycle, you turn a complex artistic style into a repeatable, simple process. Remember that the circle is your anchor; keep your lines light, your observations sharp, and your practice consistent. With time, those complex character designs will feel second nature.
A Teacher with 5 years of experience. Our Expertise, is reliable to meet your full Academic development needs . Worked on many crafts and construction projects offering services from design to development to deployment over the years. You will find many of my works in my business portfolio on request.