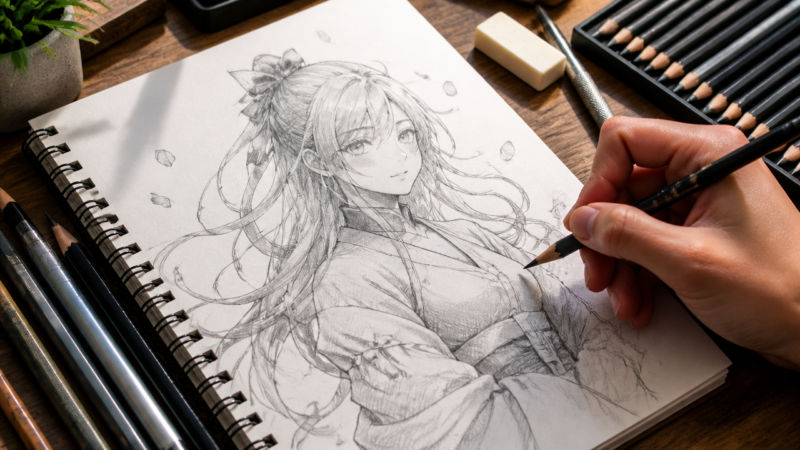
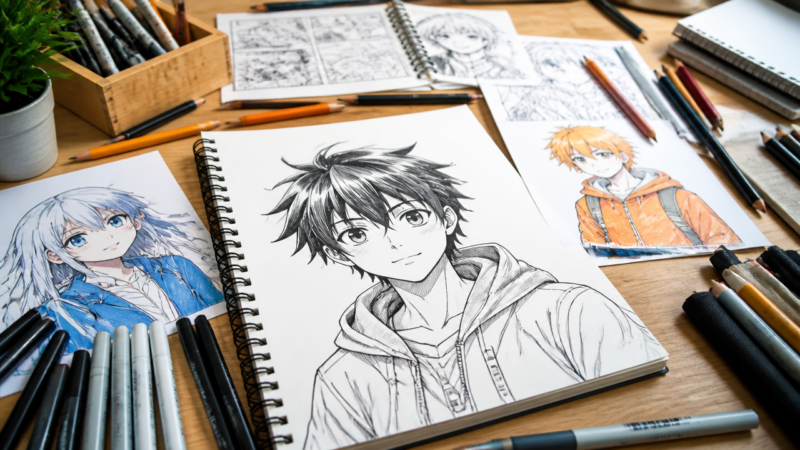
How to Draw Manga Female Characters: Step-by-Step Beginner Guide
Learn to draw manga female characters with easy step-by-step techniques, essential tools, and reference methods for beginners. Master proportions, facial f
Want to master drawing manga female characters that actually look polished and expressive? Whether you’re prepping artwork for a summer art contest or building a character portfolio for a creative project, learning manga anatomy and stylization opens a direct path to confident character design. Manga drawing combines fundamental human anatomy with stylized features—large expressive eyes, soft jawlines, tapered waists—that require specific proportions and shading techniques. This guide walks you through real anatomy foundations, essential tools, step-by-step construction, and practical troubleshooting so you can sketch convincing female manga characters from the first try.
Quick Questions and Answers
Question: Why do manga female characters have such big eyes?
Manga female characters have big eyes to express emotions clearly and make them appear more cute or youthful. The large eyes often include highlights and detailed shading to convey feelings like happiness, sadness, or surprise effectively. This style distinguishes anime and manga from realistic art by emphasizing inner character traits over physical accuracy.
Question: Can I draw manga girls without using a grid?
Yes, you can draw manga girls without a grid by starting with basic shapes like circles for the head and lines for posture. Beginners often use center lines and horizontal eye lines to keep features even. Many tutorials show step-by-step methods that rely on simple shapes instead of complex grids.
Question: Do manga female characters always have small noses?
Manga female characters typically have very small noses, often just a dot or a tiny line, to keep the face looking soft and feminine. Larger noses are usually avoided in classic manga styles unless drawing a more mature or serious character. This minimal nose design helps maintain the character’s youthful and cute appearance.
What You Need
Item
Purpose
Notes
Mechanical pencil (0.5mm)
Sketching and base construction
Most comic artists rely on this for clean, erasable lines
Fine-liner pens (Sakura Micron or Copic Multiliner)
Inking final outlines and details
Creates crisp, professional lines; resist feathering
Quality eraser (kneaded or vinyl)
Removing pencil without damaging paper
Avoid colorful school erasers—they smudge and leave marks
Bristol board or Deleter manga paper
Drawing surface
Heavyweight paper handles multiple erasures and ink without buckling
Copic markers or colored pencils
Coloring (optional)
Alcohol-based markers blend smoothly for manga aesthetics
Ruler or straightedge
Constructing guide lines and proportions
Helps maintain symmetry early on
Step 1: Master the Head Proportions in 3/4 View
Start by drawing a circle—this is your cranium. Below it, sketch a curved shape for the jaw and chin. Now draw a vertical line down the center of the circle; this centerline keeps facial features symmetrical and guides eye placement. Add a horizontal line across the middle; this is where the eyes sit.
Here’s the proportion secret: divide the lower half of the circle into thirds. Your eyes land on that middle horizontal line. The base of the nose stops at the second third. The chin ends at the bottom. According to Manga Studio’s drawing guide, the ear should align between the eye line and nose line—this keeps the head feeling balanced and real. Female manga heads are typically softer than male heads; aim for a gentle jaw rather than a sharp, angular one.
Step 2: Construct Large, Expressive Eyes
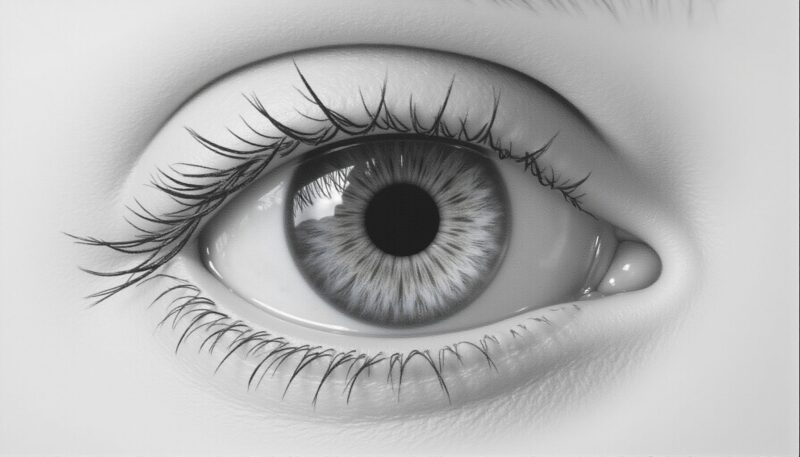
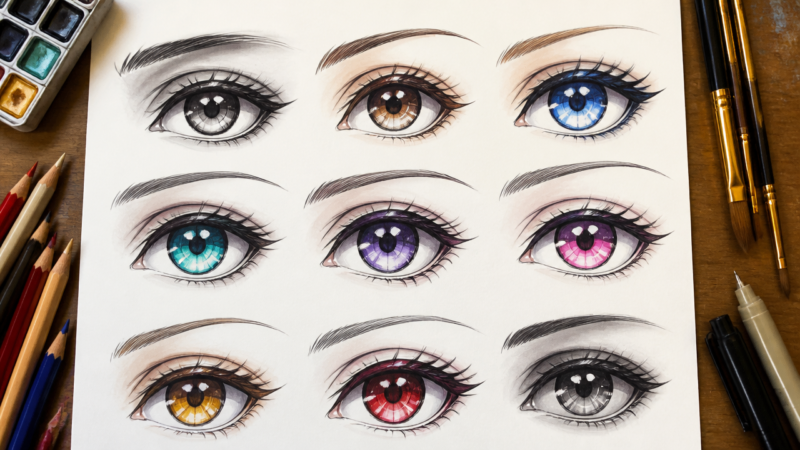
This is where manga female characters come alive. Draw the upper eyelid as a thick, curved line; make it bold. The lower lid is thin and subtle. Place the iris partially hidden under that upper lid—this creates the signature “big eye” look without making them feel cartoonish.
Add a small white dot or oval in the upper part of the iris for the light reflection; manga eyes rely on these highlights to feel alive and dimensional. Sketch a smaller reflection spot lower down if you want extra depth. Eyebrows sit just above the eye; angle them slightly downward for a neutral expression, or raise them for surprise and openness.
The space between the two eyes should equal roughly one eye-width. Too close and the face feels cramped; too far and it looks stretched.
Step 3: Add Nose, Mouth, and Ear Details
Manga noses are famously minimal. A single small dash, a dot, or just a light shadow line on one side works perfectly. Many beginners overthink this—resist the urge. Simplicity is the strength of manga style.
For the mouth, draw a simple curved line roughly halfway between the nose and chin. A gentle upward curve suggests a subtle smile; a straight line feels neutral; a downward curve reads as sadness. Keep it small and delicate for female characters.
The ear sits on your guideline between the eye and nose lines. Draw it as a simple curved shape; add an inner spiral or C-shape for the ear canal. Don’t overwork it—ears are easy to ignore until they’re obviously wrong, so keep them proportional but understated.
Step 4: Design the Hairstyle
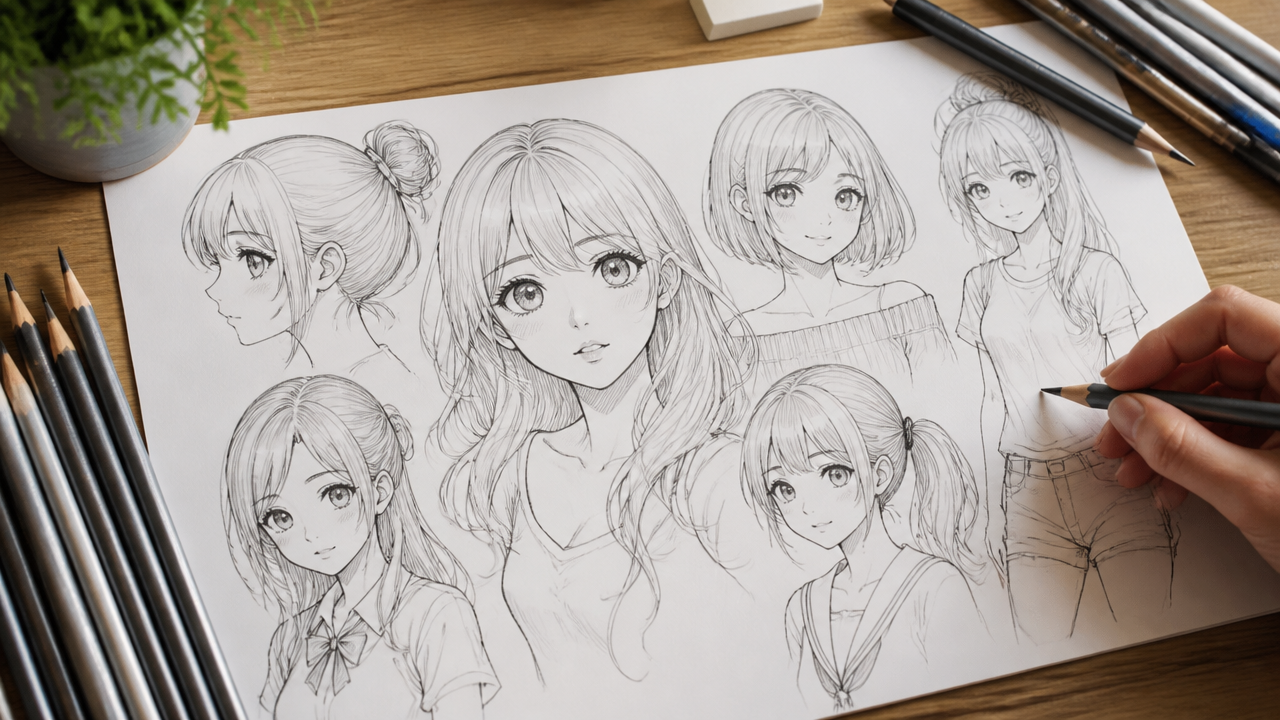
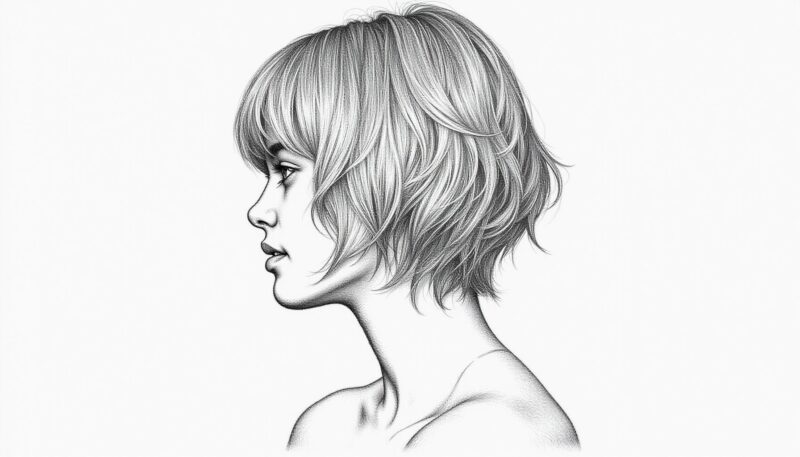
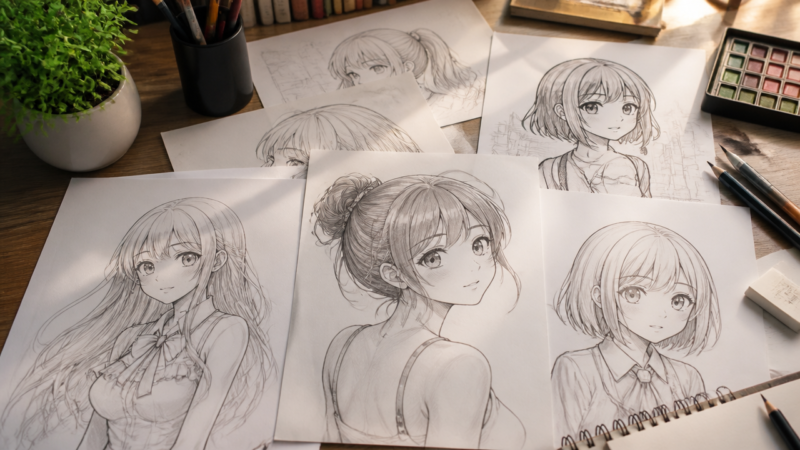
Hair defines character instantly. Start by sketching the overall silhouette—the outer boundary of the full hairstyle. Common manga styles include long straight hair with bangs, layered waves, twin tails, or short pixie cuts. Avoid drawing every single strand; that’s a beginner trap that kills momentum and realism.
Plan the hairline: it should be slightly above the forehead and never perfectly straight. Use curved or jagged edges to suggest movement and volume. Once the outline is solid, add interior lines to show how hair flows and separates into sections. Use thick, confident strokes for major sections, then lighter lines for detail.
Domestika’s guide on manga tools recommends using fine-liner pens at this stage to keep lines crisp and intentional. Hair is where shading truly matters—add shadows where hair overlaps or tucks behind shoulders to give it dimension and weight.
Step 5: Build the Female Torso and Proportions
Generating image 6…
Female manga characters typically stand 6 to 7 heads tall—shorter than realistic humans, which adds to that youthful, stylized appeal. Start with basic shapes: an oval for the ribcage, a narrower cylinder for the waist, and a slightly wider oval for the hips.
Shoulders are noticeably narrower than male characters. Aim for shoulders roughly the same width as the head or slightly wider—not broad. The waist tapers inward, creating that iconic hourglass silhouette without exaggeration. Hips flare outward, wider than the waist but generally narrower than the shoulders.
Use a simple curved line (gesture line) down the center of the torso to show posture and movement. A gentle S-curve suggests elegance; a straighter line feels more formal or static. This centerline keeps the whole figure from looking flat or wooden. Sketch lightly—you’ll erase these guides later.
Step 6: Draw Arms, Hands, and Legs
Arms are slender in manga style, tapering from shoulder to wrist. Start with simple cylinders or lines, then refine. Female hands are delicate and tapering—draw them as mitts first, then add fingers that narrow toward the tips.
Legs follow the same logic: cylinders for thighs and calves, tapering toward the ankle. Feet are small and simplified; avoid getting bogged down in anatomical detail. A simple oval or pointed shape works fine.
Focus on anatomy first, according to Facebook discussions on manga drawing communities—use resources like Proko’s anatomy videos and real-life photo references. This foundation makes stylization feel intentional rather than accidental. Gesture drawing practice transfers directly to manga: capture movement and pose before refining proportions.
Step 7: Ink and Define the Outline
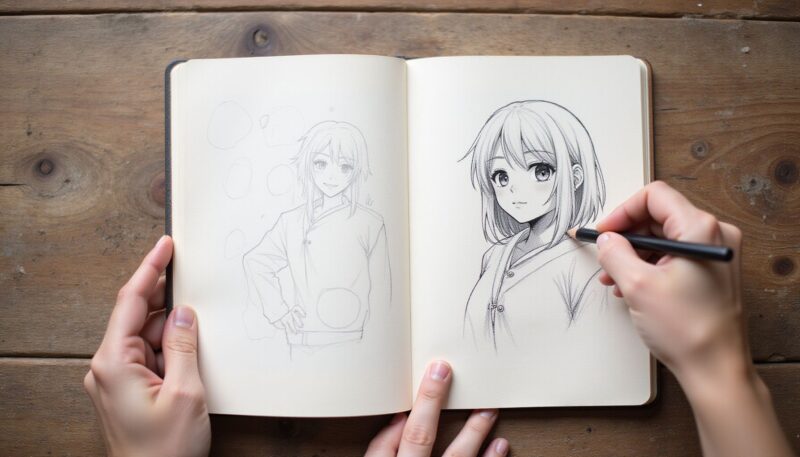
Once your pencil sketch feels solid, it’s time to ink. Use your fine-liner pen to trace over the pencil lines you want to keep. Work steadily and confidently—hesitant lines show. Pay attention to line weight: make structural lines (the outline of the head, body, major hair sections) darker and thicker; make interior details (eyelashes, hair strands, fabric folds) thinner and more delicate.
Ink can follow different line weights to create visual hierarchy. Thicker lines in the foreground, thinner lines in the background, add depth and readability. Let the ink dry completely before erasing pencil marks—rushing this step ruins otherwise solid drawings.
Step 8: Add Shading and Depth
Shading happens after inking. Start light. Use your mechanical pencil or a light marker to add shadows under the chin, in the hair creases, and around the eyes. Shadows under the eyes add character and fatigue; shadows on one side of the nose suggest form.
Hair needs the most shading. Identify your light source (usually upper left or upper right), then shade the opposite side darker. This creates volume and prevents hair from looking flat. Add shadows where hair overlaps the face and neck.
Clothing folds need subtle shading too. Shadow the underside of folds; highlight the top. This simple technique makes fabric read as cloth rather than flat shapes.
Tips
Gather reference images before you start—not to copy, but to study how professional manga artists handle poses, proportions, and expressions. Different artists have different interpretations of “female manga style,” so exposure to multiple sources builds your visual vocabulary.
Practice drawing just heads and faces repeatedly. Fifty heads drawn loose and quick teach you more than one perfectly rendered character. Speed builds confidence; confidence builds skill.
Start with standing or sitting poses before tackling complex action poses. Static poses let you focus on proportions without fighting perspective or foreshortening.
Digital tools aren’t mandatory. Paper, pencil, and ink remain the standard for manga and comics worldwide. If you love digital, tools like Clip Studio Paint and Procreate are industry standards, but they’re not required to learn.
Don’t compare early work to professional manga. Those artists spent years refining. Your job is progress, not perfection. Expect your first 10 drawings to feel awkward.
FAQ
Q: Are manga girl drawings different from boy drawings?
Manga girl drawings differ from boy drawings by using narrower shoulders, tapered waists, and rounder hair shapes. Girls often have larger eyes, smaller noses, and softer jawlines, while boys have broader shoulders and sharper features. Breasts and hips are also added to female figures to emphasize their anatomy.
Q: How do I start drawing a manga girl’s head?
Start by drawing a circle for the head, then add an angled shape below for the chin and jaw. Draw a vertical line down the center and a horizontal line across the middle to place the eyes. This basic structure helps you keep facial features even and proportional before adding details like hair.
Q: Will adding hair change the shape of the manga head?
Adding hair often makes the manga head look wider and taller, especially with styles like buns or long flowing locks. The hair adds volume on top and sides, so the base head shape may need slight adjustments to look balanced. Many artists draw hair after establishing the head to ensure it fits naturally.
Q: When should I add shading to a manga girl?
Add shading after completing the outline and details like eyes, hair, and clothing. Start with light shadows to show hair direction and facial contours, then deepen them for contrast. Shading gives depth and makes the character look three-dimensional, especially under the chin and around the eyes.
Q: Is drawing manga eyes the hardest part for beginners?
Drawing manga eyes can be tricky for beginners because they require precise lines for eyelids, lashes, and highlights. The large size and detailed inner parts make them look expressive but also complex to master. However, following step-by-step tutorials with simple shapes helps new artists learn quickly.
Q: What tools do I need to draw manga girls?
You need basic tools like a pencil (0.3 HB lead works well), paper, and optionally markers or crayons for coloring. A mechanical pencil helps create clean lines for the underlying structure. Many artists also use sketch pens for shading and adding details like eyelashes and hair strands.
Q: Which body shape is best for manga female characters?
The best body shape for manga female characters uses an hourglass-like base with a tapered waist and rounder hips. Narrow shoulders and a small head relative to the body (about 7 to 9 heads tall) are key features. Circles for joints and breasts help define the female anatomy clearly.
My Experience With How to Draw Manga Female Characters: Easy Art Reference Guide
I spent the first month drawing manga heads with zero understanding of proportions—my eyes were lopsided, my jaws too wide, and every character looked vaguely uncomfortable. The real breakthrough came when I stopped fighting the stylization and started building from anatomy first. Using Proko’s anatomy framework as scaffolding, then layering on manga exaggeration, made everything click. Suddenly the oversized eyes didn’t feel random; they sat on a real skull structure I’d actually constructed.
The tool difference surprised me. I expected fancy markers and digital software to matter most. Wrong. A solid mechanical pencil and good eraser changed everything. Fine-liner pens for inking let me commit to lines without fear—once you own your sketch, drawing becomes faster and more confident. I stopped second-guessing every stroke.
Hair taught me the biggest lesson: simplification isn’t laziness. Suggesting hair flow with 5 intentional lines beats rendering 500 individual strands. Same with faces—the minimal nose and small mouth aren’t limitations; they’re design choices that force you to communicate emotion through the eyes alone. That constraint makes manga characters feel alive.
What aspect of manga drawing trips you up most: getting the proportions right, or nailing that expressive eye look?
A Teacher with 5 years of experience. Our Expertise, is reliable to meet your full Academic development needs . Worked on many crafts and construction projects offering services from design to development to deployment over the years. You will find many of my works in my business portfolio on request.