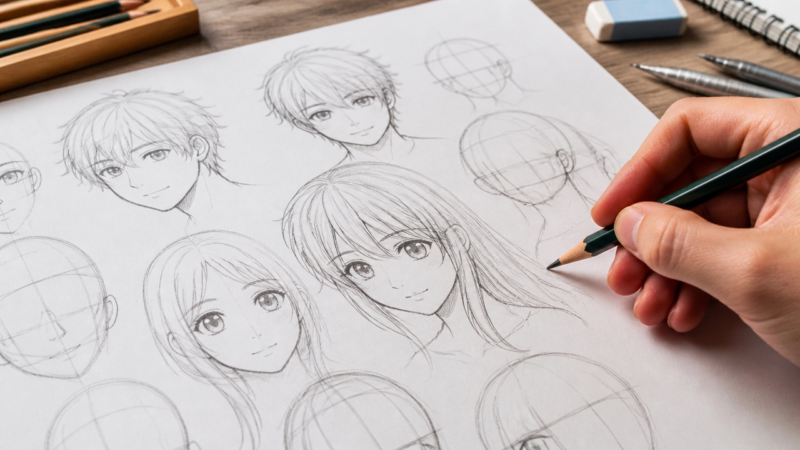
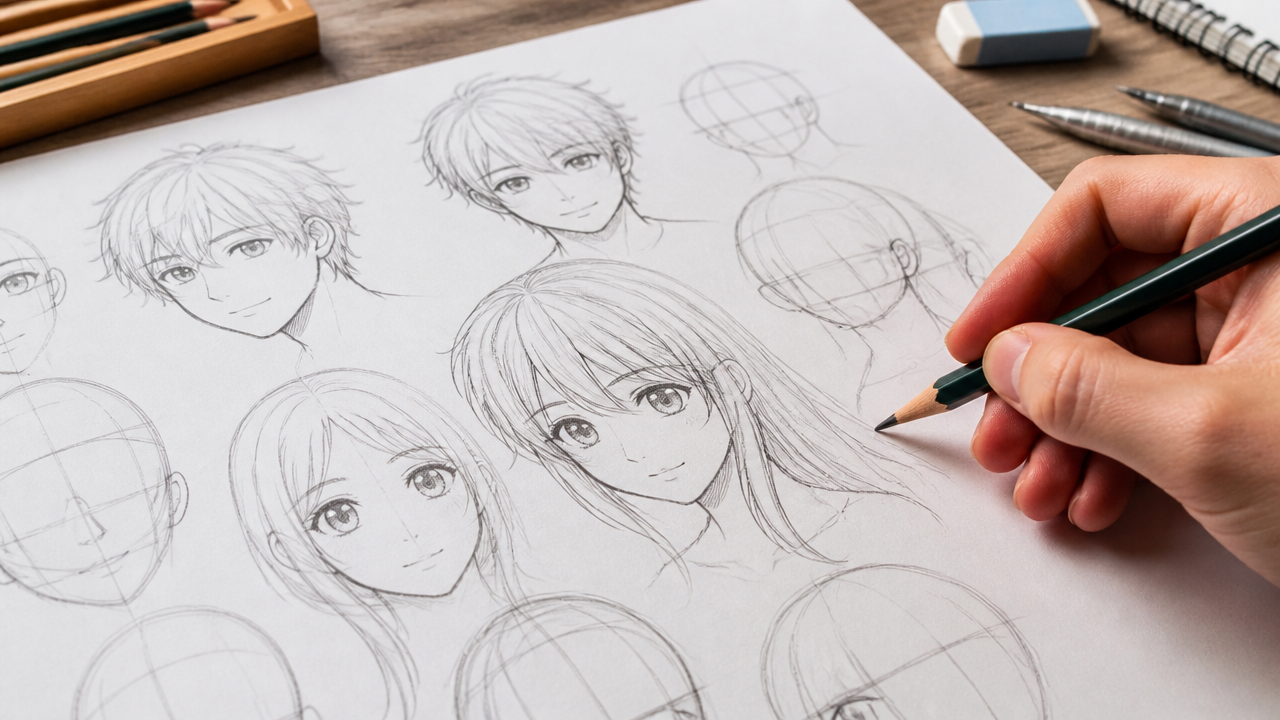
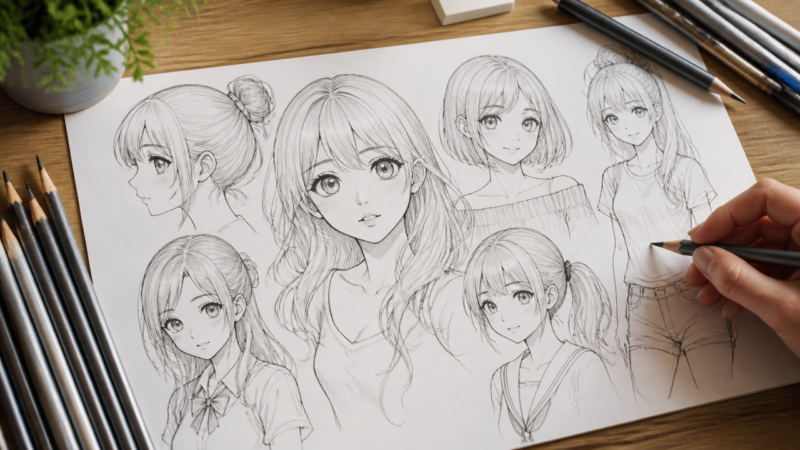
What turns a simple sketch of a circle into a recognizable character face that captures the energy of your favorite series? Mastering the art of manga faces relies on understanding universal proportions and structural foundations that define the aesthetic. Whether you are prepping for a summer art project or just looking to refine your sketchbook entries, understanding how to structure facial features correctly makes all the difference. Practice brings consistency to your work, helping you build a library of expressive characters. Let’s look at the foundational steps to drawing manga faces that really pop.
Quick Questions and Answers
Question: why do you start with a circle when drawing manga faces?
Answer: Starting with a circle establishes the basic head shape, which serves as the foundation for the entire face[1]. This circle helps you correctly place the eyes, nose, and mouth in proportion to one another. Without this initial shape, it is difficult to align the jaw and other facial details consistently across different drawings[3].
Question: can you draw manga faces from any angle easily?
Answer: Yes, you can draw manga faces from any angle by modifying the circle and jaw shape based on the desired view[1]. For a 3/4 view, the jaw becomes an inverted trapezoid to show the side of the face[4]. The eye line and center line must curve to follow the 3D surface of the head for accuracy[5].
Question: do manga eyebrows need to be very detailed lines?
Answer: Most anime eyebrows are simplified into just two lines—one tilted up and one tilted down[1]. They often feature more thickness toward the center of the face to define the expression[1]. You do not need complex details, as simple lines are the standard for the style and provide enough emotional range[1].
What You Need: Tools and Materials for Manga Drawing
Item
Purpose
Notes
Manga Paper
Professional sketching
Comes with pre-printed borders (Source 2)
Mechanical Pencil
Initial linework
Use 0.5mm lead for clean, thin marks
G-Pen Nibs
Final inking
Standard for manga; offers variable line weight
Kneaded Eraser
Cleanup
Lifts graphite without tearing the page
Waterproof Ink
Permeance
Prevents smudging when color is added
Step 1: Start with the Correct Head Shape and Direction
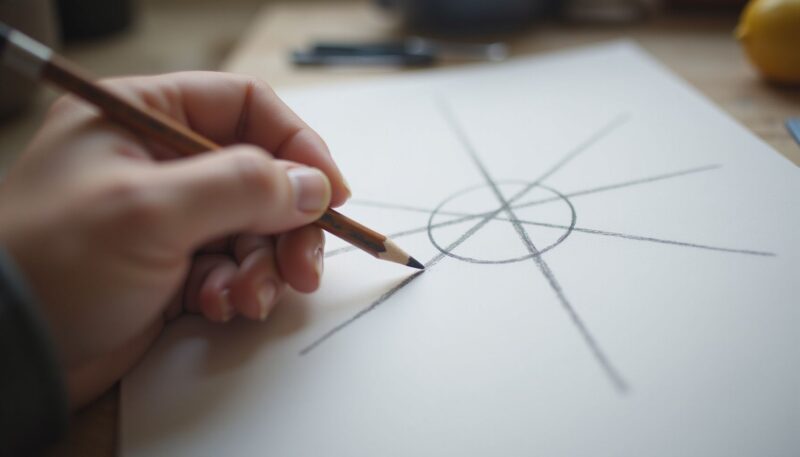
Drawing the cranium starts with a simple, clean circle. This initial shape is your base for the entire head structure [3]. Once the circle is set, draw a vertical centerline down the middle. Add a horizontal line at the halfway point; this marks where the eyes should sit [3][4]. Adjusting the curve of these lines dictates the direction the head is facing. If you want the character looking off to the side, curve the center line to follow the roundness of the sphere [1]. After the circle is placed, extend the jawline downward for a symmetrical foundation.
Step 2: Apply the Loomis Head Method for Proportions
The Loomis method splits the head into three equal sections: hairline to brow, brow to base of nose, and nose to chin [4]. Mark the brow line at the first third below the top of your circle. This line also acts as your guide for ear placement. The nose base typically sits at the second third, while the chin finishes the final section. Note that this method acts as a baseline rather than a strict law of physics [4]. You can 9 ways to use codes for faster progression to shift these proportions for specific character ages or styles.
Step 3: Add Facial Features – Eyes, Nose, and Mouth
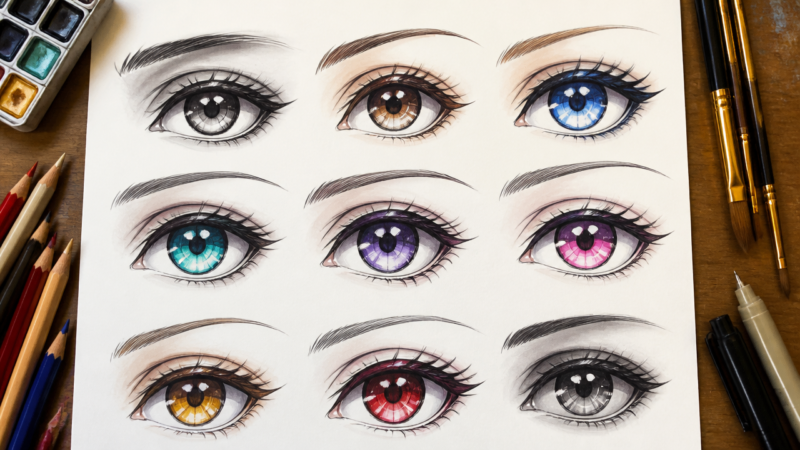
Eyes usually inhabit that horizontal midpoint line, spaced roughly one eye-width apart. Anime eyes often appear larger and more expressive than realistic ones; focus on a thick upper eyelid line with a clear, defined iris [6]. The nose is just a suggestion—often a small dot or a tiny curve where the centerline hits the nose guideline. Place the mouth halfway between the nose and the chin using a simple horizontal stroke. Align the top of the ears to the brow line and the bottom to the nose line for balance [4].
Step 4: Refine the Jawline and Add the Neck
Connect the jawline from the ear points down toward the chin. A narrow, pointed chin is common for female characters, while a slightly wider or angled jaw often suits a male character. Once the jaw is set, shift your focus to the neck. Draw two vertical lines descending from just below the ears. Curves here lead straight into the shoulder line. Erase the extra parts of the initial circle that overlap with the jaw or neck to keep your sketch clean.
Step 5: Style with Hair and Final Details
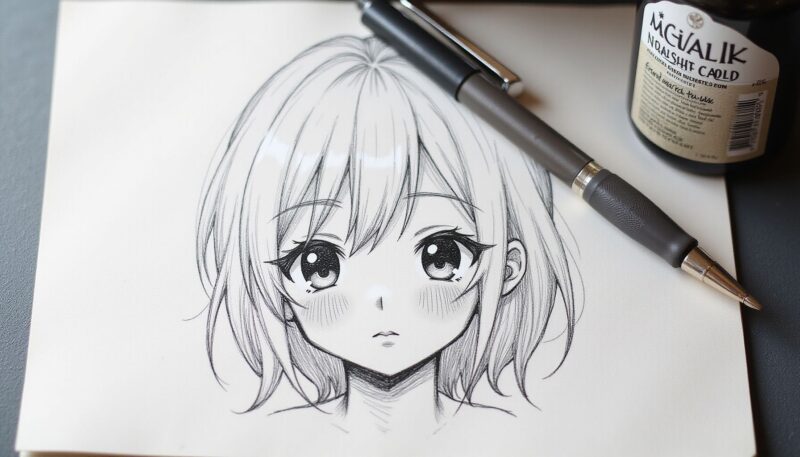
Hair provides the silhouette of your character. Draft large sections like bangs or back hair before focusing on individual strands; keep these sections flowing with the curve of the head [5]. Use confident, smooth strokes rather than short, scratchy ones to keep the art professional [7]. After everything is placed, use a G-pen and waterproof ink to go over your pencil lines [2]. Wait for the ink to dry completely, then erase the graphite underneath. If you need inspiration for your designs, checking out how to redeem codes in anime crusaders might reveal some character design ideas that help with your own sketching goals.
Common Mistakes to Avoid When Drawing Manga Faces
Poor line quality remains the number one issue for beginners. Many artists draw by making short, “hairy” scratches instead of one long, clear stroke [7]. Always keep your eyes on the midpoint guide to prevent uneven placement—if the eyes migrate too high or too low, the face loses its structural integrity. Avoid making the face perfectly symmetrical if the head is actually turned. Finally, ignore the urge to skip the proportion check; if the face feels off, measure your three-section distance again [4]. Consistent mistakes here usually stem from skipping the construction lines.
Troubleshooting: Fixing Proportions and Line Quality
If the face looks distorted, rotate your paper to check for alignment issues on the horizontal eye line. You can use a ruler to double-check that your brow line and chin line are equidistant. If your lines feel shaky, try engaging your shoulder for movement instead of your wrist; it creates larger, more purposeful strokes. When the mouth position looks odd, count the distance between the nose and chin again—it should sit perfectly in the middle. Dealing with “long face” syndrome? Just shorten the chin segment to push the character toward a younger, rounder look [4].
My Experience With The Simple Way to Draw Manga Faces: Step-by-Step Art Reference
Drawing manga faces felt impossible until I stopped fighting the circle. I spent years sketching faces that looked squashed because I treated the head like a flat shape instead of a 3D sphere. Once I embraced the Loomis method—even just as a rough scratch pad—my characters finally stopped looking like they were melting off the page. The biggest lesson? Don’t fall in love with your first line; it’s usually just a placeholder. I’ve found that using 0.5mm mechanical pencils for the construction phase is a game-changer because the thin lines stay light enough to erase easily. I still catch myself occasionally drawing “hairy” lines when I’m getting impatient, but I remind myself that one confident, shaky line beats ten perfect scratches any day. It’s a bit like learning to drive a manual car—the first few miles are clunky, but then everything just clicks. Do you find that you struggle more with getting the eye placement right or nailing that elusive jawline shape?
FAQ
Q: are manga eyes placed on a specific horizontal line?
Manga eyes typically sit on a horizontal guideline located about one-third of the way up from the bottom of the circle[3]. This line serves as the primary anchor for the eyes in a standard front view. The vertical distance between this eye line and the nose line effectively dictates where the chin finishes, helping you maintain proper facial balance throughout your work.
Q: how do you find the nose position in a manga face?
The nose tip lands exactly where your vertical centerline and the horizontal nose line intersect[3]. You can find this point by measuring the space between the eye line and the bottom of the chin, then marking the middle. This placement acts as a critical anchor for the rest of your facial features, ensuring the face looks grounded and proportional.
Q: what is the alien method for drawing manga eyes?
The alien method focuses on drawing the eye socket placement before adding any internal detail to the eyes[6]. It dictates that the gap between the two eyes should be exactly one eye wide, serving as a reliable measurement tool[6]. This approach helps you place the eyes accurately within the skull structure before you commit to the final aesthetic lines.
Q: is it hard to draw the jawline for manga characters?
It is not hard if you extend the jawline from the widest part of the circle directly down toward the chin line[3]. For side views or tilted heads, the jaw transforms into an inverted trapezoid to show the depth of the side of the face[4]. Following these simple geometric rules makes drawing the jaw clean, structured, and accurate for any angle you choose[1].
Q: when should you add hair details to a manga face?
Hair belongs as a final major addition, appearing only after you have erased the initial construction guidelines and perfected the underlying face shape[3]. Instead of drawing thousands of individual strands, define the hair as large, solid shapes like bangs or ponytails[5]. Breaking these big masses into smaller clumps allows you to add detail without cluttering the face[5].
Q: does the mouth position change with different face angles?
The mouth generally stays halfway between the nose and the chin, regardless of the angle of the head[3]. However, the physical curve of the mouth must follow the 3D surface of the sphere to look natural from different perspectives[5]. Your initial construction sketch helps you identify the correct centerline, which guides how the mouth follows the face’s curvature[5].
Q: who teaches the step-by-step method for drawing anime faces?
Resources like the Xencelabs creative corner and AnimeOutline provide proven step-by-step guides for constructing anime heads and faces[1][6]. They consistently teach a workflow that starts with a simple circle and guidelines before moving to jaw and feature placement[3]. These professional resources provide the visual foundation necessary for beginners to grasp the core process[1].
A Teacher with 5 years of experience. Our Expertise, is reliable to meet your full Academic development needs . Worked on many crafts and construction projects offering services from design to development to deployment over the years. You will find many of my works in my business portfolio on request.