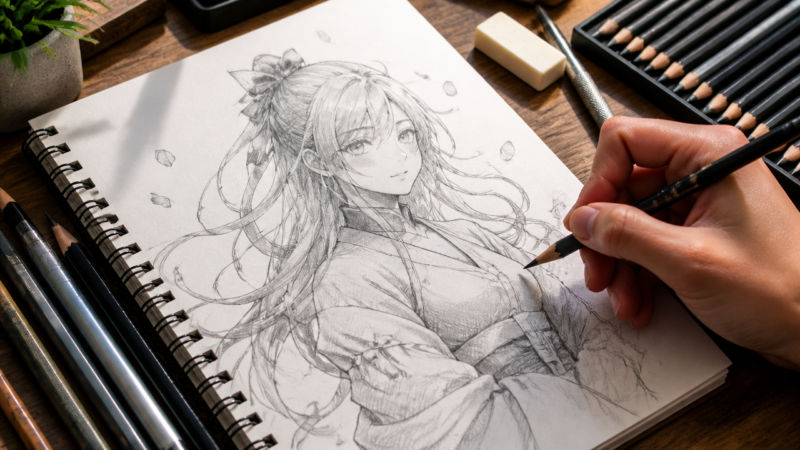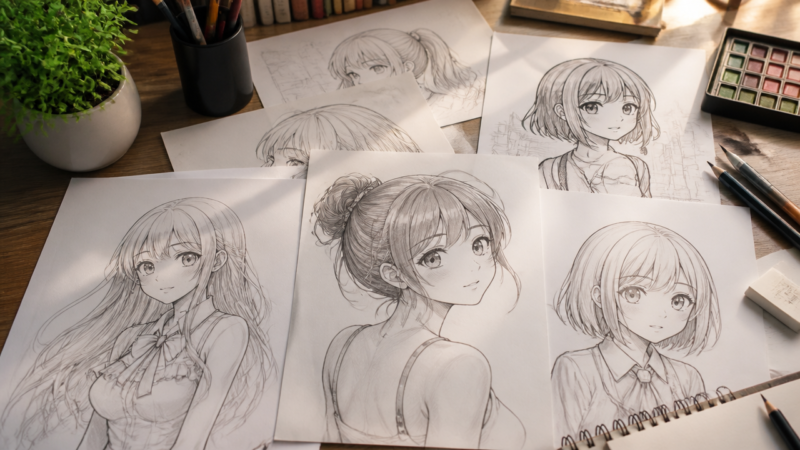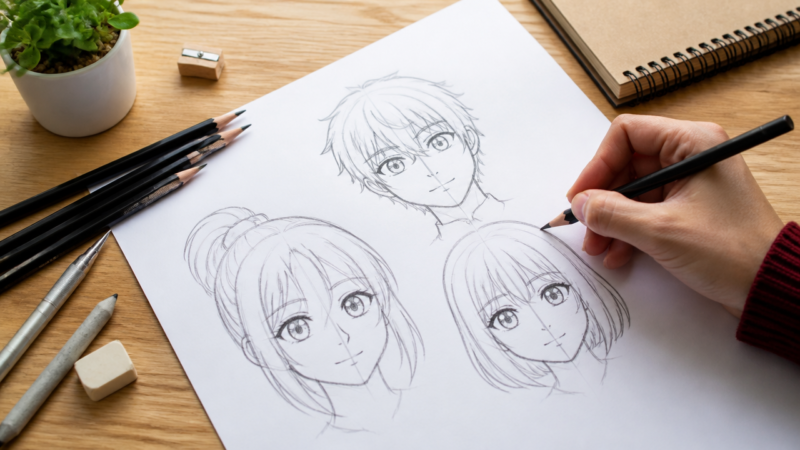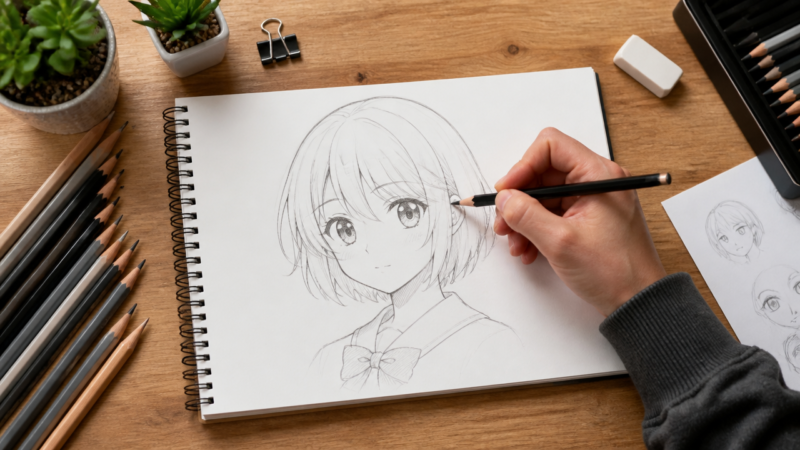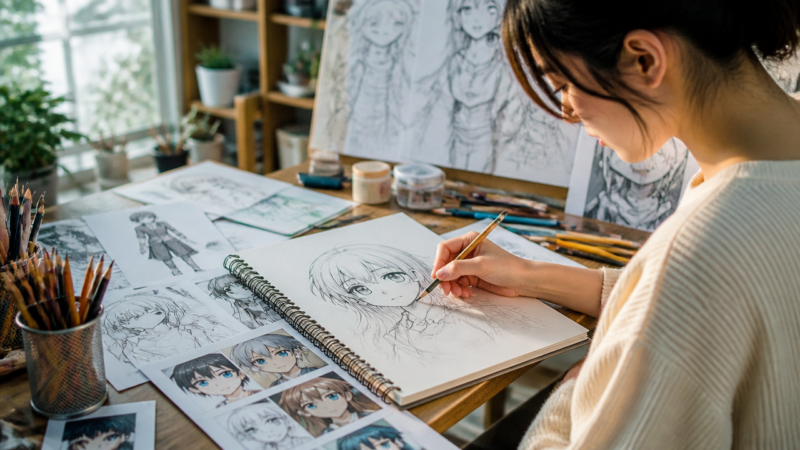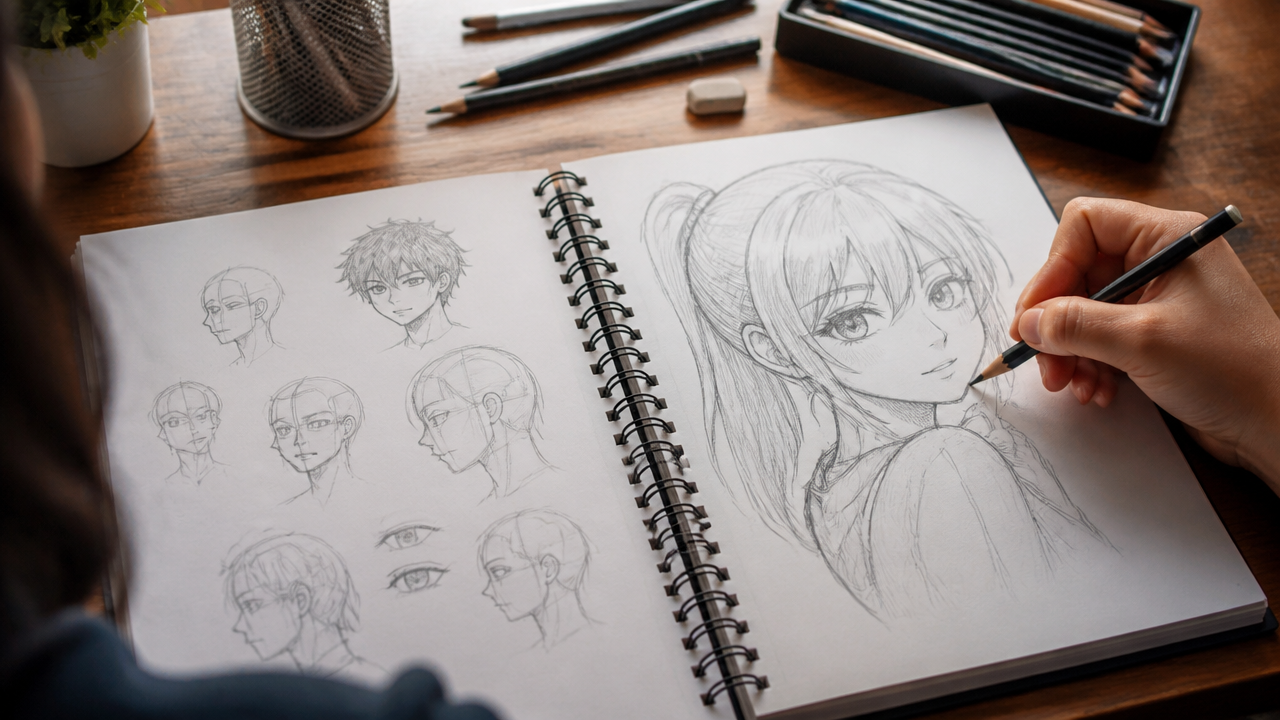
What makes a truly great anime sketch stand out from every other attempt you’ve tried? Improving your anime sketch drawing technique is about building a reliable process, not just raw talent. Whether you’re practicing during winter break or picking up a pencil for the first time this year, the right fundamentals make all the difference. This step-by-step guide walks you through the exact methods I use to get cleaner lines and better proportions every time.
Quick Questions and Answers
Question: Why is practice more important than perfection for anime drawing? Answer: Practice leads to progress, not perfection, because consistent repetition helps you master line placement and form creation. Drawing daily for about a year builds the fine-motor skills needed to improve your anime sketches naturally without fearing mistakes. The goal is steady improvement, not flawless pages from day one.
Question: Can beginners improve anime sketching without drawing from imagination? Answer: Yes, beginners should avoid drawing purely from imagination and instead observe how other artists draw to use references effectively. Studying and borrowing techniques from artists you admire, along with tracing proportions, is a proven way to pick up anime sketching skills quickly. This approach builds a visual library you can draw from later.
Question: Do basic shapes like circles help improve anime character proportions? Answer: Most anime characters can be simplified into circles for heads, ovals for bodies, and rectangles for limbs to maintain proper proportions. This foundational approach helps you keep flexibility while adding details later, ensuring your character sketches look balanced and realistic. Starting with shapes prevents the most common proportion mistakes.
Key Takeaways
- Start every sketch with a circle to establish head shape and proportions before adding any details.
- Use 4B pencils for versatile line weight — light pressure for construction, heavy for final contours.
- Practice single components like eyes and hair in short 15-minute sessions to build muscle memory fast.
- Follow the Draw-Reflect-Learn cycle: draw, get feedback, make changes, repeat.
What You Need
| Item | Purpose | Notes |
|---|---|---|
| 4B Drawing Pencils | Creates varying line weights for construction and final lines | 4B is softer than HB, gives richer dark lines |
| High-Quality Drawing Paper | Provides tooth for pencil shading and erasing | 60-80 lb paper works well; avoid printer paper |
| Kneaded Eraser | Lifts graphite without damaging paper | Perfect for cleaning up construction circles |
| Blending Stump | Smooths shaded areas for even tones | Cheap and reusable |
| Reference Images | Guides your proportions and style choices | Use photos of real faces or work from artists you admire |
Step 1: Establishing the Foundation with Construction Shapes

Begin every character by drawing a circle to guide the head shape. This is the single most important habit you can build. Use vertical and horizontal guidelines within the circle to anchor the nose, eyes, and mouth. The vertical line marks the center of the face. The horizontal line sits about halfway down the circle and marks the eye line.
Most beginners skip this step and start drawing eyes immediately. That leads to lopsided faces and mismatched proportions every time. I still draw a circle and guidelines before every sketch, even after years of practice. It takes 10 seconds and saves you 10 minutes of fixing later.
Transition from basic circles to specific facial angles once you’re comfortable. The 3/4 view, for example, shifts the vertical center line to one side. This small adjustment adds professional depth to your characters. According to AnimeOutline, one of the largest resources for anime drawing tutorials, mastering the 3/4 view head construction is a key milestone for moving from beginner to intermediate skill levels.
Step 2: Refining Facial Features
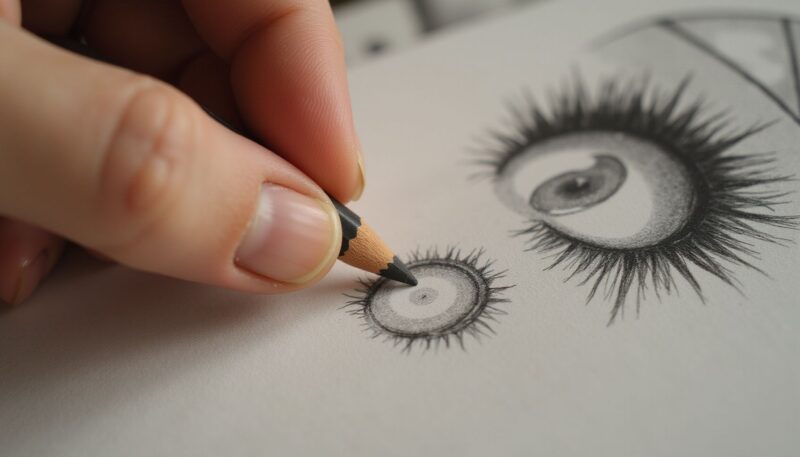
Apply specific techniques for each individual feature. Practice drawing eyes in varying states — closed, open wide, half-lidded, looking to the side. Each expression changes the shape of the eye and the surrounding lid folds. Don’t expect to nail them all in one session.
Eyes in traditional anime styles usually sit halfway down the head’s height. This can vary based on character design, but starting with this rule keeps things balanced. The space between the eyes is roughly equal to the width of one eye. Measure this with your pencil as a quick reference.
The chin connects to the circle using angled jawline construction lines. For a female character, the jaw comes to a softer point. For a male character, the jaw is wider with a more squared chin. These small choices define your character’s look before you add a single hair strand.
Tilting the head is simple: adjust the vertical center line so it angles to one side. This suggests movement, emotion, or attitude without changing any facial features. A slight tilt makes a character look curious. A stronger tilt adds playfulness.
Step 3: Mastering Line Weight and Detail
Use the 4B pencil to develop varying levels of pressure. Light pressure creates faint construction lines you can erase later. Heavy pressure gives bold, clean contour lines that define the final drawing. This contrast is what makes anime sketches look polished rather than flat.
Start with light strokes for the entire construction phase. Once the proportions look right, go over the lines you want to keep with heavier pressure. Erase the light construction lines after the final contours are in place. This two-pass approach keeps your sketch clean and professional.
Add hair, expressions, and accessories only after the facial structure is locked in. Adding hair too early pulls your attention away from the face and leads to proportion errors. The same goes for clothing details. Structure first, decoration second.
Step 4: Drawing Hair That Feels Alive
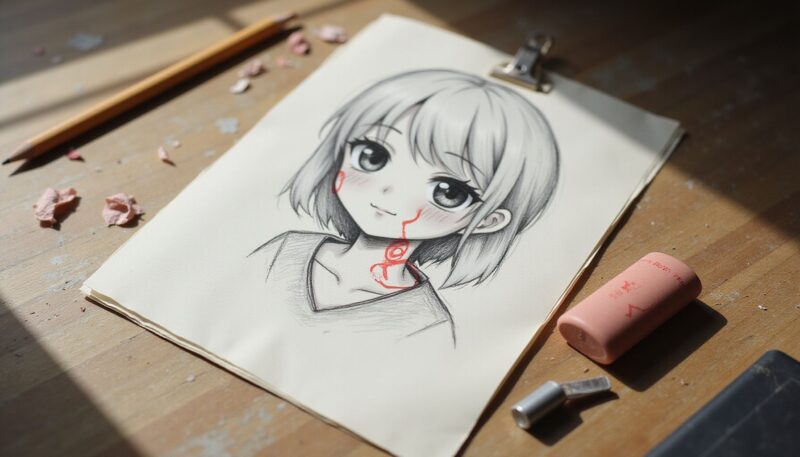
Capture movement by using flowing lines rather than rigid forms. Hair should feel alive and dynamic, not like a stiff helmet. Draw hair in small groups or grips, paying attention to how strands flow naturally from the part line.
Use light strokes to suggest weight and direction. The hair at the top of the head falls differently than hair at the ends. Long hair curves around the shoulders. Short hair follows the shape of the skull more closely. Observe how real hair behaves and translate that into your anime style.
Avoid drawing every single strand. Focus on the major shapes and let the viewer’s eye fill in the gaps. This is where the 4B pencil really shines — a few confident strokes read as detailed hair, while a hundred scratchy lines read as messy.
Step 5: Understanding Shadows and Highlights
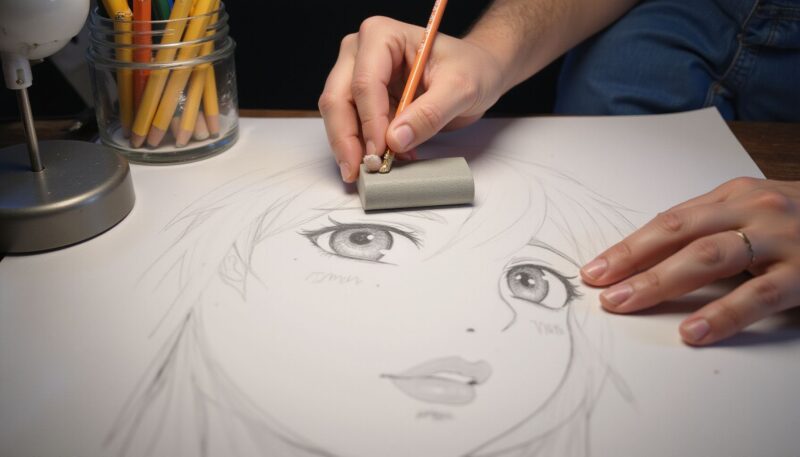
Shadows and highlights give dimension to your sketches by showing where light sources naturally fall on the character’s body. Without them, your drawings look flat, no matter how good the proportions are.
Use softer pencils for shaded areas and harder pencils for light edges. The 4B works well for mid-tones. Press harder for darker shadows, lighter for highlights. A blending stump smooths the transition between light and shadow.
Think about where the light is coming from before you start shading. A single light source from above creates shadows under the chin, nose, and brow. A side light creates a dramatic split between light and dark. Consistent lighting makes your sketches look intentional and professional.
Step 6: Using the Draw-Reflect-Learn Cycle
The fastest way to improve is following the Draw-Reflect-Learn cycle. Draw something. Look at it honestly. Identify what went wrong. Fix it in the next attempt. This is the core process behind every artist who improves quickly.
Keep a sketchbook and date every page. After a month, flip back to the first page. You will see clear progress, even if you felt stuck along the way. These visual comparisons act as a great ego boost and provide clear evidence of your growing skills.
Don’t throw away your old sketches. They are your best learning tool. Compare your current work with last month’s work and spot the differences. The areas where you’ve improved are obvious. The areas that still need work become clear targets for your next practice session.
Step 7: Practicing with the CCC Method
The CCC method means copy, compare, and change. First, draw a copy of a reference image. Then compare your drawing with the original and find the differences. Finally, fix your copy based on what you noticed.
This structured study approach helps you analyze errors and learn specific techniques. You are not just copying blindly. You are actively looking for the gaps between your skill and the reference. That gap is where growth happens.
Start with simple references — a single face, a hair style, a hand pose. Work your way up to full-body characters and complex scenes. The CCC method works at every skill level, so keep using it as you improve.
Common Mistakes to Avoid
Skipping the construction phase is the most common mistake I see. Drawing features without a circle guide leads to lopsided character faces. The circle is not optional. It is the foundation.
Over-detailing too early is another trap. Beginners add hair strands, eyelashes, and clothing wrinkles before the basic structure is solid. Focus on structure first. Add fine details only after the proportions are correct.
Ignoring symmetry causes inconsistent eye and ear placement. The center line on the face is your symmetry reference. If the eyes are on different horizontal planes, the face looks wrong. Check the center line before you commit to any feature.
Troubleshooting Your Anime Sketches
Issue: Eyes look mismatched. Solution: Re-check the horizontal guideline. Make sure both eyes are aligned along the same plane. If one eye is higher, adjust it before adding details.
Issue: Chin looks unnatural. Solution: Adjust the angle of the jawline construction lines connecting from the circle. A chin that is too sharp or too round usually means the jaw angle is wrong.
Issue: Character looks stiff. Solution: Tilt the head slightly and adjust the neck curve to follow the slope of the head. A straight-on pose with a rigid neck reads as stiff. Small angles add life.
Issue: Hair looks like a helmet. Solution: Add more flowing lines and break the hair into smaller sections. Avoid drawing a solid outline around the entire hair shape.
Tips
- Always draw the full circle even if the hair will cover part of the head. The circle guides the overall shape even when hidden.
- Use a light table or window to trace references when you are stuck. Tracing is a valid learning tool, not cheating.
- Practice drawing the same character from multiple angles. This builds a 3D understanding of the face in your mind.
- Take breaks every 30 minutes. Fresh eyes catch proportion mistakes that tired eyes miss.
- Join an art community online. Feedback from other artists is the fastest way to spot blind spots in your technique.
FAQ
Q: Are single strokes better than repeated lines for clean anime line art?
Yes, always try to draw your lines with a single stroke to create better line art instead of using repeated lines or chicken scratches. Minimizing repeated strokes helps you achieve smooth, clean lines that make your anime sketches look more professional and polished. This takes practice, but training your hand to commit to a single stroke is worth the effort.
Q: How does the Draw-Reflect-Learn cycle improve anime drawing skills?
The fastest and most effective way to improve is following the Draw-Reflect-Learn cycle, which involves doing the thing, getting feedback, and making changes. This core process ensures you learn by actually drawing what you want to master and applying corrections based on feedback. It replaces passive watching with active skill building.
Q: What is the CCC method for studying anime drawing references?
The CCC method means copy, compare, and change, where you first draw a copy of the reference, compare it with the original to find differences, and then fix your copy. This structured study approach helps you analyze errors and effectively learn specific anime drawing techniques. It works for any skill level and any style.
Q: How should you draw anime hair to make it look alive and moving?
Capture movement by using flowing lines rather than rigid forms, ensuring your hair feels alive and dynamic. Draw hair in small groups or grips, paying attention to how strands flow naturally, and use light strokes to suggest weight and direction effectively. Avoid solid outlines around the entire hair shape.
Q: Where do anime eyes usually sit on the head for traditional styles?
In traditional anime styles, the eyes usually sit halfway down the head’s height, though this can vary based on specific character design. Starting with basic shapes like circles for heads helps you establish these proportions correctly before adding facial features and expressions. This rule keeps your faces balanced.
Q: Why is learning about shadows and highlights important for anime sketches?
Learning about shadows and highlights gives dimension to your sketches by showing where light sources naturally fall on the character’s body. Using softer pencils for shaded areas and harder pencils for light edges enhances storytelling and makes your anime drawings look more realistic and deep. Consistent lighting makes your work look intentional.
Q: How can sketchbooks help beginners track their anime drawing progress?
Sketchbooks help you see your progress by allowing you to compare your first drawing with your last one, showing how much you have improved. This visual comparison acts as a great ego boost and provides clear evidence of your growing skills in anime sketching over time. Date every page and flip back monthly.
My Experience With How to Improve Your Anime Sketch Drawing Technique
I spent my first year drawing anime faces that looked like potatoes with eyes. The circle was never round. The eyes were never level. The chin was whatever my hand decided to do that day. I kept a sketchbook and filled 80 pages before I drew a single face I was proud to show anyone.
The moment everything clicked was when I stopped trying to draw from imagination. I took a reference image of a character I loved, broke it down into circles and lines, and copied it piece by piece. The result was not perfect. But it was the first time my drawing looked like the thing I was trying to draw. That feeling alone kept me going for another 200 pages.
What surprised me most was how fast the gains came once I started using the CCC method. Copy, compare, change. I spent 15 minutes per session, three times a week. After two months, the difference between page one and page forty was unmistakable. The eyes were level. The jaw was right. The hair actually looked like hair.
The best advice I can give you is this: keep every single drawing. Date them. Stack them. When you feel like you are not improving, flip through the stack and look at how far you have come. The evidence is right there in your own hand. What took you the longest to figure out? Email me or drop a comment — I would love to know.
Conclusion
Improving your anime sketch drawing technique comes down to a few repeatable habits. Start with a circle. Use guidelines. Practice single features in short sessions. Follow the Draw-Reflect-Learn cycle. Use the CCC method with references. Keep a dated sketchbook and review your progress regularly.
The gap between where you are and where you want to be closes faster than you think. Pick up your pencil. Draw a circle. Draw the guidelines. Start the process. The next sketch is always better than the last one.
If you are also into anime gaming, check out How to Redeem Codes in Anime Crusaders: Get Rewards the Right Way and 9 Proven Ways to Use Anime Crusaders Codes for Faster Progression for more ways to engage with anime content.
References
- AnimeOutline. (n.d.). How to Draw Anime & Manga Tutorials. https://www.animeoutline.com
- Draw Anime Academy. (2024, November 15). Learn to Draw Anime Heads in 15 Minutes (Beginner Tutorial). YouTube. https://www.youtube.com/watch?v=UNSXwmhPpvo
- MC Draw Anime. (2024, December 29). Cute Anime Girl Sketch Tutorial || Pencil Art for Beginners. YouTube. https://www.youtube.com/watch?v=R_uYlDxo2w4
- Shidzilla. (2020, October 6). [Beginner Guide] How to draw anime tutorial part 1. YouTube. https://www.youtube.com/watch?v=gBbZiEEpUV8
- MangaStudio. (2024). Anime Academy: How to Draw Manga. https://www.mangaestudio.com/wp-content/uploads/2025/01/Guia-completa-para-Dibujar-Manga-MisaArt-2024_compressed.pdf

A Teacher with 5 years of experience. Our Expertise, is reliable to meet your full Academic development needs . Worked on many crafts and construction projects offering services from design to development to deployment over the years. You will find many of my works in my business portfolio on request.