Anime Drawing tutorial : Simple Step-by-Step Techniques for Beginners
Learn how to draw anime step by step. This beginner-friendly tutorial covers proportions, facial guides, and essential tools to start your art journey toda
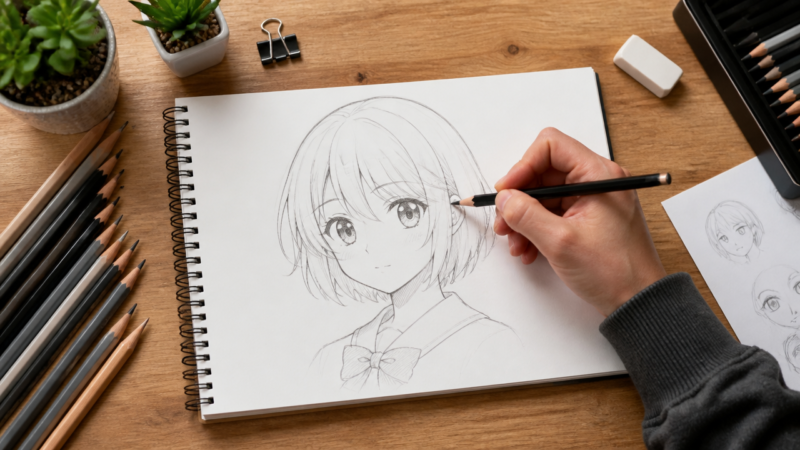
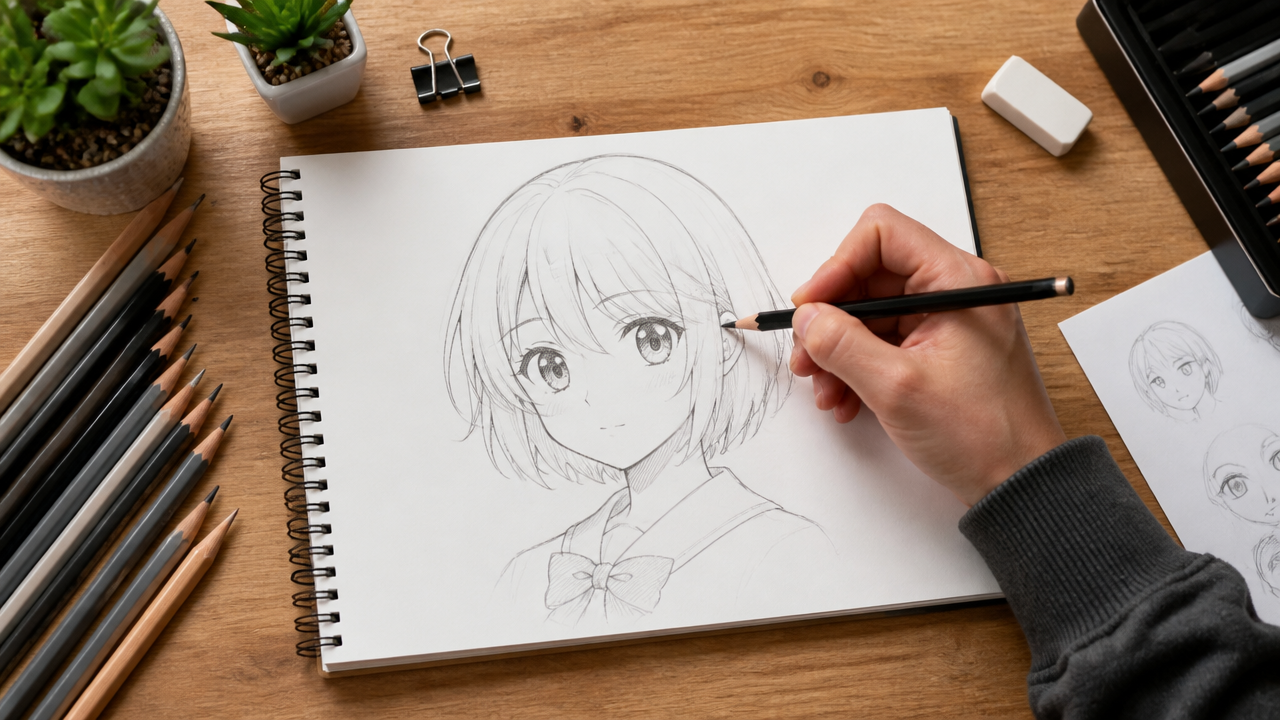
What makes a truly great anime drawing stand out from every other character sketch you’ve tried to create? Mastering this style requires more than just big eyes and wild hair; it demands a solid approach to geometric construction and proportion. Whether you are prepping for a summer art project or finally committing to that sketchbook sitting on your desk, getting the fundamentals right changes everything. Learning to draw anime takes practice, patience, and the right sequence of steps. Let’s look at how to draw anime effectively so you can build characters that feel balanced, expressive, and authentic to the genre.
Quick Questions and Answers
Question: Why do beginners struggle with drawing anime faces correctly?
Answer: Beginners often struggle with proportions, especially getting the large eyes and small mouths in the right place. They also find it hard to draw faces from different angles without guides. Practice with basic shapes and facial grids helps overcome these issues.
Question: Can I learn to draw anime without any art classes or formal training?
Answer: Yes, you can learn by following online tutorials, practicing basic shapes, and copying reference images. Many successful artists started with self-teaching. Consistent practice and using step-by-step guides are key to improvement.
Question: Do I need special software or a digital tablet to start drawing anime?
Answer: No, you can start with paper and pencils. Digital tools are helpful later for coloring and shading, but basic drawing skills matter most first. Traditional sketching builds the foundation before moving to digital art.
What You Need
Item
Purpose
Notes
Graphite Pencil
Initial sketch
HB or 2B lead works best for light lines
Eraser
Clean up
A kneaded eraser is gentle on sketchbook paper
Fine Liner Pens
Inking
Unipin or Micron pens offer consistent width
Sketchbook
Practice
Choose paper with a smooth surface for pens
Step 1: Establishing the Basic Face Structure
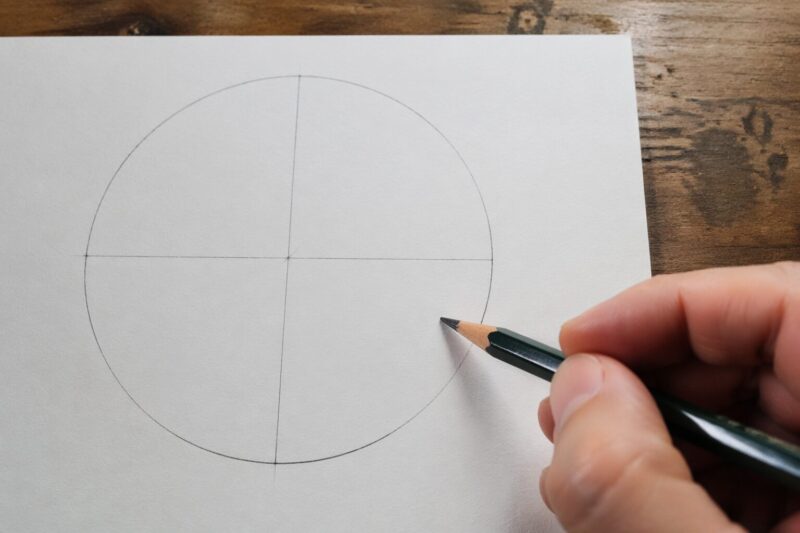
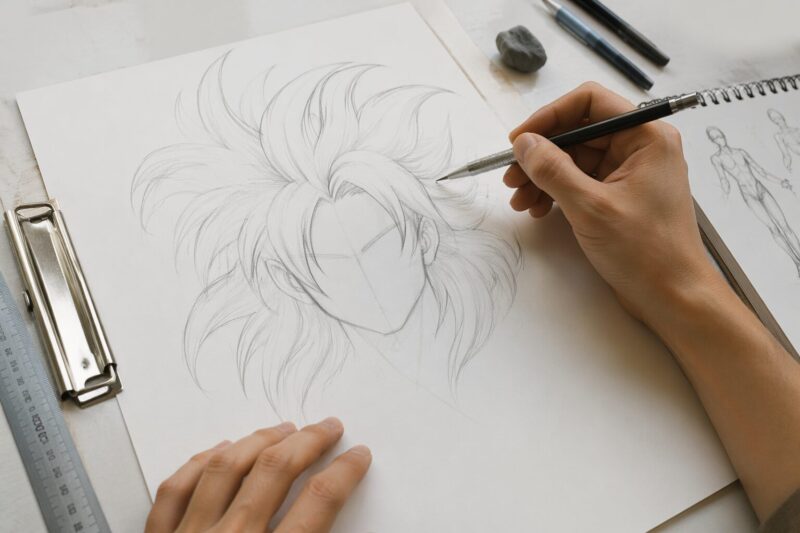
Everything in anime starts with a circle. To draw a head, sketch a light, circular shape that acts as the cranium. Crossing this circle, draw a horizontal line for the eyes and a vertical center line to ensure the face doesn’t tilt or warp. This vertical guide is the most important part of your structure; keep it straight if you want the face to look forward. Once the circle and guides are set, extend the jawline downward to form a chin. For most anime styles, you want a tapered, slightly pointed chin compared to realistic human anatomy.
Step 2: Placing Iconic Anime Features
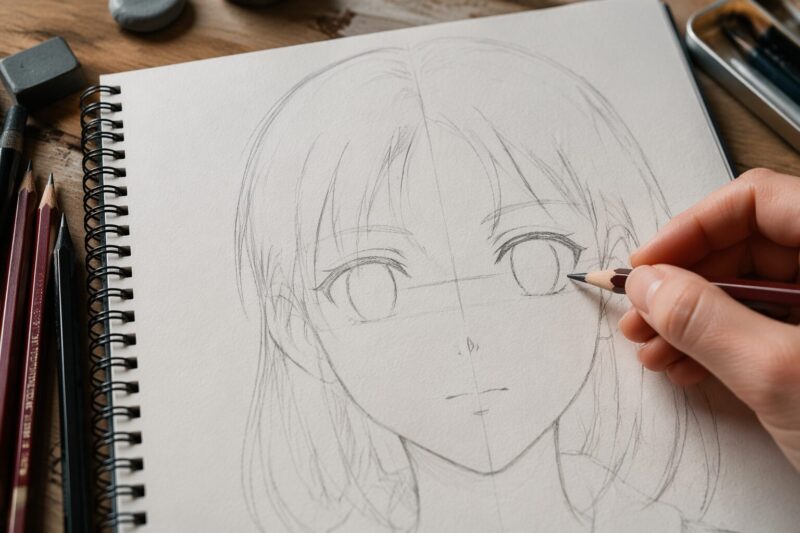
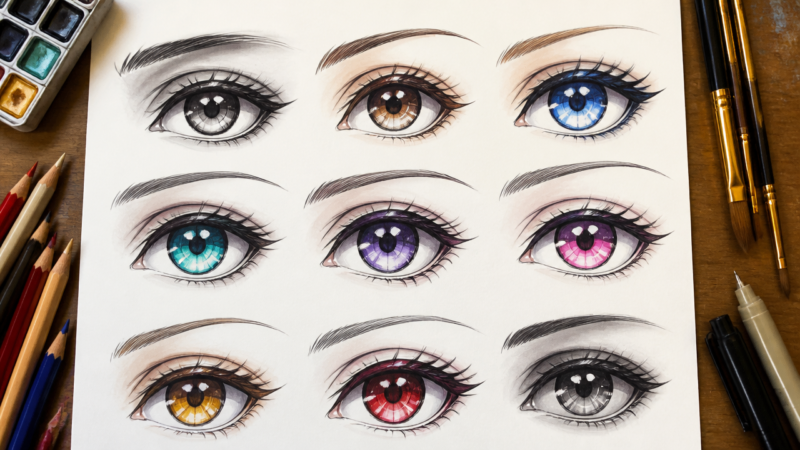
Position the eyes directly on the horizontal guideline you drew earlier. Anime eyes are notoriously large and emotive, often featuring thick upper lashes to give them life. If you find this part challenging, you can see how to draw eyes for beginners step-by-step to get a better feel for the sizing and placement. The nose usually sits as a small point or tiny line halfway between the eye line and the chin. Keep the mouth even lower, generally halfway between the nose and the chin. Refer to an eye chart if you need help with personality; sharp, angular eyes suggest a serious character, while softer, rounded eyes often indicate a gentle or younger personality.
Step 3: Drafting Hair and Anatomy
Hair in anime works differently than in real life. Avoid drawing every single strand. Instead, visualize the hair in large, blocky clumps or shapes that flow over the head. Start the hairline just above the forehead and pull the larger shapes down toward the cheeks or shoulders. When moving to the full body, don’t rush into muscles. Sketch a simple stick figure to determine the height and posture of your character. Adding weight to the torso and limbs using cylinders or rectangles creates the basic anatomy that allows your character to stand naturally.
Step 4: Inking and Cleaning Up
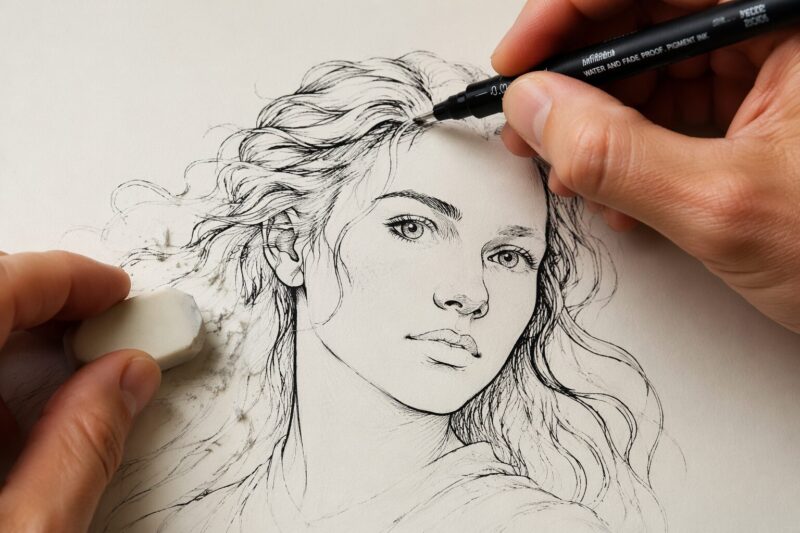
Once your graphite skeleton meets your satisfaction, it is time to make the lines permanent. Take your fine liner pen—brands like Micron or Unipin are industry favorites—and carefully trace your final outlines. Steady your hand by resting your palm on a clean sheet of paper to prevent smudging the ink or graphite. Resist the urge to rush this process. Wait for the ink to dry completely, usually a minute or so, before you take your eraser to the page. Gently lift away the underlying pencil marks to reveal your clean, professional-looking anime character.
Mistakes to Avoid
Cluttering the hair with excessive detail is a classic trap. Keep your clumps large and clean until you feel more experienced with texture. Another mistake involves ignoring your center guideline; even a slight deviation makes features look lopsided. Apply very light pressure with your pencil during the sketching phase. If you press too hard, your eraser will leave ghost marks behind, which ruins the clean aesthetic of your final line art.
Troubleshooting Common Issues
Is the face looking distorted? Go back to your vertical center line. If the eyes are not perfectly symmetrical relative to that line, the character will look off-balance. If features seem too small, increase their scale. The “anime look” relies heavily on the exaggeration of key features like eyes. If your drawing feels stiff, try loosening your grip on the pencil to create more fluid, confident strokes.
FAQ
Q: Are anime eyes and hair really that hard to draw for beginners?
They look complex but are built from simple shapes like circles and lines. Beginners should start with big eyes and blocky hair shapes, then add details later. Repetition and using tutorials make them easier over time.
Q: How long does it usually take to draw a full anime character from scratch?
It varies from 15 minutes to over an hour depending on experience and detail level. Beginners may take longer due to corrections. Regular practice and using step-by-step methods speed up the process significantly.
Q: Does drawing straight lines and circles help improve anime drawing skills?
Yes, mastering basic lines and shapes is essential for clean outlines and accurate proportions. These exercises build hand control and confidence. Most tutorials start with these fundamentals before moving to complex characters.
Q: Will using face grids and body guides make drawing anime easier for me?
Absolutely, grids help place eyes, nose, and mouth correctly, while body guides ensure proper proportions. They reduce guesswork and help beginners create balanced characters. Many professional artists still use these tools for accuracy.
Q: When should I start adding shadows and colors to my anime sketches?
After completing clean line art and confirming proportions, add flat colors first. Then apply shading and highlights in layers. Beginners should practice flat coloring before moving to complex shading techniques for better results.
Q: Is it normal to feel tired or frustrated when practicing anime drawing daily?
Yes, hand fatigue and frustration are common when learning new skills. Resting periodically and taking breaks prevents burnout. Setting small goals and celebrating progress helps maintain motivation during the learning journey.
Q: What is the easiest way to draw anime bodies without them looking awkward?
Start with stick figures or basic shapes like circles and rectangles to build the torso and limbs. Focus on proportions before adding details. Using reference images and body guides makes bodies look more natural and balanced.
My Experience With How to Draw Anime: Easy Step-by-Step Tutorial for Beginners
When I first picked up a pencil to draw anime, I spent an entire week drawing nothing but lopsided circles. It was humbling. The biggest shift in my process happened when I stopped trying to draw “anime” and started drawing circles and lines. I realized the secret isn’t a magical artistic talent; it is just geometry disguised as art. If you treat the head like a construction project rather than a portrait, the proportions fall into place naturally. My favorite “aha” moment was realizing that hair isn’t thousands of strands, but rather 4 or 5 big shapes that dictate the style. I often struggled with the chin being too sharp, so I learned to soften my pencil at the final curve. It’s okay if your first attempt looks like a cartoon alien—that’s just part of the training. I tell everyone to treat their early sketches as throwaways. The goal is to train your hand to trust the grid. My best advice? Don’t look at the whole face; focus on how the nose sits between the eyes instead. Once you get those ratios down, everything else follows. Do you find the head structure or the hand placement more difficult to manage?
Next Steps
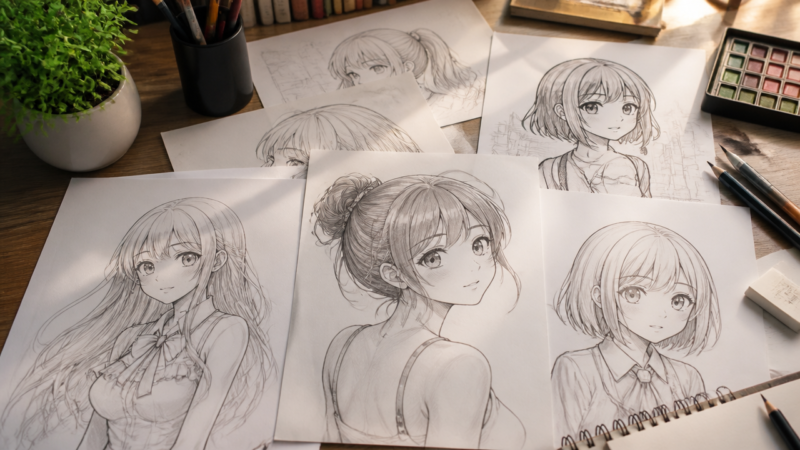
If you want to grow as an artist, consider exploring resources from organizations like Skillshare or platforms like AnimeOutline, which provide structured exercises to help you master facial expressions. Consistent practice is the best way to develop muscle memory. Try drawing one simple face every day for a week using the step-by-step methods outlined above. When you feel ready, branch out into different character archetypes such as school girls or pop stars to refine your style further.
A Teacher with 5 years of experience. Our Expertise, is reliable to meet your full Academic development needs . Worked on many crafts and construction projects offering services from design to development to deployment over the years. You will find many of my works in my business portfolio on request.