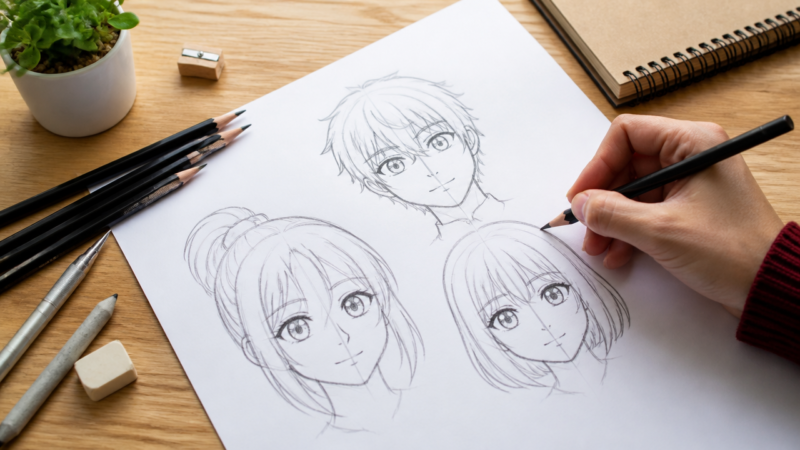
Have you ever wondered how to draw anime characters or what makes your favorite protagonists pop off the page compared to every other character you have tried to sketch? Mastering this popular style requires more than just a pencil and ambition; you need a clear grasp of the visual language that defines the genre. Whether you are sketching a moody fantasy figure or a high-energy schoolboy, having the right approach makes all the difference. As you prepare your workspace for an upcoming creative session, getting your tools and techniques in order ensures your journey into character design stays fun, focused, and productive.
Quick Questions and Answers
Question: What are the basic steps to draw an anime character for beginners?
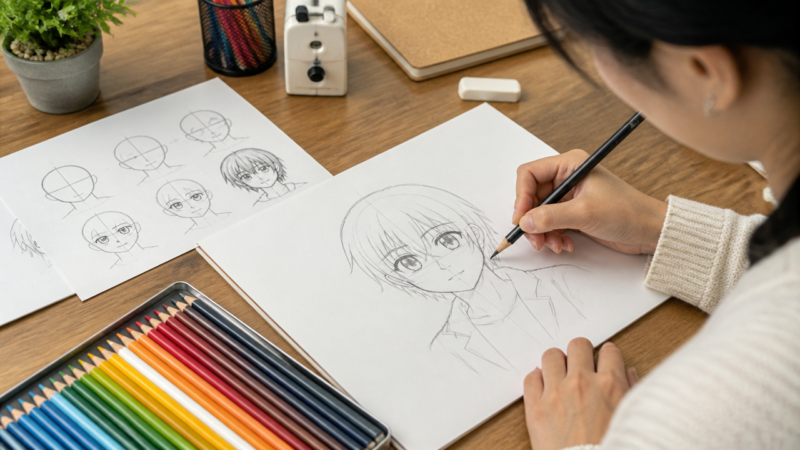
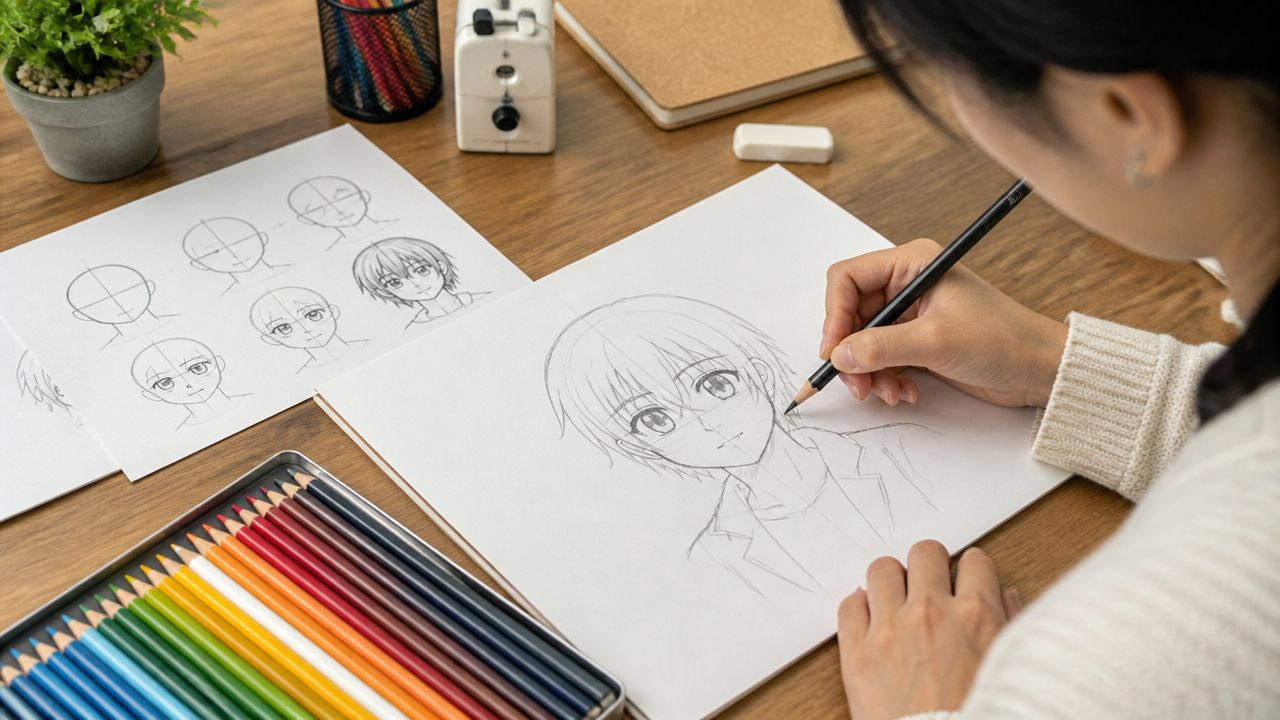
Answer: Start by drawing a circle for the head, then add a horizontal and vertical line through the center to guide proportions. Sketch the jawline below the circle, place eyes on or just below the horizontal line, and add a nose between eyes and mouth. Finish with hair, neck, shoulders, and body outline using simple shapes before refining details.
Question: Why do anime characters have such big eyes and how do I draw them?
Answer: Big eyes in anime emphasize emotion and personality, following stylized traditions rather than realism. To draw them, sketch a large curved upper eyelid, leave the inner corner open for softness, and add a circular iris with a smaller pupil inside. Include light reflections as tiny circles to give depth and shine.
Question: Can I draw anime without using measuring tools like rulers or protractors?
Answer: Yes, most anime artists rely on freehand sketching and visual estimation rather than tools. Begin with basic shapes like circles and lines, practice drawing uniform circles and straight lines in single strokes, and use mental guides for proportions. Over time, your hand-eye coordination improves without needing instruments.
What You Need: Essential Tools for Anime Art
Item
Purpose
Notes
Graphite Pencils
Construction sketching
Keep leads light for easy erasing.
Pigma Micron Pens
Precise inking
Excellent for consistent line width.
Alcohol Markers
Coloring and shading
Best for smooth, flat, “cel” styles.
Digital Tablet
Creating clean lines
Required for pressure-sensitive work.
Traditional manga creation relies on a few specific supplies to reach that professional look. DeSerres notes that graphite pencils are vital for the initial construction phase, while Pigma Micron pens allow for the sharp, clean lines necessary for finished art. For those who prefer digital workflows, a pen tablet with pressure sensitivity is non-negotiable. As Astropad explains in their guide, trying to draw with a mouse prevents you from achieving the fluid line variation that makes anime art look authentic.
When it comes to inking, you do not always need an expensive nib set. The Zebra Disposable Brush Pen is a fan favorite because the flexible felt tip mimics a traditional brush without the mess or maintenance of ink wells. If you use MediBang Pro, you gain access to digital brushes that simulate this same pressure-reactive flow. Always remember that the goal is to choose tools that feel comfortable in your hand.
Step 1: Construction Sketching
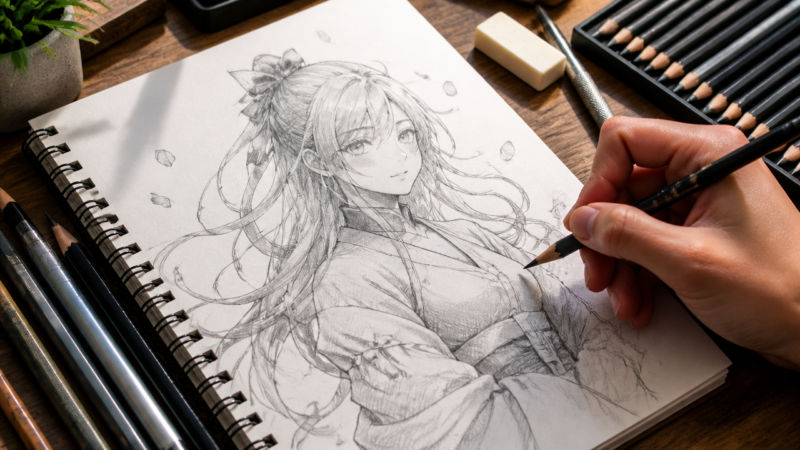
Everything starts with simple geometry. Use a hard-lead graphite pencil to map out the base shape of your character’s head and posture. By focusing on the foundational structure, you ensure your character has balance before you ever commit to a permanent line. Most artists start with a circle for the crown and a V-shape for the chin, effectively dividing the face area into sections to place features properly.
Keep these lines light. You want to be able to erase them easily once you start the final inking process. If you push too hard, your paper will end up with indented grooves that distort your final ink lines. Spend time getting the torso and limb proportions right using simple stick-like structures, as shown in many foundational art tutorials.
Step 2: Refining and Inking
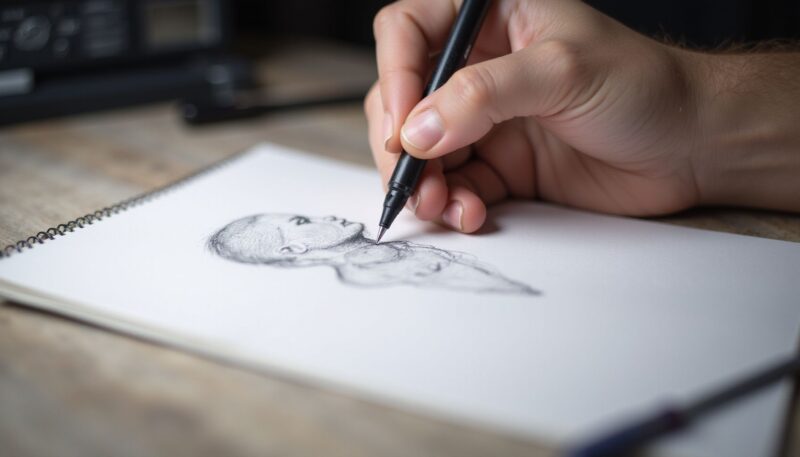
Transitioning from a messy sketch to a clean illustration requires precision. Use a G-pen style brush or any ink tool that reacts to your grip pressure. Thick, bold outer lines help define the silhouette, while finer, delicate lines for facial details keep the character looking polished. Natalia, a professional manga creator, suggests getting your inking routine down early so you feel confident as your art evolves from a draft to a final piece.
If you are working traditionally, a thin eraser like the Seed Slendy is a massive advantage. It allows you to clean up stray pencil marks without smudging the ink. Use stencils if your hands feel shaky, as clean lines are the hallmark of the anime style. Always wait for your ink to dry fully before taking the eraser to the page, or you risk a permanent smudge that ruins your hard work.
Step 3: Coloring and Shading
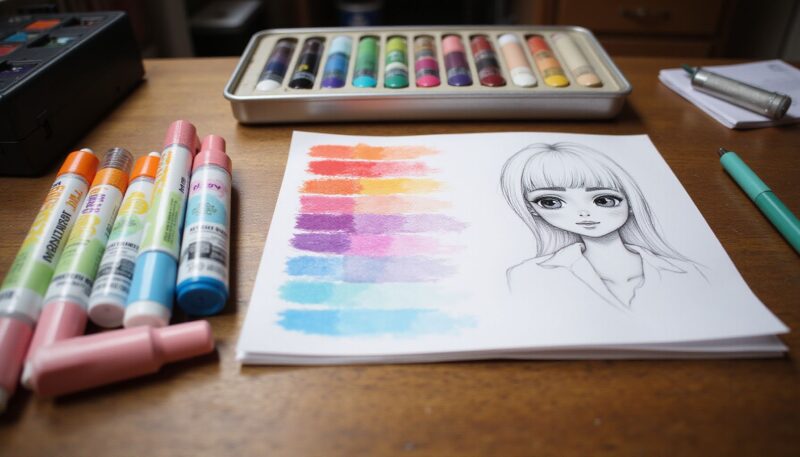
Coloring in anime is often about efficiency. Using alcohol dual-tip markers allows you to lay down flat, broad areas of color that mimic the “cel-shaded” look seen in television animation. The trick is to keep your shading consistent by pretending a light source is fixed in one corner. This prevents your character from looking like they are lit from multiple directions, which typically looks unnatural.
Layering your colors correctly is how you achieve depth. Start with your lightest base tones and layer the darker shadows on top while the ink is still slightly damp, though not soaking. If you are digital, use clipping masks. This allows you to shade freely without worrying about coloring outside the lines of your base layer.
Mistakes to Avoid
One of the biggest errors beginners make is attempting to draw with a mouse. Digital art requires a tablet with pen pressure, as a mouse lacks the sensitivity to produce the characteristic thin-to-thick line variation. Without that pressure sensitivity, your lines will look flat and mechanical.
Additionally, avoid using generic office pens for your final work. Professional manga artists use dedicated fineliners or specialized steel nibs. Office pens often bleed or react poorly if you try to add alcohol markers over them, dissolving your line work completely. Use tools designed for the specific paper types you are working on to ensure your work stays crisp and clean over time.
Troubleshooting: Common Drawing Hurdles
Shaky lines are the most common frustration for new artists. If your lines look uneven, try slowing down your stroke speed. Sometimes, we want to rush, but a controlled, steady motion creates the most professional results. If you are digital, do not be afraid to use the software’s built-in stabilization settings to smooth out jittery curves.
If your colors look muddy or inconsistent, you might be over-saturating the paper. Alcohol markers work best when you build value in 2 or 3 passes rather than trying to saturate the paper in a single go. If your character’s proportions feel off, check your reference archetypes. Amazon, in their guide on anime character design, emphasizes that standardizing your proportions for different character types like schoolboys or fantasy figures is often the key to getting the look you want.
FAQ
Q: How do I draw the face proportions correctly when starting an anime character?
Divide the face into quarters: draw a vertical line down the center and a horizontal line halfway between the top of the circle and the chin. Place eyes just below the horizontal line, the nose between eyes and mouth, and the mouth near the bottom. The chin extends below the circle with a slight curve.
Q: Do I need to sketch the body before adding hair and clothes to an anime figure?
Yes, sketching the body first ensures correct posture and proportions. Start with simple shapes for torso, arms, and legs, align elbows with the waist, and extend hands to mid-thigh. Once the base is solid, add hair framing the face and clothes over the body, erasing lines hidden beneath fabric.
Q: Are there specific rules for drawing anime hair styles for beginners?
Begin by drawing hair in sections rather than individual strands, using quick light lines for bangs and blocks for longer hair. Hair should extend above the initial head circle, frame the face, and end with spikes or curves to suggest flow. Avoid over-detailing; keep it simple and stylized.
Q: How can I make my anime character look more masculine or feminine?
Masculine characters often have broader shoulders, straighter chest lines, and angular jawlines. Feminine characters feature narrower shoulders, curvier chest lines, and softer, rounded face shapes. Adjust eye size slightly—larger for feminine, slightly smaller for masculine—and vary body proportions accordingly.
Q: What is the easiest way to draw anime eyes step by step for new artists?
Draw a large curved upper eyelid, then a short line down from the outer corner for depth. Leave the inner corner open for softness, add a full circle for the iris, and a smaller circle inside for the pupil. Finish with one or two tiny circles for light reflections to create sparkle.
Q: When should I erase my sketch guidelines after drawing an anime character?
Erase guidelines only after completing the final outline and adding details like hair, eyes, and clothes. Start with a light sketch, refine dark lines over it, then erase hidden or unnecessary marks. This prevents smudging and keeps your drawing clean while preserving key structure.
Q: Is it better to practice drawing lines and circles before starting anime figures?
Yes, mastering lines and circles builds hand control and confidence essential for anime. Practice drawing uniform circles and straight lines in single strokes repeatedly. Use these skills to sketch basic head shapes, eye outlines, and body forms before progressing to full character details and expressions.
My Experience With How to Draw Anime Characters Step by Step: Simple Guide for Beginners
I remember when I first tried drawing anime, I spent hours obsessing over the perfect circle for the head, only to realize my jawline placement was way off. It was frustrating, but that is the reality of starting out. You realize quickly that anime is less about hyper-realism and more about intentional stylization. The biggest breakthrough for me came when I stopped trying to trace frames from my favorite shows and started building characters using the construction shapes mentioned in this guide.
The secret that a lot of tutorials miss is that your hand needs a “rhythm” for the lines. Once you learn to pull your lines toward your body rather than pushing them away, your confidence levels will skyrocket. It is common to feel like your proportions are weird at first, but keep at it; even the most seasoned mangaka started with lopsided characters that looked slightly off-center. I found that mastering those six basic archetypes allowed me to play with my own style much faster than guessing. Do you find you struggle more with getting the facial proportions right or balancing the body poses?
Next Steps
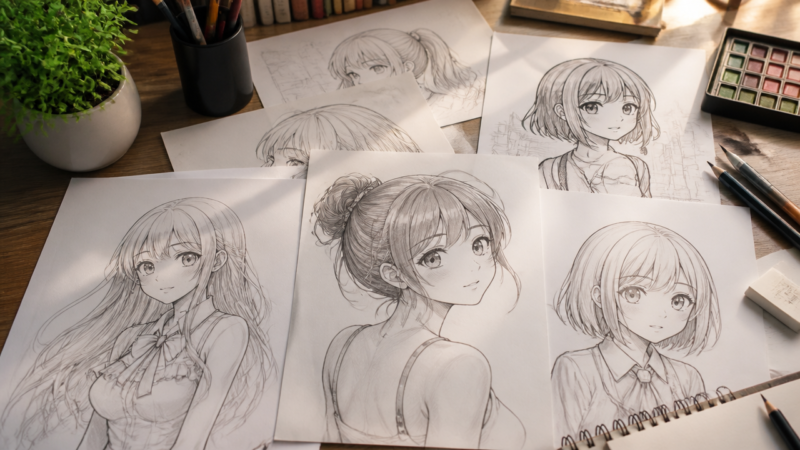
To continue improving, dedicate your next few sessions to practicing the six core anime archetypes: schoolgirls, schoolboys, preteens, vengeful bad guys, humorous personalities, and fantasy figures. Spend your practice time specifically on line weight control. Challenge yourself to create a single curve that transitions from a paper-thin start to a thick, bold end using only pen pressure. Mastering this skill will make your characters look professional and help you develop a signature style.
A Teacher with 5 years of experience. Our Expertise, is reliable to meet your full Academic development needs . Worked on many crafts and construction projects offering services from design to development to deployment over the years. You will find many of my works in my business portfolio on request.