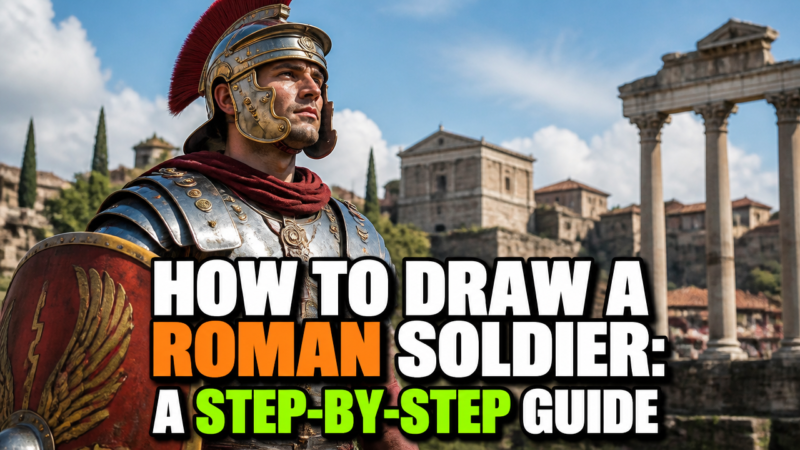
Have you ever wondered how to draw a Roman soldier with the grit and historical detail you see in classic museum displays? Crafting a realistic Roman soldier requires more than just sketching a person; it demands understanding the weight of the gear and the disciplined posture that defined these ancient warriors. Whether you are prepping for a school project or just looking to refine your historical figure drawing, capturing a Roman soldier helps sharpen your grasp of structural anatomy and metal textures. With a few simple shapes, you can easily build a formidable legionary. Grab your favorite pencil, find a quiet creative space, and let’s get started.
Quick Questions and Answers
Question: How do you draw a Roman soldier step by step?
Answer: Start with a simple head shape, then add the helmet, torso, arms, legs, and shield. Most beginner tutorials build the soldier from basic shapes first and add armor details last, which makes the drawing easier to control.
Question: What do you draw first for a Roman soldier?
Answer: Begin with the head or a light stick-figure sketch to set the pose. Several tutorials start with an oval or U-shape for the face and helmet area, then expand outward to the body and armor.
Question: Why does a Roman soldier need a helmet and shield?
Answer: The helmet and shield are the most recognizable parts of a Roman soldier and help define the character quickly. Drawing them early also helps balance the composition because they are usually large visual shapes.
Prerequisites: Understanding Your Subject
History provides a roadmap for your pencil. You should familiarize yourself with the two primary armor types seen in most records: the Lorica Segmentata, which consists of horizontal metal bands, and the Lorica Squamata, a type of scale armor that mimics fish scales.
Understanding the utility of the Scutum is vital, too. This large, rectangular, or semi-cylindrical shield was the backbone of Roman tactical formations. As noted by Study.com, the Romans created interlocking walls of shields to adapt to different battlefield threats. Adding supporting equipment like the Pilum, a heavy javelin, or the Dolabra—a versatile pickaxe used for camp construction—adds a layer of functional realism that elevates your drawing from a simple sketch to an interesting character study.
Tools and Materials for Artistic Execution
Building a solid base is the secret to a professional look. You do not need expensive supplies, but having the right tools makes the process smoother.
Begin with a light stick figure. This sets the upright, disciplined posture typical of a Roman legionary standing ready for duty. Focus on the shoulders and the stance, as the soldier needs to appear grounded. Even if you skip the fine details, getting the weight-bearing leg correct helps the final character look stable rather than tilted.
Step 2: Draft the basic forms of the equipment
Roughly sketch the rectangular boundary of the scutum shield. Place it directly to the side of the body, curving slightly to show its cylinder-like shape. Next, draw a simple cylinder or oval for the helmet. Keeping these shapes light is crucial because you will refine them into the iconic Roman equipment in later steps.
Step 3: Add armor details
It is time to layer your soldier. Sketch the horizontal lines across the torso to represent the overlapping plates of the Lorica Segmentata. These lines should curve slightly with the body to ensure they do not look like flat stickers. Keep your pencil strokes light until you are satisfied with the spacing of the plates.
Step 4: Include secondary gear
Every soldier carried more than just a shield. Sketch a small loop at the waist for the sword or attach a simple pickaxe, known as the dolabra, to their utility belt. According to Wikipedia, these tools were essential for the nightly construction of camp fortifications. Adding these small, historical details transforms a generic figure into a lived-in, authentic-looking soldier.
Step 5: Refine the drawing
Go over your initial sketches with a firmer hand. Emphasize the interlocking joints in the armor and ensure the edges of the scutum look solid and reinforced. Use short, crisp lines for the armor plating. If you find the details getting messy, use your eraser to clean up any structural guidelines that are no longer needed.
Common Mistakes to Avoid
Scale is a frequent tripping point. A common mistake is drawing the scutum too small; it should be large enough to protect most of the soldier’s body. If the shield looks like a toy, the whole drawing feels incorrect.
Another pitfall is mixing armor styles. While experimentation is fine for fantasy art, try to pick one style, such as the Lorica Segmentata or the Squamata, and stick to it throughout. This maintains a clean, historical look. Lastly, do not treat the pilum like a generic spear. It has a long, thin shank—draw it with a bit of “reach” so it looks like it could actually pierce an enemy’s shield.
Troubleshooting Artistic Challenges
If your soldier looks stiff, go back to the gesture line. Ensure the center of gravity rests comfortably behind the shield, mimicking a defensive posture.
Does the armor look flat? Try adding a light shading gradient to each shoulder plate. This creates the illusion of depth. If you are struggling with shield proportions, remember that the scutum was designed to be carried; it should look heavy and substantial. Re-drawing the center “boss”—the raised part of the shield—can also help provide a focal point that stabilizes the rest of the image.
FAQs: Refining Your Historical Accuracy
Q: Should I draw them with or without a plume?
Plumes or crests were usually reserved for centurions or high-ranking officers to stand out on the battlefield. If you are drawing a common legionary, consider keeping the helmet plain or with simple leather attachments. Adding a crest immediately signals a leadership role, which might change the narrative of your piece.
Q: How do I make the shield look “real”?
Incorporate the texture of vertical or horizontal wood planks on the interior surface. On the exterior face, draw the reinforced metal “boss” in the center where the handgrip was held. As Res Militares suggests, observing real equipment at museums can help you understand how light catches the metal curves to create a realistic, polished impression.
My Experience With how to draw a roman soldier
I remember my first attempt at this, and it was a disaster. I tried drawing the armor before the body, and my soldier ended up looking like a stack of metal cans! It is much easier to map out the posture first, then layer the armor on top like clothing. I realized the secret to that “authentic” feel is actually in the gear—the pilum and the belt attachments are what sell the character. I used to think the shield was just a flat rectangle, but once I started thinking of it as a curved piece of wood, the perspective clicked. It is funny how a simple shift in mindset can change a stiff, flat drawing into something that actually looks like it belongs in an ancient legion. I also found that sharpening my pencil to a needle-point helped with the fine lines of the armor segments, though it took forever to finish. Has anyone else struggled to get the curvature of the scutum right on the first try?
Next Steps for Improving Your Art
Visit online museum archives to see how light hit the real bronze and iron gear. Understanding how these materials reflect light will improve your shading game drastically. You should also try drawing a group formation, where shields overlap to form a line. This is a great way to practice composition and narrative, rather than just focusing on one subject.
A Teacher with 5 years of experience. Our Expertise, is reliable to meet your full Academic development needs . Worked on many crafts and construction projects offering services from design to development to deployment over the years. You will find many of my works in my business portfolio on request.