
What makes fall leaf drawing look believable, even when your outline is simple—veins, texture, or both? If you want easy fall leaf drawing ideas for beginners and clean autumn leaf sketching, the answer sits in how you build the midrib and the leaf’s surface. Fall leaf drawing also works great for leaf art projects, classroom art, and homemade gifts. Whether you’re making an autumn centerpiece or a holiday card design, fall leaf drawing helps you create a recognizable shape fast. Follow the steps below and you’ll get a leaf that looks alive.
Quick Questions and Answers
Question: Why do fall leaf drawings look more realistic with veins? Answer: Adding veins makes fall leaf drawings look more realistic because they mimic the natural structure of real leaves. Veins run from the center midrib outward, creating symmetry and depth that reflect how water and nutrients move through the leaf. Observing and sketching these delicate lines accurately helps capture the leaf’s true texture and form.
Question: Can kids draw fall leaves easily without templates? Answer: Yes, kids can draw fall leaves easily without templates by starting with simple shapes like ovals or hearts. Begin with a center line for the stem, then sketch the outline and add veins radiating outward. Using crayons, markers, or colored pencils lets them add vibrant autumn colors while learning proportions through the box technique.
Question: Do fall leaf drawings need warm colors only? Answer: Fall leaf drawings typically use warm colors like yellows, oranges, and browns, but adding greens or reds enhances realism. Real autumn leaves often blend multiple hues, including russets and dull greens, so layering these shades creates natural transitions. Comparing your drawing to a real leaf reference ensures accurate color matching.
Key Takeaways
- Build the leaf from the inside out: midrib first, then primary veins.
- Keep early pencil lines light so you can fix shape without wrecking paper.
- Add texture after color (sharp colored pencil or gentle embossing) to make veins feel real.
- Match tools to the look: pens for crisp outline, colored pencils for layered detail, watercolor paper for smooth blending.
What You Need
| Item | Purpose | Notes |
|---|---|---|
| Drawing or sketching paper | Dry sketching and practice lines | Use anything you have, but smoother paper keeps pencil marks cleaner |
| Watercolor paper (optional but recommended) | Better wet color blending and layering | Hot press feels smoother for crisp detail |
| Hard lead pencil (HB or similar) | Light structural layout | Keep it light so you can erase easily |
| Fine-liner drawing pens (or similar) | Inking outline and vein lines | Use a thin tip so lines stay delicate |
| Colored pencils | Veins, stains, subtle gradients | Sharp points help you draw tiny vein details |
| Brush pens or dual brush pens (optional) | Quick fall color base | Great for blocking color before pencil detail |
| Blending kit (optional) | Smoother transitions | Helps colored pencil layer over washes |
| Embossing tool (optional) | Press subtle vein texture | Works best on watercolor paper you can gently indent |
| Kneaded eraser | Lift pencil marks before inking | Useful when veins feel too dark or too rigid |
Step 1: Pick your fall leaf shape (and set a pose)

Start by choosing one leaf to copy. Don’t pick three at once; pick one and commit to its direction. A leaf in profile gives you a clear “front” edge and helps you place the stem.
Then decide the leaf’s tilt: slightly left, slightly right, or straight up. This matters because your midrib line sets the angle for every vein that follows.
Quick check for an easy win
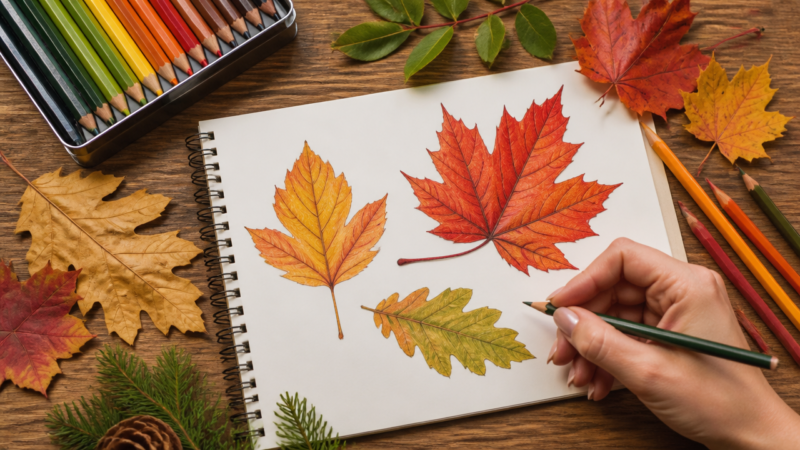
Look for a leaf with a visible center vein and clear branching. Maple-style leaves are forgiving because the lobes feel symmetrical, while oak-like edges can be dramatic but still workable if your midrib is correct.
Step 2: Establish the leaf structure with the midrib and main veins
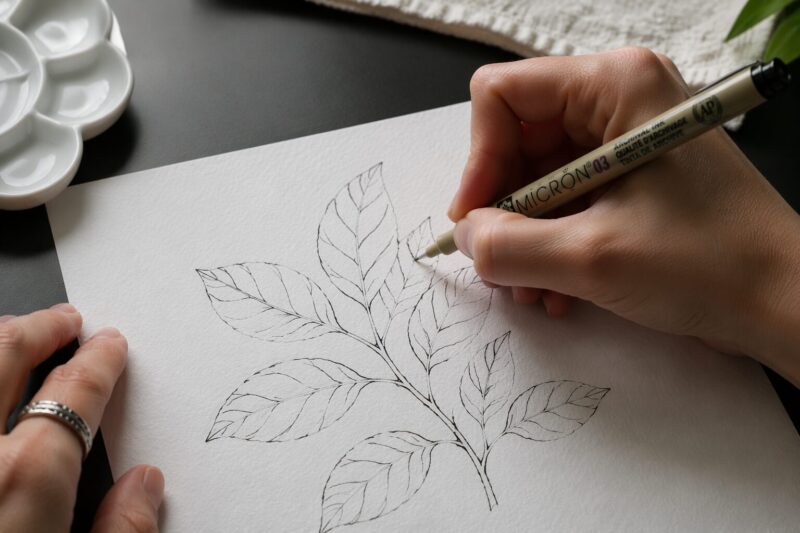
Lightly sketch the center midrib first. Keep pressure gentle; you want erasable guide lines, not a carved imprint. Draw the midrib as a long “stem line” that continues into the leaf body.
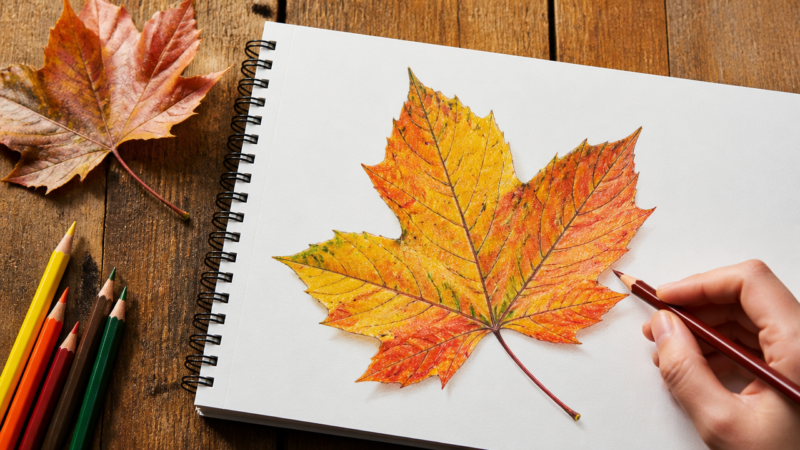
Next, add the primary veins. These radiate from the midrib like ribs, curving slightly as they approach the leaf edge. According to How to Draw a Fall Leaf: A Botanical Art Tutorial, sketching the midrib and main veins lightly in pencil first creates a reliable structure for the rest of the leaf (and keeps your proportions under control).
Make veins feel organic
You’re not drawing railroad tracks. Let the main veins arc and vary in length. Some end near the lobes, some fade a bit before the edge.
Step 3: Refine the outline without overworking the pencil
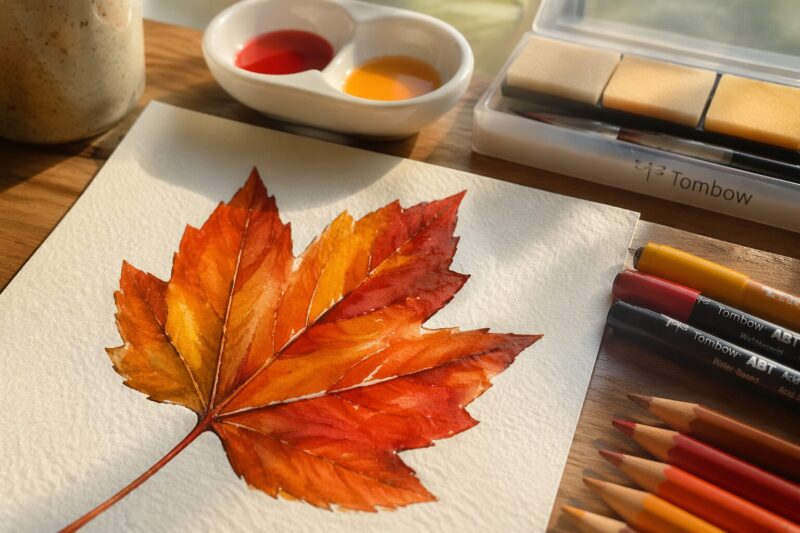
Now trace the leaf’s outer edge. Follow the natural silhouette: it swells, it dips, it narrows. Keep the outline light enough that you can adjust it as the leaf “looks right.”
If you want a clean beginner approach, use a simple shape container idea like a box around the leaf. This helps you compare distances from edge to midrib while you draw.
When outline pencil lines get too dark
Dark lines make fixing shape miserable. Use a kneaded eraser to lighten edges before you ink. Research from Art Projects for Kids supports starting with simple shapes to get leaf proportions in place before adding detail.
Step 4: Ink the outline and key veins (thin, controlled strokes)

Once the pencil shape feels solid, switch to a fine-liner pen. Trace over your pencil lines in stages: outline first, then the midrib and main veins.
Keep line weight consistent. Inking too boldly early can flatten shading later because your leaf will look like a sticker instead of a form.
A simple rule for realistic ink
Ink only what you need. If you ink every tiny vein, your drawing can lose depth. Save some smaller texture marks for colored pencil later.
Step 5: Block in fall colors (base first, shadows second)
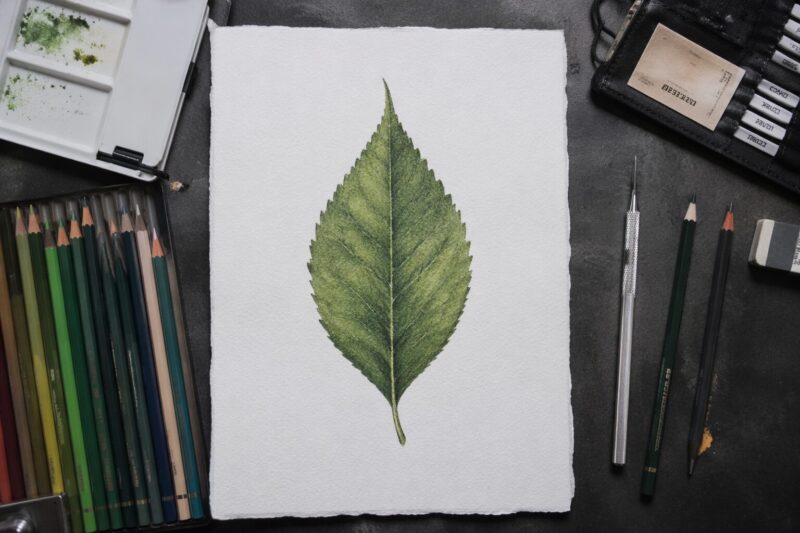
Apply your first layer of color. Use warm fall tones like golds, deep reds, and oranges. If you’re using brush pens or dual brush pens, keep strokes gentle and even, then leave a few lighter areas near the highlights.
If your leaf looks too flat after the first pass, deepen shadows near the midrib and around any folds. That shadow placement gives the leaf its 3D look.
Add cools to make the warm tones feel real
Real autumn leaves blend hues. You can add greens or darker reds to make the yellows and oranges feel natural. As How to Draw Autumn Leaves explains, beginners benefit from a step-by-step process that builds the color gradually rather than forcing one flat shade.
Step 6: Add vein texture with sharp colored pencil (and clean edges)
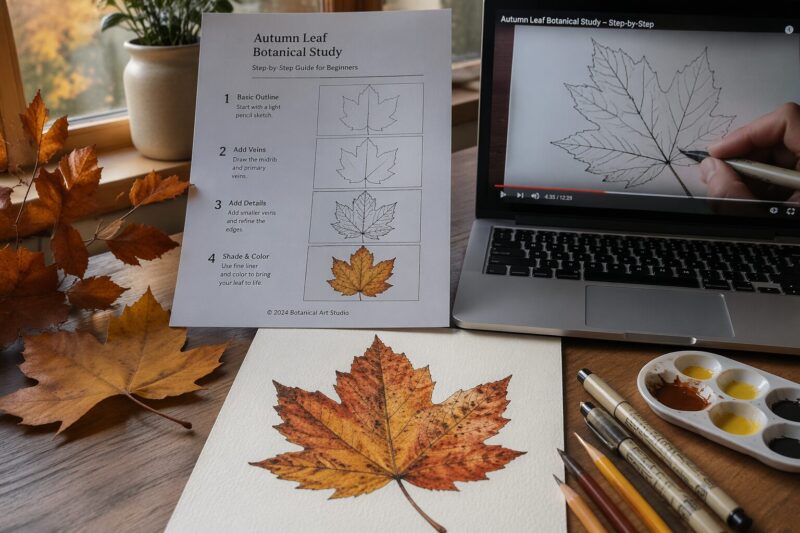
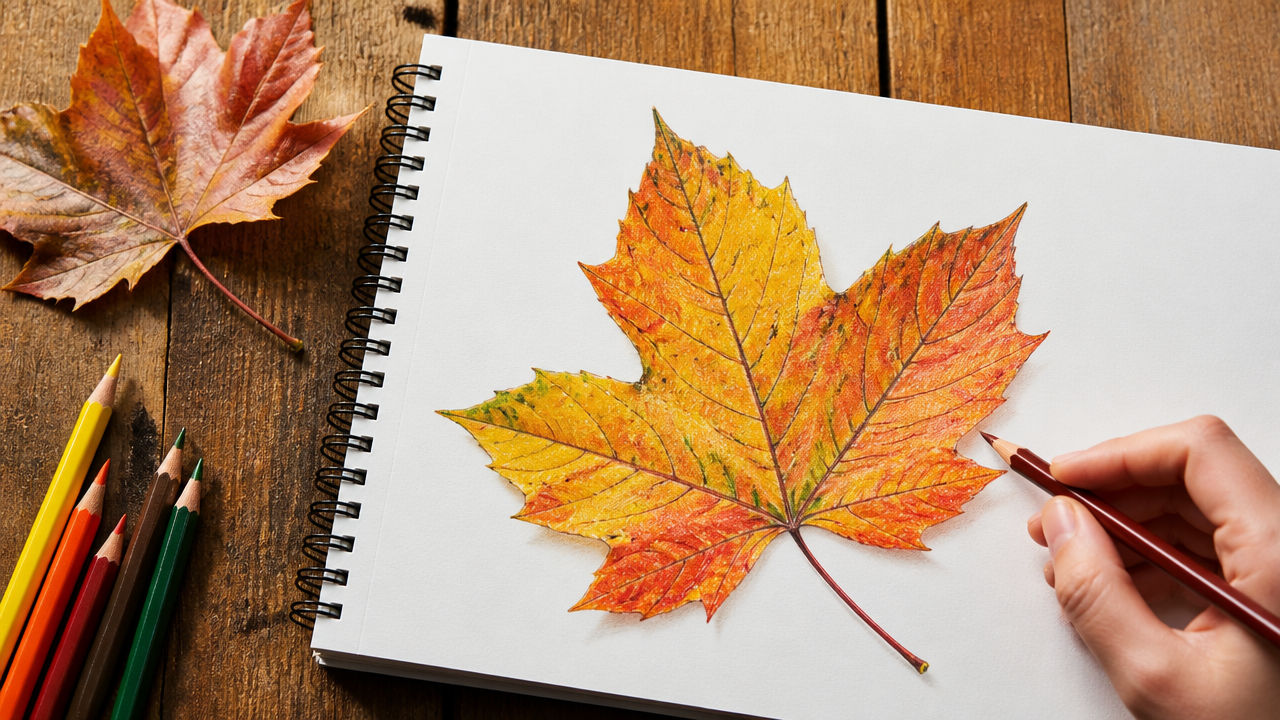
After the base color sets, switch to a sharp colored pencil. Draw the smaller vein lines lightly, then add darker accents where veins “catch” light and where texture should sit in shadow.
According to How to Draw Fall Leaves: A Botanical Art Tutorial, after watercolor or initial color, you can define subtle veins with a sharp colored pencil (or an embossing tool) to bring out realistic detail.
Use embossing when you want a tactile look
If you have an embossing tool, press very gently along the vein path. This creates subtle indentations, so pencil texture looks more believable because it visually “sits” in the surface.
Step 7: Fix mistakes without ruining the paper (troubleshooting mode)
If your veins look too rigid, soften them. You can lighten pencil lead gently with a kneaded eraser before inking, or reduce pressure so your pencil lines feel thinner and more flexible.
If colors bleed (especially with markers), stop and switch materials next time. Use drawing paper meant for your medium. Artlooklearn notes that paper choice affects how well you can layer and blend in realistic sketches.
Common problems and fast fixes
- Leaf outline too dark in pencil: lift it with a kneaded eraser before inking.
- Midrib placement off-center: erase and redraw the midrib early; everything else depends on it.
- Paper tearing early: reduce pressure in the sketch stage so blending stays possible later.
Step 8: Finish with tiny details that make it feel “real”
Now add small texture cues: faint stains, slight color variation near the edges, and tiny breaks where veins end. Don’t overfill the leaf. Leave some lighter areas to keep highlights.
Zoom out. If the leaf reads clearly as a single shape at a distance, you nailed the big structure. Then the texture just sells the illusion.
Tips
- Start with one leaf type and one angle. A leaf portrait beats an “autumn collage” when you’re learning.
- Keep pencil pressure light during structure. You’ll thank yourself when you erase and reshape.
- Ink only the strongest lines. Let colored pencil do the delicate work later.
- Use reference. Look at a real leaf outdoors or a photo and copy what you actually see: vein density and edge shape vary by species.
- Consider mixing texture methods. A light watercolor wash (if you use it) plus pencil veins often looks more natural than pencil alone.
- If you want a classic vintage autumn illustration look, try a dip pen style workflow paired with colored inks and then add pencil detail after the ink dries. Amy Stewart’s autumn leaves lesson includes a supply list and workflow that fits that aesthetic.
| Option | Feature | Best For | Notes |
|---|---|---|---|
| Pencil-only | Easy edits, soft shading | Learning leaf proportions | Keep pressure light so you can lift marks |
| Fine-liner + colored pencil | Crisp veins with layered detail | Realistic leaf textures | Ink midrib and main veins, pencil the rest |
| Brush pens (base) + colored pencil (detail) | Faster color blocking | Beginner-friendly color results | Pencil veins after the base layer |
| Watercolor wash + colored pencil | Natural gradients plus sharp detail | Depth and realistic color transitions | Let watercolor dry fully before pencil veins |
| Embossing + pencil | Tactile vein indentation look | Subtle texture realism | Press very gently so paper doesn’t buckle |
FAQ
Q: Are oak leaf drawings different from maple leaf drawings?
Oak leaf drawings differ from maple leaf drawings due to their distinct shapes. Oak leaves have rounded, feather-like lobes with small indents, while maple leaves start with a heart shape and feature five pointed lobes. Both require a center vein guide, but the outline and edge details vary significantly by species.
Q: How do you draw realistic fall leaf textures?
To draw realistic fall leaf textures, observe real leaves or photos for subtle variations in shade and surface patterns. Use pencil strokes like circles, dots, or light shading to mimic wrinkles, stains, or folds. Layering colored pencils over watercolor washes adds crisp detail and depth for an authentic autumn look.
Q: Will colored pencils work better than markers for leaves?
Colored pencils work better than markers for fall leaves when you want fine detail like veins and texture. Markers provide bold, flat color but lack the ability to layer shades or create subtle gradients. Combining watercolor for base color with colored pencils for detailing offers the most realistic and versatile result.
Q: When should beginners start shading fall leaf drawings?
Beginners should start shading fall leaf drawings after sketching the basic shape and adding vein lines. Shading creates depth by darkening areas near the stem or folds while keeping highlights white. Gradually lighten the shading from dark to white to mimic natural light and enhance the leaf’s three-dimensional appearance.
Q: What is the best paper for drawing fall leaves?
The best paper for drawing fall leaves is smooth watercolor paper, especially hot press, which accepts both wet washes and pencil layering. This surface prevents flat edges when applying watercolor and allows colored pencils to add crisp veins and texture. Avoid rough paper that may disrupt delicate details.
Q: Is the box technique good for drawing leaf proportions?
Yes, the box technique is excellent for drawing leaf proportions because it creates a visual container to guide the shape. By drawing a simple line box around the leaf, artists can better imitate its outline and internal vein angles. This method helps beginners understand symmetry and scale accurately.
Q: Which fall leaf species is easiest to draw?
The easiest fall leaf species to draw is often the simple oval or heart-shaped leaf, such as a basic maple or birch. These leaves have clear symmetry, a central vein, and smooth or lightly serrated edges. Starting with fundamental shapes and adding minimal details makes them ideal for beginners.
My Experience With fall leaf drawing
I used to jump straight to coloring and then wonder why the leaf looked like it belonged on a craft sticker sheet. The fix was structural: once you draw the midrib and primary veins lightly first, everything else starts behaving. My biggest “oops” was inking too early with heavy lines. The leaf lost dimension fast, because I took away the chance to shade. Now I ink only the outline and the main vein paths, then I let sharp colored pencil add the smaller veins and texture after the base color is down.
Another habit that changed my results: I check edge shapes at arm’s length. If the silhouette reads clearly from far away, the rest becomes clean detail work instead of panic-editing. When veins start looking stiff, I loosen them by lifting pencil lead with a kneaded eraser before inking.
What leaf did you try first, and did it come out more flat or more lifelike?
Latest Updates
If you’re drawing for a seasonal craft table, school assignment, or quick gift card design, prioritize the midrib + vein step. Most “realism” problems in fall leaf drawing come from structure, not color. When your leaf’s center line guides the veins, your palette can stay simple and still look convincing.
Conclusion
You don’t need fancy supplies to draw a solid fall leaf. You need one good process: midrib first, veins next, outline lightly, then color base, then texture details. When you do that sequence, the leaf stops looking like a generic shape and starts looking like a real leaf you could pick up.
Work one leaf until it feels right. Then switch species (maple, oak, birch) and watch how the vein patterns change. That’s where your drawings grow fast.
References
- How to Draw a Fall Leaf: A Botanical Art Tutorial. (2025, October 2). DrawBotanical. https://drawbotanical.com/draw-fall-leaf
- How to Draw a Leaf 6 Ways: Easy Fall Leaves… (2025, November 7). Art Projects for Kids. https://artprojectsforkids.org/leaf-art-projects
- How to Draw Autumn Leaves. (2020, October 16). Shayda Campbell. https://www.shaydacampbell.com/post/how-to-draw-autumn-leaves
- Draw Easy Fall Leaves Step-by-step (Realistic Autumn Leaf Sketch). (n.d.). Art Look Learn. https://artlooklearn.com/draw-easy-fall-leaves-step-by-step-realistic-autumn-leaf-sketch
- Draw Fall Leaves and make a cute Autumn Illustration. (2018, September 17). Tombow USA Blog. http://blog.tombowusa.com/2018/09/17/draw-fall-leaves
- Art Lesson #7: Autumn Leaves & Colored Ink. (n.d.). Amy Stewart (Substack). https://amystewart.substack.com/p/art-lesson-7-autumn-leaves-and-colored

A Teacher with 5 years of experience. Our Expertise, is reliable to meet your full Academic development needs . Worked on many crafts and construction projects offering services from design to development to deployment over the years. You will find many of my works in my business portfolio on request.