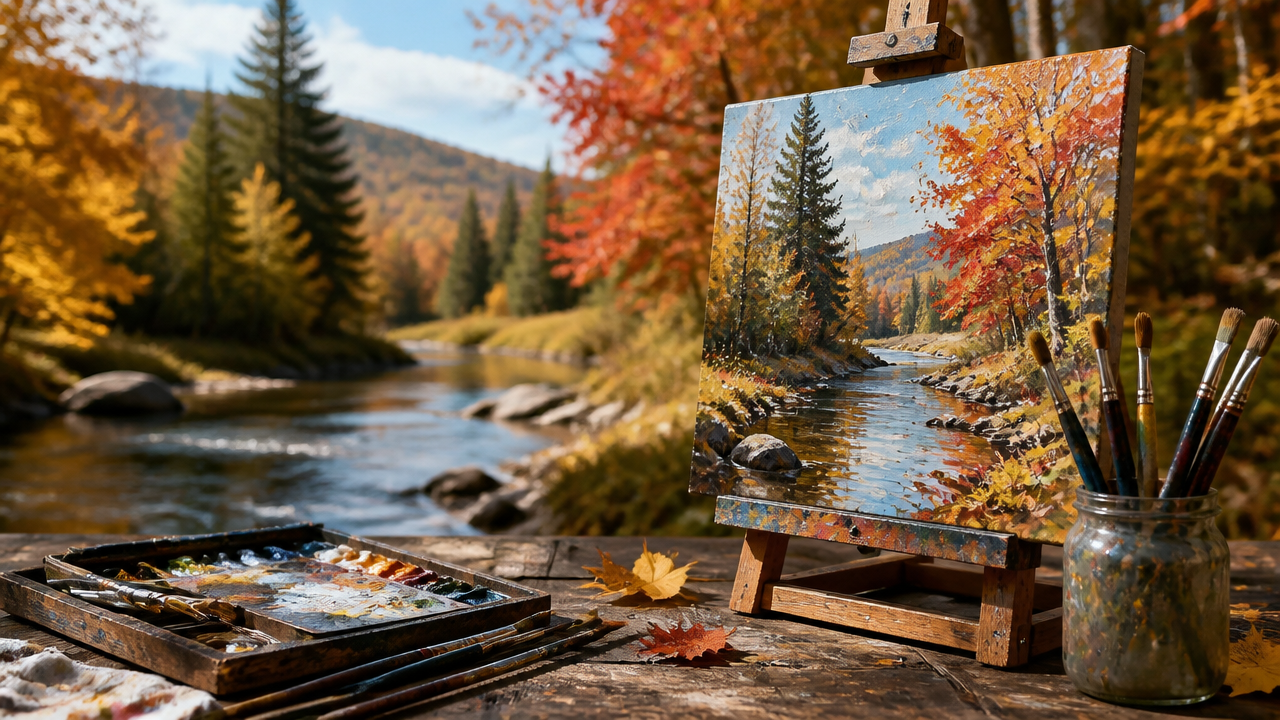
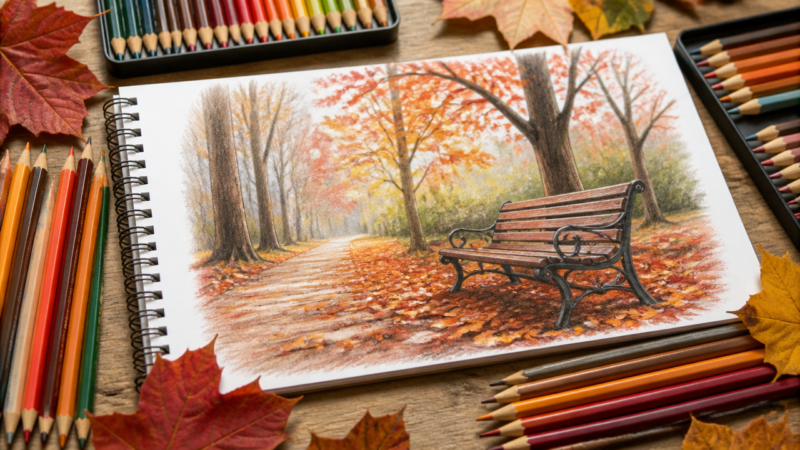
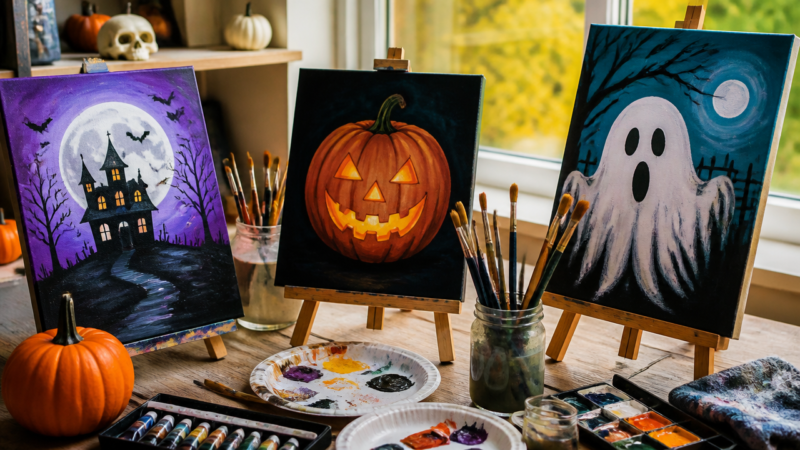
What makes a truly great fall canvas painting stand out from every other autumn forest scene you have tried to create? Whether you are documenting the changing seasons or simply looking for a relaxing creative outlet, the right technique makes all the difference when capturing those deep, warm hues. Mastering a fall canvas painting project allows you to bring seasonal color indoors through your own artistic expression. By using reliable acrylic methods and straightforward steps, even a beginner can produce a professional result. Let’s look at how to get started on your own autumn masterpiece today.
Quick Questions and Answers
Question: What are easy fall canvas painting ideas for beginners?
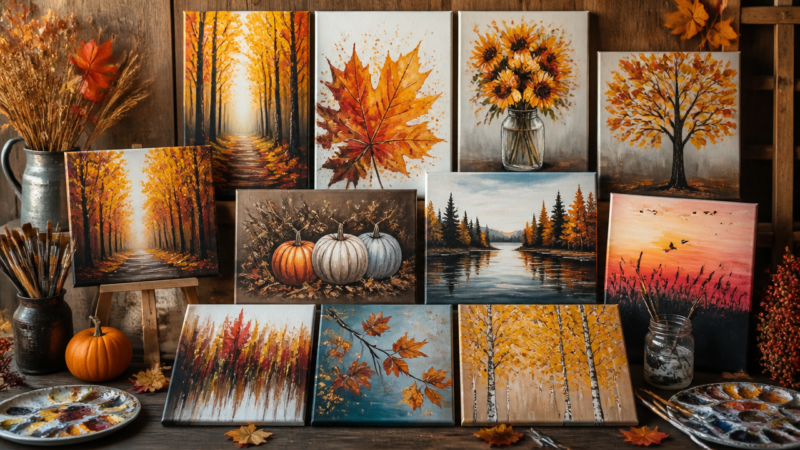
Answer: Easy fall canvas painting ideas for beginners include pumpkins, autumn trees, falling leaves, scarecrows, and simple maple leaves. Acrylic paint is recommended for beginners because it is affordable and dries quickly. You can start by sketching a pumpkin with a pencil, adding a stem and leaf, then filling it with your chosen color.
Question: Why is acrylic paint better than oil for fall canvas painting?
Answer: Acrylic paint is better than oil for fall canvas painting if you are a beginner or need to finish quickly, as it dries faster and is easier to clean. Oil and acrylic both work well on canvas, but acrylic is the preferred choice for those strapped for time or new to painting.
Question: Can I use fall colors if I don’t have many paint colors?
Answer: Yes, you can create beautiful fall art by limiting your palette to 4 to 6 colors like burnt sienna, yellow ochre, cadmium orange, and ultramarine blue. Using warm earth tones with one or two vibrant accents and balancing them with cool neutrals helps achieve a cohesive autumn look.
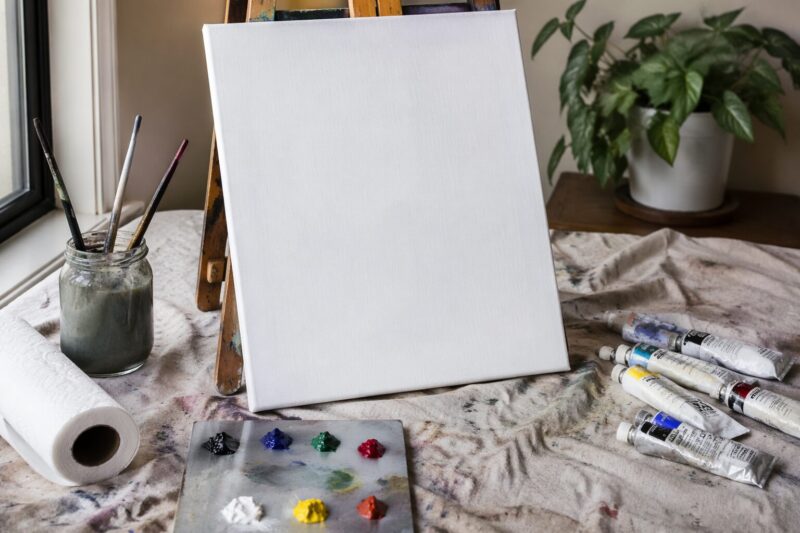
What You Need: Supplies and Tools
Item
Purpose
Notes
Acrylic Paint Set
Creating fall colors
Stick to warm earth tones and a neutral blue.
Assorted Brushes
Applying paint
Include flat, filbert, and fine-detail sizes.
Canvas Board
Surface for art
Pre-primed 11×14 inch panels are standard.
Palette
Mixing colors
Use a plastic tray or a disposable plate.
Water Jar
Cleaning brushes
Keep two jars: one for dirty, one for clean.
Step 1: Preparing Your Canvas and Workspace
Protecting your work area is the most critical first step. Spread out newspaper or a plastic drop cloth because acrylic paint is notorious for staining household surfaces. If you have been enjoying other creative projects like 12 Simple Sensory Play Recipes the Whole Family Will Love, you likely already have a dedicated workspace setup.
Once your space is clear, inspect your canvas. Ensure it is gessoed, which means it has a light coating of primer that keeps the paint from soaking into the fabric too quickly. If your canvas feels raw or textured, applying an extra layer of gesso helps. Sketch your primary subject with a light H-grade pencil. If you struggle with freehand drawing, consider using carbon paper to transfer a print-out of a pumpkin or leaf outline directly onto the surface.
Step 2: Establishing the Background and Mid-tones
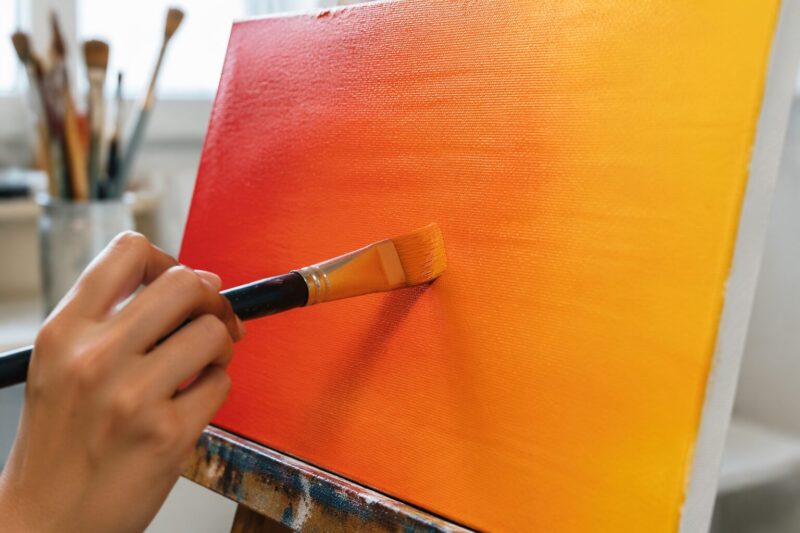
Start with the largest areas of color. If you are painting an autumn sunset, use a wide flat brush to apply your sky colors. Begin with the lightest shade near the horizon and blend upward into darker oranges or deep purples. Acrylics dry quickly, so you must work across the canvas with purpose.
Work in broad, horizontal strokes to build the atmosphere. By doing this first, you create a foundation that makes your foreground subjects pop. As The Art Sherpa explains in many of their guided lessons, color layering is the secret to a professional look. Don’t worry about being perfect; the texture of the base layer often adds character to a final landscape.
Step 3: Blocking in Fall Motifs
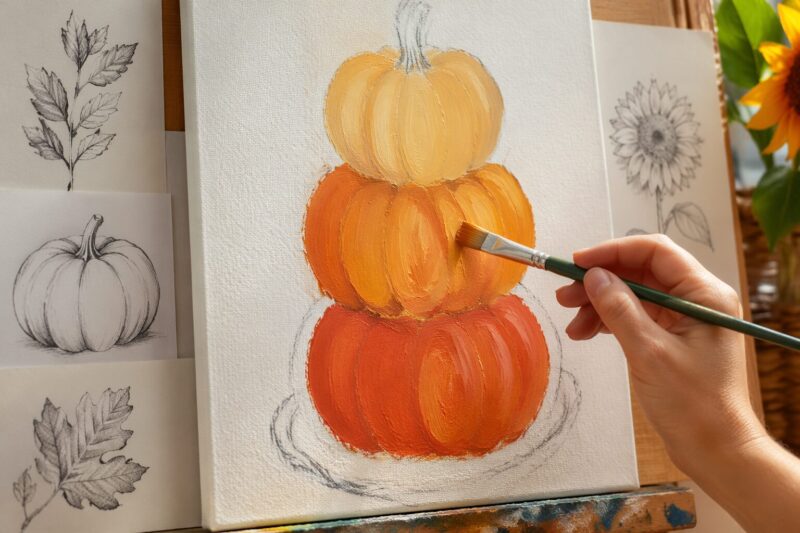
Focus on your focal points now. This might be a cluster of pumpkins or the main trunk of a large maple tree. When blocking in these shapes, use a medium-sized filbert brush to fill the outlines you sketched earlier. Keep the paint application slightly thinner during this pass.
If you are painting a pumpkin stack, fill each gourd with a base orange or white tone. This acts as an underpainting. If you ever feel like your work in progress is getting too complex, keep in mind how you learned 14 Manga Art Ideas You’ll Want to Draw Right Now by breaking down characters into simple shapes. Treat your pumpkin as a set of ovals and your trees as a set of vertical lines.
Step 4: Adding Textures and Highlighting Layers
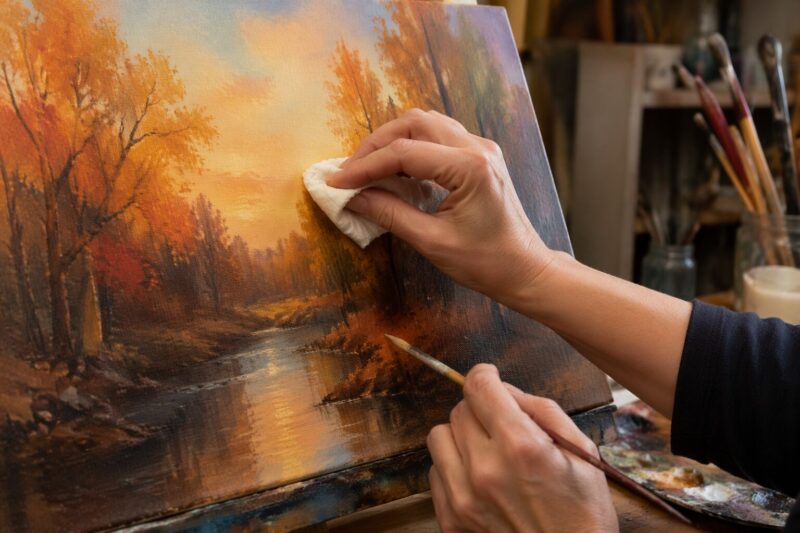
Now comes the fun part where the image gains life. Use the “dry brushing” technique to create texture on your pumpkins or dry leaves. To do this, pick up a small amount of paint on a dry brush and dab most of it off onto a paper towel before brushing it lightly over the surface. This leaves paint only on the high points of the canvas texture.
Layer lighter highlights over your darker dried base colors to create a 3D effect. Add bright yellow or white to the sunlit side of your objects. For fine details, switch to a detail or fine-liner brush. Use these to add veins to leaves, branches on trees, or the distinct lines on a pumpkin stem. According to ShunShelter, the contrast between these dark shadows and bright highlights is what makes a landscape feel vibrant rather than flat.
Mistakes to Avoid
The most common trap is over-blending. If you keep moving your brush back and forth over wet paint, the colors will mix into a dull grey-brown. If you accidentally reach this point, stop immediately. Let the area dry completely for 15 minutes, then apply a fresh, opaque coat of your intended color.
Another error involves brush care. Acrylic paint dries into a hard plastic finish. If you leave your brushes sitting in the water jar for too long, the bristles will flare or stiffen, making them useless for precision work. Rinse them frequently as you change colors. Don’t be afraid to use a fine-mist spray bottle to keep your paint pliable if it starts to dry too quickly on your palette.
Troubleshooting: Getting Back on Track
Sometimes a painting feels “off” and you can’t figure out why. If your background looks patchy, add a second coat. Acrylic paint is famously forgiving because it is opaque; you can paint right over sections that don’t satisfy you.
If your proportions feel wrong, specifically on a complex object like a tree or a house, wait for the paint to dry. Redraw your corrected lines over the top and fill them in with an opaque layer. As noted in research shared by Pinterest on artistic development, the ability to layer paint is precisely why acrylic is the primary medium for beginners. You have nothing to lose by trying again on the same canvas.
FAQ
Q: Are canvas panels good for fall painting projects?
Canvas panels are great for fall painting because they are flat, budget-friendly, and ideal for paint nights. They work well with acrylics and allow for easy handling, though pre-primed cotton canvases are also excellent options for smoother blends.
Q: How do I prevent paint drips when using spray paint on canvas?
To prevent paint drips when using spray paint on canvas, keep the canvas flat and apply light layers instead of heavy coats. This technique ensures even coverage without running or dripping, especially when working with spray paint for fall silhouettes.
Q: What summer canvas painting ideas work for fall themes?
While summer themes differ, you can adapt fall themes like pumpkins, trees, and autumn landscapes by using warm earth tones and seasonal shapes. Popular fall ideas include carved pumpkins in abstract colors, falling leaves, scarecrows, and black cats, which are distinct from summer topics.
Q: Will painting fall leaves on canvas require a lot of detail?
Painting fall leaves on canvas does not require excessive detail if you use simple shapes and bold colors. You can trace outlines of tree leaves onto the canvas and fill the silhouettes with a contrasting color for a clean, simple effect.
Q: When should I varnish my finished fall canvas painting?
You should varnish your finished fall canvas painting after the acrylics have fully cured for 48 to 72 hours. Apply a removable varnish in matte, satin, or gloss finish to protect the painting and provide UV resistance.
Q: How do I get crisp edges when taping off shapes on canvas?
To get crisp edges when taping off shapes on canvas, paint a coat of the same color as the area under the tape before applying your main color. Let that dry, then apply the new color for many coats to ensure a clean, sharp line.
Q: What are some creative ways to paint pumpkins for fall canvas art?
Creative ways to paint pumpkins include using abstract colors, mapping them as stacked ovals, or carving them with paint for a unique look. You can also doodle a free-hand wavy circle, add a stem and leaf, and finish with any color to accentuate the gourd.
Next Steps: Expanding Your Skills
Now that you have completed your first piece, you might wonder how to grow as an artist. Try experimenting with a larger 24×36 canvas for a more dramatic mural if you feel your current style is becoming too tight or controlled. Using a larger surface encourages you to use your whole arm rather than just your wrist, leading to more expressive brushwork.
You might also try incorporating a palette knife. Using a knife to apply thick acrylic paint—often called impasto—is a brilliant way to add literal dimension to your autumn foliage. Finally, keep practicing by following along with live streaming tutorials, which allow you to see the process in real time. Similar to how you built skills while working through How to Make a DIY Calming Bottle: Step-by-Step Sensory Success, consistency is the only way to improve.
My Experience With fall canvas painting
I’ll admit, the first time I set out to paint a simple autumn landscape, I thought I could just slap some orange on a brush and call it a forest. I ended up with what looked like a brown, muddy accident. My biggest mistake was over-mixing the reds and greens directly on the canvas—a rookie error.
The turning point for me was learning to embrace the “block-in” method where I paint the base shapes with flat, non-blended colors first. It’s like painting by numbers but without the numbers. I also started keeping a spray bottle handy to keep the acrylics from drying out during that crucial blending window, which saved me from constant frustration.
There is something strangely meditative about layering the highlights on a pumpkin stem. It’s not about perfection; it’s about that specific moment when the light catch under your brush makes the whole thing suddenly look real. I’ve found that even if the tree looks more like a scribble than an oak, the colors alone carry the seasonal mood better than any photograph.
What has been the biggest challenge for you when trying to mix those tricky, warm autumn shades?
A Teacher with 5 years of experience. Our Expertise, is reliable to meet your full Academic development needs . Worked on many crafts and construction projects offering services from design to development to deployment over the years. You will find many of my works in my business portfolio on request.