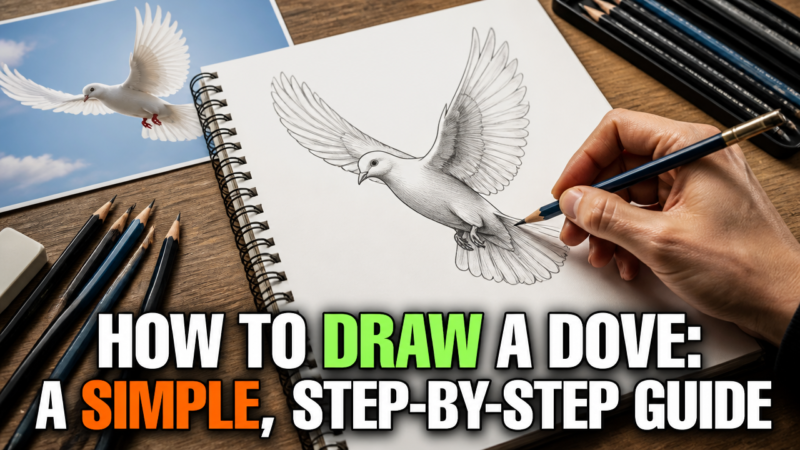
Ever wondered how to capture that classic silhouette without needing years of art training? Whether you are designing stationery for spring or just want to refresh your sketching skills, the dove is a timeless subject that relies more on clean geometry than complex shading. Understanding how to build this bird from the ground up makes the entire process approachable, even if you rarely pick up a pencil. By using simple shapes to define its form, you can create a recognizable and delicate bird with minimal frustration.
Quick Questions and Answers
Question: How do you draw a dove step by step? Answer: Start with simple shapes: a circle or oval for the body, a smaller circle for the head, and a triangle for the beak. Then connect the head to the body with a curved neck line, add a wing and tail feathers, and finish with an eye, legs, and light feather details.
Question: What shapes are used to draw a dove? Answer: Most tutorials begin with basic shapes such as circles, ovals, and triangles. These are used to block in the body, head, beak, tail, and wings before refining the outline. These forms act as a construction scaffold that you eventually erase to reveal the final bird shape.
Question: Can you draw a dove easily for beginners? Answer: Yes, beginner tutorials keep the dove simple by using a small number of basic shapes and light sketch lines. Several guides say the drawing does not have to be perfect at first, because you refine the outline after the main forms are placed. Focus on the silhouette rather than individual details initially.
Prerequisites and Essential Materials
Gathering the right tools turns a messy sketch into a clear, finished piece. You do not need professional-grade equipment for this project, but having a few basic items helps.
| Item | Purpose | Notes |
|---|---|---|
| Graphite Pencil | Initial sketching | HB is best for light construction lines. |
| Drawing Paper | Surface | Smooth texture prevents tooth from grabbing lead. |
| Kneaded Eraser | Cleanup | Lifts graphite without tearing the paper. |
| Fine-liner Pen | Inking | Use only after erasing construction lines. |
Step 1: Mapping the Basic Geometric Framework
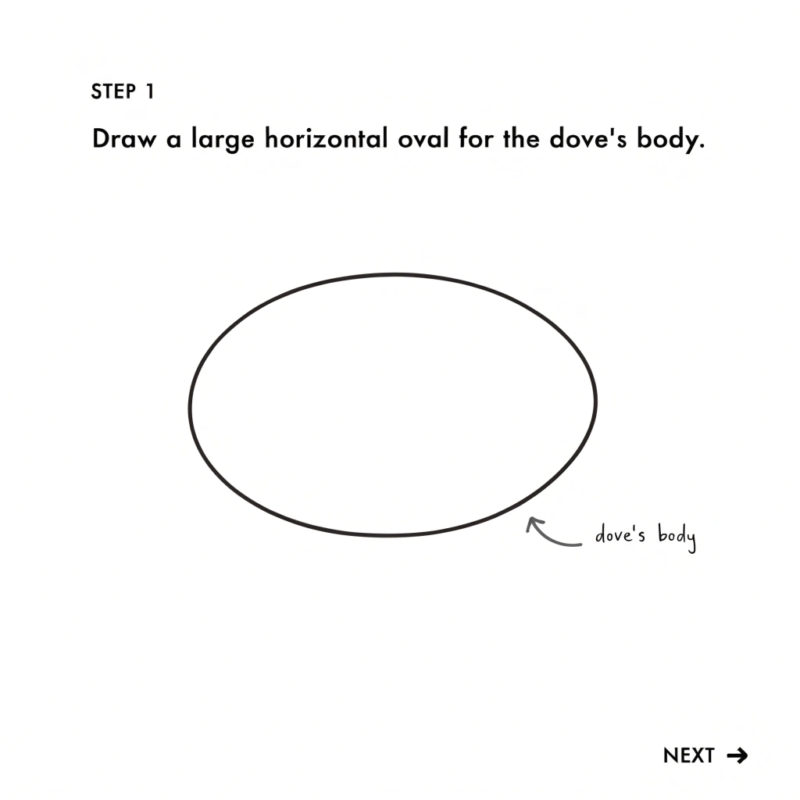
Start your sketch by placing a small circle near the top of your paper for the head. Directly connected to this circle, draw a larger horizontal oval to represent the main body mass. According to Plaid Online, these foundation shapes are the key to maintaining correct proportions. From the back of that oval, sketch two triangles: one pointing backward for the tail and one angled upward for the primary wing.
Step 2: Refining Shapes and Adding Anatomy
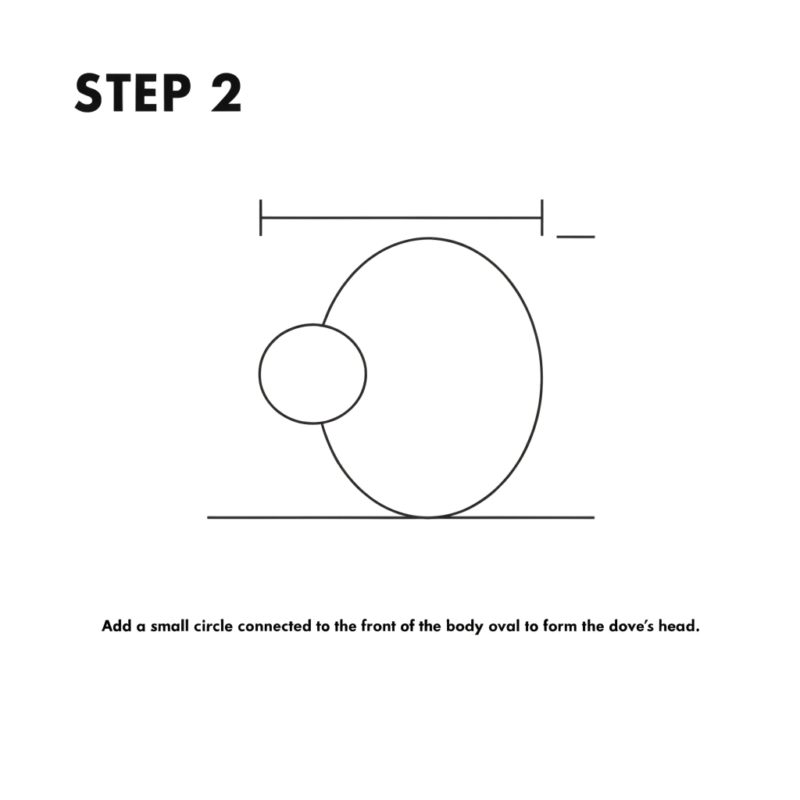
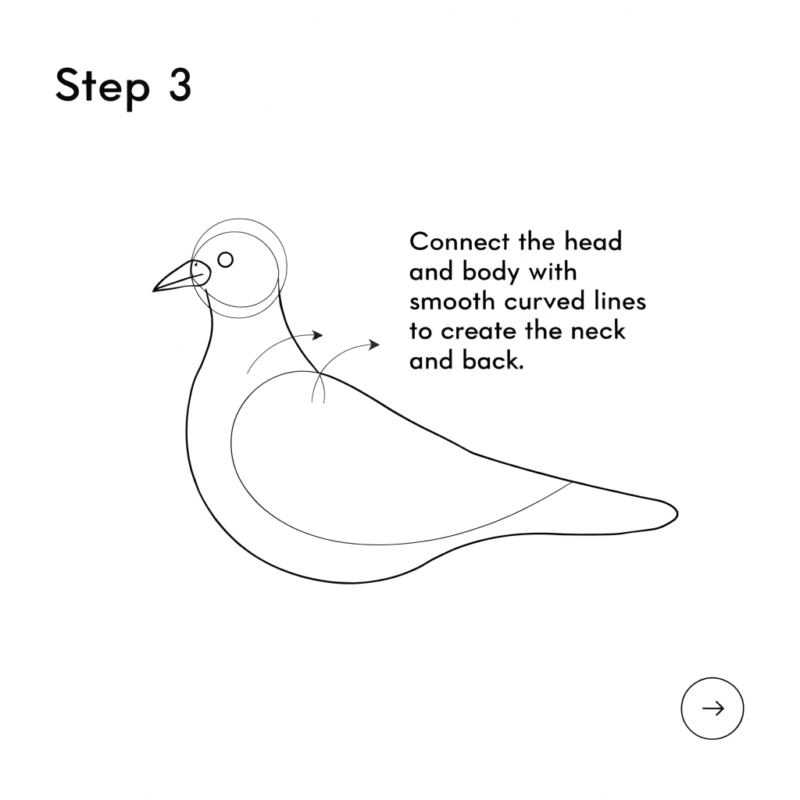
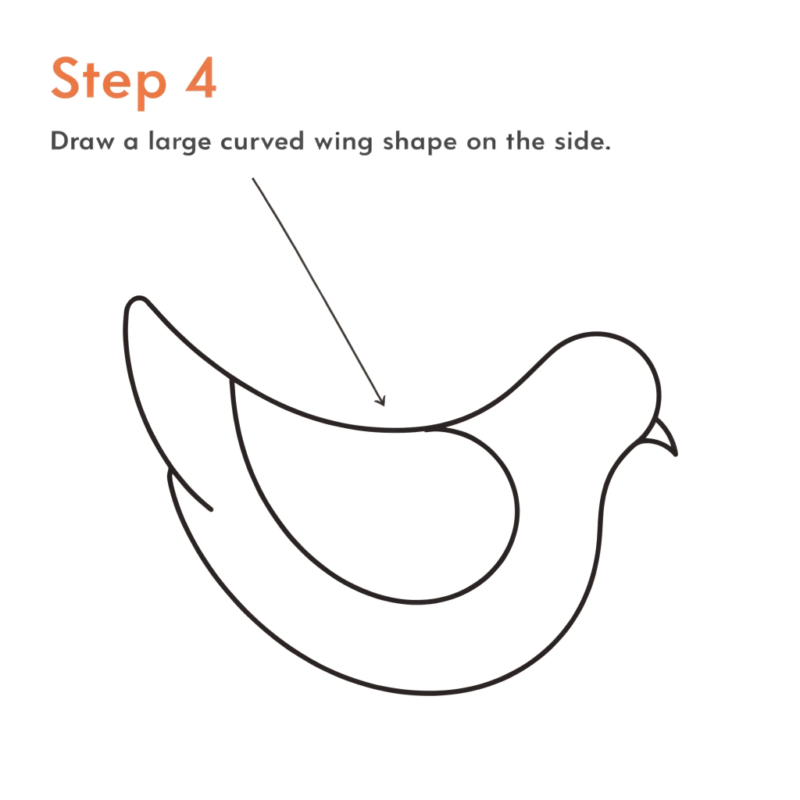
Now, turn those rigid triangles into organic bird anatomy. Soften the wing and tail edges with curved lines, as doves feature smooth plumage rather than jagged textures. Refine the head circle by adding a small, sharp triangular beak at the front. If you prefer the classic Art Projects for Kids aesthetic, you can leave the beak slightly open to suggest movement or flight. Keep the neck line fluid, joining the head to the body with a graceful, shallow “S” curve.
Step 4: Detailing and Final Touches
Add your feather details using short, overlapping strokes along the wing and tail. You do not need to draw every single feather; just a few lines at the edges are enough to suggest the texture. If you want a traditional peace dove, draw a small olive leaf cluster inside the beak. Once you are satisfied with the internal lines, darken your primary outline with a soft pencil before gently lifting the initial geometric circles and triangles with your eraser.
Mistakes to Avoid
The most common error is drawing the head too large, which ruins the delicate, slim silhouette that defines a dove. Keep the head proportional to the body oval to maintain a natural look. Another frequent pitfall is using overly sharp, geometric edges for the feathers. Doves appear light and airy, so keep your wing outlines rounded and soft. Finally, do not press too hard during your first pass. If your initial construction lines are too dark, you will struggle to erase them later, which leaves a messy, grey residue on your final drawing.
Troubleshooting Common Drawing Issues
If your bird feels stiff, look at the angle of your wing triangle; increasing the tilt can instantly inject a sense of motion or flapping action. When the wings appear lopsided, check if your base triangles were identical in size before you added the curves. Should your sketch feel flat, remember that you can simulate volume by applying light, side-of-the-pencil shading under the wing and along the belly. A kneaded eraser is a lifesaver here, as it allows you to pull off graphite selectively if you accidentally make a line too heavy or dark.
FAQ
Q: Why does my dove drawing look more like a pigeon?
Doves and pigeons are closely related, so the shapes can overlap in drawing tutorials. A dove usually looks lighter and more delicate, with a smaller head, slimmer body, and softer wing and tail shapes. If your bird looks too blocky or stocky, simply trim the chest and slim down the neck area to shift the visual profile toward the more elegant dove.
Q: How do you draw dove wings and feathers?
Draw the wing as a curved teardrop or oval shape, then add a few curved lines inside it to suggest feathers. For the tail, use a fan or semicircle shape and add longer feather segments toward the tip. Avoid drawing individual feathers across the entire wing, as this looks cluttered.
Q: Do you need to draw every feather on a dove?
No, tutorials specifically say you do not need to draw each individual feather. Instead, add a few feather-indicating lines in the wing and tail, which keeps the drawing cleaner and easier for beginners. This minimalist approach actually makes the drawing appear more professional and less like a static coloring book page.
Q: Are there easy ways to draw a flying dove?
Yes, flying dove drawings usually start with the body and head, then add extended wings and a fanned tail. One tutorial for a flying white dove focuses on simplifying the wing shape and keeping the pose smooth and open. Focus on the arc of the wings rather than individual feathers to capture the feeling of flight.
Q: Will a pencil sketch work before inking a dove?
Yes, most step-by-step guides begin with a light pencil sketch so you can erase construction lines later. After the outline is cleaned up, you can trace it with a marker or dark pencil if you want a bolder finish. Using a light pencil ensures your final inking remains crisp.
Q: When should you add the dove’s eye and beak?
The eye and beak are usually added after the head and body shapes are placed. Tutorials place the beak on the front of the head and the eye near the upper head area once the basic outline is established. Adding them too early often leads to them feeling misplaced once the full body scale is set.
Q: What should a simple dove drawing include?
A simple dove drawing usually includes the body, head, beak, wing, tail feathers, eye, and sometimes legs or an olive branch. Many beginner tutorials also suggest light shading or color to give the bird dimension. Stick to these core elements for a clean, recognizable result that highlights the bird’s peaceful silhouette.
My Experience With how to draw a dove
I remember my first attempt at drawing a dove involved way too much detail. I tried to render every feather, and it looked like a lumpy, exhausted sparrow rather than a symbol of peace. The turning point came when I stopped trying to capture reality and started focusing on the silhouette. That is the secret: keep your construction lines light. If you can’t erase them effortlessly, you’re pressing too hard. I’ve found that using a kneaded eraser to “soften” the pencil lead before inking makes a massive difference in the final look. It keeps the edges clean and allows your finished piece to look polished rather than overworked. Art is usually about what you choose to leave out, not what you force onto the page. Once you master the basic curves of the wing, the rest of the drawing falls into place almost effortlessly. Do you find it easier to work from a central body mass, or do you prefer starting with the head and working your way back to the tail?
References
- Plaid Online. (n.d.). How to Draw a Dove. https://plaidonline.com/inspire-and-create/article/how-to-draw-a-dove
- Art Projects for Kids. (n.d.). Easy How to Draw a Dove Tutorial and Dove Coloring Page. https://artprojectsforkids.org/how-to-draw-a-dove

A Teacher with 5 years of experience. Our Expertise, is reliable to meet your full Academic development needs . Worked on many crafts and construction projects offering services from design to development to deployment over the years. You will find many of my works in my business portfolio on request.