
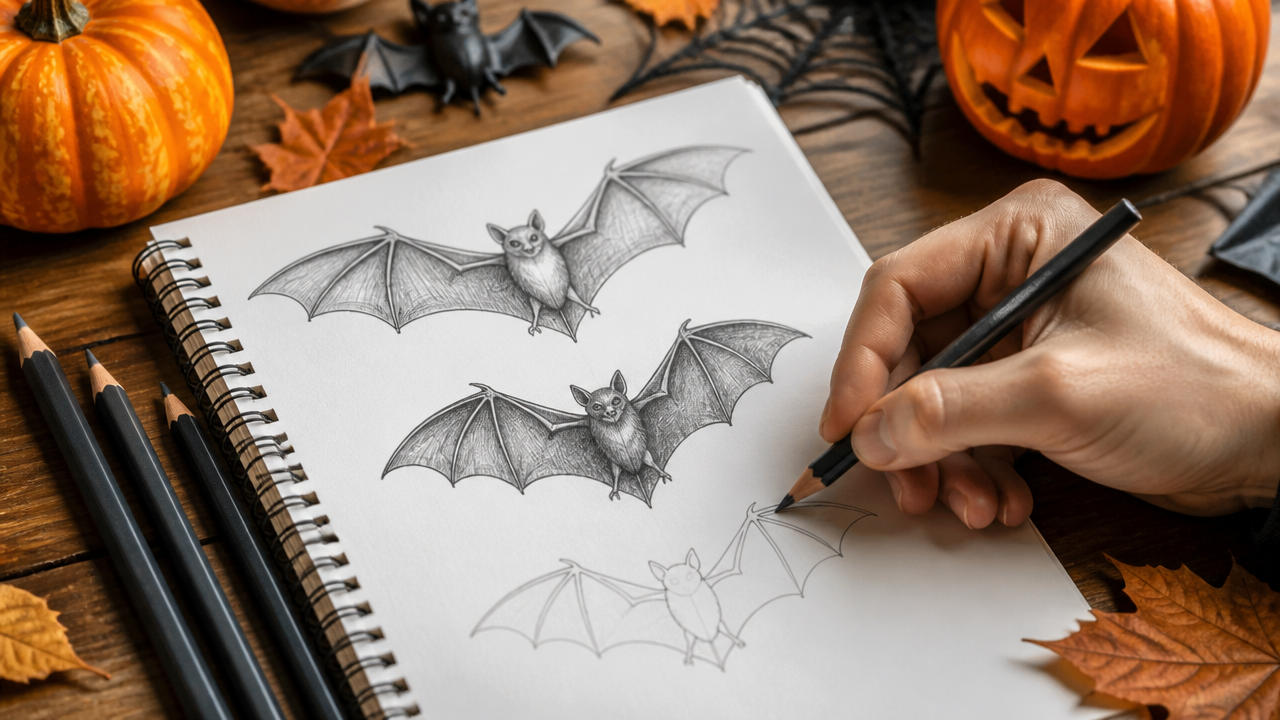
Want to create Halloween art that actually looks spooky without formal training? Drawing bats for Halloween is easier than you think, whether you’re going for a cute kawaii style or a genuinely creepy silhouette. This guide walks you through the process using basic shapes, proper materials, and techniques that beginners can follow right now. You’ll learn how to sketch the head, add wings, layer shadows, and finish with Halloween details that make your bat drawing unmistakably festive.
Quick Questions and Answers
Question: Why do bat drawing tutorials start with a circle or curve? Most tutorials begin with a circle or curve to establish the bat’s head or body shape. This foundational step helps artists position the wings and ears correctly, ensuring the silhouette looks balanced before adding details like eyes or shading. Starting with a simple shape makes the drawing process easier for beginners.
Question: Can you draw a cute Halloween bat instead of a spooky one? Yes, you can draw a cute Halloween bat using a kawaii style with big eyes and a small smile. These tutorials often focus on card designs or simple outlines that look friendly rather than scary. The process involves drawing a round face, small wings, and adding “Happy Halloween” text for a festive touch.
Question: Do vampire bats have different features than regular Halloween bats? Vampire bats in drawings typically feature fangs, a skeleton-like nose, and bigger, more expressive eyes. They also often include cheek curves and eyebrow shapes to give them a classic monster look. Regular Halloween bats are usually drawn as simple silhouettes without these detailed facial features.
What You Need
| Item | Purpose | Notes |
|---|---|---|
| A3 cartridge paper (200 gsm) | Sturdy base for layering colors and erasing | Smooth surface works best; available at any art shop |
| Pencil for sketching | Light initial outlines that erase easily | Use light pressure to avoid smudges |
| Colored pencils or water-soluble crayons | Building tonal layers and shading | Caran d’Ache crayons are soft, bendable, and vibrant |
| Eraser | Removing pencil lines cleanly | Use after ink dries completely |
| Pencil sharpener | Keeping points sharp for fine details | Essential for ear and eye work |
| Brush pen or Sharpie marker | Bold outlining and final definition | Apply after pencil sketch is complete |
Step 1: Draw the Basic Head Circle
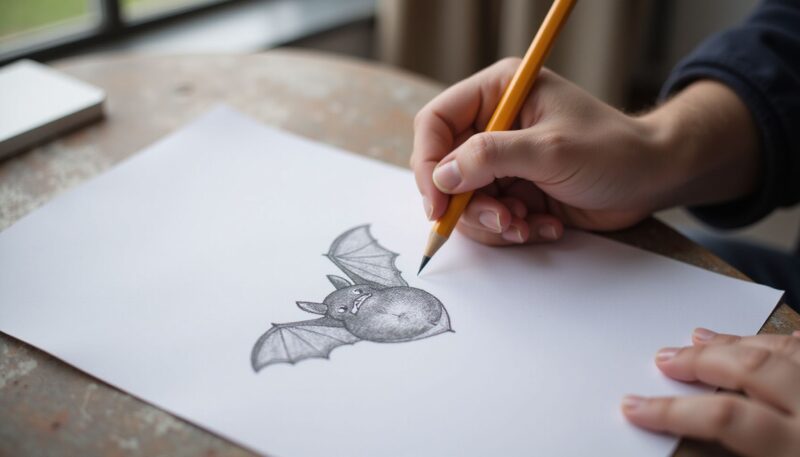
Start by drawing a circle in the center of your paper. This circle becomes the foundation for everything else—the bat’s head, face, and upper body mass. Don’t worry about perfection; a wobbly circle is totally fine. Light pencil pressure is your friend here, since you’ll erase this later or draw over it.
The size matters, though. Make your circle large enough to fit facial details comfortably—roughly 2 to 3 inches across for a standard Halloween drawing. Too small, and you’ll squint trying to add eyes and a mouth. Too large, and your bat will eat your entire page.
Step 2: Add Pointed Ears

From the top of your circle, draw two slightly curved lines angling upward and outward. These lines form the bat’s signature pointed ears. Leave clear space between the two ear lines—that gap is where the top of the head sits. Each ear should curve gently, mimicking the shape of two sides of a triangle.
The ears shouldn’t be tiny or timid. Make them bold enough to read as “bat” immediately. Think of them as the first thing someone notices before looking at the face. If your ears look weak, the whole drawing loses its bat-ness.
Step 3: Connect the Ears with the Head Curve
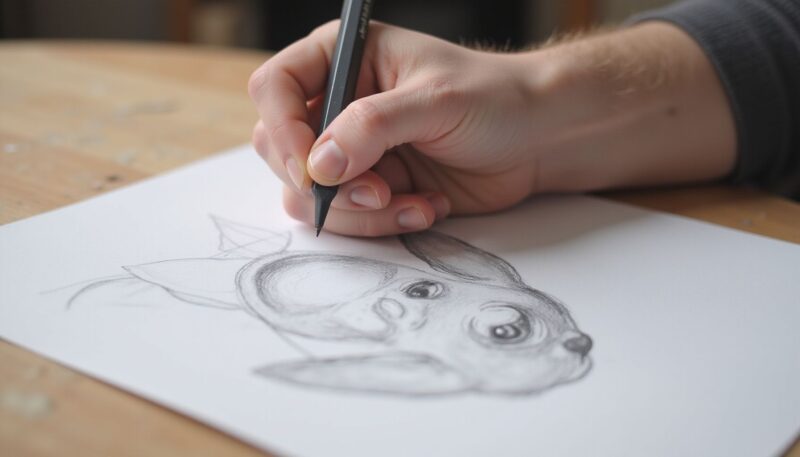
Draw a gently curved line connecting the tops of your two ears. This line forms the upper edge of the bat’s head and unifies the ears with the skull structure. The curve should flow smoothly, almost like a soft arch connecting two points.
This curve is what makes a bat look like a bat instead of just two lines sticking out of a circle. Take a breath and let your hand move in one fluid motion. If you mess up, erase and go again—no judgment in sketching.
Step 4: Add Texture with Tiny Head Hairs
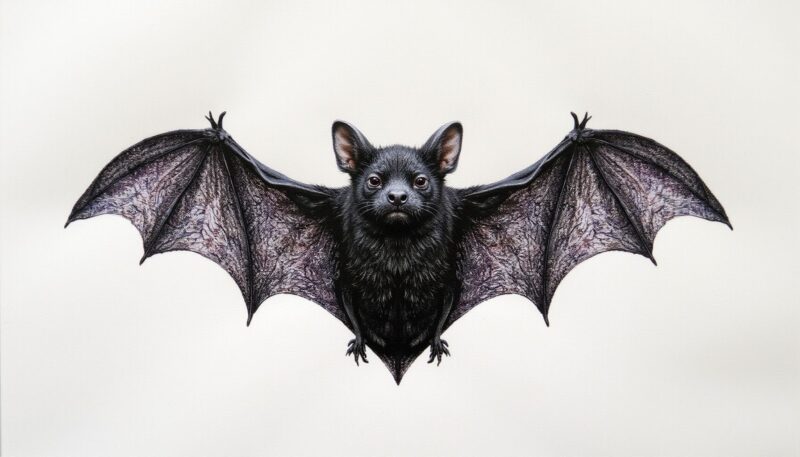
Along the top curve where your ear line meets the head, sketch tiny, fine hairs poking upward. These aren’t full fur; they’re small texture marks that add personality and realism to your bat’s dome. Make them brief, irregular, and varied in height.
This detail transforms your bat from feeling flat and cartoony to slightly more lifelike. It’s a small touch, but it works. Just a few hairs scattered across the crown do the job—maybe five to eight depending on your drawing size.
Step 5: Sketch the Facial Features
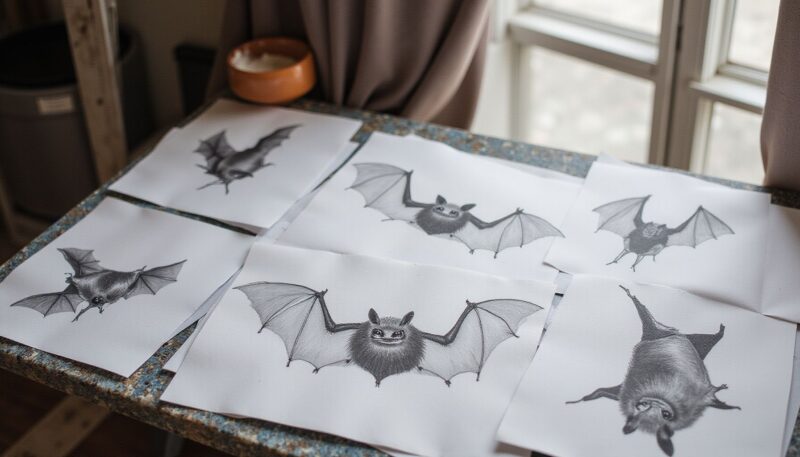
Now the bat gets a face. Inside your circle, lightly sketch two large round eyes positioned symmetrically on either side of an imaginary center line. Below the eyes, add a small nose—either rounded or pointed, depending on whether you want cute or spooky.
For a spooky bat, add sharp fangs or pointed teeth showing from an open mouth. For a cute bat, draw a gentle, smiling mouth with blushing cheeks (small curved lines on either side of the face). You can even add tiny eyebrows for expression.
According to Cute Easy Drawings, adding round eyes and sharp teeth creates that classic Halloween vibe. The contrast between a sweet round head and mean-looking fangs is what sells the character.
Step 6: Define the Wings and Body Outline
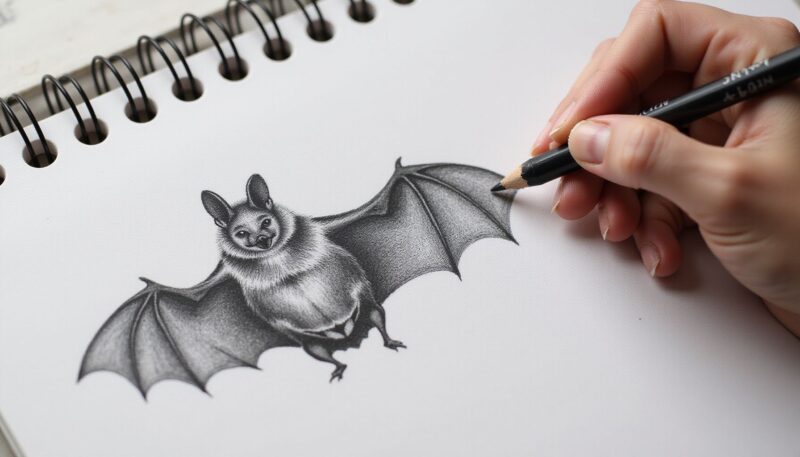
From the sides of your head circle, sketch large curved wing shapes. Think of them as two giant, folded crescents or the silhouette of a Batman cape. Wings should extend outward and downward, creating a sense of motion or rest depending on your vision.
The wings don’t need internal detail yet—just outline the general shape. Make sure they’re proportional to your head. Small wings on a big head look unbalanced. Wings should be roughly twice the width of your head circle for a dramatic effect.
Step 7: Add Wing Structure and Bone Details
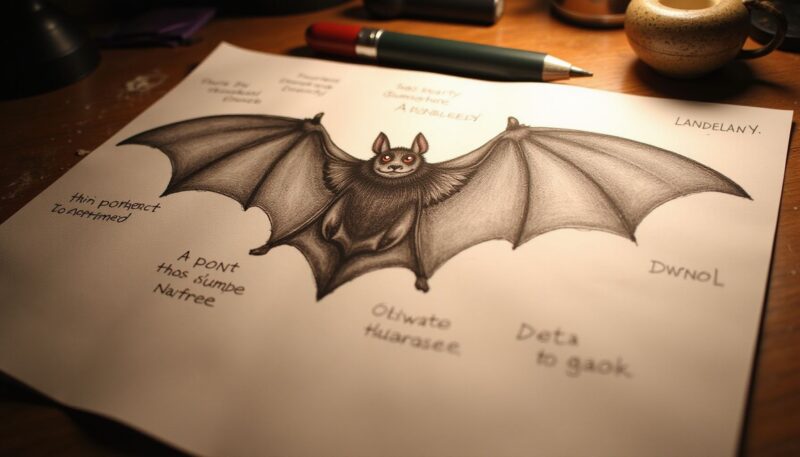
Once your wing outline is set, sketch internal lines showing the bat’s wing bones and membrane structure. Draw curved lines radiating from the body outward, like the bones of a real bat wing. These lines give dimension and show that you understand bat anatomy, even in a stylized drawing.
Add subtle arches or connecting lines between the bone structures. This creates a webbed appearance without overcomplicating things. Real bat wings have that delicate, membrane-like quality—hint at it with light, organic curves.
Step 8: Build Shading and Tonal Layers
This is where your colored pencils or water-soluble crayons shine. Start adding layers of color, beginning with lighter tones and gradually building darker shadows. Focus shading on areas that would naturally fall in shadow—under the wings, around the body mass, and under the chin.
Use varying pressure with your pencil to create depth. Light touch for highlights, medium pressure for mid-tones, heavy pressure for the darkest areas. Layer your colors; don’t try to get the final darkness in one pass. Building tonal layers creates that 3D effect that makes drawings pop off the page.
According to research from art tutorial sources, using soft, bendable crayons like Caran d’Ache creates vibrant, natural colors while remaining easy to blend and layer. Water-soluble crayons let you add a wash effect if you want an even more polished look.
Step 9: Outline and Define Edges
Once your shading is dry, use a brush pen or Sharpie marker to outline the bat’s edges. Outline the ears, the head, the wing perimeter, and the facial features. Bold outlines make your bat pop and give it a finished, professional look.
Make your outlines confident. Don’t hesitate or shade; just clean, clear lines. The marker should cover your pencil lines completely. Dark ink over light pencil creates that graphic quality that makes Halloween art feel intentional.
Step 10: Final Color and Background (Optional)
Color your bat black or deep purple, leaving the eyes, nose, and mouth white or a contrasting color for maximum impact. The negative space around those features makes them read clearly even against the dark body.
If you want to add atmosphere, sketch a moon, stars, or Halloween pumpkins in the background. These contextual elements anchor your bat drawing in the Halloween mood without overwhelming the main subject.
Tips
Practice truly is the primary factor in improving your drawing skills, regardless of your starting experience level. The first bat you draw won’t be perfect—and that’s exactly right. The second one gets easier. By the fifth bat, you’ll develop muscle memory for the shapes and proportions.
Keep pencil lines light during the sketch phase. This makes erasing infinitely easier and prevents dark marks from showing through your finished shading. Use a gentle touch initially and add pressure only once you’re confident in your outline.
Let your ink dry completely before erasing pencil marks. If you erase too early, wet ink smears and ruins your clean silhouette. Give marker or brush pen at least a minute to set, especially on thicker paper. A smudged bat is a sad bat.
Pay attention to proportions. Big ears, proportional head, wings that balance the body mass—these ratios are what make a drawing read as “bat” instantly. If something feels off, it’s usually because one element is too large or too small relative to the others.
FAQ
Q: How do you draw bat wings that look realistic for Halloween?
To draw realistic bat wings, start with a curved U-shape similar to a Batman symbol and extend lines outward for the wings. Add arches or bone-like lines inside the wing to show structure and form. Shading the wings with darker lines on one side helps create depth and a spooky effect.
Q: What is the easiest way to draw a spooky bat silhouette?
The easiest way is to start with a circle for the head and draw curved lines for the wings and ears. Follow the circle’s outline and curl inward to create the wing shape, then add pointed ears. Shading the entire silhouette in black ink creates a classic spooky bat flying across the moon.
Q: Will I need special pens or markers to shade my bat drawing?
You can use a brush pen or Pentel brush pen for detailed shading and outlining. A standard Sharpie marker works well for outlining the bat after erasing pencil lines. Light pencil lines are recommended initially so they’re easy to erase once the ink is dry.
Q: When should I erase pencil lines when drawing a Halloween bat?
Erase pencil lines only after the ink is completely dry to avoid smudging the drawing. If you erase too early, the wet ink may smear and ruin the clean silhouette. Keeping pencil lines light at the start also makes them easier to remove later.
Q: Is there a difference between drawing a bat for a card versus a poster?
Drawing for a card often includes kawaii features like a cute face and text, making it more decorative. Poster or drawing tutorials focus on spooky silhouettes or detailed vampire bats with shading and highlights. Card designs may require coloring time and text placement, while posters emphasize bold outlines.
Q: What tools are best for beginners drawing a Halloween bat step-by-step?
Beginners should use a pencil for light sketching, a brush pen or ink pen for outlining, and an eraser. Using a wrist as a pivot point helps draw smooth curves for the wings. Standard colored pencils or water-soluble crayons work great for adding depth and shading without expensive specialty supplies.
Q: Which Halloween bat style is best for kids to learn first?
The cute kawaii bat style is best for kids because it uses simple shapes and friendly features. Step-by-step tutorials for easy silhouettes also work well, starting with a circle and basic curves. These methods avoid complex details like fangs or skeleton noses, making them less intimidating for young artists.
My Experience With How to Draw Bats for Halloween Art Step by Step
I’ve drawn maybe fifty bats at this point—some genuinely great, most chaotic—and here’s what actually matters: your first bat will feel impossible, your tenth bat will feel routine, and by your thirtieth bat you’ll stop thinking about the steps and just move your hand.
The real trick nobody talks about is letting your pencil lines stay light. I used to press hard, thinking darker lines meant better control. Wrong. Light pressure lets you adjust, erase, and build without creating permanent shadows that never disappear. It’s counterintuitive until you try it.
Proportions are everything. A bat with tiny ears reads as something else entirely. Make your ears bold—commit to them. The circle gets you halfway there, the ears finish the job. Shading comes after; structure comes first.
The Halloween vibe actually lives in the details. Sharp fangs versus a smile changes the entire mood. Dark, heavy ink versus light, sketchy lines changes how viewers feel about your bat. You control the emotion through choices, not by accident.
What’s the bat style that appeals to you most—spooky and dramatic or cute and friendly?
Conclusion
Drawing bats for Halloween art is absolutely achievable, whether you’re working toward a gallery-worthy silhouette or a quick festive card design. Start with your circle, add those ears, layer your shading, and trust the process. Your first bat might feel rough, but that’s where every artist begins.
The materials matter less than consistent practice. Good paper and quality pencils help, but determination and repetition are what actually build skill. Set aside an evening, grab a pencil, and draw three bats in a row. You’ll feel the improvement between attempt one and attempt three.
Halloween art doesn’t require years of formal training—it requires willingness to start, patience with mistakes, and commitment to finishing what you begin. Your bat drawing is waiting. Go make it happen.
References
- Tina Lewis Art. (n.d.). How to draw a Bat for Halloween – Easy Step by Step. https://www.tinalewisart.com/how-to-draw-a-bat-for-halloween/
- Gathered. (n.d.). How to draw a spooky bat for Halloween step by step. https://www.gathered.how/arts-crafts/art/how-to-draw-a-bat
- Draw a Fun. (n.d.). How to Draw a Bat – Fun Step-by-Step Tutorial for Beginners 🦇. https://drawafun.com/howtodraw/how-to-draw-a-bat/
- Cute Easy Drawings. (n.d.). How to Draw a Halloween Bat Step by Step. https://www.cuteeasydrawings.com/for-kids/how-to-draw-a-halloween-bat.html
- Arty Crafty Kids. (n.d.). Bat How to Draw – Easy Step by Step Guide. https://www.artycraftykids.com/how-to-draw/bat-how-to-draw-easy-step-by-step-guide/
- Reddit. (n.d.). r/learntodraw: Halloween Bat Easy drawing, tutorial. https://www.reddit.com/r/learntodraw/comments/yiriiu/halloween_bat_easy_drawing_tutorial_i_will_leave/
- Hello Artsy. (n.d.). Halloween Bat Drawing. https://helloartsy.com/halloween-bat-drawing/
- Made with Happy. (n.d.). How to Draw a Bat – Cute Bat Drawing. https://www.madewithhappy.com/how-to-draw-a-bat/

A Teacher with 5 years of experience. Our Expertise, is reliable to meet your full Academic development needs . Worked on many crafts and construction projects offering services from design to development to deployment over the years. You will find many of my works in my business portfolio on request.