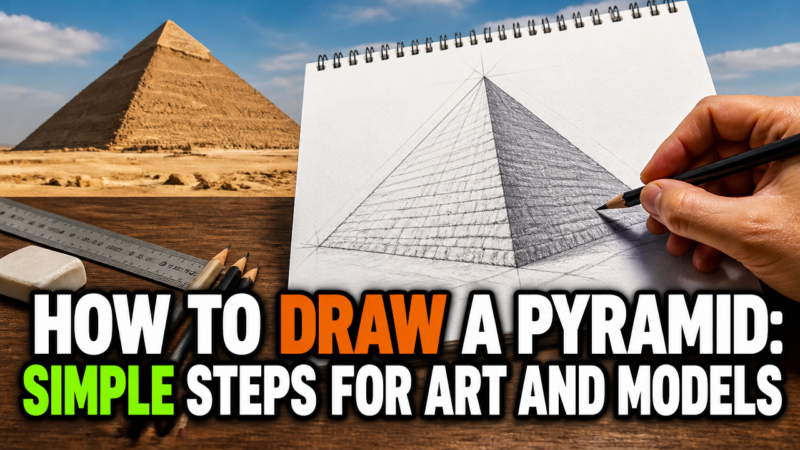
Have you ever wondered how to draw a pyramid that actually looks three-dimensional on your page or functions as a precise geometric model? Transforming a flat surface into a solid, balanced shape requires understanding the connection between your base and an apex. Whether you are prepping for a school holiday project or just adding depth to your architecture sketches, learning to render this structure helps build your visual confidence. By aligning your measurements with consistent geometry, you can easily create clean, sharp forms. Let’s look at the best ways to bring this ancient shape to life on paper and in your hands.
Quick Questions and Answers
Question: Why does a pyramid drawing need a center point?
Answer: The center point helps place the apex directly above the base so the pyramid looks balanced and symmetrical. In basic instructions, you find it by drawing diagonal lines across the base and using the intersection as the center. From there, you draw a vertical line upward for the tip.
Question: Can you draw a pyramid with just a square base?
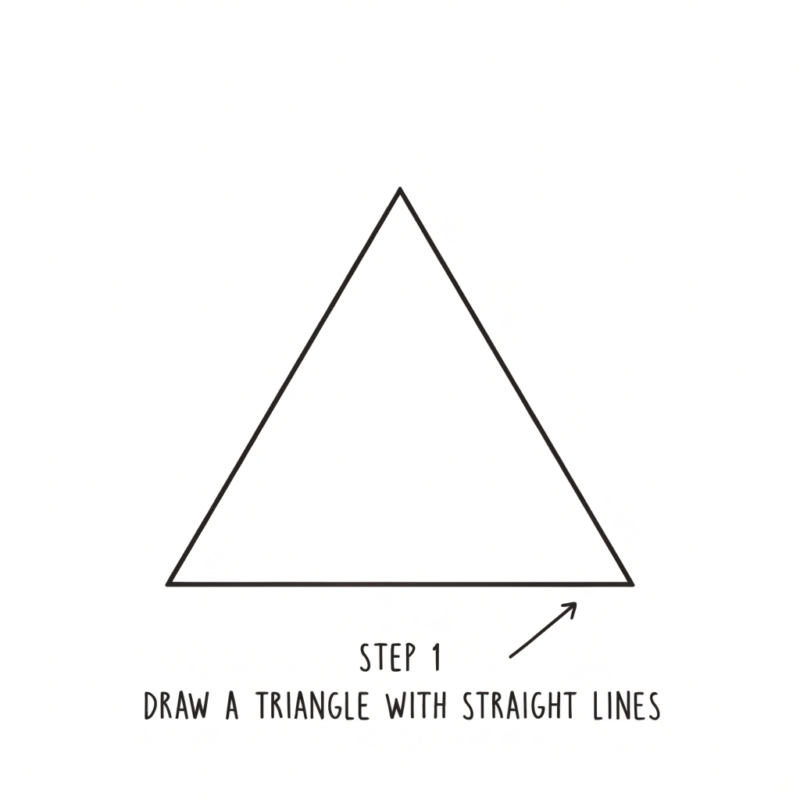
Answer: Yes. A simple square pyramid usually starts with a square or rectangle for the base. You then mark the center, draw the apex above it, and connect the corners of the base to the top point to form the triangular sides.
Question: Do you need perspective to draw a pyramid correctly?
Answer: No, not for a basic drawing. You can make a simple pyramid by drawing a base, finding the center, and connecting the corners to an apex. Perspective is useful if you want the pyramid to look more three-dimensional on a flat page.
Prerequisites and Materials
Item
Purpose
Notes
Graphite Pencils
Lines
Use HB for sketches, 2B for dark edges
Ruler
Precision
Essential for uniform base sides
Cardstock
Modeling
Thicker than copy paper for stability
Craft Knife
Shaping
Use a cutting mat underneath
Adhesive
Assembly
Glue sticks work; tape is easier for kids
Step-by-Step: Drawing a Realistic 3D Pyramid
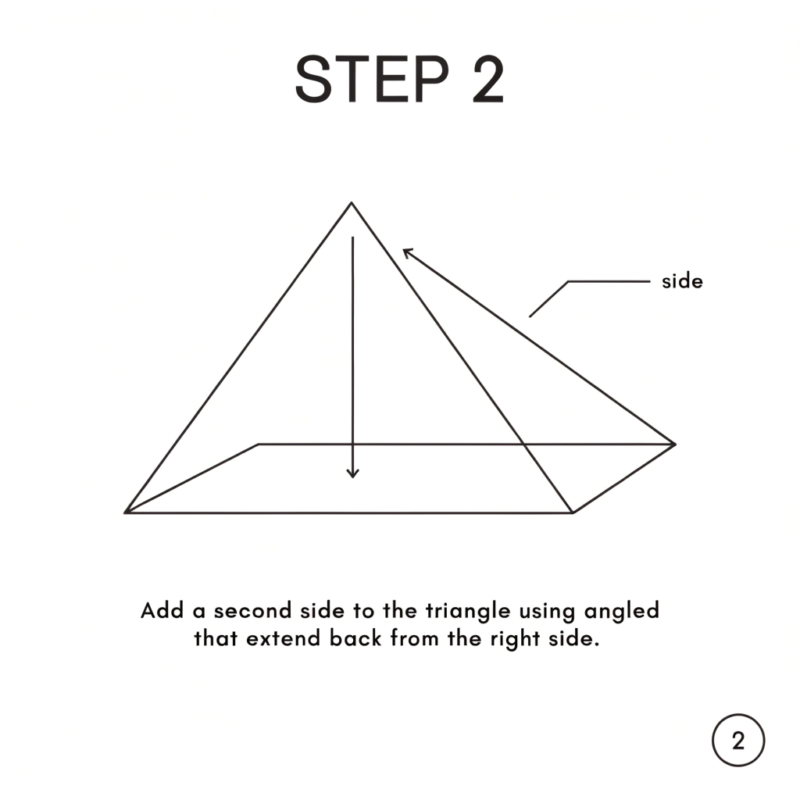
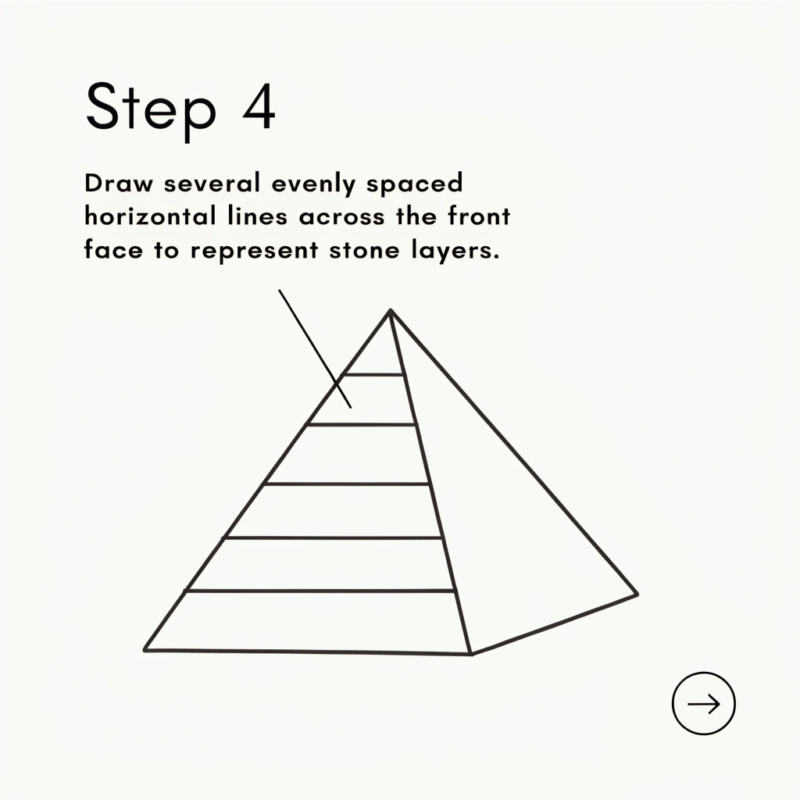
Start by drawing a horizontal line across your paper to represent the horizon line. This helps establish your eye level and gives your object a solid place to sit. Sketch your square or diamond-shaped base below this line, ensuring you use a ruler to keep the corners symmetrical.
Place a small dot above your base to mark the apex. If you want the pyramid to look perfectly upright, position this dot exactly above the center of your base. If you prefer a leaning, artistic look, shift the point to the left or right of the center.
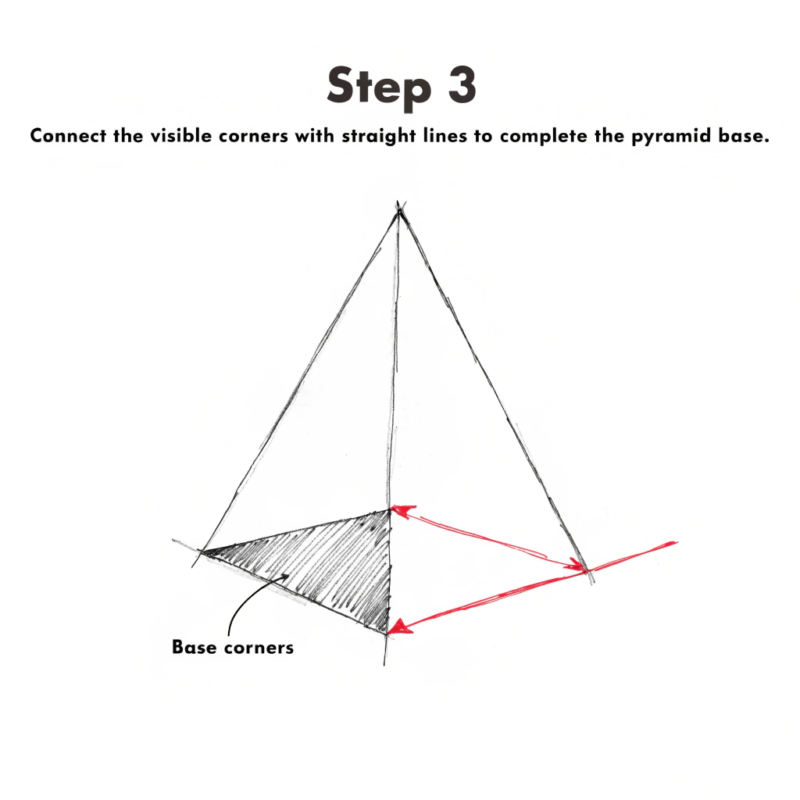
Connect each corner of your base to the apex using straight lines. As WikiHow suggests, keeping your hand steady here is key to avoiding wonky angles. Once your skeleton is ready, shade two of the visible triangular faces lightly. Leave the other two faces brighter to simulate a light source coming from one side, which instantly creates an illusion of depth.
Step-by-Step: Constructing a Physical Pyramid Model
Begin by drawing a 3×3 inch square on your cardstock using a sharp pencil and a metal ruler. Precision counts here because even small errors in your base square will prevent the final model from closing properly.
Measure the midpoint of each side of the square and pull a 2.4-inch line straight outward from these points. These lines represent the height of your triangular faces. Connect the ends of these 2.4-inch lines to the corners of your base square to form four identical triangles.
Cut along the outer star-shaped perimeter using a craft knife or scissors. Fold the triangular flaps upward along the lines where they meet your base square. As explained in guides on building models, use clear tape on the interior edges to secure the apex. This keeps your exterior looking clean and professional while maintaining the structural integrity of the pyramid.
Mistakes to Avoid
Most errors occur when you skip the ruler. Eyeballing the base often leads to skewed triangles that make it impossible for the apex to align correctly.
Avoid over-shading the entire structure. If every face is equally dark, the pyramid looks like a flat paper cutout. Always maintain a stark difference between your shadow side and your light side to define the form.
Choose the right material for models. If you use standard printer paper for a 3D build, the walls will buckle under their own weight. Always opt for at least 80lb cardstock if you want your pyramid to hold its shape over time.
Troubleshooting Geometric Errors
If your model has a gap at the top, your triangles are likely uneven in length. Double-check that all four extensions from the base are exactly 2.4 inches.
If your sketch looks like a flat rhombus rather than a pyramid, raise the apex point further away from the base. A higher apex creates a steeper angle, which is essential for capturing that dramatic, monumental look.
FAQ
Q: Are there easy steps to draw a 3D pyramid?
Yes. Start with a square or rectangle base, find the center with diagonal lines, draw a vertical line up for the apex, and connect the apex to each corner. Shading one side and erasing guide lines can make it look more 3D.
Q: How do you draw a pyramid step by step for beginners?
Begin with the base shape, usually a square or rectangle. Draw diagonal lines to find the center, then draw a straight line upward to set the height. Finish by connecting the top point to the corners of the base and adding shading if desired.
Q: Does the base shape change how a pyramid looks?
Yes. A square or rectangle base gives you a square pyramid, while other base shapes create different pyramids. The base shape changes the overall form, but the basic method of finding the center and connecting to an apex stays the same.
Q: Will shading make my pyramid drawing look more realistic?
Yes. Shading one side darker than the other creates the illusion of light and shadow, which makes the pyramid look solid. Many drawing guides recommend leaving the lit side lighter and darkening the side away from the light source.
Q: When should you erase the guide lines in a pyramid drawing?
After the main outline is finished. Drawing tutorials often suggest sketching the base diagonals and center line first, then erasing those construction lines once the apex and side edges are complete. This leaves a cleaner final drawing.
Q: What lines connect the corners to form a pyramid shape?
Straight lines connect each corner of the base to the apex. These lines create the triangular faces of the pyramid. Some tutorials also note that hidden back edges can be left out or drawn lightly depending on the style you want.
Q: Which method is easiest for drawing an Egyptian pyramid?
A simple two-point or freehand perspective approach is easiest for most beginners. Draw a horizon line, sketch the base in perspective, place a top point, and connect the corners to that point. Adding shading afterward helps it look like an Egyptian pyramid in the desert.
My Experience With how to draw a pyramid
I remember the first time I tried to construct a paper pyramid, I didn’t use a ruler. I figured my eye for geometry was good enough, but I ended up with a slightly lopsided structure that resembled a deflated tent more than a monument. The lesson I learned is that geometry is unforgiving. If your base isn’t a perfect square, the physics of folding simple paper won’t work in your favor.
For drawing, the most important trick I’ve picked up is to keep those construction lines very light. You want to be able to erase the diagonals without bruising the paper, as clean lines allow the shading to shine. I usually use an H pencil for the layout and switch to an HB for the final contours. It’s a very satisfying geometric challenge, and once you nail the perspective, you can draw them in your sleep—even if they’re just doodles in the corner of a notebook. The biggest expert tip? Always leave a tiny sliver of white at the very edge of your shaded side; it gives the object a polished, reflective finish. Have you tried drawing one yet, and which part gave you the most trouble?
Next Steps
Experiment with different light sources to see how shadows shift the character of your pyramid. You can also try sketching a row of them, varying their sizes to create forced perspective for a desert scene.
A Teacher with 5 years of experience. Our Expertise, is reliable to meet your full Academic development needs . Worked on many crafts and construction projects offering services from design to development to deployment over the years. You will find many of my works in my business portfolio on request.