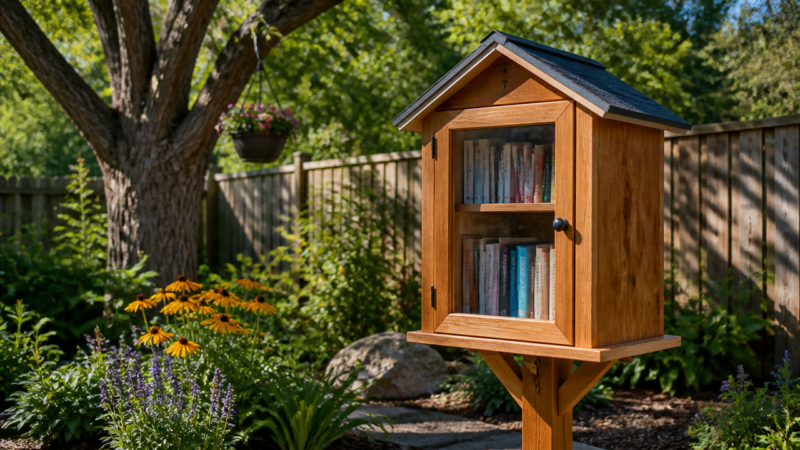

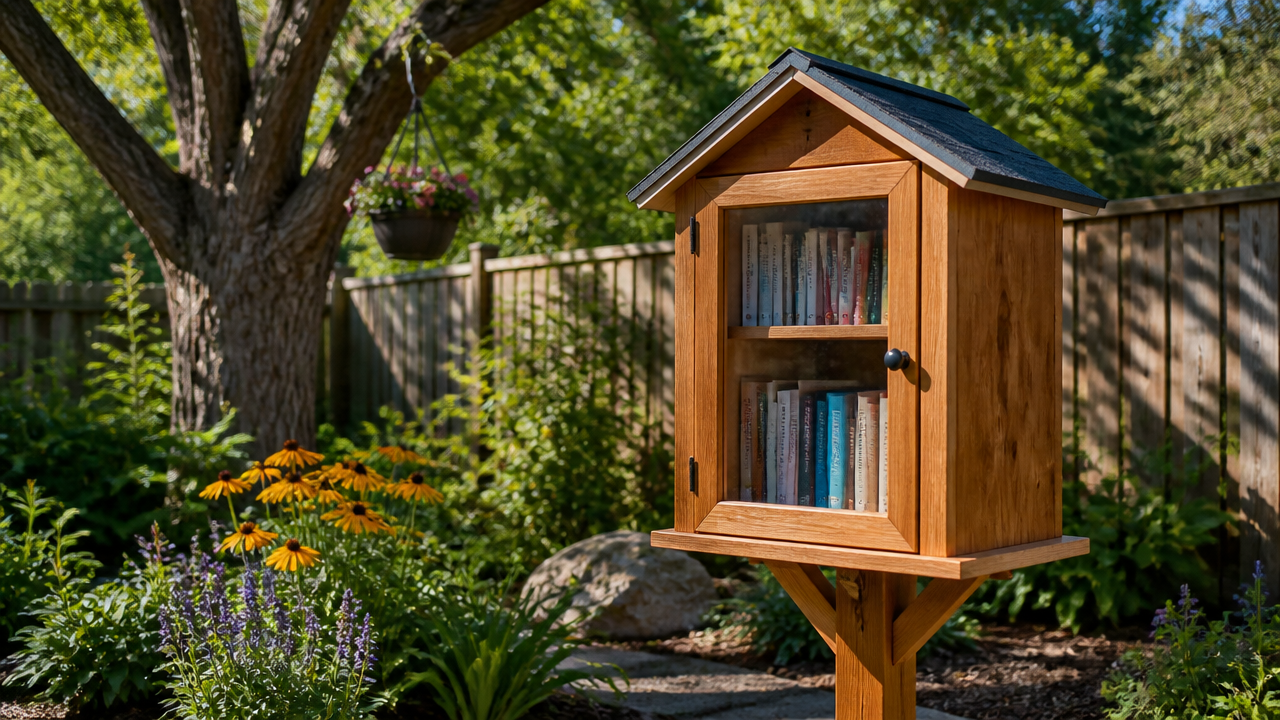
What makes a truly great backyard library stand out from every other homemade book box you’ve seen online? You want a sturdy little reading nook that survives rain and sun while welcoming neighbors. Building a DIY tiny library for your backyard requires precise cuts and careful sealing, but the payoff is a charming outdoor shelf anyone can craft. Whether you are wrapping up holiday gifts or planning a summer porch project, this guide gives you exact dimensions and clear instructions. Grab your tape measure and let’s get started.
Quick Questions and Answers
Question: What is the goal of a DIY tiny backyard library? Answer: The goal is to construct a compact, weather-resistant box designed to hold books outdoors. It functions as a community book-sharing station where neighbors can freely exchange reads. Official guidance from the Little Free Library organization treats the project as a simple build-and-install installation for neighborhood use. Many tutorials focus on compact, post-mounted designs that easily fit in a standard backyard space.
Question: What materials do I need for a tiny library build? Answer: Most builders start with exterior-grade plywood or pressure-treated lumber for the walls and roof. You will also need exterior screws, wood glue, caulk for the seams, and a door handle with hinges. A sheet of plexiglass or acrylic glass works best for the window pane. Some designs call for shingles, metal roofing, and a 4×4 wooden post to anchor the entire structure securely in the ground.
Question: How long does it take to build a backyard little library? Answer: Total build time varies based on your skill level and chosen design complexity. One popular Instructables plan specifically notes waiting twenty to thirty minutes for wood glue to dry between assembly stages. Most beginners should block out an afternoon for cutting panels, attaching hardware, sanding rough edges, and applying multiple coats of exterior primer and paint before mounting the finished box.
What You Need
| Item | Purpose | Notes |
|---|---|---|
| 3/4-inch CDX exterior plywood | Forms the walls, floor, and roof panels | Use two half-sheets or one full sheet; pressure-treated works well for ground contact |
| 1×2 and 1×3 lumber strips | Creates the interior shelf supports and exterior trim | Cut to exact lengths per your chosen cut list to ensure proper spacing |
| 4×4 pressure-treated lumber | Acts as the vertical mounting post | Trim to leave 18 to 20 inches exposed above the concrete footing |
| Exterior-grade screws (Blue Kote) | Fastens all structural joints without rusting | Use 1-1/4 inch and 2.5 inch sizes depending on panel thickness |
| 1/16-inch plexiglass or acrylic | Provides a clear view while blocking rain | Size it to fit an 11 by 14 inch or 15 by 15 inch opening |
| Wood glue, caulk, and filler | Seals gaps, strengthens joints, and hides imperfections | Apply heavily on seams and fill screw holes before sanding smooth |
Step 1: Cutting and Shaping the Panels
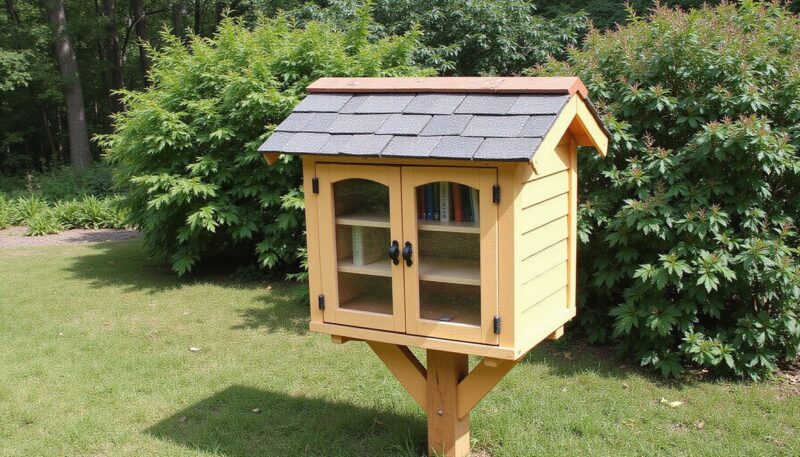
Start by marking your layout directly on the plywood. You need one back panel measuring 36 inches wide by 20 inches tall with a peaked roof line across the top. Cut two side panels to 15 inches wide and 24 inches high. Remember to slice a 6-degree angle on the upper outer edge of both sides. That slight tilt forces water away from the door instead of letting it pool against the frame.
Use a circular saw for straight cuts or a table saw for cleaner edges. Follow the instructions from Love & Renovations when shaping your back piece, which calls for that exact 36 by 20 inch footprint with a roof peak. Mark your front opening next. Most plans leave an 11 by 14 inch rectangle for the plexiglass window. Draw the lines, drill a starter hole near a corner, and swing a jigsaw through the marked area. Wipe away the sawdust. Check your corners for smooth curves before moving to assembly.
Step 2: The Assembly Process
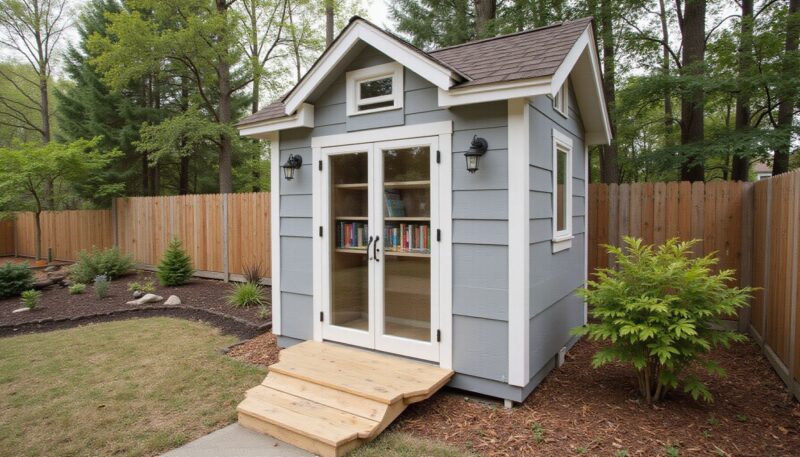
Pre-drilling changes how clean your final build looks. Drill pocket holes on the inside faces of your panels so fasteners stay hidden during painting. Kreg Tool emphasizes placing those holes on the interior to avoid visible marks once you apply finish. Lay your back panel flat on a workbench. Position one side panel against it. Clamp everything tight. Apply a thin bead of wood glue along the joint before driving your 2.5-inch exterior screws through the pocket holes.
Glue and clamp the second side panel the same way. Leave the roof panel loose for now. Test your interior space early. Place a standard paperback or hardcover inside the frame to verify shelf clearance. The Mom of the Year guide recommends checking shelf height and width with actual books before attaching boards. Adjust your middle shelf supports if a thick dictionary threatens to jam the door. Secure the remaining joints with 3-inch flat L-brackets at the bottom corners for extra stability.
Explore more designs if you want a fancier facade. Visit this collection of 12 Creative Little Library Ideas You Will Wish You Knew for decorative inspiration. Keep your current box straightforward for your first build. Straight lines and sharp angles are easier to seal properly. Skip fancy carvings until you master the basics. Add custom plaques later. Print a Library Card Template at Home for new visitors. Small touches make the station feel complete.
Step 3: Weatherproofing and Finishing
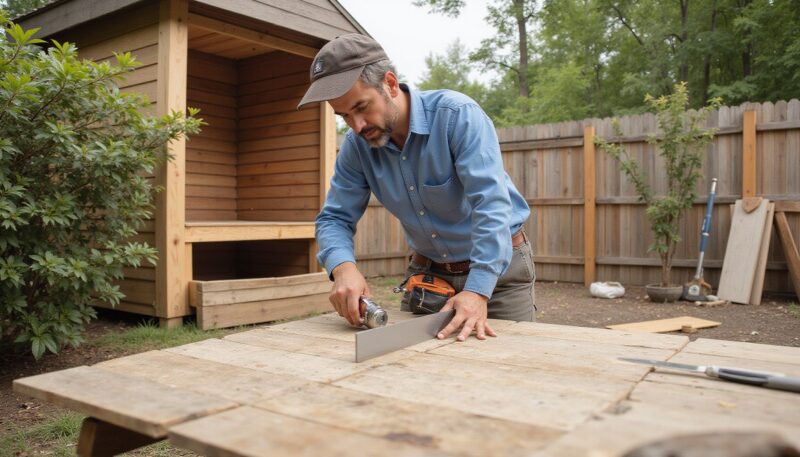
Moisture destroys unfinished wood quickly. Run a generous bead of exterior-grade caulk along every interior and exterior seam. Smooth it with a wet finger or a caulking tool. Press it deep into the cracks. Let it skin over for an hour. Fill any screw dimples or nail pops with wood filler. Sand the entire surface until it feels soft under your fingertips. Use 120-grit paper first, then switch to 220-grit for a smooth paint base.
Apply two coats of exterior primer before touching the wood with color. Primer blocks moisture and helps your topcoat grip the grain. Choose an outdoor stain or heavy-duty latex paint for the final layer. Rotate the box slowly to cover every edge evenly. Pay special attention to the roof joints. Zimmerman’s plan explicitly targets a 2-inch overhang on each side and a 3.5 to 4 inch overhang in the front. Those extended flanges shield your seams from driving rain. Add asphalt shingles or corrugated steel sheets if you live in a wet climate. Seal those layers with roofing cement too.
| Material Type | Durability | Cost | Best For |
|---|---|---|---|
| Pressure-Treated Pine | High | Low | Ground-contact bases and posts |
| Cedar Planks | Medium-High | High | Scented, rot-resistant siding |
| CDX Exterior Plywood | Medium | Low | Budget-friendly wall and roof panels |
Step 4: Installing in Your Backyard

Pick a spot that gets partial shade. Direct midday sun fades paint and dries out the wood faster. Mark your post location. Dig a hole exactly 18 inches deep. Pour four bags of quick-set concrete mix into the trench. Add water according to the bag instructions. Stir aggressively inside the hole. Insert your 56-inch 4×4 post into the center. Stand back and check the bubble on your level. Tilt equals wobble. Braces made from scrap 2x4s hold the post steady while the mix cures.
At Home with Ashley recommends putting the post in the hole, pouring concrete, adding water, and bracing it tightly until dry. Remove the braces once the concrete sets completely. Trim the post so exactly 18 to 20 inches remains above ground. Lift your finished library box onto that mount. Drive carriage bolts or heavy-duty brackets through the bottom of the box and into the post. Tighten them firmly. Step back and test the door swing. It should close flush against the weatherstripping. Register your new structure on the official Little Free Library database to join the global sharing network.
Step 5: Avoiding Common Mistakes
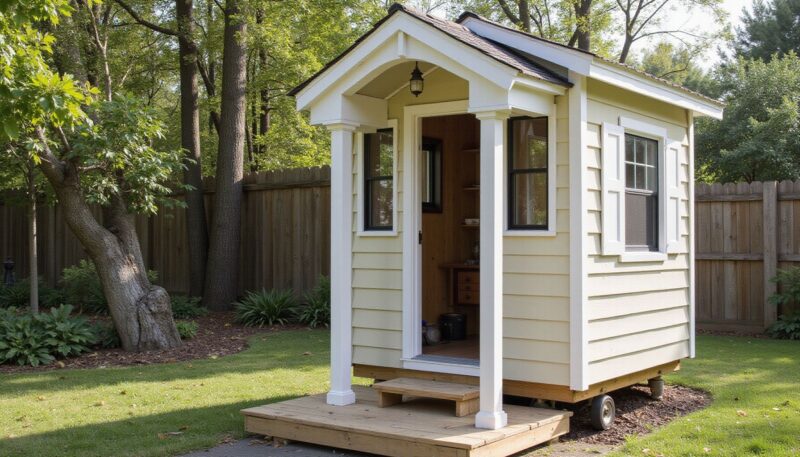
Measurements slip easily when you rush. Verify your cut lengths twice before feeding plywood through the blade. A half-inch error compounds quickly. Misaligned shelves cause books to slide forward or jam shut. Keep your chisel and sandpaper handy to shave down tight spots rather than replacing whole panels. Never skip the roof pitch. Flat roofs collect standing water. Wood rots from the inside out. That 6-degree slope directs runoff straight to the ground.
Hardware selection matters more than people expect. Cheap indoor screws turn orange within weeks and stain your fresh paint. Always buy exterior-grade fasteners. Blue Kote coatings resist corrosion in damp air. Stagger your screw placement to prevent the wood from splitting near the edges. Do not overtighten. Stop turning the drill driver when the head sits flush. Forceful driving cracks the grain and ruins the structural bond. Cover every raw edge. Unsealed cut surfaces absorb humidity like sponges.
Step 6: Troubleshooting and Final Setup

Drops sometimes hang crooked after paint adds weight. Shim the hinge side with a coin-thick cardstock piece to raise it slightly. Test the latch repeatedly. A light tug should click the door shut. Wind storms test weak mounts most. Inspect your bracket bolts monthly. Tighten them if they feel loose. Replace rattling windows with thicker acrylic or add rubber screen clips around the pane edges. Acrylic expands in heat and contracts in cold. Leave a hairline gap around the frame to prevent cracking.
If the post leans after installation, drive temporary wooden stakes into the soil alongside it. Tie the post to the stakes with twine until the concrete reaches full strength. Moisture trapped behind the door causes mildew. Ventilate the interior by drilling two small weep holes near the top of the back panel. Drainage prevents stagnant air from spoiling paper covers. Keep a microfiber cloth nearby to wipe condensation after heavy rains. Check the latch mechanism seasonally. Lubricate moving metal parts with dry graphite powder. Oil attracts dust and grime that jam mechanisms.
Tips
- Trace your book spines directly onto cardboard before cutting shelf boards. This guarantees perfect sizing.
- Store unused plywood indoors between cuts to prevent warping from yard humidity.
- Mask your plexiglass with painter’s tape before drilling to stop chipping.
- Use a damp rag to remove excess caulk immediately. Dried caulk scratches easily.
- Label your donation bin clearly so visitors know what genres fit best.
FAQ
Q: Can a beginner build a tiny library without advanced tools?
Yes, several designs suit beginners who only own a hand saw, a power drill, and basic clamps. You still need accurate measurements and patience for clean joins. Simpler plans rely on butt joints secured with exterior screws rather than complex miter cuts. Borrow a table saw or jigsaw from a neighbor if your local hardware store rents them out. Focus on straight lines first. Master the seal before chasing decorative details.
Q: Do I need a post or can it sit on the ground?
Ground contact invites rot and splash damage from lawn watering. Elevating the box protects the floorboards and extends the wood lifespan significantly. A dedicated post also simplifies mounting and keeps readers from bending awkwardly. Tree mounts work fine too, but branches often rub against the roof during high winds. Concrete footings provide consistent stability year-round regardless of soil shifts.
Q: How do I keep rain out of a tiny outdoor library?
Water management starts at the roof peak. Slope the panels outward and extend the eaves past the door frame. Caulk every joint thoroughly before painting. Add a drip edge metal strip along the lower roof boundary. Install exterior grade silicone sealant around the window pane and handle recess. These barriers channel moisture away from the interior cavity and keep paper safe from damp air.
Q: What is the best window material for the door?
Plexiglass or tempered acrylic sheets perform best for visibility and impact resistance. Thinner glass shatters easily and poses safety risks near walkways. A 1/16-inch acrylic sheet fits standard openings perfectly. Route a shallow groove in the door face so the pane sits flush rather than propped on top. Rubber gaskets buffer expansion noise during temperature swings.
Q: Should I paint or stain the finished library?
Both finishes protect the wood, but paint offers thicker coverage against UV fading. Stain preserves the natural grain texture while still requiring a clear waterproof topcoat. Most guides recommend sealing every surface inside and out before mounting. Primed paint adheres better to rough-sawn plywood. Choose matte or satin sheens to hide minor scuffs from eager readers.
Q: What are common mistakes in tiny library plans?
Builders frequently ignore actual book dimensions when setting shelf heights. Hardcovers often exceed six inches tall. Skipping the pocket hole placement strategy leaves ugly fastener heads visible after staining. Forgetting weather seals creates damp interiors that warp shelves quickly. Always mock up your shelving with sample books before permanent attachment. Double-check slope angles on roof panels too.
Q: How is a backyard library installed safely?
Anchor the structure securely to prevent tipping during storms. Set the mounting post deep enough to resist leverage forces. Eighteen-inch concrete footings meet basic stability standards for single-story boxes. Brace the post vertically while the mix hardens. Verify level readings from multiple sides before removing temporary supports. Secure the box from the inside using heavy-duty brackets for wind resistance.
My Experience With How to Build a DIY Tiny Library for Your Backyard
I learned quickly that precision beats speed every single time. My first attempt featured sloppy cuts that left gaping seams. Paint seeped into the cracks and ruined the whole finish. I rebuilt it slower. Clamped the joints tighter. Applied caulk methodically. The difference was night and day. Readers stopped leaving puddles inside because the roof actually shed water. One tip changed everything for me: measure your shelves with real books, not just rulers. A dictionary forced me to move a support board two inches higher. That adjustment saved the entire project. I also skipped fancy router work initially. Straight pilot holes held up fine. Keep it simple. Focus on the seal. Dry weather hits the wood hardest. Finish on a clear Saturday. Wrap up before sunset. The station looked solid by Monday. Have you already spotted a shady corner in your yard for this project?
Conclusion
Building a backyard book nook takes patience, but the rewards outweigh the effort. Clear measurements, proper sealing, and thoughtful installation keep your creation standing for years. Follow the steps above carefully. Check your hardware regularly. Share your progress with neighbors. Quiet streets soon become lively exchanges thanks to simple handmade structures. Get started today. Watch books move freely. Enjoy the community boost.
References
- Love & Renovations. (2026). Beginner-Friendly Little Free Library Plans. Love & Renovations. https://www.loveandrenovations.com/little-free-library-plans/
- Kreg Tool. (2026). DIY Little Free Library – How To Build a Little Free Library. Kreg Tool. https://learn.kregtool.com/plans/lazy-little-library/
- Little Free Library. (n.d.). Build a Little Free Library. Little Free Library. https://littlefreelibrary.org/start/build-a-little-free-library/
- The Spruce Crafts. (n.d.). How to Build Your Own Little Free Library. The Spruce Crafts. https://www.thesprucecrafts.com/little-free-library-plans-1357149
- Zimmerman, J. (2022). Plans so simple even I could follow them. Little Free Library. https://littlefreelibrary.org/wp-content/uploads/2022/07/Little-Free-Library-Plans-So-Simple-Even-I-Could-Follow-Them-by-James-Zimmerman.pdf
- The Mom of the Year. (2019). How to Start a Little Free Library in Your Yard. The Mom of the Year. https://www.themomoftheyear.net/2019/09/how-to-start-a-little-free-library-in-your-yard.html
- Ashley. (2026). Little Free Library Plans. At Home with Ashley. https://athomewithashley.com/little-free-library-plans/
- Instructables. (2026). Whimsical Little Free Library. Instructables. https://www.instructables.com/Whimsical-Little-Free-Library/

A Teacher with 5 years of experience. Our Expertise, is reliable to meet your full Academic development needs . Worked on many crafts and construction projects offering services from design to development to deployment over the years. You will find many of my works in my business portfolio on request.