What makes a truly bright paper sun craft stand out from every other homemade decoration you have tried to assemble? Creating a cheerful sun brings warmth into any room, especially during summer months or when you need a 12 Easy Crafts to Do at Home with Simple Supplies project to capture young imaginations. Using bold yellow paper, sturdy plate bases, and precise cutting techniques, you produce a display that radiates energy. Mastering this easy craft requires only basic materials, allowing you to focus on the joy of creating sun-themed decor for your home or classroom.
Quick Questions and Answers
Question: Why does paper sun craft look bright and cheerful? Answer: Paper sun crafts look bright because they use vivid yellow and orange colors that mimic sunlight, paired with simple geometric rays that create a playful, energetic effect. When you combine these warm hues, the craft naturally draws the eye and helps lift the mood of any space.
Question: Can kids make a paper sun craft without special tools? Answer: Yes, kids can make paper sun crafts using only basic supplies like scissors, glue, and colored paper, without needing protractors or compasses if they estimate angles. This accessibility makes it a standard activity for home crafting and school projects where complicated drafting tools are absent.
Question: Do you need yellow and orange paper for sun rays? Answer: While yellow and orange are traditional for sun rays, you can use any bright colors like red, gold, or even rainbow shades to create a fun, personalized look. Experimenting with metallic paper or glittery cardstock adds another dimension to the final design without sacrificing the sun’s signature energetic vibe.
Key Takeaways
- Sun crafts are highly adaptable for different age groups and skill levels.
- Using a structural base like a paper plate ensures the sun holds its shape longer.
- Preparation, such as pre-cutting rays, makes the crafting process smoother for younger children.
- Proper drying time is essential when using paint to avoid paper warping or colors bleeding together.
What You Need
| Item | Purpose | Notes |
|---|---|---|
| Construction Paper | Forms the rays and face | Use varying shades of yellow and orange |
| Paper Plates | Structural foundation | White plates require a coat of paint |
| Scissors | Trimming shapes | Use safety-rated shears for younger crafters |
| Glue Stick | Adhesion | Best for paper-to-paper bonds without warping |
| Acrylic Paint | Coloring the base | Requires drying time before assembly |
| Drinking Straws | Mechanism | Only needed for spinning sun variations |
Step 1: Preparing the Sun’s Face
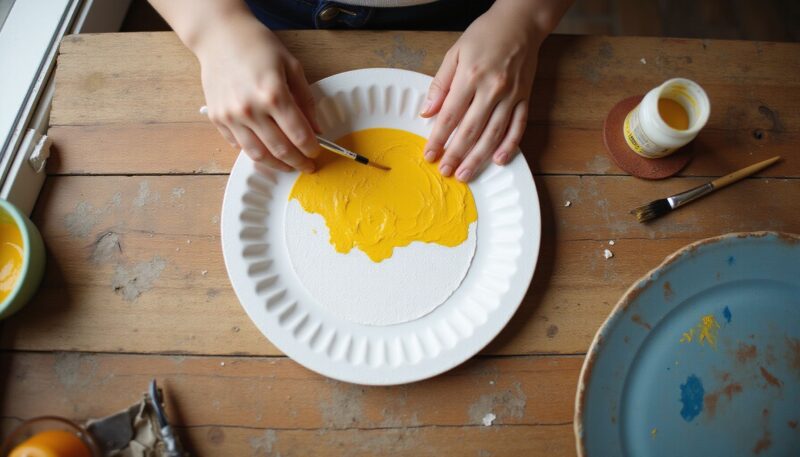
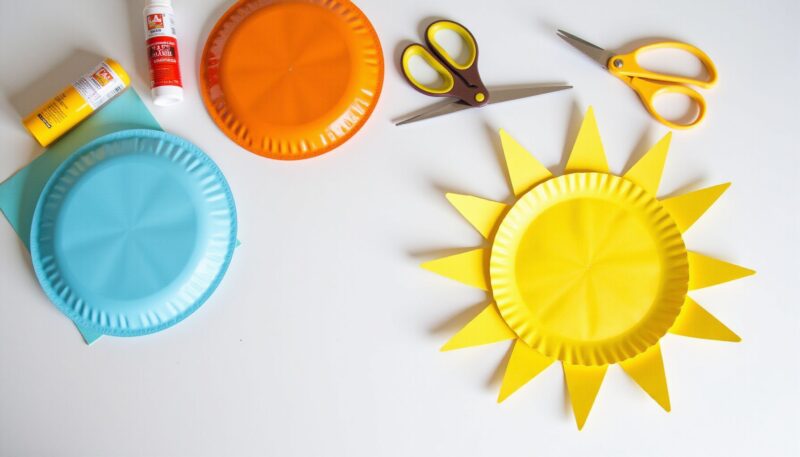
Start by deciding on the size of your sun. Cutting a large circle from thick yellow construction paper is the fastest way to get started. If you prefer a more durable finished product, a paper plate works as an excellent foundation. If your plate is white, take a moment to paint the entire front surface a vibrant shade of yellow.
Applying paint requires patience. I find that using two thin coats of acrylic paint usually yields better coverage than one thick layer. Once the paint is applied, set the plate aside on a flat surface to dry completely. According to Firstpalette.com, preparing the paper properly is the first step toward a clean result, so do not rush this part of the process.
Step 2: Creating and Attaching the Rays
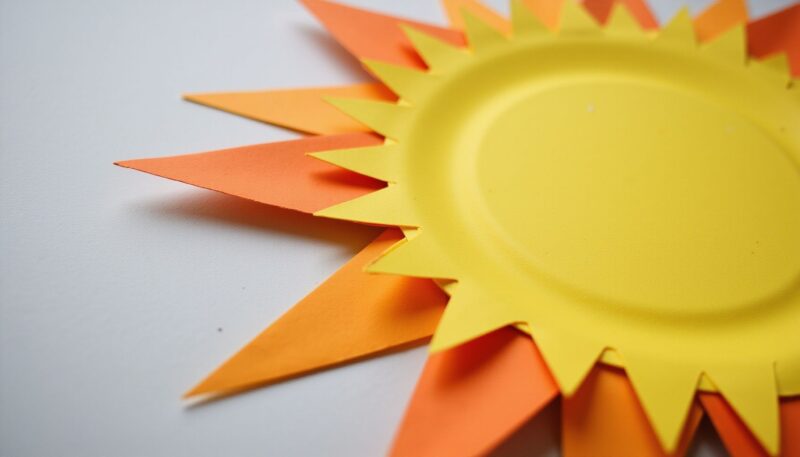
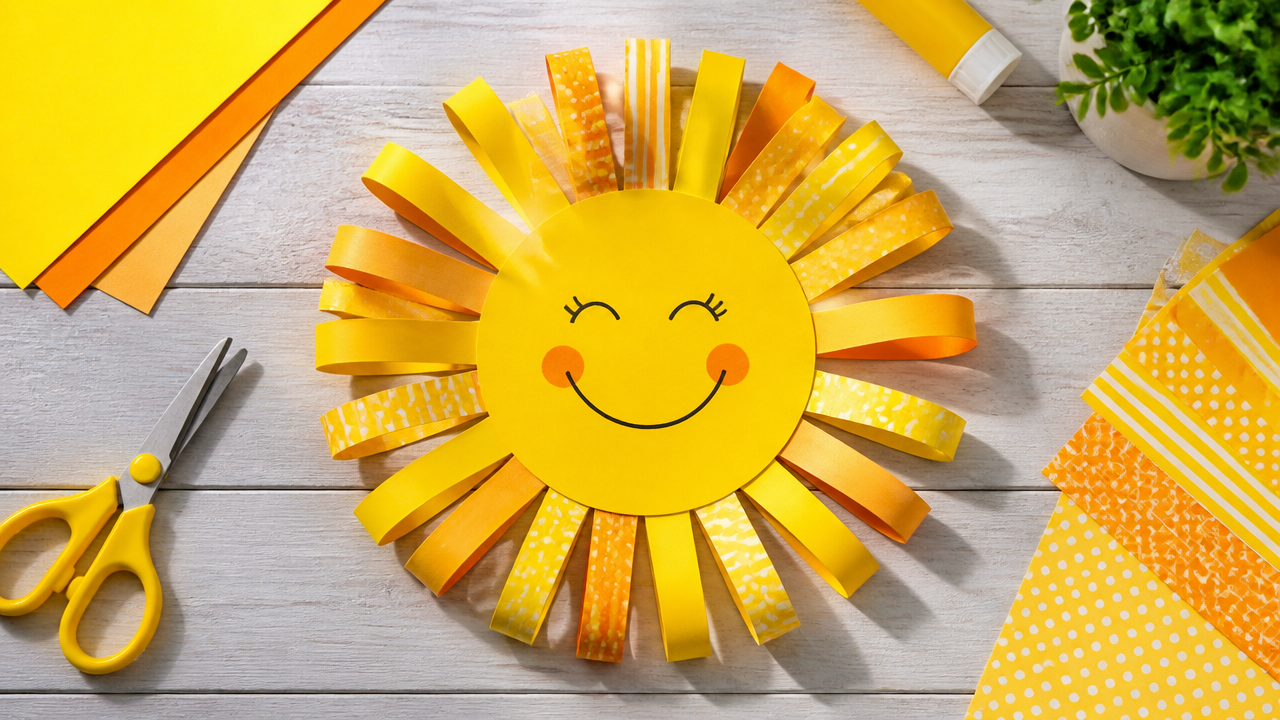
Cutting rays creates the iconic look of the sun. Grab your yellow or orange construction paper and cut out at least 12 long triangles. Keeping them uniform in size ensures that your sun looks balanced and intentional rather than messy. If you struggle with inconsistent shapes, try folding a strip of paper into a fan shape before cutting the triangles all at once.
Once your rays are ready, apply glue to the base of each triangle. Arrange them around the edge of your circular face, pressing down firmly to secure them. For a touch of flair, consider using the edge of your scissors to slightly curl the tips of the paper triangles outward. This simple technique gives the rays a 3D effect, much like those found in 14 Easy Art Projects for Teens That Are Super Fun.
Step 3: Advanced Techniques: The Rotating Sun
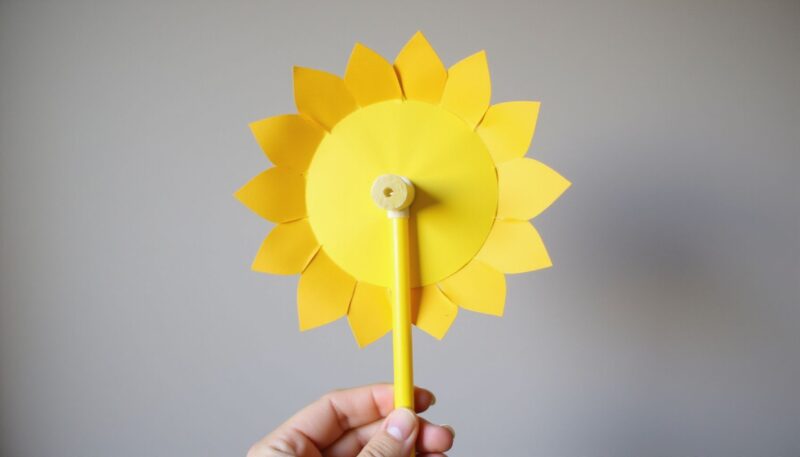
If a standard static sun feels too quiet, you can build a rotating version. This variation uses air pressure to make the sun spin, which is a favorite for preschool crafts. You will need a straw and a small fastener to act as a central hub.
Attach your constructed sun face to the top of an upright straw. Make sure the connection point is loose enough to allow free movement but tight enough to hold the weight of the paper. When you blow through the straw, the air catches the rays and creates a gentle rotation. This step transforms your craft from a stationary object into an interactive toy.
Mistakes to Avoid
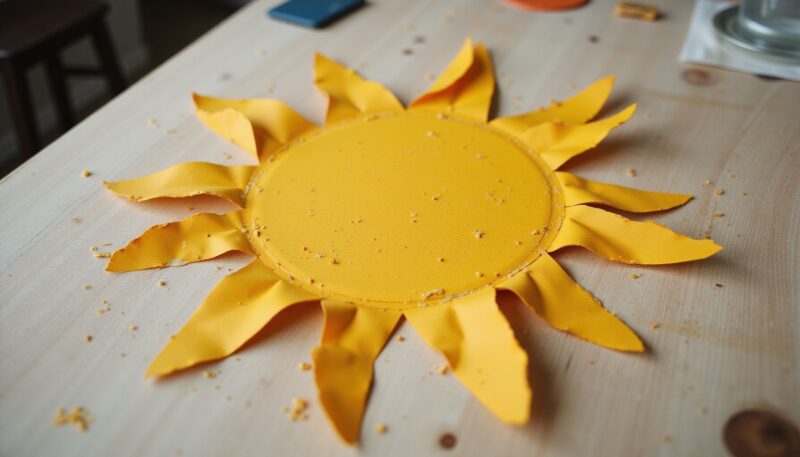
Avoiding common pitfalls will save you time and frustration later. One of the most frequent errors is using too much liquid school glue. Construction paper is thin and porous, so excessive liquid causes it to wrinkle and eventually tear. Use a glue stick instead to keep the surface smooth.
Check your proportions before you start gluing. If your rays are too short, the sun looks pinched; if they are too long, they might collapse under their own weight. Ideally, aim for rays that are roughly half the diameter of the sun’s face. Additionally, never try to add details or rays while the paint on your paper plate is still wet. This leads to smudged colors and ruined structures. Keeping the craft dry is essential for a professional finish.
Troubleshooting
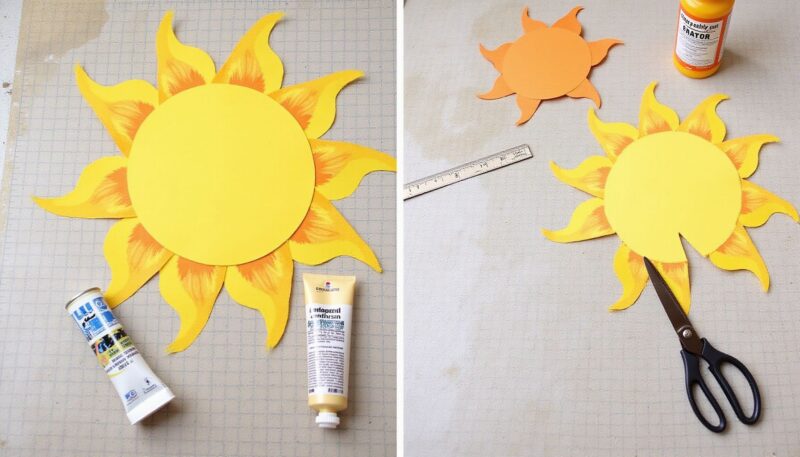
Does your sun look a bit sad and floppy? If the rays keep bending downward, swap out your construction paper for heavier cardstock. Cardstock has more structural integrity and will stay upright even after you curl the tips. This simple material upgrade makes a difference in how long your art display lasts.
If you find that your rays are all different sizes, go back to the folding method. Folding the paper into a triangle, dividing it into sections, and then cutting through all layers at once ensures that every ray is identical. For those planning a more permanent art display, practicing these spatial skills often mirrors the fundamentals found in 11 Aesthetic Sketchbook Ideas to Refresh Your Daily Art Practice. If your craft is falling apart, ensure you are using a hobby-grade adhesive rather than basic craft glue.
FAQ
Q: Are paper sun crafts safe for very young children to make?
Paper sun crafts are safe for young children if supervised during cutting, using child-safe scissors and non-toxic glue, making them a great beginner-friendly activity. Always check that the glue is deemed safe for young users before starting.
Q: How long does it take to make a simple paper sun?
Making a simple paper sun craft takes about 15 to 30 minutes, depending on the child’s age and whether they draw details or use pre-cut templates. Complex designs will naturally take more time.
Q: Does paper sun craft work for school projects or parties?
Yes, paper sun crafts are perfect for school projects, summer parties, or classroom decorations because they are colorful, easy to display, and encourage creativity. Their versatility makes them a staple for any seasonal curriculum.
Q: Will paper sun crafts fade if placed in sunlight?
Paper sun crafts may fade over time if placed in direct sunlight, especially if made with low-quality paper, but using cardstock or laminating them can help preserve the colors.
Q: When is the best time to make paper sun crafts for kids?
The best time to make paper sun crafts is during summer activities, spring lessons, or anytime you want to bring a cheerful, bright vibe to your home or classroom.
Q: Is it hard to draw 12 rays for a paper sun?
Drawing 12 rays for a paper sun is not hard if you fold the paper into a triangle, divide it into 3 sections, and unfold to reveal evenly spaced rays. This geometric trick ensures symmetry without needing a ruler or protractor.
Q: What materials are needed for the easiest paper sun craft?
The easiest paper sun craft needs colored cardstock, scissors, glue stick, and optional items like googly eyes or a face template for a cute finish.
My Experience With The Simple Way to Make Bright Paper Sun Crafts
I remember the first time I tried making these with a niece who wanted to “bring the sun inside” on a rainy Tuesday. My initial attempt at cutting rays by hand resulted in a very lopsided star-like creature, but we soon learned the folding trick mentioned in this guide. Once we figured out that folding the paper first was the key, the project became much more enjoyable.
The most important takeaway for me as a crafter is that patience with the glue is just as important as the design. Too much liquid glue and you end up with a soggy mess that ruins your afternoon. Switching to a high-quality glue stick was the real expert pivot that stabilized the whole project. Also, do not underestimate the power of googly eyes for adding personality to the sun’s face. It is a tiny, cheap detail, but it seems to breathe life into the final product every single time. It is rewarding to see how a few simple sheets of yellow paper can actually change the mood of a kitchen wall. What has been your biggest challenge when working with paper-based crafts at home?
Latest Updates
As of 2026, many educators and artists are experimenting with sustainable, biodegradable adhesives to replace common school glues. These eco-friendly options are becoming standard in classroom settings to ensure safety and environmental responsibility. Additionally, the trend toward using upcycled cardboard as a base rather than store-bought plates has increased, reducing waste while providing the same sturdy, raised texture that makes these crafts look professional.
References
- Firstpalette.com. (n.d.). Paper Sun. FirstPalette.com. https://www.firstpalette.com/craft/paper-sun.html
- Made to be a Momma. (n.d.). Paper Sun Craft. Made To Be A Momma. https://www.madetobeamomma.com/paper-sun-craft
- Run Wild My Child. (n.d.). Making Sun Print Nature Art with Kids. Run Wild My Child. https://runwildmychild.com/sun-print-nature-art
- CDC. (n.d.). Child Health. Centers for Disease Control and Prevention. https://www.cdc.gov/policy/polaris/healthtopics/childhealth/index.html

A Teacher with 5 years of experience. Our Expertise, is reliable to meet your full Academic development needs . Worked on many crafts and construction projects offering services from design to development to deployment over the years. You will find many of my works in my business portfolio on request.