
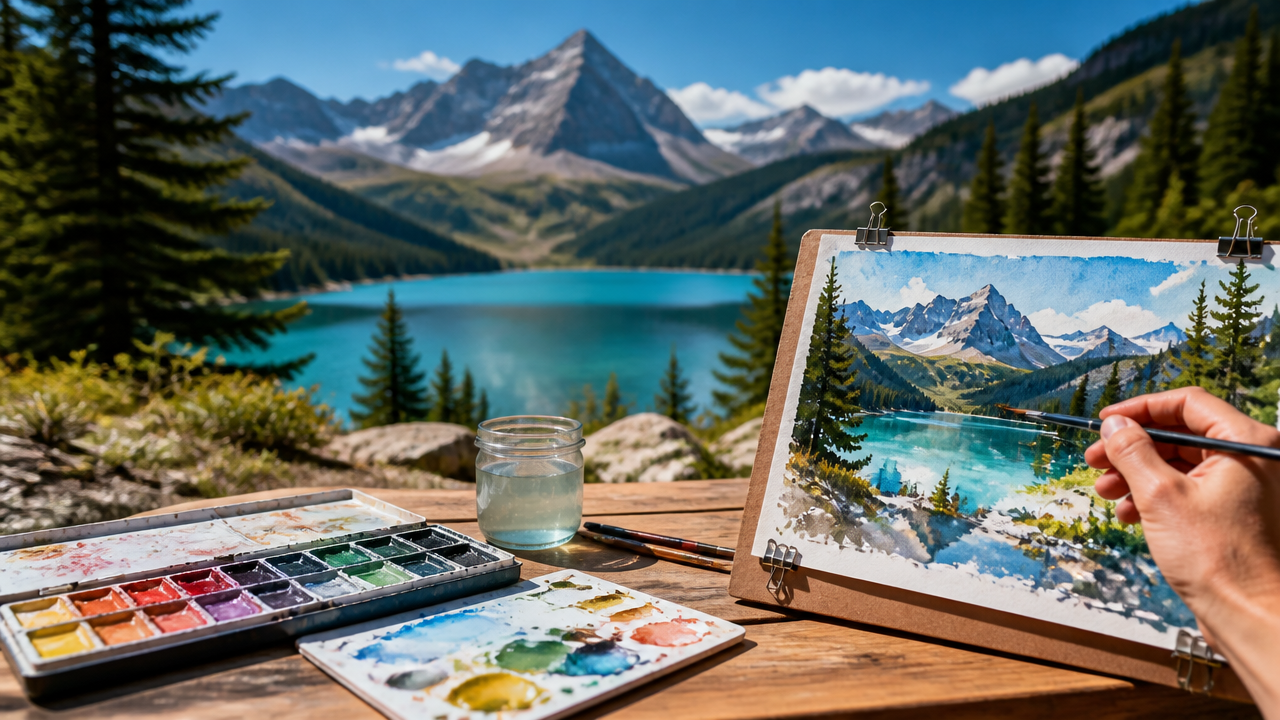
What makes a truly great watercolor landscape stand out from every other garden scene or coastal view you have attempted before? Painting a landscape requires a steady hand and a patient approach to color, especially when the weather turns and you want to bring the natural world indoors. Whether you are prepping for a spring art project or a cozy autumn rainy day, understanding the fundamentals of watercolor elevates your work. Through this guide, you will learn to manage your watercolor landscape with confidence, turning simple pigments into a professional, beginner-friendly masterpiece.
Quick Questions and Answers
Question: Why do watercolors look muddy when painting landscapes? Answer: Watercolors look muddy when you mix too many colors together or reuse dirty water. Using a limited palette of five colors and rinsing brushes thoroughly prevents muddy tones. Also, avoid over-brushing wet paint, which mixes pigments on the paper and creates dull colors.
Question: Can beginners paint a watercolor landscape with only five colors? Answer: Yes, beginners can paint stunning landscapes using just five colors like blue, red, yellow, and two earth tones. Mixing these on the paper creates a natural range of greens, grays, and browns. Limiting colors helps maintain clarity and prevents muddy results common in early attempts.
Question: Do I need to wet the paper before painting a landscape? Answer: Wetting the paper, known as wet-on-wet, is essential for soft backgrounds like skies and distant hills. It allows colors to blend naturally and create smooth gradients. For sharp details in the foreground, use wet-on-dry by painting on dry paper to control edges and texture.
What You Need: Essential Supplies
| Item | Purpose | Notes |
|---|---|---|
| Watercolor Paper | Provides the necessary surface for water control | Use at least 300gsm weight |
| Mop Brush | Creating large, soft washes for skies | Use a size 8 to 12 mop brush |
| Painter’s Tape | Keeps paper flat and creates white borders | Always peel tape at an angle |
| Palette | Mixing custom shades of green | A basic plastic or ceramic tray |
| Graphite Pencil | Drawing the initial roadmap | Keep lines very faint |
Step 1: Plan and Sketch Your Composition
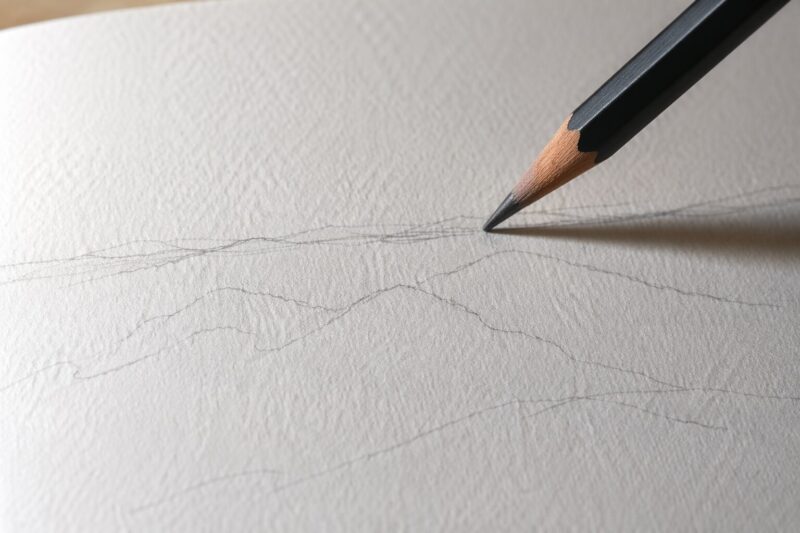
Visualization is the foundation of any good painting. Before touching your brush to the paper, take a moment to look at your subject and decide what story you want to tell. You might find it helpful to master the art of drawing the Eiffel Tower step by step to understand how structures fit into a wider scene. Sketch only the major shapes to keep your roadmap simple. If you struggle with freehand drawing, capture a reference photo, print a screenshot of the intended scene, and trace the major shapes onto your paper to save time and frustration. Keep your lines light; thick graphite can smear or show through your finished sky.
Step 2: Set Layout and Proportions
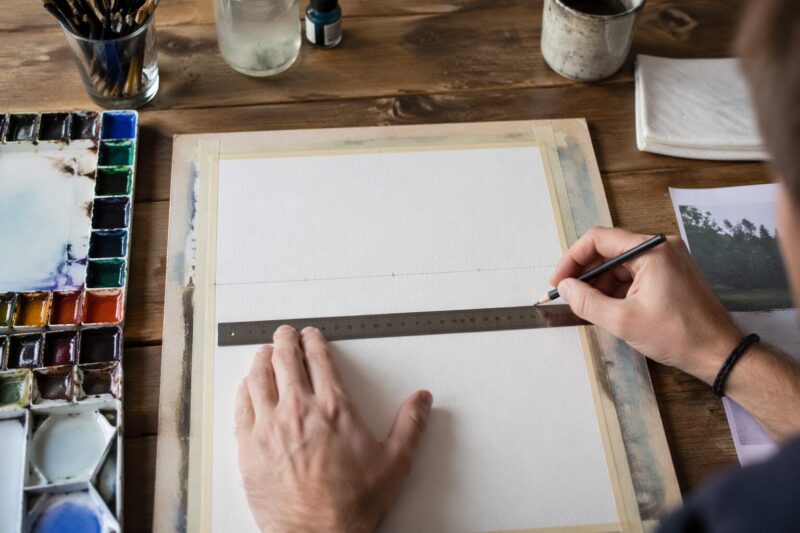
Establishing your horizon line early is a habit that saves many headaches. For scenes focusing on the vastness of the sky, dedicate roughly 2/3 of your paper to the heavens. If the land is the focus, invert those proportions. As The Pigeon Letters suggests, limiting your focus ensures your painting does not feel cluttered. During this phase, clearly define your focal points, such as a distant tree or a mountain peak, so your eyes have a place to rest later. Think of these lines as boundaries that prevent you from getting lost in the details.
Step 3: Apply the First Wash
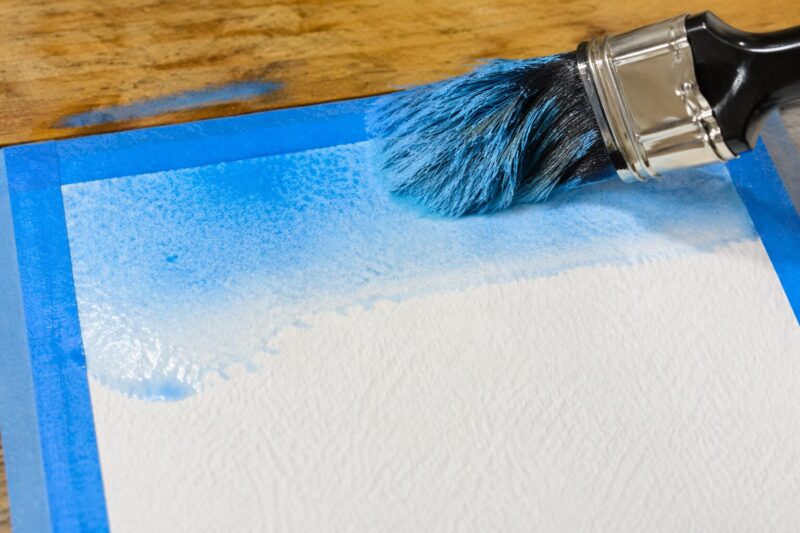
Your first wash dictates the light and mood of the entire piece. Use a large mop brush to load plenty of water and color, then sweep it across the paper with confidence. Work from top to bottom, keeping your strokes loose rather than trying to perfect every inch. If you are learning basics, you could try to how to draw a pyramid: simple steps for art and models to practice how geometric shapes interact with light. Avoid the urge to overwork the paper; a thin, single layer usually creates the most natural sky.
Step 4: Layering and Color Mixing
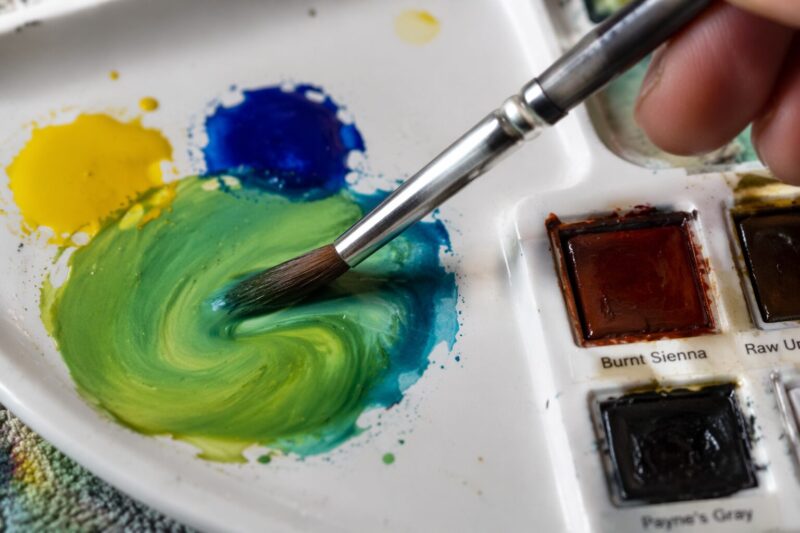
Mix your secondary colors directly on your palette, as this preserves the vibrancy of your paint. Combine different proportions of blue and yellow to create a unique range of forest, sage, and deep pine greens. According to Anne Kostecki Design & Illustration, Payne’s Gray is an ideal choice for adding shadows and deepening your greens without turning them black. Start your layers in the background, moving forward as you add more saturation and detail. This sequence builds visual depth and helps draw the viewer into the scene.
Mistakes to Avoid
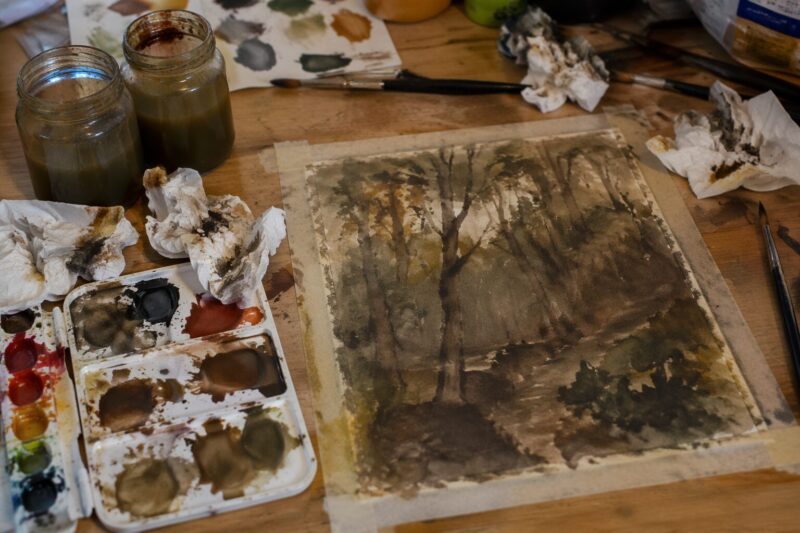
The most common trap is over-thinking the sketch, which acts only as a guide and not the final product. Another frequent error is using small brushes for large areas, which leads to patchy skies and frustrating brush strokes. Never skip the blue painter’s tape; without it, your paper will likely buckle when wet, and you will finish without those neat, framed edges that make a landscape look complete. If you ever feel stuck, remember that even a how to draw a dove: a simple, step-by-step guide approach to your shapes can simplify a complex landscape scene.
Troubleshooting
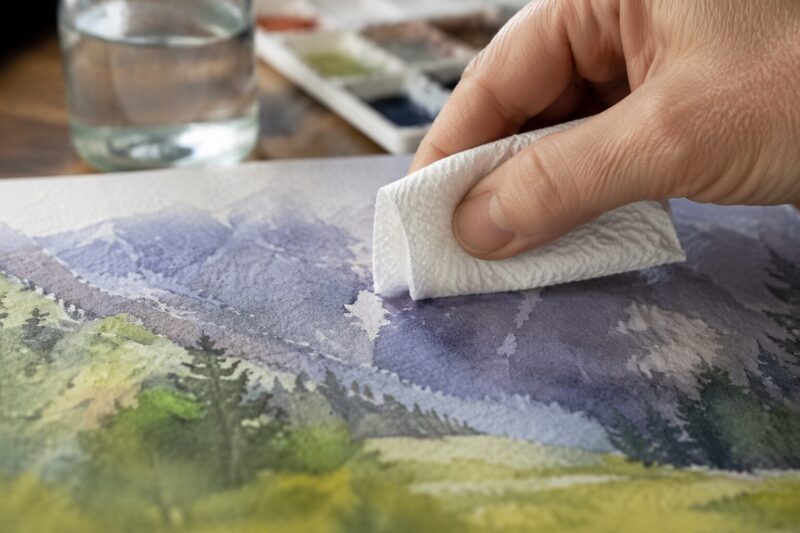
If your color appears too intense, dilute it with clean water on your palette before touching the paper. Paint dries faster than you might think, so keep a spray bottle of water nearby if you need to keep a section damp for blending. When a painting feels flat, check your reference and re-examine your darks. Payne’s Gray is your best ally here; use it to increase the contrast in your foreground, which pushes the background further away and adds a sense of perspective.
FAQ
Q: Are watercolor landscapes harder to paint with dark shadows?
Watercolor landscapes with dark shadows are challenging because you cannot paint white over dark once applied. Start with light washes and gradually build darker tones by layering. Planning your lightest to darkest values beforehand ensures the final image has depth without losing brightness.
Q: How long does it take to dry a watercolor landscape painting?
Drying time depends on humidity, paper thickness, and how much water you use. A thin layer may dry in 15 minutes, while a heavy wet-on-wet wash can take an hour. In humid conditions, drying takes longer, so use a fan or hair dryer to speed up the process between layers.
My Experience With How to Paint a Watercolor Landscape: Easy Guide for Beginners
When I first started painting landscapes, I would sit for an hour just trying to draw the perfect tree. I eventually realized that the beauty of watercolor isn’t in recreating a photograph, but in capturing the mood of a place through loose, confident strokes. My biggest breakthrough happened when I stopped trying to control the water and started working with it. I remember creating a mess on my first attempt because I didn’t use tape; my paper warped into a gentle wave, and I couldn’t get a clean edge to save my life. Now, I never start a session without securing my paper firmly. Another expert tip: don’t be afraid of the “ugly” stage. Often, a painting looks a bit like a disaster halfway through, but adding that final layer of dark contrast pulls everything together. It is truly satisfying to watch the depth appear as you layer your greens and blues. Everyone finds their own rhythm, but these steps offer a solid anchor when you feel lost in the paint. Do you have a favorite natural spot you have been wanting to capture on canvas?
Conclusion
Painting a landscape is about observing the horizon and trusting your materials to do the work. By planning your composition through simple sketches and using controlled washes, you can create depth without getting overwhelmed by detail. Stay consistent with your light-to-dark layering, and you will see your paintings gain professional quality over time. Keep practicing your color mixing, and do not be afraid to lean into the fluid nature of watercolor.
References
- Anne Kostecki Design & Illustration. (n.d.). A Step-By-Step Watercolor Landscape Tutorial. Anne Kostecki Design & Illustration. https://www.annekostecki.com/blogs/blog/a-step-by-step-watercolor-landscape-tutorial
- Learn to Paint Watercolor. (n.d.). How to Paint Landscapes. Learn to Paint Watercolor. https://www.learntopaintwatercolor.com/blog/landscape-tips
- The Pigeon Letters. (n.d.). Easy Watercolor Painting Tutorial for Beginners. The Pigeon Letters. https://www.thepigeonletters.com/blogs/1/easy-watercolor-painting-tutorial-for-beginner
- Jenna Rainey. (n.d.). How to Create Stunning Watercolor Landscape Paintings. Jenna Rainey. https://jennarainey.com/how-to-create-stunning-watercolor-landscape-paintings

A Teacher with 5 years of experience. Our Expertise, is reliable to meet your full Academic development needs . Worked on many crafts and construction projects offering services from design to development to deployment over the years. You will find many of my works in my business portfolio on request.