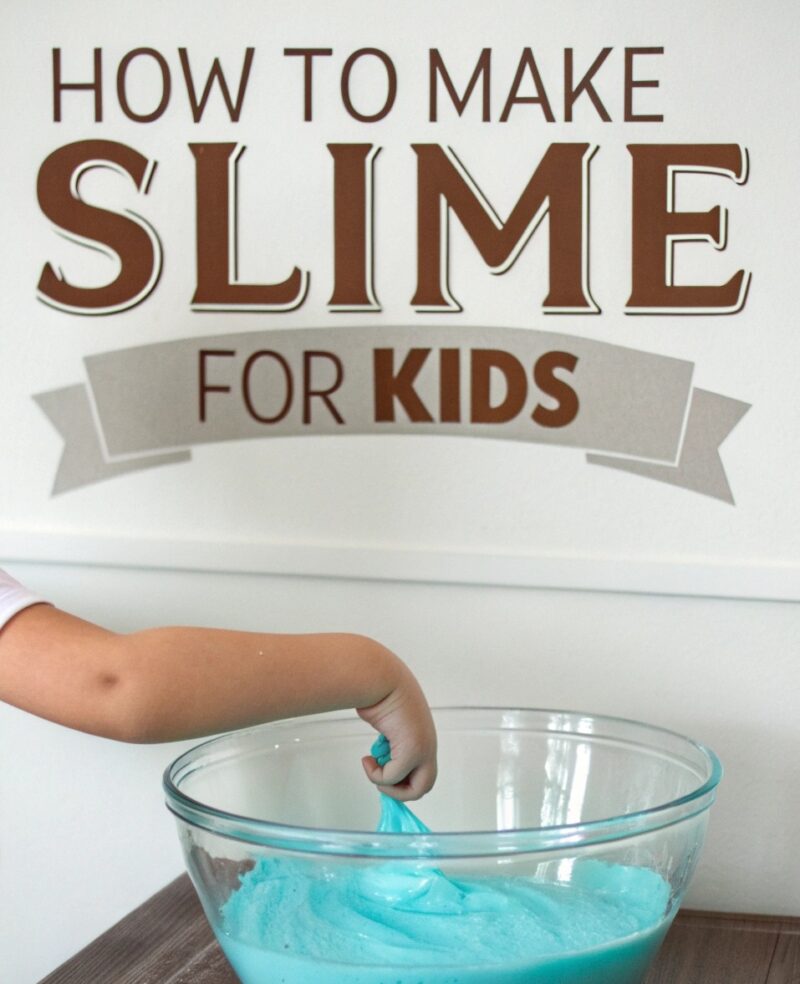

DIY slime is a fun, hands-on project that can help you relax, learn basic mixing skills, and create something that feels satisfying to stretch and squish. The best part is that you can make slime at home with common supplies—and with a few careful steps, you’ll get a great texture.
In this guide, you’ll learn how to make a classic, beginner-friendly slime recipe. You’ll also find tips to fix common problems (like runny slime or slime that’s too stiff) and answers to the most common questions.
Whether you’re making slime for a school project, a rainy day activity, or just for fun, this article will help you get results you’ll love.
Key Takeaways
- DIY slime is made by combining a glue base with an activator (like borax solution or another slime activator).
- Mixing slowly and using the right amount of activator is the key to good slime texture.
- If slime is too sticky, add tiny amounts of activator and mix again.
- If slime is too stiff or rubbery, add a few drops of water or more glue (carefully).
- Always follow safety tips, especially when working with ingredients like borax.
Quick Answer
To make DIY slime, mix clear or white school glue with water (optional), then add a slime activator slowly while stirring until it forms a stretchy slime. Knead it with clean hands until it stops sticking too much. If needed, adjust with small amounts of activator or water/glue.
What You Need
| Item | Purpose | Notes |
|---|---|---|
| School glue (clear or white) | Main slime base | Use washable, PVA-style glue for best results |
| Baking soda (optional) | Helps smooth texture and balance | Not required, but common in slime recipes |
| Contact solution (optional option) | Alternative activator source | Look for “boric acid” and a pH balanced label |
| Borax powder (optional option) | Activator for classic slime | Use carefully; measure accurately |
| Water | Adjusts consistency | Warm water can help dissolve borax |
| Stirring sticks or spoons | Mixes ingredients evenly | Use separate tools for each slime batch |
| Mixing bowls | Holds glue + activator | One bowl per batch makes cleanup easier |
| Measuring spoons/cups | Improves results | Small changes can affect slime texture |
| Food coloring or glitter (optional) | Color and fun effects | Add after glue and before activator |
| Zip-top bag or airtight container | Stores slime | Helps prevent drying out |
| Gloves (recommended) | Protects hands | Especially helpful with borax or contact solution |
Step 1: Choose Your Slime Type and Gather Supplies
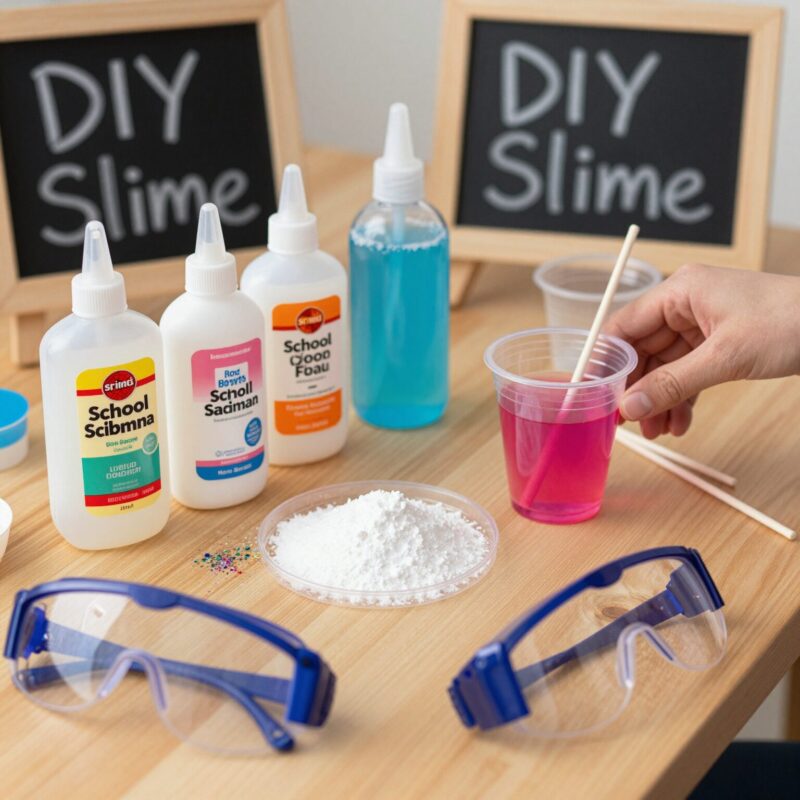
Before you start, decide which kind of slime you want. This guide focuses on a classic stretch slime. You can use either:
- Borax activator method (classic, reliable): borax mixed with water
- Contact solution activator method (easier for some): contact solution with the right ingredients
Both can work well, but your results depend on your product labels. If you’re new to slime, start with one method and follow the steps exactly.
Quick product tips
- Use school glue (PVA glue). Craft glue may behave differently.
- For activator, check the label. For borax, you’ll use a borax-water mixture. For contact solution, look for ingredients like boric acid and a borate-type formula.
Step 2: Prepare the Borax Activator (If Using Borax)
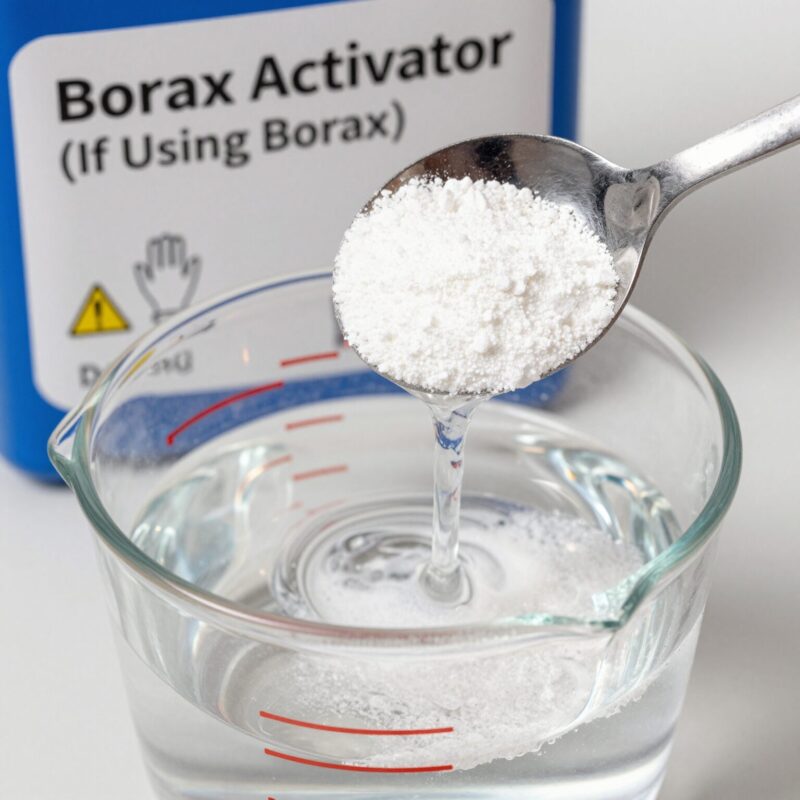
If you’re using borax, you’ll make a solution first. This step helps you control the activator and prevents lumps.
- In a bowl, add 1 cup (about 240 ml) of warm water.
- Add 1/2 teaspoon borax powder.
- Stir until it mostly dissolves. It may not dissolve 100%, and that’s okay as long as it’s well mixed.
- Set the bowl aside near your slime mixing area.
Then you’re ready for the glue base.
Step 3: Mix the Glue Base
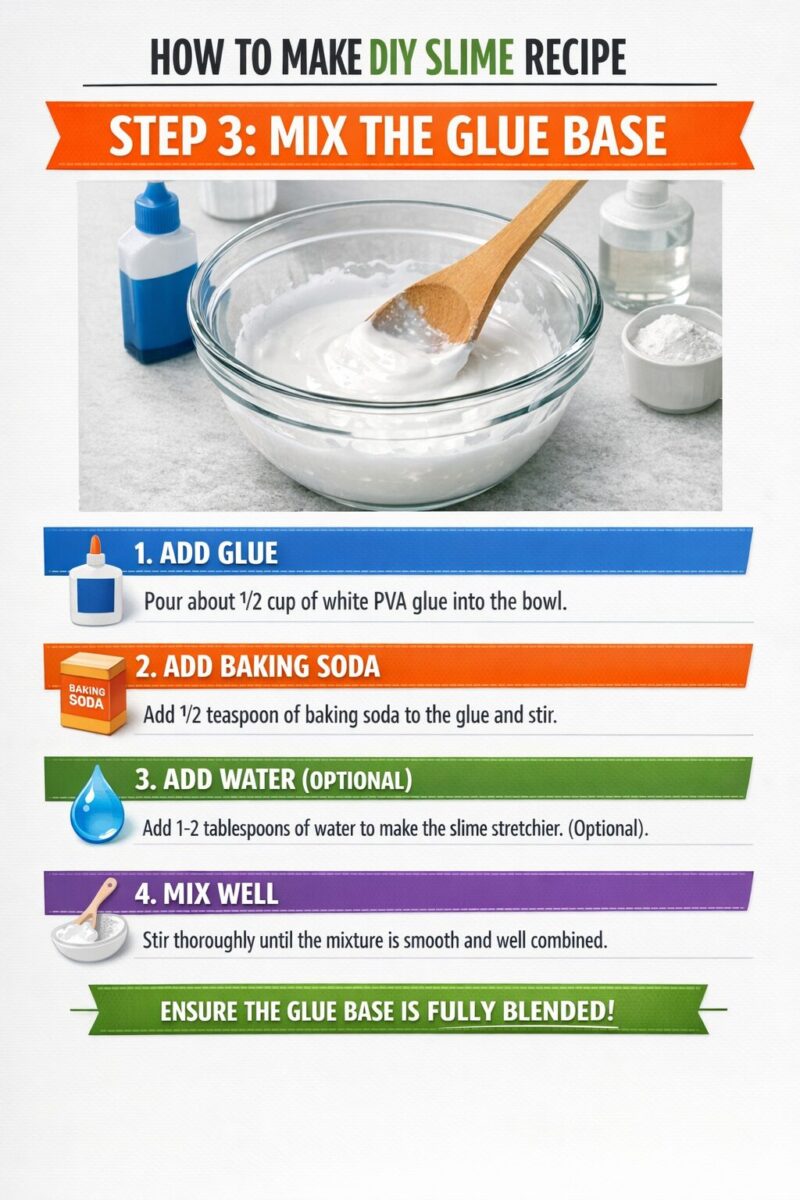
Now you’ll make the slime “foundation.”
- Pour 1/2 cup (120 ml) school glue into a clean mixing bowl.
- If you want thinner slime, add 1 tablespoon water (optional).
- If you want color, add a few drops of food coloring.
- Optional: add a pinch of baking soda for a smoother texture. (Don’t add too much.)
Stir gently but thoroughly until the glue looks uniform.
Want glitter?
Add glitter now, before the activator. Stir until it’s spread evenly.
Step 4: Add Activator Slowly (This Is the Most Important Part)
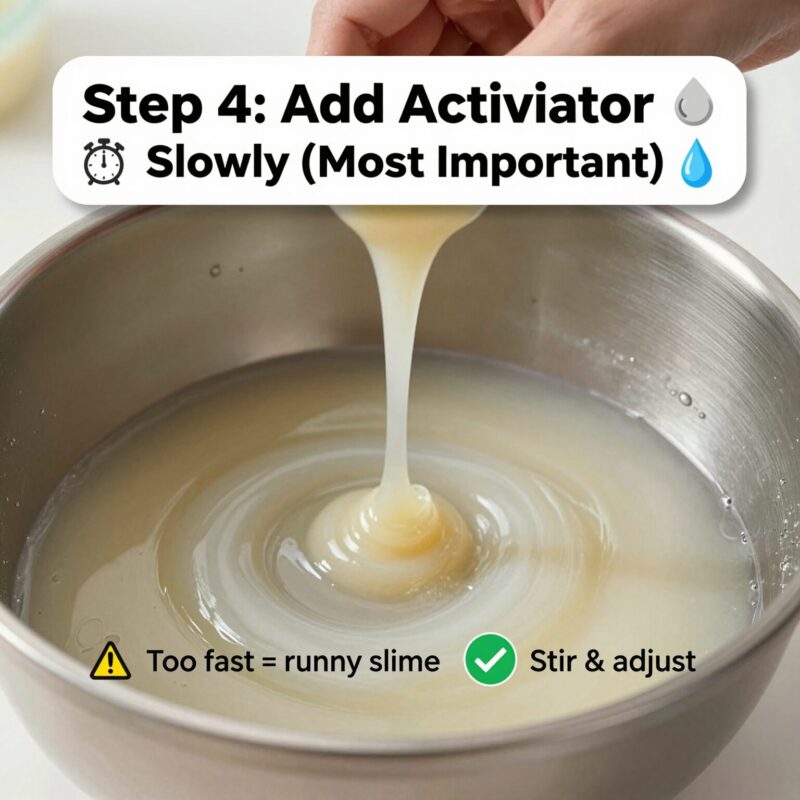
This step decides whether your slime turns out right away or needs adjustments.
If using borax activator
- Start with 1 teaspoon of the borax solution.
- Stir continuously as you add.
- Watch what happens: the mixture will start to look stringy, then thicken.
Continue adding activator one teaspoon at a time until the slime forms.
If using contact solution
- Add 1 teaspoon of contact solution.
- Stir well.
- Keep adding small amounts until it thickens and pulls away from the bowl.
How to know it’s ready
Good slime usually:
- Pulls away from the sides of the bowl
- Feels stretchy
- Doesn’t stay completely liquid
If you add too much activator, slime can become stiff. That’s why “small amounts” matter.
Step 5: Mix Until It Becomes a Solid, Stretchy Slime
Once the slime starts forming, keep mixing.
- When it becomes too thick to stir smoothly, switch to using your hands (or a spoon that you don’t mind getting sticky).
- Knead the slime by folding it over itself and pressing it together.
- Knead for about 1–3 minutes, or until it feels elastic.
If the slime is sticky, don’t panic—kneading helps.
If it’s still very sticky
Add a tiny amount of activator (about 1/4 teaspoon at a time) and knead again.
Step 6: Adjust the Texture (Runny, Sticky, or Too Stiff)
Sometimes the first batch needs small changes. Here’s a quick troubleshooting guide.
If your slime is runny (too loose)
- Add activator in tiny amounts and knead each time.
- Keep in mind: some glues activate slower, especially if they’re old.
If your slime is too sticky
- Add activator a little at a time.
- Knead thoroughly between additions.
- If you used baking soda, it can also affect stickiness—go slow when adjusting.
If your slime is too stiff or rubbery
- Add 1–2 teaspoons water and knead.
- Or add a small amount of glue and knead again.
- Let it sit for 5–10 minutes, then check the texture.
Tip: Make only one adjustment at a time so you can learn what works.
Step 7: Store Your DIY Slime Properly
Proper storage helps slime last longer and stay stretchy.
- Put your slime in a zip-top bag or airtight container.
- Press out excess air before sealing.
- Store at room temperature.
When to throw it out
If slime starts smelling bad, growing anything unusual, or turning gritty in a way that doesn’t improve with kneading, throw it away and make a fresh batch.
Step 8: Clean Up Safely and Easily
Slime is fun, but cleanup matters.
- Wash bowls and spoons with warm water as soon as you’re done.
- If slime sticks to surfaces, let it dry first, then peel it off, and wipe with warm soapy water.
- Wash hands after finishing.
If you used borax or contact solution, wash hands thoroughly and avoid touching your face.
Tips
- Measure carefully. Small differences in glue amount or activator can change the texture.
- Stir consistently. Slow mixing can create uneven activation.
- Add activator gradually. It’s easier to fix “not enough” than “too much.”
- Use fresh glue. Older glue can behave differently.
- Try a test batch. If you’re experimenting, start with half amounts to reduce waste.
- Add extras last. Color, glitter, and foam beads should go into the glue before activator.
- Don’t eat it. Slime is for play only, not food.
- Keep away from pets and small kids unless supervised. If slime gets in eyes or mouth, rinse well and get help if needed.
FAQ
What glue is best for DIY slime?
Most people get the best results with washable school glue (PVA glue). Clear glue makes transparent slime, while white glue makes a thicker, opaque look.
Can I make slime without borax?
Yes. Many people use contact solution as an activator. Look for contact solution that contains boric acid/borate ingredients. Some “solution” brands won’t work well, so you may need to test.
Why is my slime still sticky after kneading?
You likely need a bit more activator. Add it slowly in small amounts (like 1/4 teaspoon), knead, and repeat. Also check that you didn’t add too much water.
Why is my slime not stretchy?
This usually happens if:
- Too much activator was used (slime becomes stiff)
- Too little activator was used (slime stays soft and runny)
Try adjusting with small amounts of water (for stiffness) or activator (for runniness).
Is slime safe to touch?
Slime is usually safe to play with when made with common ingredients, but it’s not food. Wash your hands afterward. If you use borax, take extra care and follow safety guidance on the product label. Avoid contact with eyes and mouth.
How long does homemade slime last?
If stored in an airtight container, many slimes last about a few days to a couple of weeks depending on ingredients, temperature, and how it’s handled. It may dry out over time, so you can refresh it with a few drops of water and knead.
Can I make slime thicker or thinner?
Yes:
- For thicker slime, use less water and slightly more activator (carefully).
- For thinner slime, add a small amount of water and knead.
Conclusion
Making DIY slime is an easy project once you understand the key idea: your glue forms the base, and the activator helps the slime turn stretchy and solid. By mixing carefully, adding activator slowly, and adjusting texture step-by-step, you can create slime that stretches nicely and feels great to play with.
If your first batch isn’t perfect, that’s normal—slime recipes are sensitive to product brands and measurements. Use the tips and troubleshooting section to fine-tune your results. Then store your slime properly so you can enjoy it longer.

A Teacher with 5 years of experience. Our Expertise, is reliable to meet your full Academic development needs . Worked on many crafts and construction projects offering services from design to development to deployment over the years. You will find many of my works in my business portfolio on request.