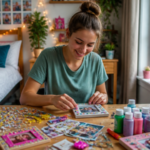
Hand print crafts for kids are one of the easiest ways to make meaningful art using something they already have—their own hands. Whether you’re making holiday decorations, cute animals, thank-you cards, or learning-themed projects, hand print art helps kids create quickly, with less mess and fewer complicated steps than many other crafts. Plus, it creates a keepsake you’ll want to save as they grow.
In this guide, you’ll learn several beginner-friendly hand print craft ideas, plus step-by-step instructions to help you get great results every time. You’ll also find tips for cleaner prints, better paint control, and how to store finished crafts.
Key Takeaways
- Hand print crafts are simple, fast, and perfect for different ages.
- You can combine handprints with paper, paint, glue, markers, and everyday craft items.
- Using the right materials (washable paint, thick paper, and safe supplies) makes the craft smoother.
- Step-by-step templates help reduce mistakes and keep kids engaged.
- Hand print art works for holidays, animals, seasons, and classroom projects.
Quick Answer
To make hand print crafts for kids, choose a safe, washable paint and a thick sheet of paper. Paint the child’s hand lightly (or use a marker-based method), press onto the paper, then add creative details with crayons, markers, or cutouts. Finish by letting it dry, adding extra textures, and sealing if you want long-lasting keepsakes.
What You Need
| Item | Purpose | Notes |
|---|---|---|
| Washable paint (non-toxic) | Create the hand print | Water-based, kid-safe paint is best |
| Thick paper or cardstock | Prevent smudging and soaking | Choose 80–110 lb cardstock for best results |
| Paintbrushes or foam dabbers | Spread paint evenly | Foam makes it easier for small hands |
| Paper towels or wipes | Clean up quickly | Keep a damp wipe nearby for quick fixes |
| Apron or old T-shirt | Protect clothes | Paint can stain, even if washable |
| Markers or crayons | Add facial features and details | Use fine-tip markers for smaller features |
| Glue sticks or craft glue | Attach cutouts and decorations | Choose washable glue when possible |
| Scissors (kid-safe) | Cut paper parts | Adult handles tricky cutting |
| Optional: glitter, stickers, googly eyes | Add fun textures | Use sparingly to avoid mess |
| Optional: laminating sheets or clear tape | Protect finished crafts | Works well for keepsakes and frames |
Step 1: Pick the Best Hand Print Method (Paint vs. Trace)
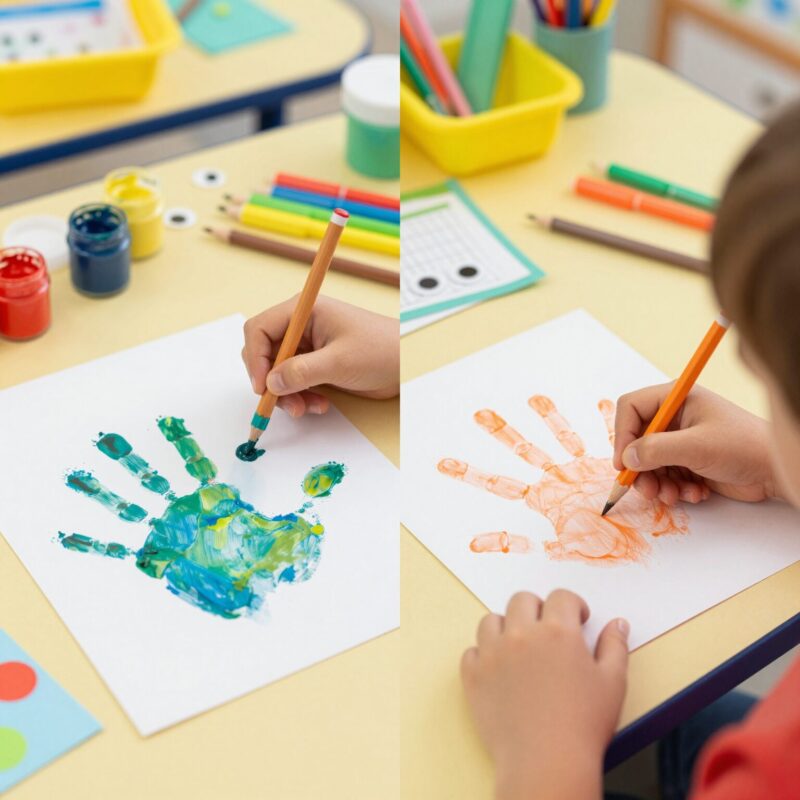
Before you start crafting, decide how you want the hand print to appear.
Option A: Classic paint hand print
- Apply paint to the palm and fingers.
- Press the hand firmly onto paper.
- Lift straight up to avoid smearing.
This option is great for animals, people, and seasonal crafts.
Option B: Marker “hand outline” craft
- Instead of painting, draw around the child’s hand on paper (adult helps).
- Color in the hand shape and add details.
This method reduces mess and works well for younger kids (or kids who don’t like paint).
Tip: If it’s your first time, paint often gives the most impressive results—but marker tracing can be faster and cleaner.
Step 2: Prep the Space for Less Mess
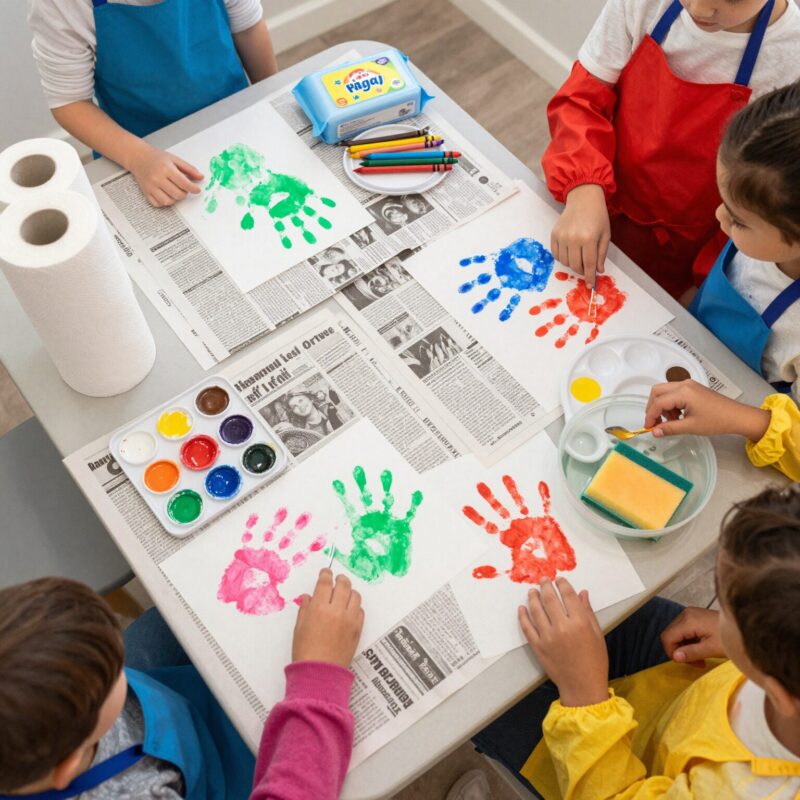
Hand print crafts are fun, but paint cleanup can be annoying. A little prep makes a big difference.
- Cover your table with a plastic tablecloth, craft paper, or newspaper.
- Set out paper towels/wipes within reach.
- Put on aprons for everyone.
- Have a “drying area” ready (like a flat tray).
- If kids are younger, consider working in pairs: one child at a time while an adult helps control pressure.
Pro tip: Have a “test print” scrap piece ready. Kids can practice pressing without ruining your main project.
Step 3: Create the Hand Print Base (Clean, Clear Prints)
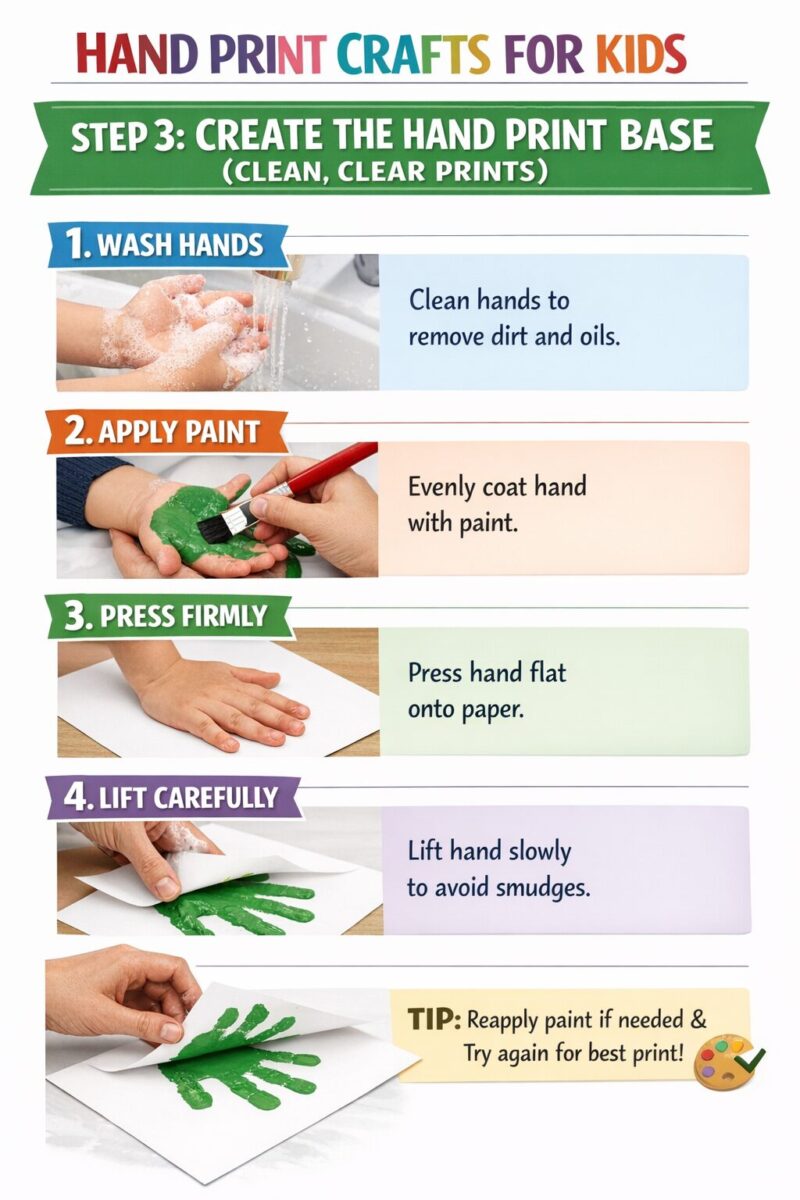
This is the foundation for almost every hand print craft.
- Lightly coat the hand with paint.
– For thinner paint coverage, dab with a foam brush instead of heavy brushing.
- Spread paint across the palm and fingers.
– Try to keep fingers separated slightly for a clear shape.
- Press the hand gently onto the paper.
– Encourage a calm, flat press—no sliding.
- Lift straight up slowly.
- Wash hands (or wipe) right away.
– This prevents paint transfer and smudges later.
If the print looks messy: Let it dry and use your imagination. Many “imperfect” prints still become cute characters.
Step 4: Turn a Hand Print Into a Cute Animal (Example: Turkey or Owls)
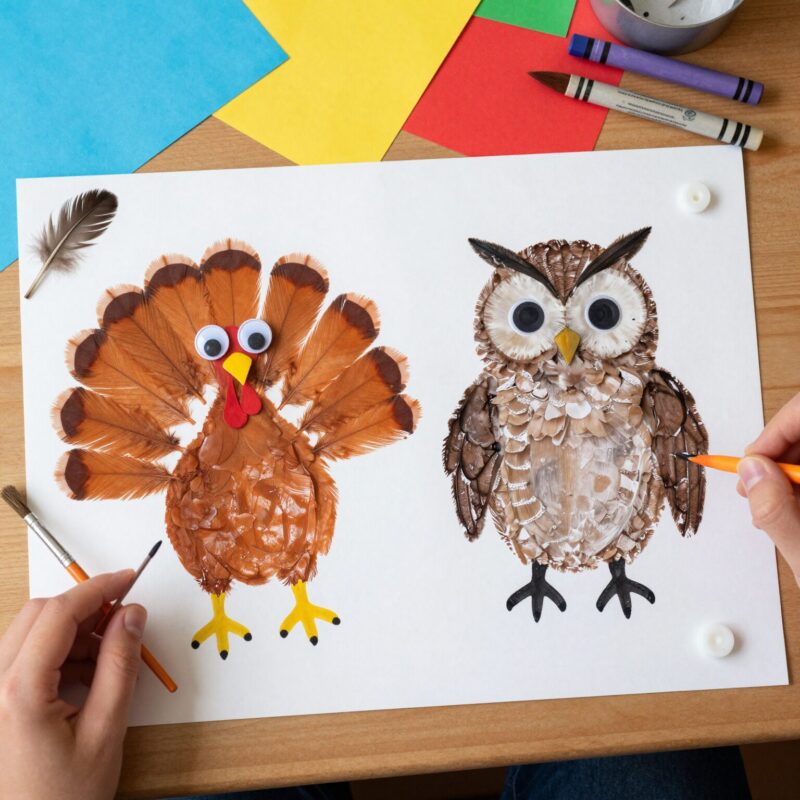
Animals are one of the easiest and most popular uses for hand prints. Here are two simple animal-style ideas that work with any hand print shape.
Easy Hand Print Turkey (Fall Craft)
Materials: paint, markers, orange/yellow paper scraps (optional), glue, cardstock.
- Make a hand print with the fingers spaced like turkey feathers.
- Let it dry fully.
- Add a small head using marker:
– Draw an oval head at one side. – Add a beak and eyes.
- Add a waddle (the bumpy part under the beak) using red or pink marker.
- Optional: Glue small paper shapes for feather accents.
Hand Print Owl (Great for Any Time)
- Make a hand print and set it so the fingers become “feathers.”
- Draw two big eyes near the base.
- Add a small beak and eyebrows.
- Optional: Use a marker to draw branch lines underneath.
Why this works: Kids already understand animals, and markers are perfect for adding faces after the paint dries.
Step 5: Make Holiday Hand Print Keepsakes (Christmas, Thanksgiving, and More)
Hand print crafts shine during the holidays because they become ornaments, cards, and family memories.
Holiday Keepsake Idea: Hand Print Ornament
Materials: cardstock, paint, markers, glitter (optional), hole punch, ribbon.
- Make a hand print on cardstock.
- Once dry, decorate:
– Add snowflakes or “holiday patterns” around the print.
- Punch a hole at the top.
- Add ribbon or twine and hang it on a tree.
Alternative: Make a flat card version by placing the hand print on folded cardstock.
Thanksgiving/Family Theme Variation
- Make a hand print for each family member.
- On the opposite page, write one thing each person is thankful for.
- Kids can add doodles like leaves or hearts.
Step 6: Create a “Seasonal Tree” or “Garden” Picture
This type of craft uses repeated hand prints and is great for classrooms or group activities.
Example: Hand Print Flower Garden
Materials: multiple colors of paint, cardstock or paper, markers, glue (optional).
- Use green for a hand print that becomes a “leaf.”
- Paint more leaf shapes around the page.
- Make flower hand prints using bright colors (like yellow, pink, or red).
- Add stems with a marker.
- Finish with small details:
– Dots for the center of flowers – Butterflies or ladybugs in corners
More advanced: Let older kids choose a color palette (like a “spring theme” or “ocean theme”).
Step 7: Make a Learning-Themed Hand Print Craft (Letters, Numbers, and Shapes)
Hand print crafts can be educational without feeling like homework.
Alphabet Hand Print: “A is for Apple” (or any letter)
- Make a simple apple-like shape using a hand print or a traced hand.
- Write the letter clearly in large font.
- Add matching details (stem, leaf, small seeds).
- For extra learning, have kids write the letter again as practice.
Number “Hands” for Counting
- Make hand prints and cut them into separate pieces.
- Glue them into rows to represent a number (like 5, 10, or 15).
- Add a “+” or “=” sign for simple math fun.
Tip: Use a limited number of colors so it stays neat and easy.
Step 8: Add Finishing Touches So the Craft Looks “Done”
A hand print craft often needs small details to look polished. This is where kids shine.
Try these finishing ideas:
- Add facial features with markers (eyes, nose, mouth).
- Draw patterns (polka dots, stripes, feathers).
- Add backgrounds (sky, ground, stars).
- Add textures using glue and materials (cotton for clouds, paper scraps for leaves).
- Write a message/date:
– “Best friends forever” – “Made on March 24” – “I grew this much!”
Important: Let the hand print dry before adding extra layers. If you draw on wet paint, it can smear.
Step 9: Dry, Store, and Preserve Your Keepsakes
Once your craft is complete:
- Let it dry flat. Drying too quickly upright can cause warping.
- Avoid stacking wet crafts on top of each other.
- Store finished work in a portfolio folder or between sheets of protective paper.
If you want to protect art:
- Use laminating sheets for durable ornaments or classroom posters.
- For cards, seal with a clear matte tape or place inside a protective sleeve.
Pro tip: If you plan to frame it, use thick cardstock and make sure it’s fully dry to prevent bubbles.
Tips
- Use washable paint: It reduces stress for parents and teachers.
- Keep paint thin: Thick paint can crack when drying.
- Press firmly but gently: Too much pressure can smear; too little looks faint.
- Dry time matters: Wait until the print feels fully dry before adding details or glitter.
- Work in small batches: One print at a time helps avoid smudges.
- Make it child-led: Let kids choose colors and add their own details—even if it’s not “perfect.”
- For younger kids: Use the marker outline method or keep the paint coverage minimal.
- For multiple crafts: Make hand print sets:
– One day for prints – Another day for decorating and assembling
FAQ
What age are hand print crafts best for?
Most hand print crafts work starting around ages 3–5 with supervision. For toddlers, consider marker tracing or finger paint with minimal pressure. Ages 6–10 can do more detailed decorating and cutting with help.
Can I use hand print crafts for a classroom?
Yes. Use washable paint, thick cardstock, and pre-made templates. Consider doing one craft type per session to reduce cleanup and keep supplies organized.
How do I prevent smudging?
- Press straight down and lift straight up.
- Use thick paper to reduce paint soaking.
- Let prints dry completely before drawing on them or adding glitter.
What’s the easiest hand print craft for beginners?
A simple animal (like an owl or turkey) or a holiday ornament is usually easiest. You’ll only need paint, paper, and markers for the face details.
How do I clean up paint after the craft?
- Wipe hands with damp wipes right away.
- Use warm soapy water for skin.
- For surfaces, let paint wipe off with a damp cloth when it’s fresh, then clean again once dry.
What if the hand print doesn’t look like a “clean” hand?
That’s normal. Kids’ hands move, and paint thickness varies. Many crafts still work with imperfect prints—just treat it like a creative base and focus on adding recognizable features (eyes, beak, feathers, stems, etc.).
Conclusion
Hand print crafts for kids are a wonderful mix of creativity, simplicity, and keepsake value. With a few basic supplies, a good hand print technique, and some easy add-on details, you can turn simple hand shapes into animals, holiday ornaments, seasonal scenes, and learning projects. The best part is that each craft becomes unique to your child’s hand—capturing a moment in time you’ll love to look back on.
If you want, tell me your child’s age and the theme you’re going for (animals, holidays, ocean, or school). I can suggest a tailored set of hand print craft ideas with supply lists and step-by-step directions.

A Teacher with 5 years of experience. Our Expertise, is reliable to meet your full Academic development needs . Worked on many crafts and construction projects offering services from design to development to deployment over the years. You will find many of my works in my business portfolio on request.