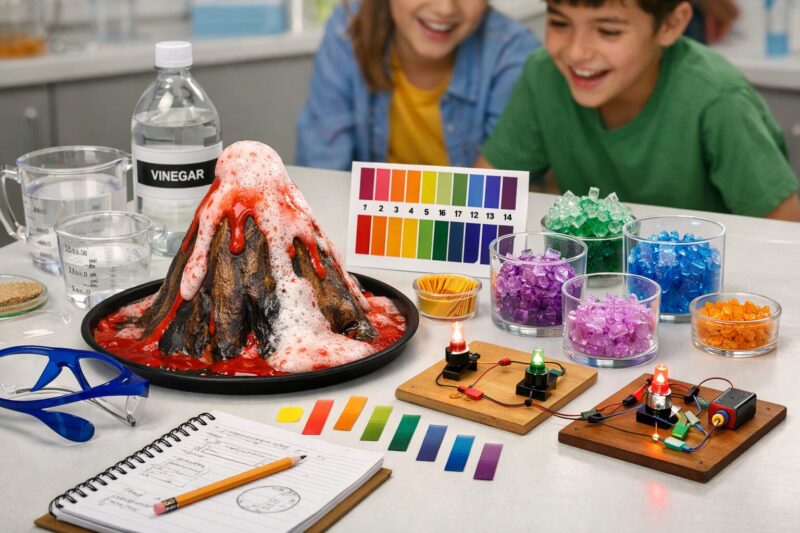

A baking soda volcano is a classic science experiment that shows how acids and bases react to create bubbles, foam, and a “lava” flow. The best part is that it’s simple, uses common household items, and works great for kids and beginners. You’ll basically build a volcano shape, mix a few ingredients, and then watch a chemical reaction erupt on command.
This guide walks you through the process step by step, including how to make it look good, how to prevent common problems, and how to do it safely.
Key Takeaways
- Baking soda (a base) reacts with an acid (like vinegar or lemon juice) to produce carbon dioxide gas.
- Carbon dioxide gas creates the bubbling “eruption” that looks like lava.
- The volcano needs a stable structure so it doesn’t tip over when foam grows.
- You can control the height and “mess” of the eruption with ingredient ratios.
- Safety matters: wear eye protection and use adult help when needed.
Quick Answer
To make a baking soda volcano, build a volcano shape using dough or clay, add baking soda as the dry ingredient, then pour in a vinegar (or another acid) mixture with dish soap and optional food coloring. The reaction releases carbon dioxide gas, creating thick foam that erupts like lava.
What You Need
| Item | Purpose | Notes |
|---|---|---|
| Baking soda | Base that reacts to create bubbles | Look for regular baking soda, not “baking powder.” |
| Vinegar (white or apple cider) | Acid that triggers eruption | 5% vinegar works best. |
| Dish soap | Helps create thick, foamy “lava” | Adds stability to bubbles. |
| Warm water (optional) | Helps mix ingredients and improve flow | Use small amounts; don’t over-dilute. |
| Food coloring (optional) | Makes the “lava” look real | Choose red/orange for classic lava color. |
| Tray or baking sheet | Catches spills | Use something with raised edges if you can. |
| Modeling clay or homemade dough | Builds the volcano | Avoid anything that makes a mess you can’t clean. |
| Baking soda “funnel” container or small spoon | Makes it easier to add baking soda | You can also use a small plastic cup. |
| Measuring cups/spoons | Helps get consistent results | Even rough measurements work for a first attempt. |
| Safety goggles (recommended) | Protects eyes from splashes | Especially helpful for kids. |
| Paper towels or wipes | Cleanup | Keep them close before you start. |
Step 1: Choose a Safe Place to Build
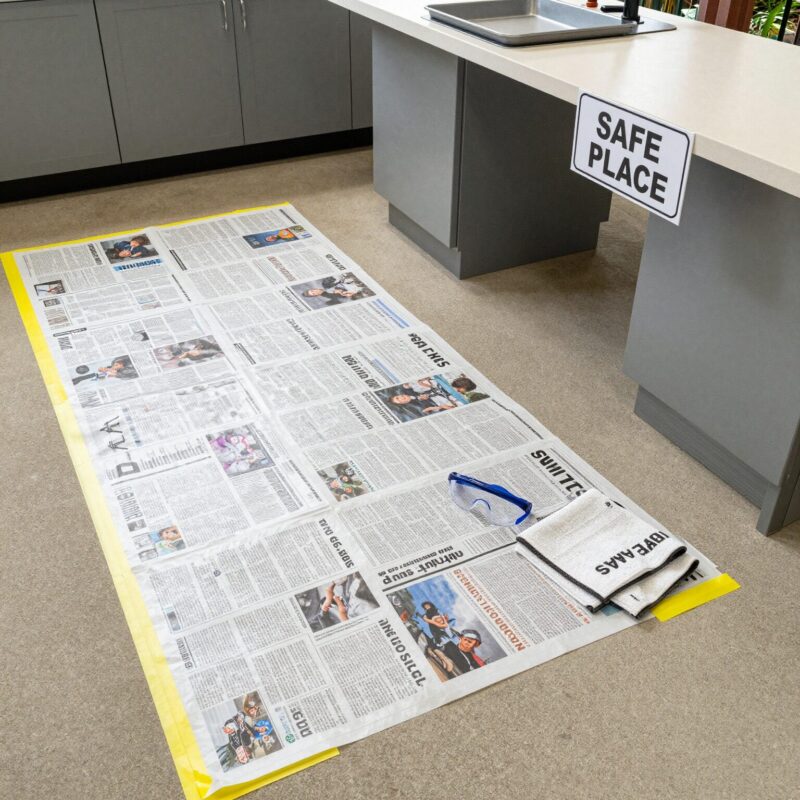
Before you start mixing anything, pick a place where mess is easy to clean. Use a table with good support and set a tray, baking sheet, or cardboard under your volcano area. If you can, do it on a kitchen floor with newspaper underneath, too.
Why this matters: Baking soda foam can rise quickly and spill. A protected area helps you focus on the science instead of cleanup.
Step 2: Make (or Build) Your Volcano Shape
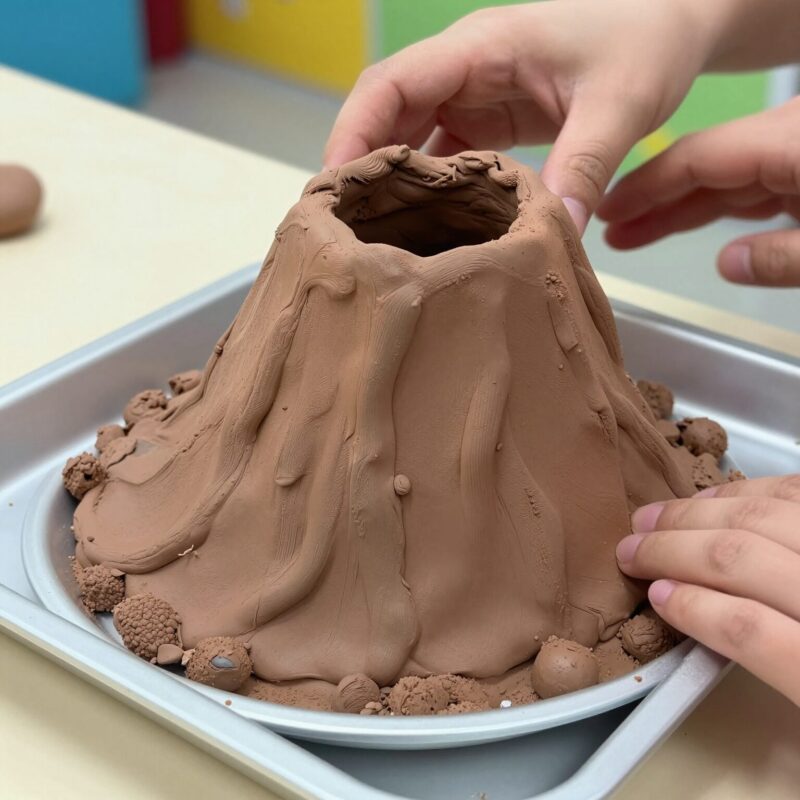
Use modeling clay or homemade dough to shape your volcano. Here are two easy options:
- Modeling clay method: Mold clay into a mountain shape with a “crater” on top. Make a small hollow in the center where liquids will pour.
- Homemade dough method: Mix flour, salt, and water to create pliable dough (for example: 2 cups flour + 1 cup salt + water until it sticks). Mold and let it sit for a bit so it firms up.
Try to make your volcano stable:
- Don’t make it too tall for the size of the base.
- Make the bottom wide enough that it won’t tip.
- Leave the crater opening large enough for liquid to flow.
Pro tip: Place a small cup or plastic container in the center of the volcano crater. Later, you can pour in the acid mixture without worrying about it spilling everywhere.
Step 3: Prepare the “Lava” Mixture (So the Foam Looks Great)
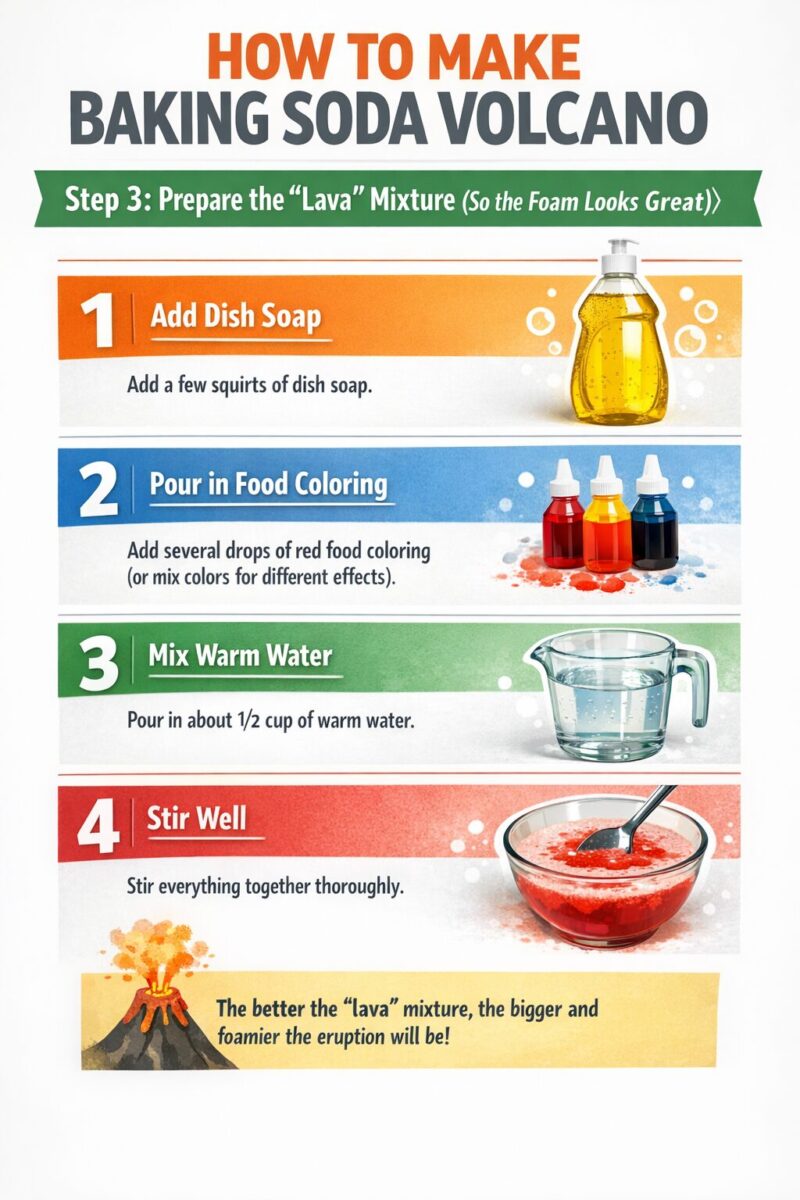
In a bowl or measuring cup, mix your eruption “lava” liquid. A simple version is:
- Vinegar: about 1 cup
- Dish soap: 1–2 tablespoons
- Food coloring: a few drops (optional)
- Warm water (optional): 1–2 tablespoons if you want it to spread more
Stir gently. You want it mixed, but not so bubbly that it starts foaming before the experiment.
Why dish soap helps: Soap traps gas bubbles, making a thicker foam that looks more dramatic than plain bubbling.
Step 4: Add Baking Soda to the Volcano Crater
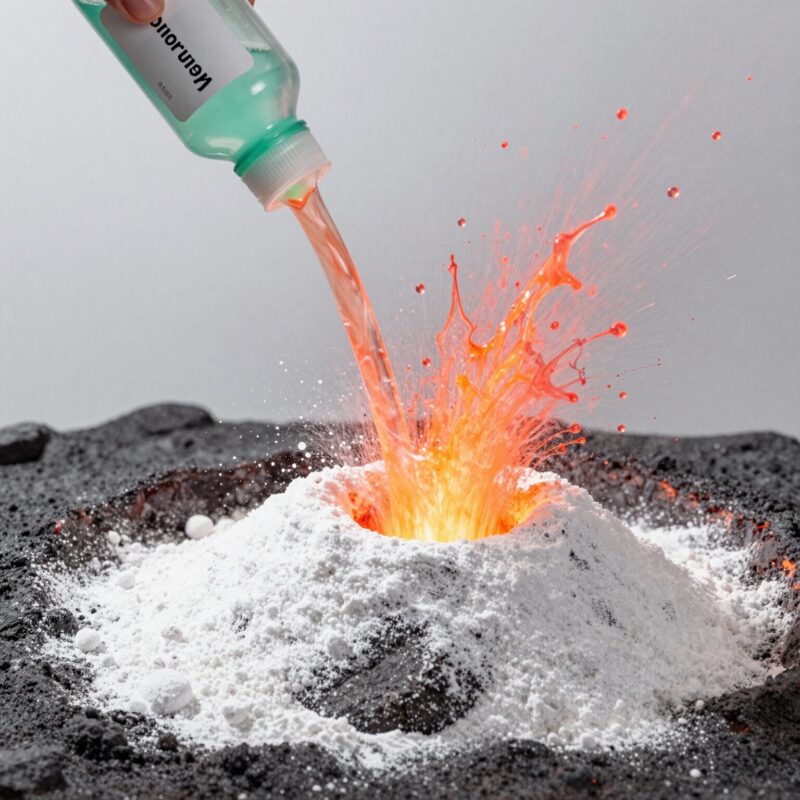
Now it’s time for the key ingredient: baking soda. Measure about 3–6 tablespoons of baking soda, depending on the size of your volcano.
- Pour the baking soda into the crater (or into the small cup if you used one).
- Make sure it fills the top area so the liquid hits it quickly.
Tip for better eruptions: Don’t pack it so tightly that liquid can’t soak through. You want the acid to reach the baking soda fast.
Step 5: Trigger the Reaction (The Eruption Moment)
When you’re ready, stand back slightly and get your timer (or phone camera) ready.
- Slowly pour the vinegar mixture into the crater.
- Watch for fizzing first, then thicker foam.
- If your volcano is big, you may need to pour more vinegar gradually.
What you’ll see: The vinegar and baking soda react. They release carbon dioxide gas, which rises and creates foam that overflows like lava.
Step 6: Adjust Your Formula for a Bigger (or Cleaner) Eruption
If your first volcano isn’t as dramatic as you expected, try small changes:
- More baking soda can make the foam last longer.
- More dish soap can make the foam thicker (but too much soap can make it overflow too fast).
- Less water in the vinegar mixture can make the eruption stronger.
- Slow pouring can reduce splashing and keep the action centered.
A good starting point for a typical volcano is:
- 1 cup vinegar
- 1–2 tablespoons dish soap
- 3–4 tablespoons baking soda
If you want, repeat the experiment with slightly different amounts and compare the results.
Step 7: Try a “Controlled Eruption” Method
For a more predictable experiment, use a two-part approach:
- Put baking soda in the crater.
- Pour the vinegar mixture into a separate measuring cup.
- When everything is ready, pour all at once (or in two quick pours).
This helps you:
- Start the reaction at the same time each trial
- Measure exactly how much vinegar you used
- Keep your students or helpers on the same page
Step 8: Clean Up Correctly (Quick and Safe)
After the eruption, you’ll have foam residue and possibly spilled vinegar/baking soda mixture.
- Wipe the surface with paper towels.
- Rinse with warm water and a bit of soap if needed.
- Let the tray dry.
- Wash hands after the experiment.
Note: Baking soda residue may feel chalky. That’s normal and should wipe up easily.
Tips
- Use goggles: Especially if you’re working with kids, eye protection prevents accidents from splashes.
- Keep it stable: A volcano that tips can ruin your experiment and create a bigger mess.
- Don’t over-mix: If your vinegar mix gets too foamy before pouring, you may lose the dramatic buildup.
- Use warm water carefully: A little warmth can help reactions start faster, but too much can dilute the acid.
- Color for visibility: Food coloring makes it easier to see flow and foam. Use a few drops first, then add more if needed.
- Try different acids: You can experiment with lemon juice or diluted citric acid (adult help recommended). Results can vary, but it’s a great way to learn.
- Take photos or videos: Baking soda volcanoes look fun in recordings and can help you compare trials.
FAQ
Is baking soda volcano safe for kids?
It’s usually safe with adult supervision and basic precautions. Wear safety goggles, do it on a tray or outdoors if possible, and avoid eating or drinking anything used in the experiment. Vinegar is not harmful in small amounts, but it can irritate eyes.
Why does the volcano erupt?
Baking soda (a base) reacts with vinegar (an acid). This reaction produces carbon dioxide gas. The gas bubbles build up quickly and push out foam that looks like lava.
Can I make it erupt more strongly?
Yes. Try adjusting the amounts:
- Add a bit more baking soda
- Use the recommended vinegar concentration (regular vinegar is best)
- Ensure dish soap is mixed in properly
Also, pour the vinegar in quickly once you’re ready.
Why does my eruption stop early?
Common reasons include:
- Not enough baking soda
- Too much water diluting the vinegar mixture
- The mixture was already too foamy before pouring
- Your volcano crater is too small, so liquid doesn’t flow evenly
What can I use instead of vinegar?
You can try lemon juice (it contains citric acid) or other mild acids. Different acids may create different levels of foam and bubble size, so test and observe.
Can I dry and reuse the volcano?
If you used clay or dough, you can often reuse the structure by removing residue and adding fresh baking soda each time. However, the crater may wear down after repeated eruptions.
Conclusion
Making a baking soda volcano is a fun and hands-on way to learn about chemical reactions. By building a stable volcano, adding baking soda to the crater, and pouring in an acid mixture with dish soap, you’ll create a bubbling foam eruption that looks like real lava. Follow the steps in this guide, adjust your measurements if needed, and don’t forget the safety precautions. Once you master it, you can experiment with different acids and ingredient ratios to see how science changes the result.

A Teacher with 5 years of experience. Our Expertise, is reliable to meet your full Academic development needs . Worked on many crafts and construction projects offering services from design to development to deployment over the years. You will find many of my works in my business portfolio on request.