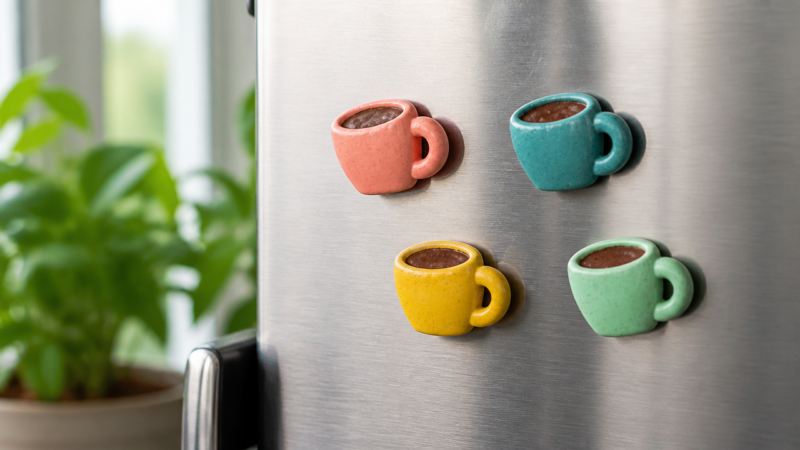

When I first started working with air dry clay, I thought the hardest part would be sculpting my pieces. I was wrong. The real challenge came when I tried to figure out how to properly finish and seal my creations so they’d last. Traditional ceramic glaze requires kiln firing, which obviously won’t work with air dry clay. After countless experiments, research, and a few disappointing failures, I’ve developed a solid understanding of how to achieve that beautiful, glazed look on air dry clay pieces.
Understanding the Reality
First, let me be clear about something important: you cannot use traditional ceramic glaze on air dry clay. Real pottery glaze is designed to melt and fuse with clay at extremely high temperatures in a kiln. If you try to apply ceramic glaze to air dry clay without firing, it will simply sit on the surface and eventually flake off. This was a disappointing lesson I learned early on. However, there are several excellent alternatives that can give you a glossy, glazed appearance while also protecting your work.
The Preparation Phase
Before applying any finish, your piece must be completely, absolutely, thoroughly dry. I cannot stress this enough. Any moisture trapped in the clay will cause problems with whatever sealant you apply. When I say dry, I mean letting your piece sit for several days beyond when it feels dry to the touch. Air dry clay can feel solid on the outside while still holding moisture inside, especially in thicker pieces.
I’ve learned to test for dryness by checking if the piece feels cool to the touch. If it does, there’s likely still moisture evaporating from it. Completely dry clay should feel room temperature. For important pieces, I sometimes place them in a slightly warm oven (around 200°F) for 30 minutes to drive out any concealed moisture. Just be careful not to overheat, as this can cause cracking.
Acrylic Paint as a Base
Many of my pieces get painted before sealing, and I’ve found that acrylic paint works beautifully on air dry clay. For pieces where I want a smooth, professional look, I first apply a coat of gesso. This creates an even surface and helps the paint adhere better. The gesso also fills in any small imperfections in the clay. I let it dry for at least 24 hours before painting.
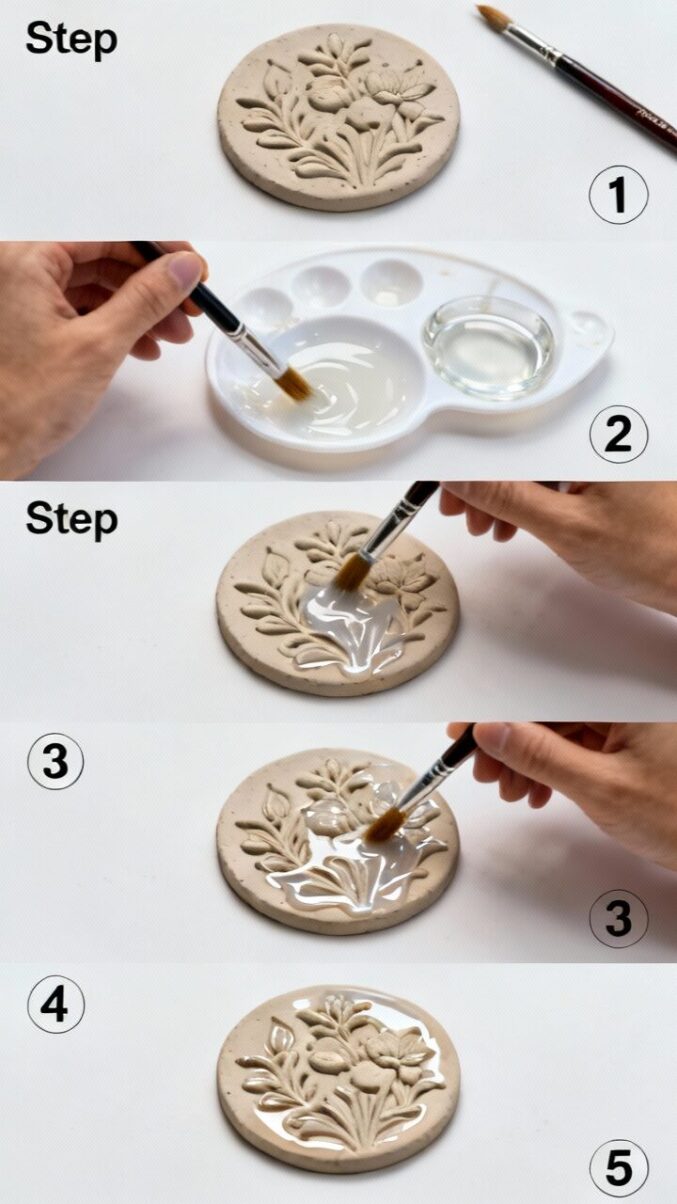
When painting, I use multiple thin coats rather than one thick coat. This prevents the clay from absorbing too much moisture at once, which could cause warping or cracking. Patience here really pays off in the final result.
Polyurethane and Polycrylic: My Go-To Sealers
For most of my projects, polyurethane or polycrylic has become my finish of choice. These are readily available at any hardware store and come in matte, satin, or glossy finishes. I prefer Minwax Polycrylic because it’s water-based, doesn’t yellow over time, and has less odor than oil-based polyurethane.
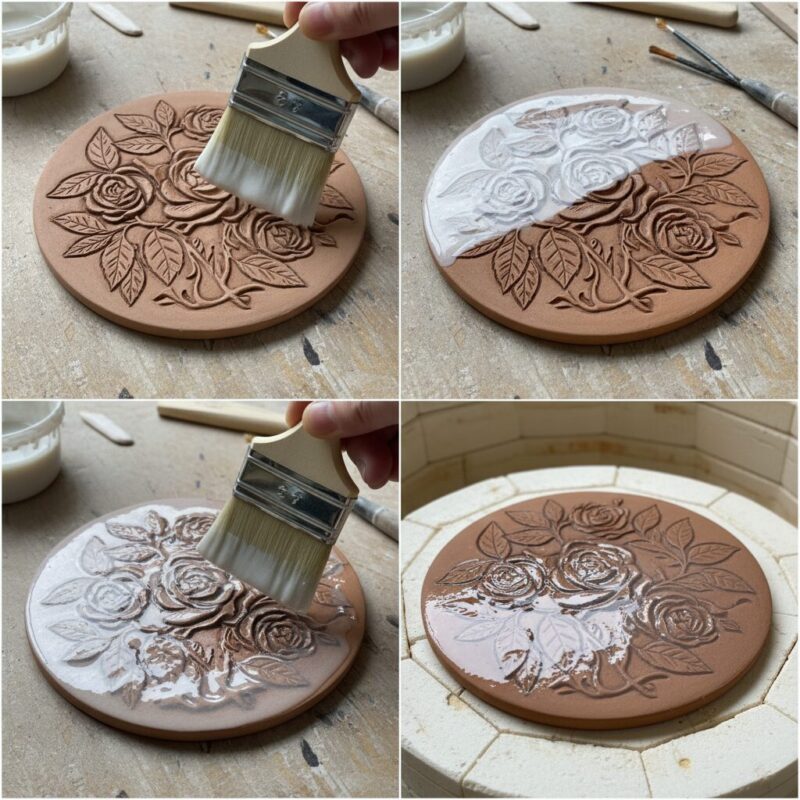
My application method is methodical. I apply thin coats with a soft brush, working in one direction to avoid brush marks. After the first coat dries (usually 2-3 hours), I lightly sand with fine-grit sandpaper to smooth out any raised brush strokes. Then I wipe away the dust and apply the next coat. I typically do 3-4 coats for decorative pieces and 5-6 for items that will be handled frequently.
For pieces that need to be waterproof, like the plant pot decorations I mentioned earlier, I use Marine Spar Urethane. It’s specifically designed to withstand moisture and creates a durable, protective barrier.
Spray Sealants: Quick and Even
Krylon Triple Thick Crystal Clear Glaze has been a game-changer for me. This spray sealant creates an incredibly glossy, glass-like finish that genuinely rivals ceramic glaze. The trick is applying multiple light coats rather than heavy ones. I spray from about 12 inches away, using sweeping motions to prevent drips.
I work outdoors or in a very well-ventilated area because the fumes are intense. Each coat takes about 15 minutes to dry to the touch, but I wait at least an hour between coats. For a really glassy finish, I apply 4-5 coats. The result is stunning—smooth, shiny, and professional-looking.
Clear acrylic sealers in spray form are also reliable. They’re less expensive than Krylon Triple Thick and work well for pieces that don’t need an ultra-glossy finish. I keep both glossy and matte versions on hand depending on the aesthetic I’m going for.
Epoxy Resin: The Professional Finish
When I want the most durable, glass-like finish possible, I turn to epoxy resin. This is admittedly more intimidating and expensive than other options, but the results are spectacular. Two-part epoxy resin creates an incredibly hard, waterproof coating that looks exactly like a ceramic glaze.
The process requires careful measuring and mixing. I use disposable cups and stir sticks, and I work on a level surface covered with plastic. After mixing the two parts according to the manufacturer’s instructions, I pour or brush the resin onto my piece. Working with resin is like racing against time because you need to eliminate bubbles and smooth it out before it starts to set.
I’ve learned to use a heat gun or small torch to pop surface bubbles, moving it quickly over the resin without lingering in one spot. The piece then needs to cure undisturbed for 24-72 hours depending on the product. During this time, I cover it loosely with a box to protect it from dust while still allowing air circulation.
One crucial note about resin: your clay must be completely sealed before applying it. I always brush on a coat of Mod Podge or thin polyurethane first and let it dry completely. This prevents the resin from being absorbed into the porous clay, which would create a dull, uneven finish.
Mod Podge: The Craft Room Staple
For smaller projects and pieces that won’t face much wear, Mod Podge is my simple solution. It’s essentially a glue-varnish combination that dries clear. I use the glossy version for a sheen or the matte version for a subtle finish. While it won’t create that glassy ceramic look, it does protect the piece and gives it a finished appearance.
I apply it with a soft foam brush in thin, even coats. The key is patience—letting each coat dry thoroughly before applying the next. Usually, 3-4 coats give adequate protection for decorative items.
Special Considerations
Through my experiments, I’ve learned several important lessons. First, no amount of sealing will make air dry clay truly food-safe or suitable for dishes. The clay itself isn’t rated for food contact, and most sealants aren’t either, even if they’re waterproof.
Second, sealed air dry clay still isn’t recommended for items exposed to constant water or high heat. While properly sealed pieces can handle occasional moisture, they shouldn’t be used for vases with water or candle holders for large candles. I learned this the hard way when a sealed coaster got a water ring from condensation after weeks of use.
Third, the durability of air dry clay is inherently limited. Even with the best sealing, dropped pieces can crack or shatter. The sealant protects against moisture and wear but doesn’t make the clay itself stronger. For pieces I really care about, I make them thicker and sturdier from the start.
My Finishing Routine
These days, my standard finishing process goes like this: ensure complete dryness, apply gesso if painting, paint with acrylics in thin coats, seal with 3-4 coats of polycrylic or 4-5 coats of spray sealant. For special pieces or those needing waterproofing, I add epoxy resin as a final coat over the base sealing.
This routine has resulted in pieces that look professional and last for years with normal handling. The key is never rushing any step. Good finishing takes time, but it’s what transforms a simple clay project into something that looks store-bought.
Glazing air dry clay might not be technically possible in the ceramic sense, but with the right materials and techniques, you can achieve beautiful, durable finishes that protect your work and give it that sought-after polished look. Experiment with different products to find what works best for your projects and aesthetic preferences.

A Teacher with 5 years of experience. Our Expertise, is reliable to meet your full Academic development needs . Worked on many crafts and construction projects offering services from design to development to deployment over the years. You will find many of my works in my business portfolio on request.