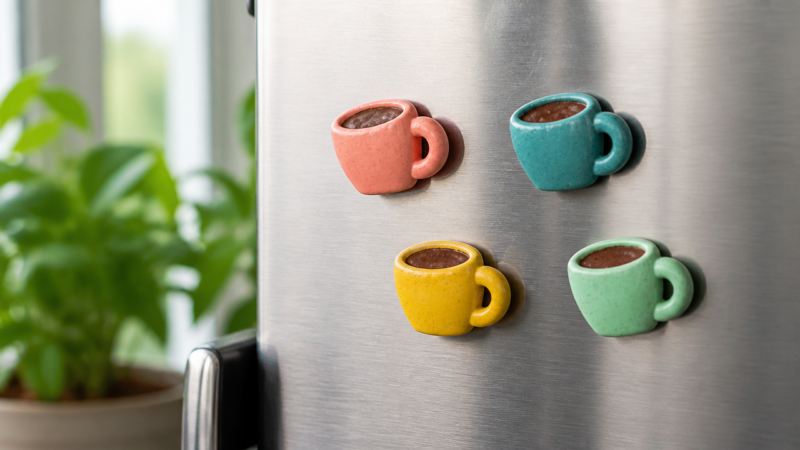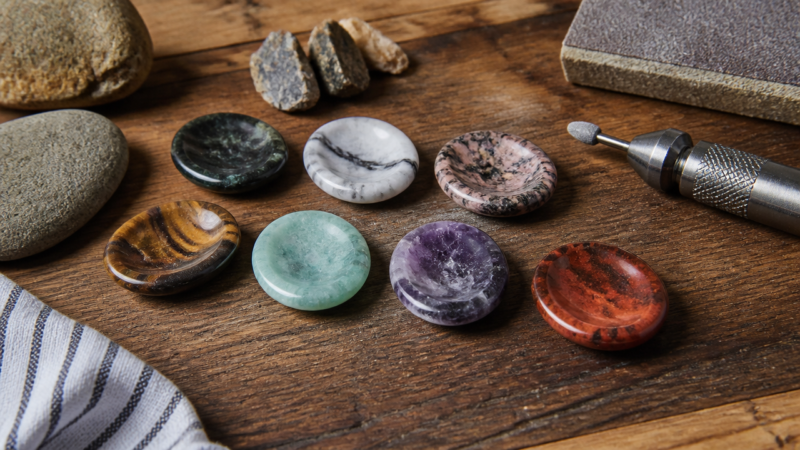

I’ve been working with air dry clay for a while now, and I have to say, it’s one of the most accessible and forgiving materials for crafting. There’s something incredibly satisfying about shaping something with your hands and watching it harden into a permanent piece without needing a kiln or fancy equipment. Over time, I’ve discovered that the possibilities with air dry clay go far beyond the typical coasters and cups that everyone seems to make. If you’re sitting on a stash of clay like I was, wondering what to create next, here are twelve projects that have brought me joy and challenged my creativity.
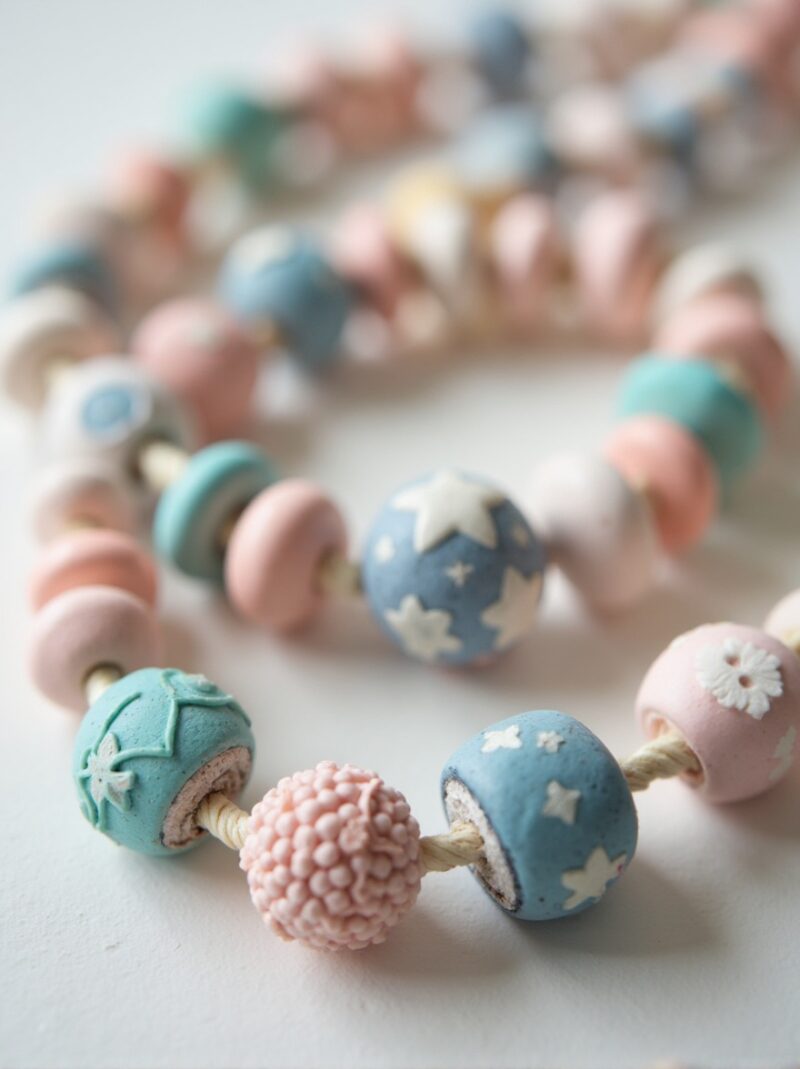
1. Jewelry and Beads
One of my favorite ways to use up small amounts of clay is making jewelry. I’ve created pendants, earrings, and beads that I’ve strung together into unique necklaces. The beauty of making your own beads is that you can customize the size, shape, and color perfectly. I usually roll small balls or create geometric shapes, poke holes through them with a toothpick before they dry, and then paint them with acrylics. After sealing them properly, they’re surprisingly durable. I’ve worn pieces I made months ago, and they still look great.
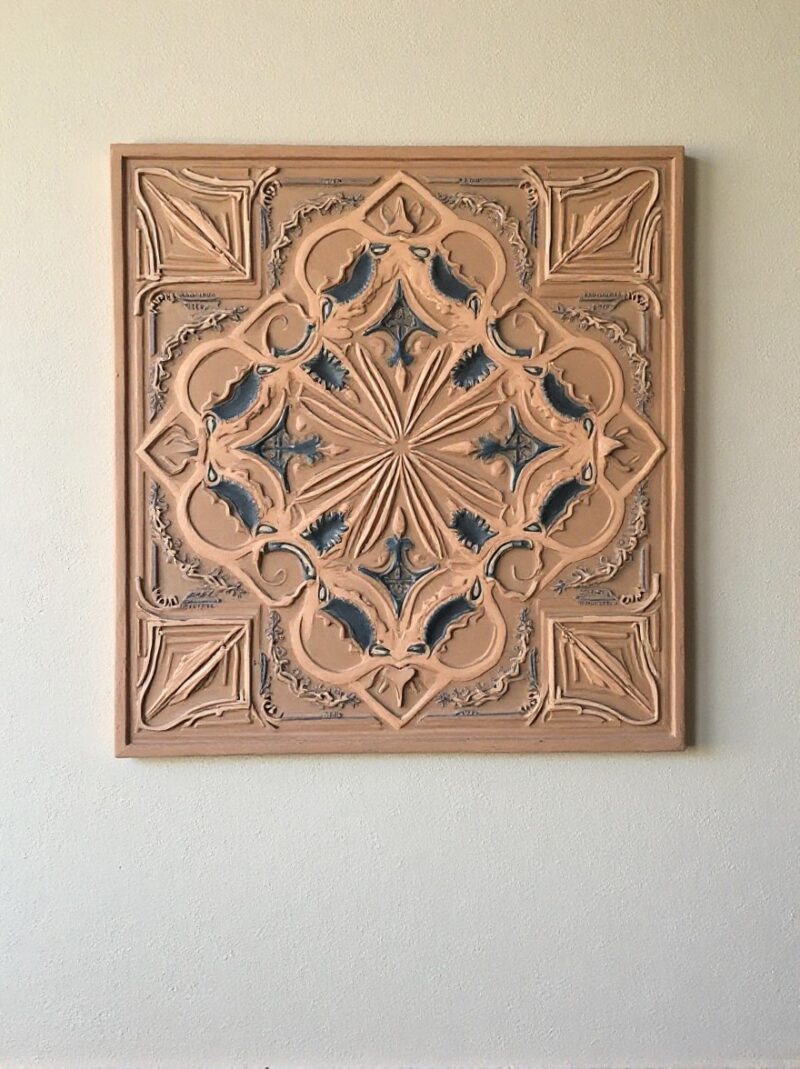
2. Wall Plaques and Decorative Tiles
When I wanted to add some personality to my living space, I turned to air dry clay for creating wall plaques. You can make flat tiles and carve designs into them, or create three-dimensional relief sculptures. I’ve made everything from simple geometric patterns to more elaborate nature scenes. The key is working on a flat surface and letting them dry completely flat to prevent warping. Once painted and sealed, they look professional enough that guests often ask where I bought them.
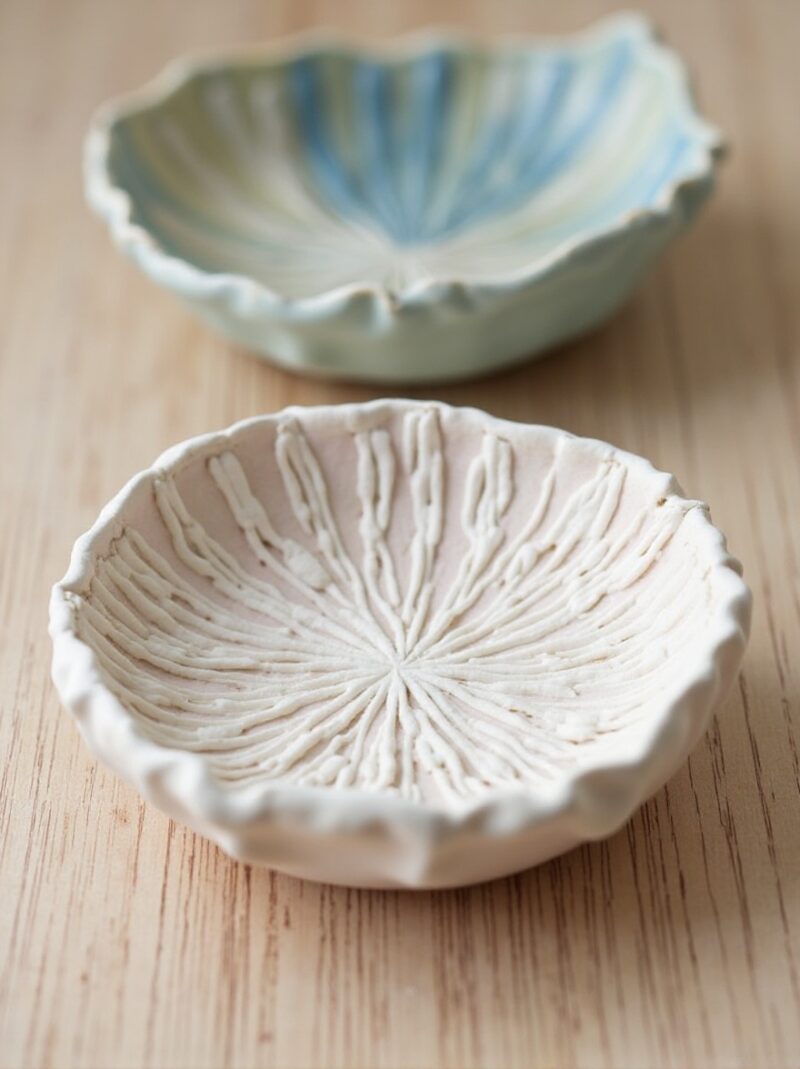
3. Trinket Dishes
These have become my go-to gift for friends. Trinket dishes are incredibly practical for holding jewelry, keys, or other small items. I typically roll out the clay flat, press it into a small bowl to get the curved shape, and then carefully remove it and let it dry. You can keep them simple and elegant or add textures and patterns. I’ve experimented with pressing lace, leaves, and stamps into the clay for interesting surface designs.
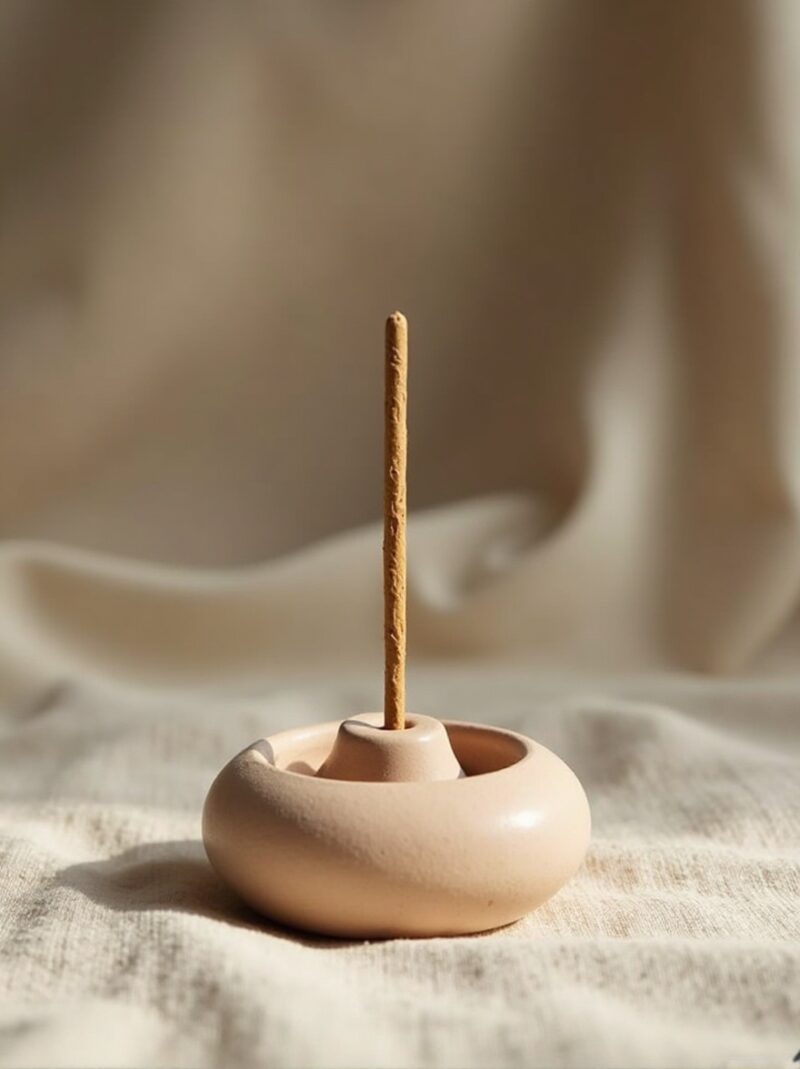
4. Incense and Candle Holders
Creating holders for incense sticks or cones is straightforward and useful. For incense stick holders, I simply create a small base and poke a hole where the stick will stand. For candle holders, I’m careful about the design since they’ll be exposed to heat. I always make sure to seal these thoroughly with multiple coats of varnish or polycrylic to protect them. However, I avoid using them for anything that gets too hot, as air dry clay isn’t meant for extreme temperatures.
5. Miniature Sculptures and Figurines
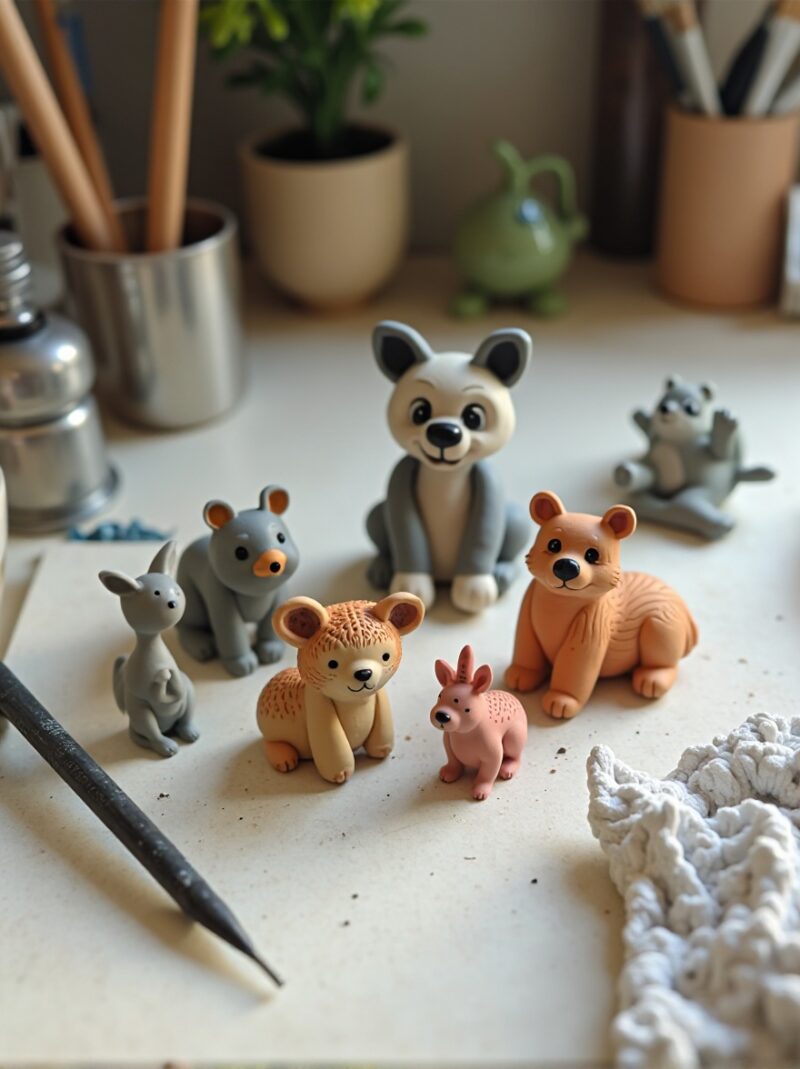
This is where I really let my creativity flow. I’ve made tiny animals, characters from games I love, and abstract sculptures. The small scale means you don’t need much clay, and mistakes are easy to fix while the clay is still workable. Some of my friends have even commissioned me to make miniatures of their tabletop gaming characters. The detail you can achieve with basic sculpting tools is impressive, and painting these tiny figures is meditative.
6. Ornaments and Holiday Decorations
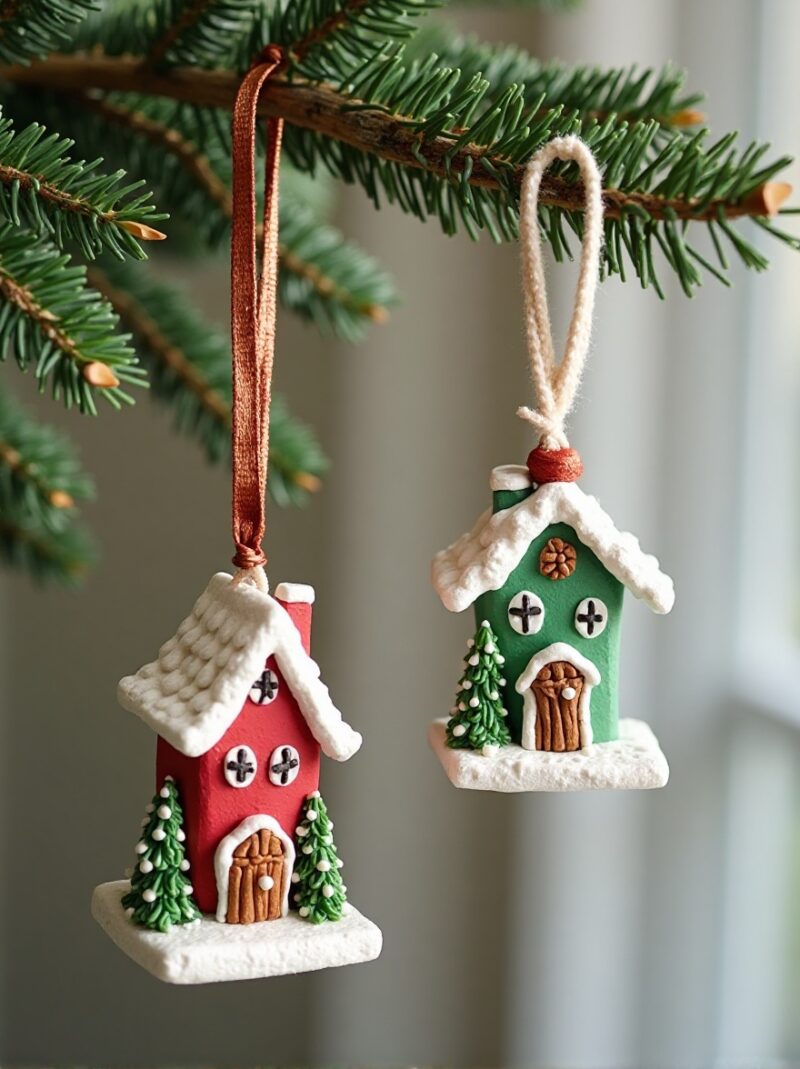
Last winter, I created an entire village of tiny houses as ornaments. I rolled out the clay, cut out simple house shapes, added details like windows and doors, and let them dry. After painting each one with different colors and designs, I coated them with varnish and added ribbon hangers. They became a conversation piece on my tree. Seasonal ornaments are perfect for air dry clay because you can make them personal and meaningful.
7. Plant Pot Decorations and Cachepots
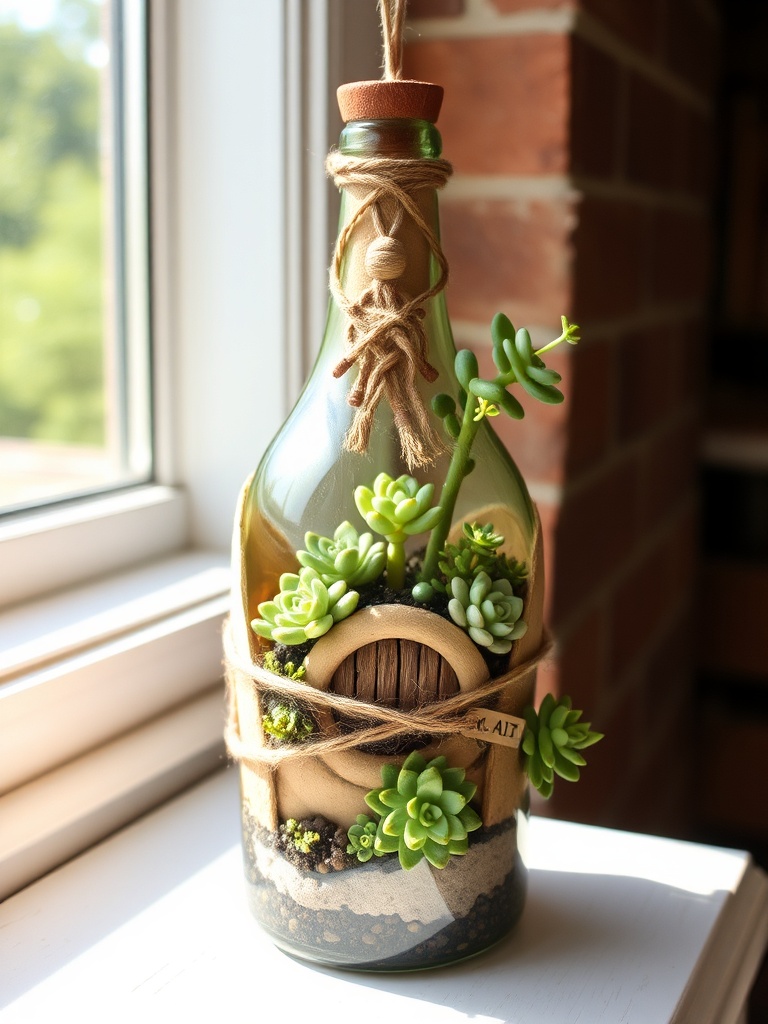
While you need to be careful about using air dry clay for actual planting (since it’s not naturally waterproof), I’ve had success decorating existing pots and creating decorative cachepots. The trick is either using a plastic liner inside or making sure you seal the clay extremely well with epoxy resin or multiple coats of marine spar urethane. I’ve wrapped clay around glass bottles to create fairy house planters for small succulents, and they’ve held up beautifully when properly sealed.
8. Air Plant Holders
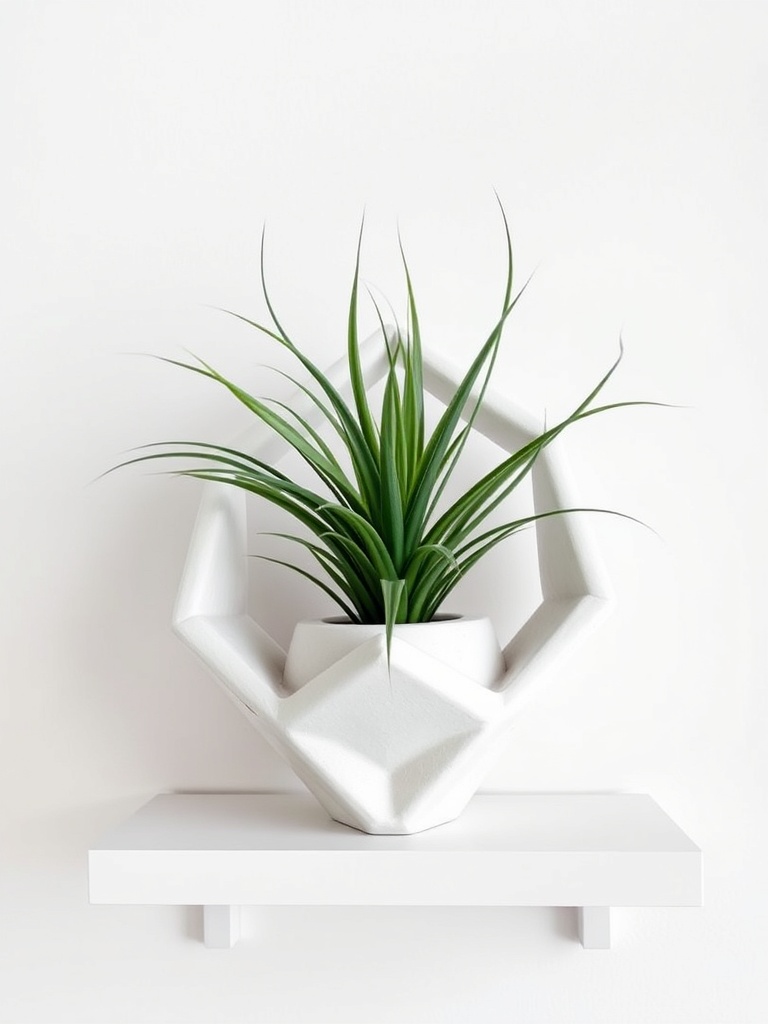
These are perfect for air dry clay because air plants don’t need much water. I’ve created geometric holders, whimsical animal shapes with spaces for the plants, and simple minimalist designs. The stark white of unpainted clay actually looks stunning alongside the muted greens of air plants. You just need to make sure there’s adequate airflow for the plant.
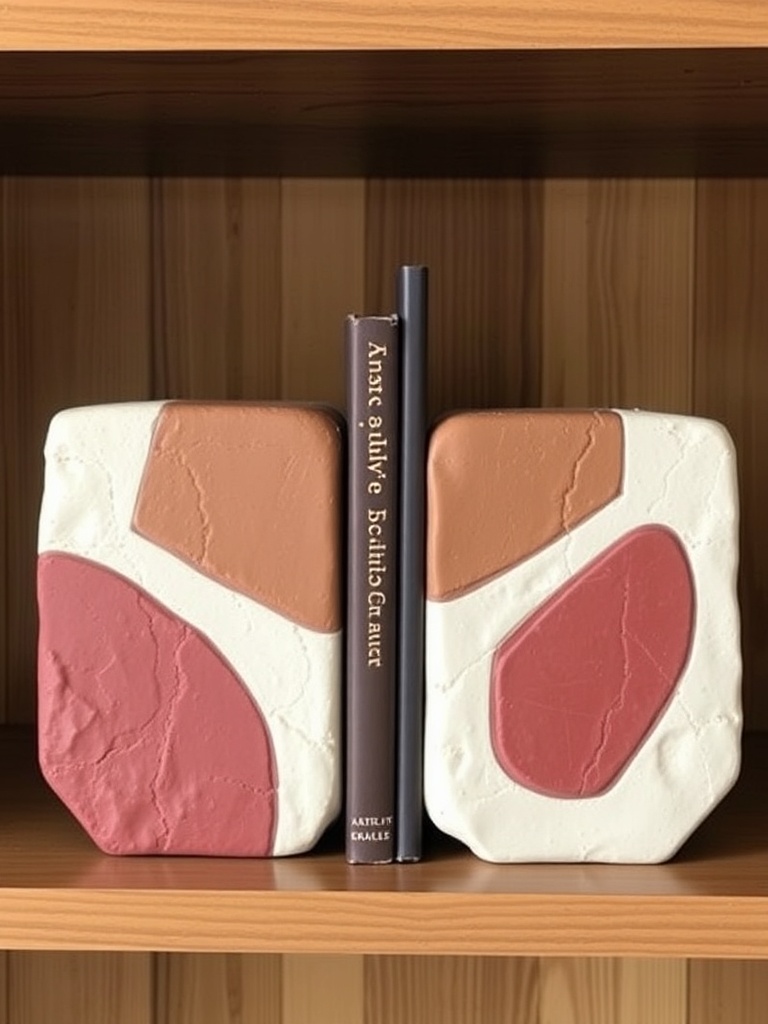
9. Bookends and Decorative Weights
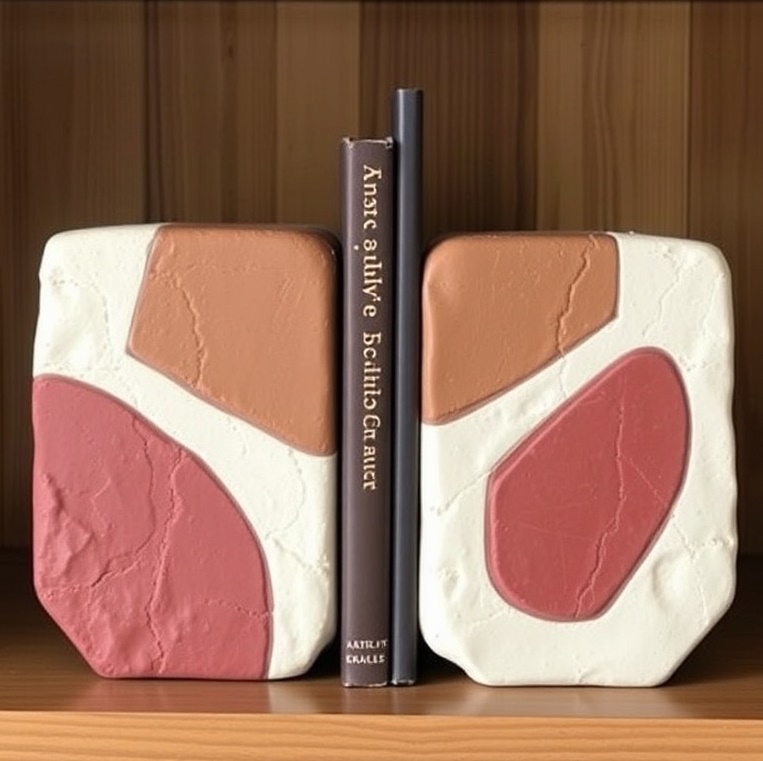
I never thought about making bookends until I had some clay left over from another project. They work surprisingly well, especially if you make them chunky and substantial. I created abstract geometric shapes and let them dry, then sealed them well. They’re not as heavy as ceramic, but they work perfectly for smaller book collections or keeping papers in place.
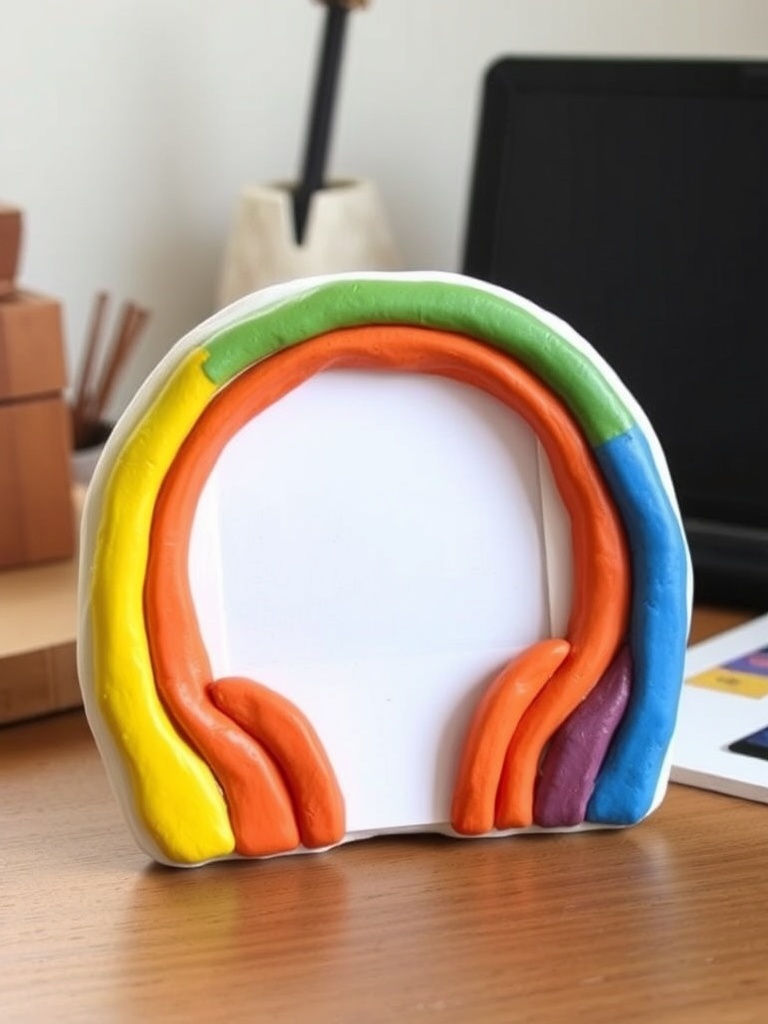
10. Picture Frames and Photo Holders
Rolling out clay and cutting it into frame shapes opens up endless possibilities. I’ve made simple standing frames for small photos and more elaborate designs with sculpted details around the edges. You can also create photo holders by forming a base with a slit or clip where a picture can stand upright. These make thoughtful personalized gifts.
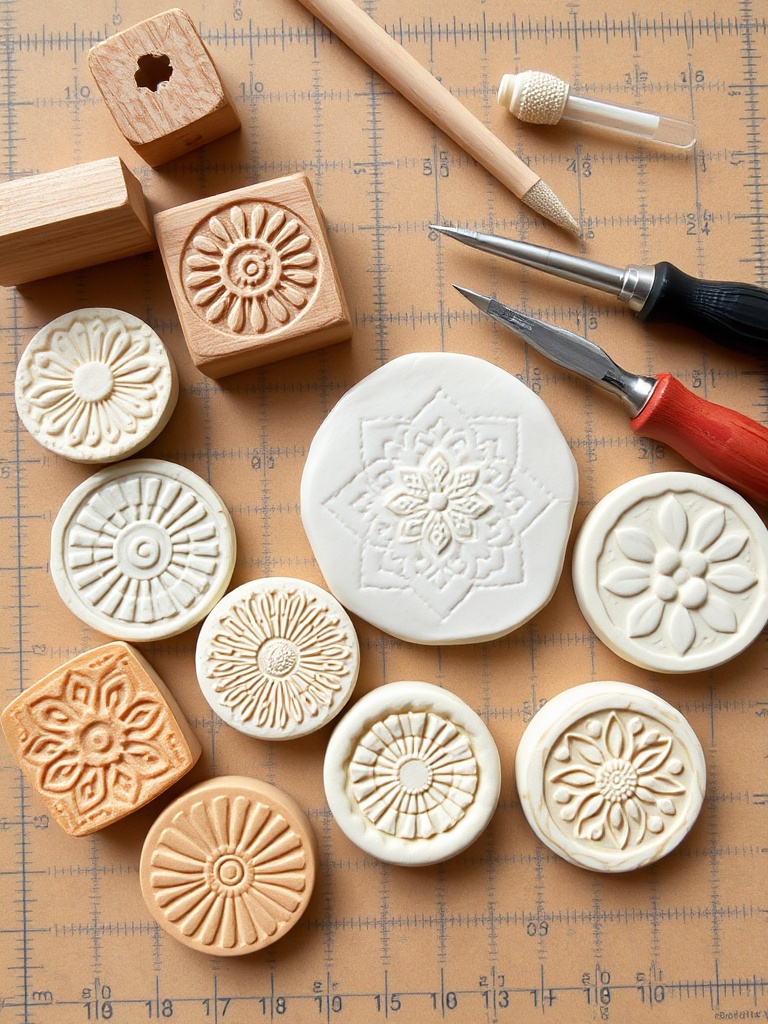
11. Custom Stamps and Texture Tools
This is a meta-project that enhances all your future clay work. I’ve carved designs into thick pieces of air dry clay to create custom stamps. Once dried and sealed, they’re rigid enough to press into fresh clay for repeating patterns. It’s incredibly satisfying to build your own library of texture tools.
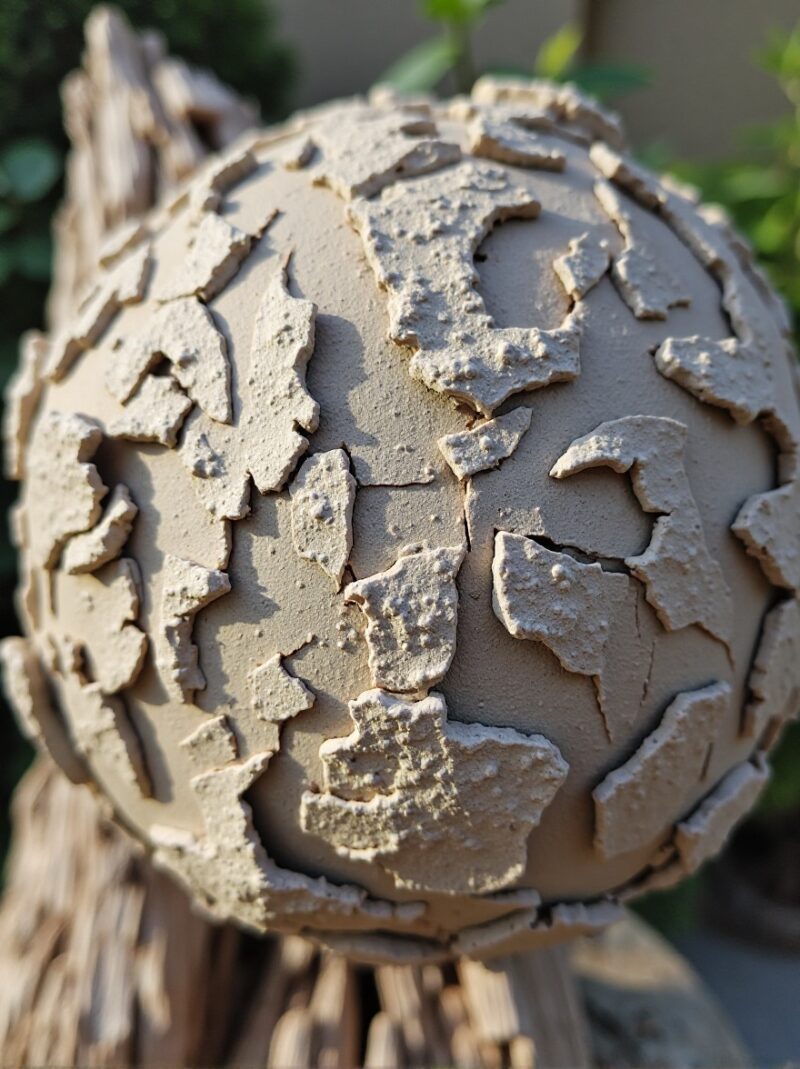
12. Faux Skin and Special Effects Pieces
This might sound unusual, but I discovered that air dry clay is perfect for creating realistic-looking texture pieces for costumes and crafts. By manipulating the clay while it’s partially dry, you can create cracked, organic textures that look like bark, stone, or even skin. I made some creepy decorations for Halloween that looked disturbing realistic. The malleability of the clay in its various drying stages gives you control over the final texture.
Working Tips I’ve Learned
Through trial and error, I’ve discovered that keeping the clay moist while working is crucial. I wrap my works in progress in plastic wrap or damp cloths when I take breaks. I’ve also learned to work in layers for complex projects, letting each section dry before adding more. And perhaps most importantly, I always, always seal my finished pieces. Air dry clay without proper sealing will absorb moisture and can deteriorate over time.
The beauty of air dry clay is its accessibility. You don’t need expensive equipment or special training. What you do need is patience to let things dry properly, creativity to envision your project, and willingness to experiment. Not every piece will turn out perfectly, and that’s okay. Some of my favorite creations came from happy accidents or modifications to failed attempts.
Whether you’re a complete beginner or someone looking to expand your crafting repertoire, air dry clay offers endless possibilities. Start simple, perhaps with a trinket dish or some beads, and work your way up to more complex sculptures. The satisfaction of creating something functional and beautiful with your own hands never gets old.

A Teacher with 5 years of experience. Our Expertise, is reliable to meet your full Academic development needs . Worked on many crafts and construction projects offering services from design to development to deployment over the years. You will find many of my works in my business portfolio on request.