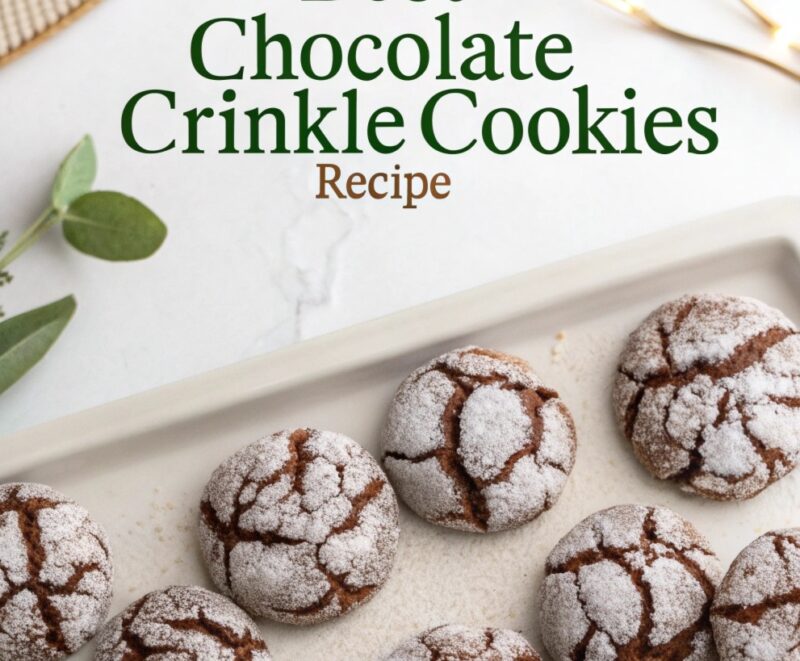

Chocolate crinkle cookies look fancy, but they’re way more doable than you’d think. The crackly, powdered-sugar “crinkle” surface is pure joy—like a little edible snowstorm. I love making these when I want a chocolate cookie that’s rich, soft inside, and still gives that bakery-style wow factor. They’re great for holiday baking, party trays, or any time you want something chocolatey without turning your kitchen into a science lab. Best of all, once you nail the dough and the sugar coating, you can repeat the recipe with confidence (and even freeze extras for later). Let’s bake!
Key Takeaways
- Use melted unsweetened chocolate (not just cocoa) if you want deeper chocolate flavor and a fudgier texture.
- The signature crinkle look depends on rolling dough balls in confectioners’ sugar until they’re fully coated.
- Mix wet and dry ingredients separately, then combine—this helps avoid dry or tough cookies.
- Chill the dough for at least a few hours for better flavor and thicker cookies.
- Bake just until the cookies set around the edges while the centers stay soft.
- Store in an airtight container for up to about a week, and freeze baked cookies for later.
Quick Answer
To make chocolate crinkle cookies, I mix wet ingredients (including eggs and melted chocolate or fat), whisk dry ingredients separately, combine to form a thick dough, chill it, roll into balls, coat in confectioners’ sugar, and bake until crackly on the outside but soft in the middle.
What You Need
| Item | Purpose | Notes |
|---|---|---|
| Unsweetened chocolate (melted) or cocoa powder | Main chocolate flavor | Melted unsweetened chocolate is often richer than cocoa alone |
| Unsalted butter (melted) or neutral oil | Fudgy, tender texture | Choose one; both can work depending on your preferred style |
| Granulated sugar | Helps structure and crisp edges | Adds sweetness and helps the cookie bake properly |
| Brown sugar (packed) | Chewiness + depth | Adds a slightly caramel-like flavor |
| Large eggs | Binding + moisture | Use room-temp if possible for smoother mixing |
| Vanilla extract | Flavor boost | Makes chocolate taste extra “chocolatey” |
| All-purpose flour | Cookie base | Measure carefully (spoon and level) |
| Baking powder and/or baking soda | Lift and texture | Many recipes use baking powder (and some include baking soda) |
| Kosher salt | Balances sweetness | Don’t skip—salt makes chocolate pop |
| Confectioners’ sugar (powdered sugar) | Crinkle coating | Roll generously for that snowy crackle look |
| Parchment paper | Prevent sticking | Great for easy cleanup |
Step 1: Choose your chocolate approach (melted chocolate vs cocoa)
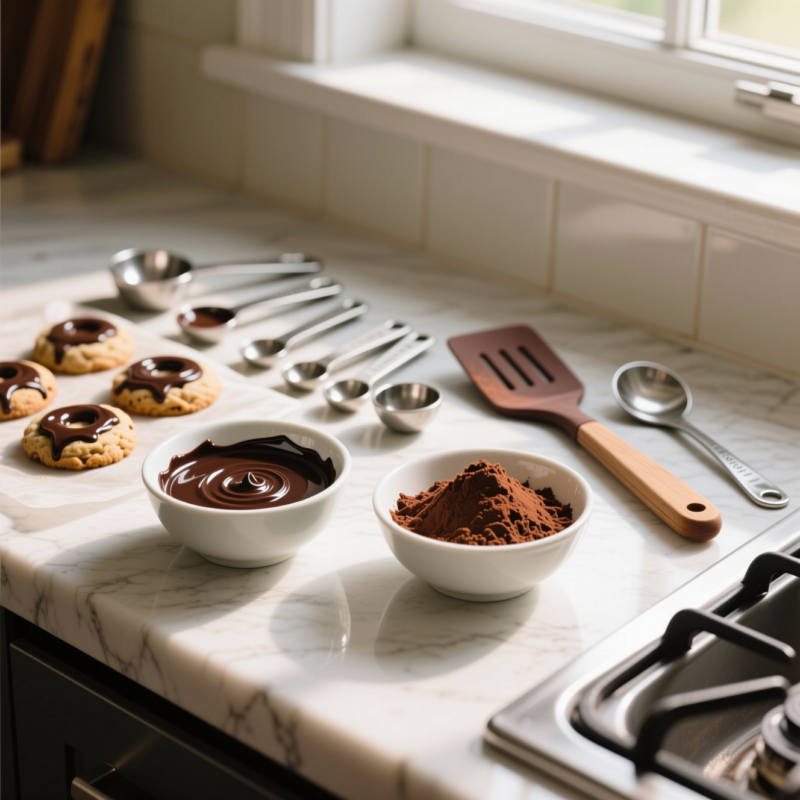
For the best chocolate crinkle cookies, I choose melted unsweetened chocolate when I can. In side-by-side testing from other bakers, melted chocolate won clearly over cocoa powder alone for flavor and texture. That said, many popular recipes still work great with cocoa powder (and some even use cocoa + melted chocolate for extra richness). If you want that classic “brownie-like” chocolate vibe, melted unsweetened chocolate is my go-to.
Step 2: Set up your kitchen like a pro
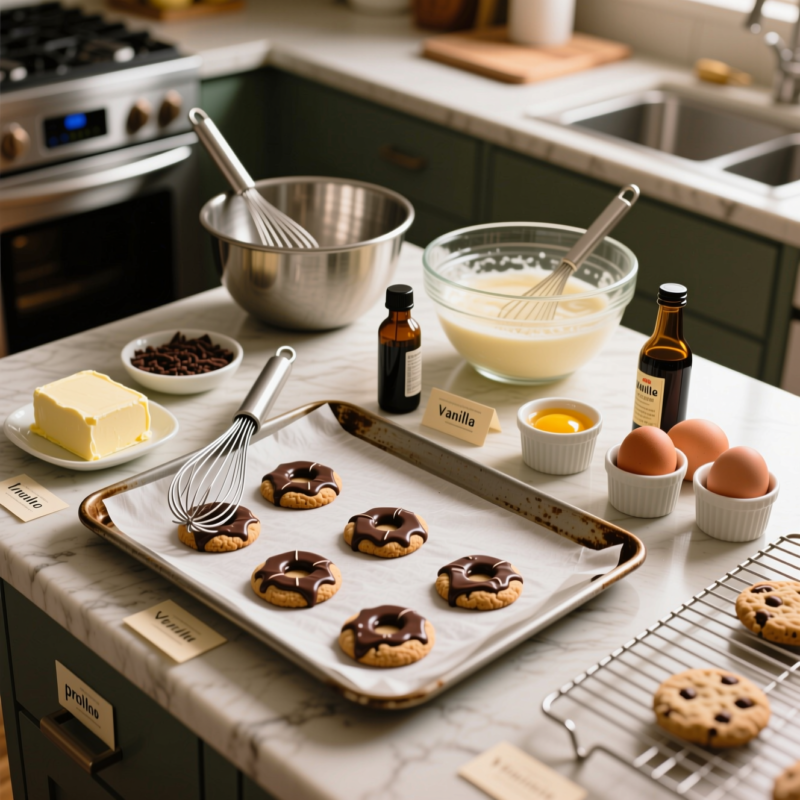
Before I mix anything, I grab:
- Two mixing bowls (one for wet, one for dry)
- A whisk (or a mixer if you like)
- Measuring cups/spoons or a kitchen scale
- A baking sheet plus parchment paper
I also preheat later in the process (not right away). For now, I focus on getting everything ready so the dough comes together smoothly.
Step 3: Mix the wet ingredients
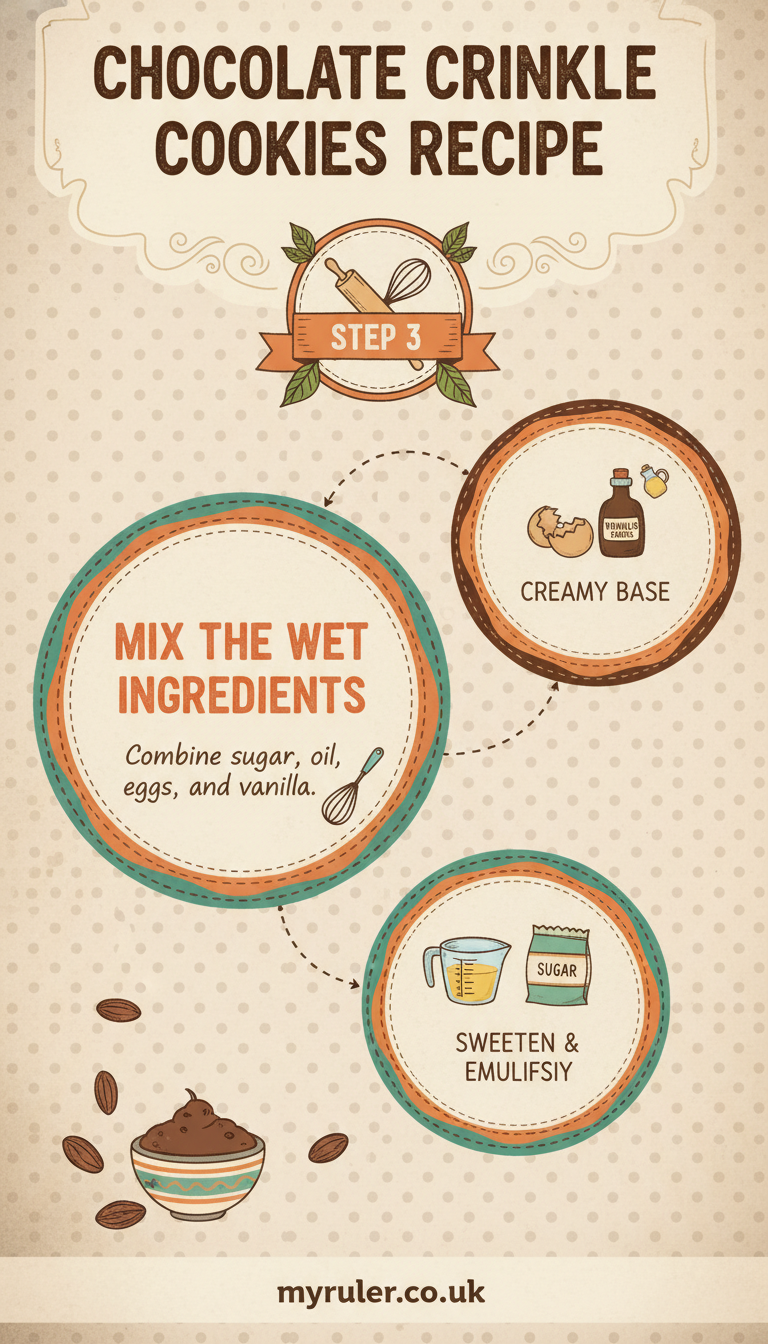
In my wet bowl, I combine:
- Granulated sugar and packed brown sugar
- Melted butter or oil
- Vanilla extract
- Eggs
- Chocolate base (melted unsweetened chocolate, if using)
I whisk until it looks glossy and well blended. This matters because the dough will be thick later, and smooth wet ingredients help everything mix evenly.
Step 4: Whisk the dry ingredients separately
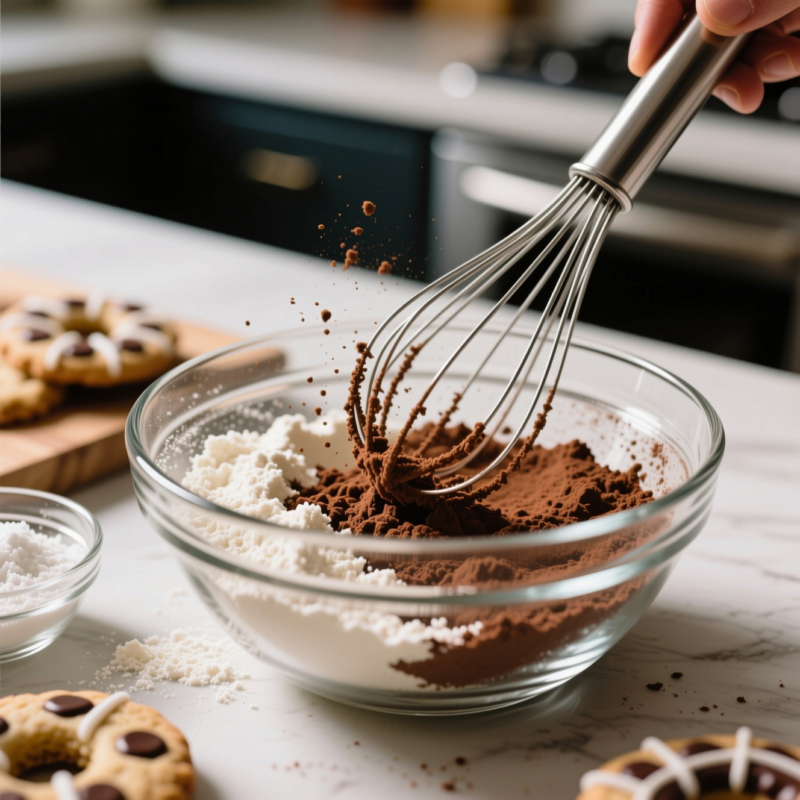
In my second bowl, I whisk together:
- All-purpose flour
- Cocoa powder (if using it)
- Baking powder (and sometimes baking soda, depending on your recipe style)
- Kosher salt
I always do this step separately because flour + leaveners mix more evenly when whisked on their own. It helps avoid any surprise pockets of baking powder.
Step 5: Combine wet + dry into thick dough
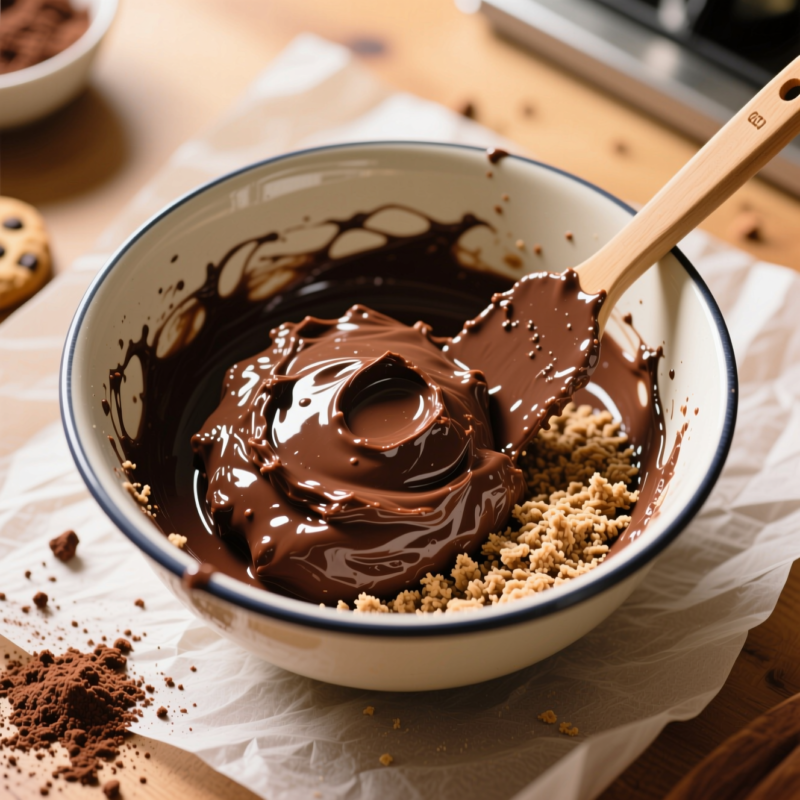
I pour the dry ingredients into the wet ingredients and mix until just combined. The dough should become thick—more like brownie batter dough than soft cookie dough.
If the dough seems too loose (for example, if the chocolate was very warm or your kitchen is hot), I’ll still chill it. Chilling usually fixes the texture and makes rolling easier.
Step 6: Chill the dough (this is the secret weapon)
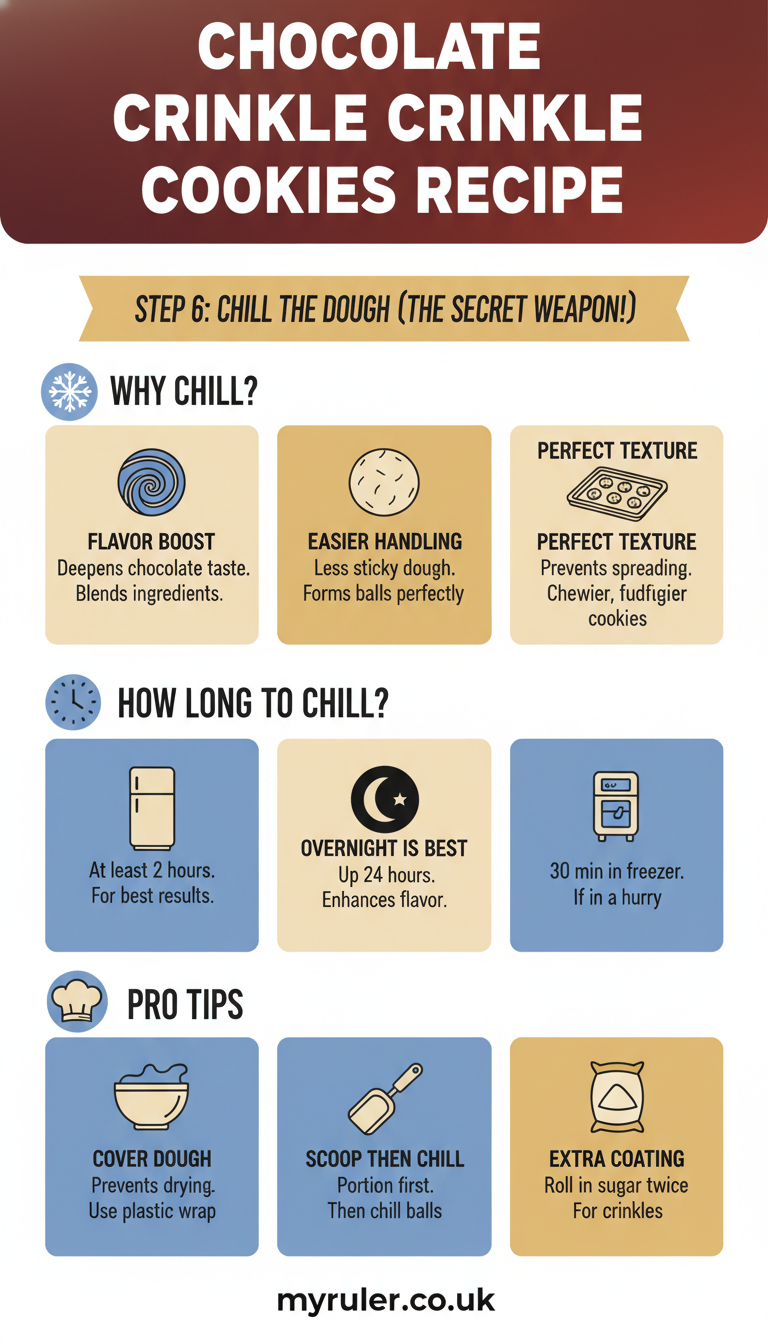
I cover the dough and refrigerate it for at least 3 hours, or up to overnight. Chilling does a few important things:
- It firms up the fat (butter/oil) so cookies spread less
- It helps the flour hydrate for a better texture
- It makes rolling smoother and gives that thicker, fudgier cookie structure
If I’m short on time, I try not to skip it entirely—but the crinkle cookies really shine with a proper chill.
Step 7: Roll dough balls for even baking
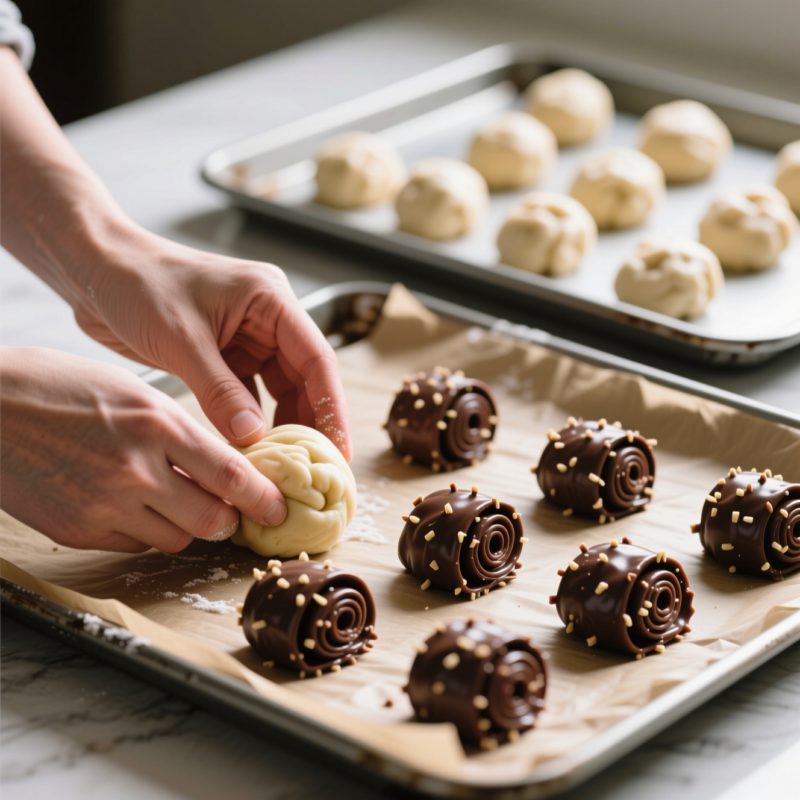
After chilling, I scoop the dough and roll it into balls. I aim for consistent size so the cookies bake evenly (and you don’t end up with some underdone and some overdone).
Tip: If the dough feels sticky, I lightly grease my hands or rinse and dry them, then continue.
Step 8: Coat thoroughly in confectioners’ sugar (the crinkle moment)
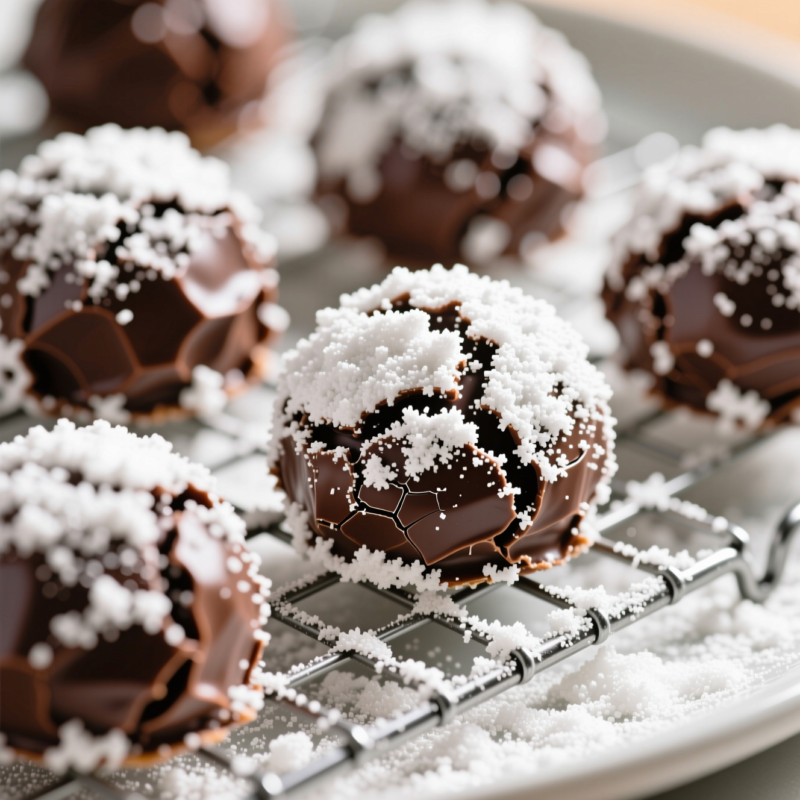
This is the step that gives the cookies their look. I roll each dough ball in confectioners’ sugar until it’s well coated—really press and cover all sides.
Then I place the cookies on the parchment-lined baking sheet, leaving a little space between them.
If sugar is falling off, I just re-roll or add a little extra sugar right before placing the cookie down. Full coverage helps create the crackly surface as the dough bakes and expands.
Step 9: Bake until set but still soft inside
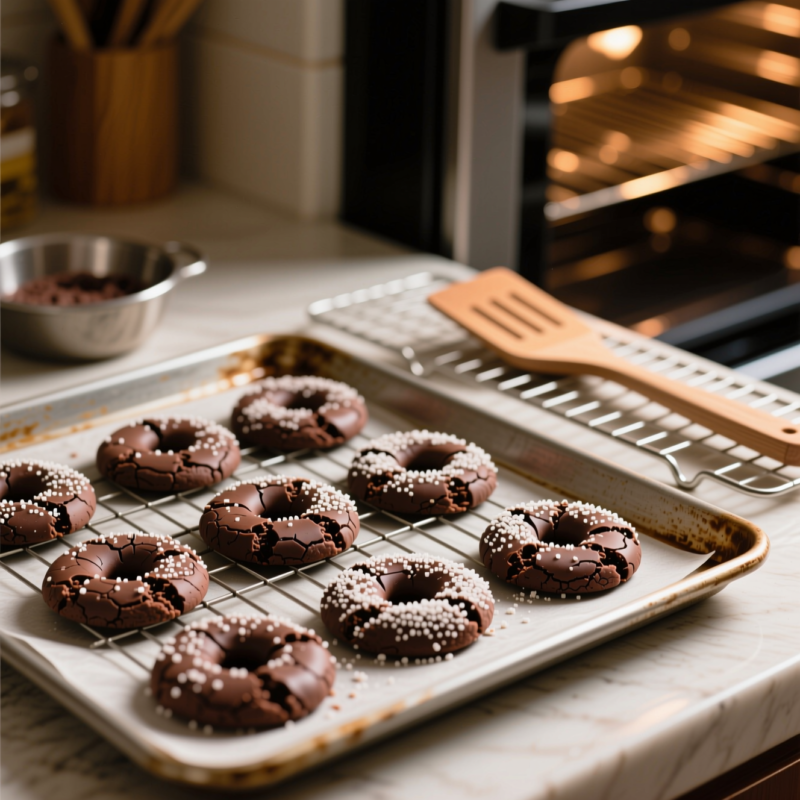
I bake at a typical cookie oven temperature (most recipes land around 350°F / 175°C), and I watch closely. When the cookies are done, the edges look set and the crinkled sugar has a dry, slightly cracked look.
I let them cool on the baking sheet for a few minutes before moving them to a rack. This helps them firm up without losing the tender center.
Tips for Getting Maximum “Crinkle”
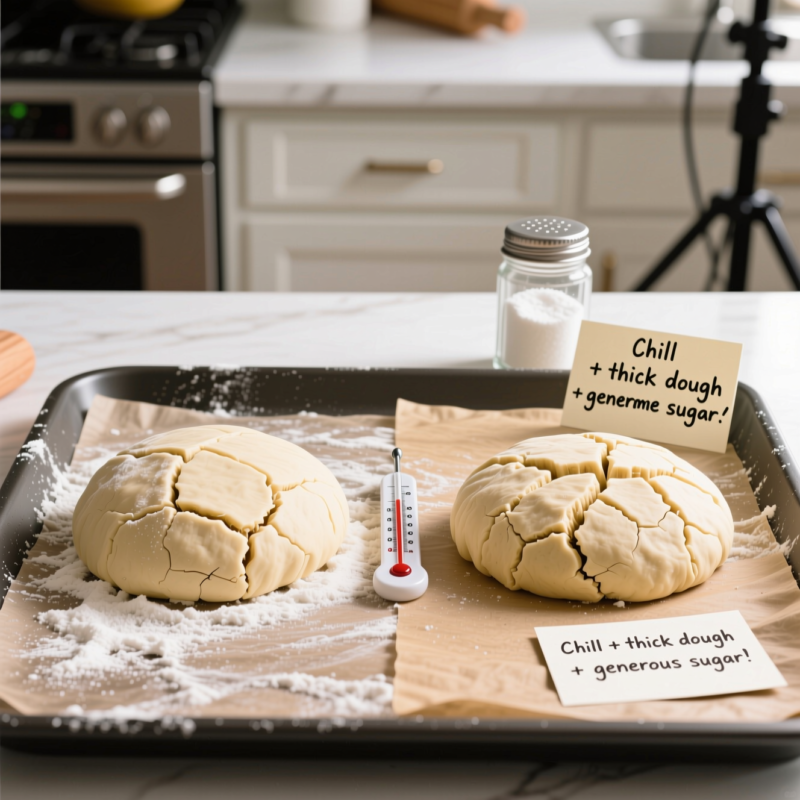
- Coat generously: I don’t try to “lightly dust” these. I roll until coated all the way around.
- Use the right chocolate form: If you want that deep chocolate payoff, try melted unsweetened chocolate. Many bakers find it outperforms cocoa-only for fudginess and flavor.
- Don’t rush chilling: If your cookies spread too much, the crinkle can turn flatter and less dramatic.
- Keep dough size consistent: Even balls help the sugar set in the same way across all cookies.
- Bake time control: Underbake slightly for fudgier centers; overbake for drier cookies. I aim for “soft inside” rather than fully dry.
- Handle with care after baking: The crinkle sugar can feel crisp while warm, but the center is still setting—so I cool them properly.
Variations and Flavor Boosts
Once you’ve mastered the base recipe, you can jazz these up without changing the whole method.
- Add cinnamon to the powdered sugar coating: If you mix a little cinnamon into the confectioners’ sugar, it gives a warm, festive smell (and tastes amazing with chocolate).
- Double chocolate flavor: Some recipes include cocoa powder plus melted chocolate for extra intensity. If you’re a serious chocolate person, this is a fun upgrade.
- Mix-ins (optional): I sometimes fold in chocolate chips, chopped chocolate, or even a small handful of crushed nuts if I’m feeling fancy.
- Holiday tray strategy: I like to bake a double batch, because these cookies freeze beautifully and disappear fast.
Storage and Freezing
When I’m ready to store them, I let cookies cool completely first—warm cookies collect moisture and can soften the outside.
Room-temperature storage
I keep them in an airtight container at room temperature. They typically hold up for about a week before they start getting crumbly or a bit dry.
Freezing
If I want cookies for later, I freeze them:
- Baked cookies: Freeze in a freezer-safe container or bag.
- Thaw: I thaw at room temperature so they taste fresh again.
I like freezing because it helps me plan ahead for parties and holidays without stress.
Troubleshooting
Here are the issues I run into sometimes—and what I do to fix them.
Cookies aren’t crinkling
If your cookies look more smooth than crackly, usually it comes down to:
- Not enough powdered sugar coverage
- Dough too wet/soft (often from not chilling enough)
- Oven temperature being off or cookies baking too fast
Fix: Chill longer and re-roll with extra confectioners’ sugar until fully coated.
Cookies are too dry
This usually means they baked a bit too long. Fix: Bake until set around the edges, then stop. Also, store in an airtight container so they don’t dry out.
Not chocolate-forward enough
If the cookies don’t taste rich enough, this is often because the recipe relies more on cocoa powder than melted chocolate. Fix: Swap in or increase melted unsweetened chocolate, and make sure you’re using real cocoa (not “hot cocoa mix” with sugar).
FAQ
How far in advance can I make chocolate crinkle cookie dough?
I can usually make the dough ahead and refrigerate it for overnight. That’s my favorite plan because it improves texture and makes rolling easier.
Can I make these without chilling the dough?
I can, but I don’t recommend it. Skipping chilling often causes cookies to spread too much, and then the crinkle effect can be weaker. If you’re in a rush, give it as much chill time as you realistically can.
Why do some recipes use melted chocolate instead of only cocoa powder?
Melted unsweetened chocolate tends to deliver stronger flavor and a fudgier, more brownie-like texture. Many bakers have found it beats cocoa-only in side-by-side tests.
Why did my powdered sugar disappear after baking?
That can happen if the coating wasn’t thick enough or if cookies spread heavily. Full coating and proper chilling help the sugar crack and stay on top.
Can I freeze the cookies?
Yes. I freeze baked cookies for best results. They thaw well and are great for make-ahead holiday baking.
Conclusion
Chocolate crinkle cookies are one of those treats that feel impressive but actually follow a simple, repeatable method: mix wet + dry separately, form thick dough, chill, roll in confectioners’ sugar, and bake until crackly but still soft. If you want the biggest chocolate upgrade, I suggest going for melted unsweetened chocolate (it’s a common “secret weapon” in top recipes). Once you try them, you’ll see why these cookies earn their spot on holiday trays year after year—and why they make such a satisfying project from start to crackly-sugary finish. Now grab your bowl and let’s make your kitchen smell like chocolate joy.

A Teacher with 5 years of experience. Our Expertise, is reliable to meet your full Academic development needs . Worked on many crafts and construction projects offering services from design to development to deployment over the years. You will find many of my works in my business portfolio on request.