Lemon cream cake is that dreamy combination of bright citrus and smooth, creamy goodness. It feels fancy enough for a celebration, but it’s totally doable at home. I love how the lemon flavor can taste “fresh” and bold without being harsh, especially when the cream is silky and well-balanced. Texture is the real magic here—when the batter is properly whipped and the cream is beaten smooth, every slice feels tender and light. If you want a cake that looks impressive, tastes like lemony dessert perfection, and still holds its shape when you slice, this recipe is for you—so let’s make it.
Key Takeaways
- A well-whipped batter helps you get a tender, not-dense cake texture.
- Use lemon zest (not just juice) to get a bright, aromatic lemon flavor.
- For the creamy filling/frosting, beat cream cheese (or mascarpone) with confectioners’ sugar, lemon juice, and lemon zest until silky smooth.
- Choose the style you like: Italian-style mascarpone cream or a whipped-cream + lemony cream cheese frosting.
- Chill the assembled cake so the lemon cream sets and stays sliceable.
Quick Answer
To make lemon cream cake, bake two white cake layers (a tender, light style works best), then make a lemon cream filling by beating cream cheese or mascarpone with confectioners’ sugar, lemon juice, and lemon zest until smooth. Spread a thick layer of lemon cream in the middle, add a thinner layer around the outside (and optionally a crumb topping), then chill until firm and slice.
What You Need
| Item | Purpose | Notes |
|---|---|---|
| All-purpose flour | Cake structure | Sift if lumpy for a smoother crumb |
| Baking powder | Lift | Helps keep layers light |
| Fine salt | Flavor balance | Use a small amount—don’t skip |
| Unsalted butter | Moisture + tenderness | If using salted butter, reduce added salt |
| Granulated sugar | Sweetness + softness | Creams well with butter |
| Eggs | Binding + light texture | Room temp mixes more easily |
| Vanilla extract | Round flavor | Makes the lemon taste even brighter |
| Lemon zest | Main lemon flavor | Use zest of 1–2 lemons depending on zestiness |
| Fresh lemon juice | Tangy flavor | Adds “bright” lemon taste |
| Milk (whole, buttermilk, or 2%) | Moisture | Whole milk works great; buttermilk adds tang |
| Cream cheese or mascarpone | Cream base | Mascarpone tastes more “Italian”; cream cheese substitutes well |
| Confectioners’ sugar (powdered sugar) | Sweetness + smoothness | Helps the cream become thick and creamy |
| Whipping cream (optional) | Extra light, fluffy filling | Use if you want a lighter, whipped style |
| Crumb topping (optional) | Texture + “finished” look | Common in some lemon cream cake styles |
| Cake pans (2) or one pan + re-bake | Even layers | 8-inch (20 cm) pans are great |
| Parchment paper | Easy release | Line the bottoms of pans |
| Cooling rack | Prevent steam buildup | Helps cakes cool evenly |
| Offset spatula | Smooth spreading | Makes the lemon cream layer look professional |
| Plastic wrap + fridge | Set the cream | Chill for clean slices |
Step 1: Plan the Cake Style (So the Texture Turns Out Right)
Before I start mixing, I decide which lemon cream cake vibe I want, because it changes the filling a little.
- Italian-style lemon cream cake: Usually leans on mascarpone for that smooth, rich flavor. The filling often feels thick and luxurious.
- Whipped-cream + lemony cream cheese style: Feels lighter and more “puffy,” often closer to a whipped frosting vibe.
- Two-layer structure with thick middle + thinner outside + crumbs: This is a super common layout and gives you that classic “finished” look.
For my default version, I’ll do the classic structure: two cake layers with a thick lemon cream layer in the center and a thinner coating around the outside. If you want it more airy, you can add whipped cream to the filling (I’ll show how later).
Step 2: Preheat + Prep Your Pans for Easy, Even Layers
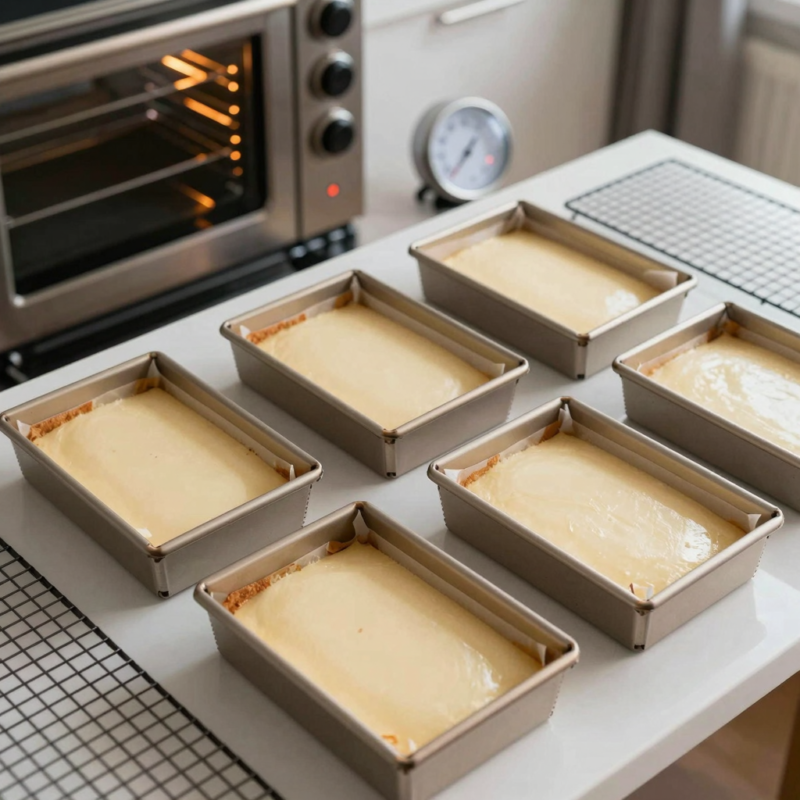
I set up before I mix anything because baking goes fast once the batter is ready.
- Preheat the oven to 350°F (175°C).
- Lightly grease two 8-inch (20 cm) round cake pans.
- Line the bottoms with parchment paper and lightly grease the parchment too.
- (Optional but helpful) Dust the pans with a little flour or use baking spray with flour.
Even layers are easier when your pans are the same size and your parchment sits flat. I also make sure the oven fully preheats—lemon cakes are sensitive to uneven baking.
Step 3: Mix the Lemon Cake Batter (Whip for Tender, Not Dense)

This step is where I pay attention to texture. Many lemon cakes turn out dense if the batter isn’t aerated enough or if the mixing method is off.
Cake batter method (simple, reliable)
- In a bowl, whisk flour, baking powder, and salt together.
- In a second bowl, beat butter and sugar until lighter and smoother (about 2–3 minutes).
- Add eggs one at a time, mixing well after each.
- Stir in vanilla.
- Alternate adding dry ingredients and milk (starting and ending with dry). Mix just until combined.
- Fold in lemon zest.
Important tip: Don’t overmix after the flour goes in. Overmixing can make the cake tough.
Why zest matters here
Zest gives that lemon “perfume” that juice alone can’t match. If I’m using 1 lemon, I try to use the zest from the whole lemon (avoid scraping too deep into the bitter white pith).
Step 4: Bake the Layers and Cool Completely
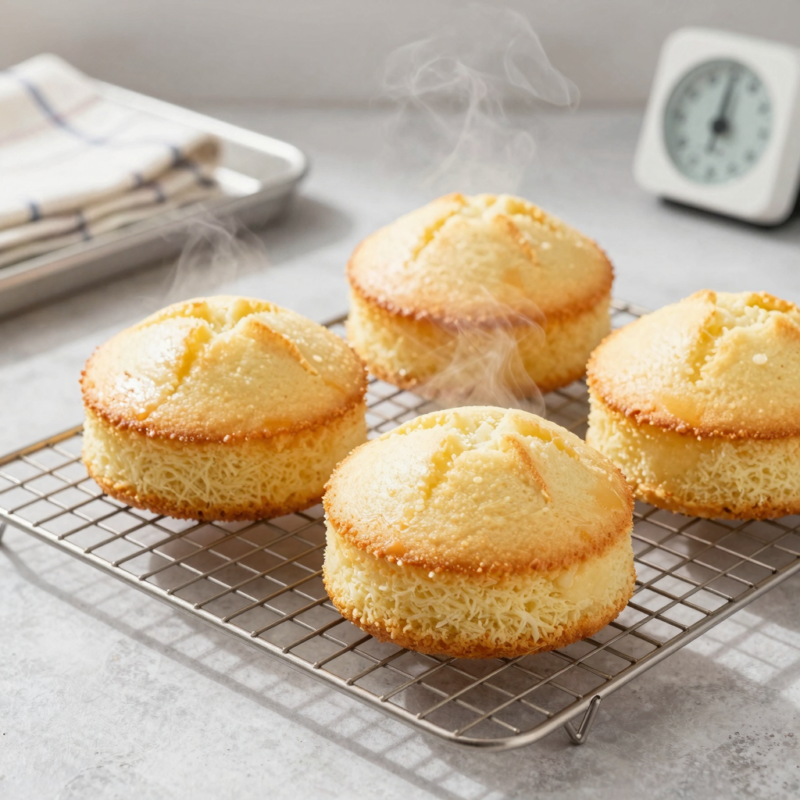
- Divide batter evenly between the two pans.
- Bake for about 22–30 minutes, or until a toothpick comes out clean or with a few moist crumbs.
- Let cakes cool in the pans for about 10 minutes.
- Turn out onto a cooling rack and cool fully to room temperature.
This matters more than people think: if the cake is even a little warm, the lemon cream can soften too much and become runny. I usually plan to bake a bit earlier and let the cakes cool while I make the filling.
Step 5: Make the Lemon Cream Filling (Smooth and Thick)
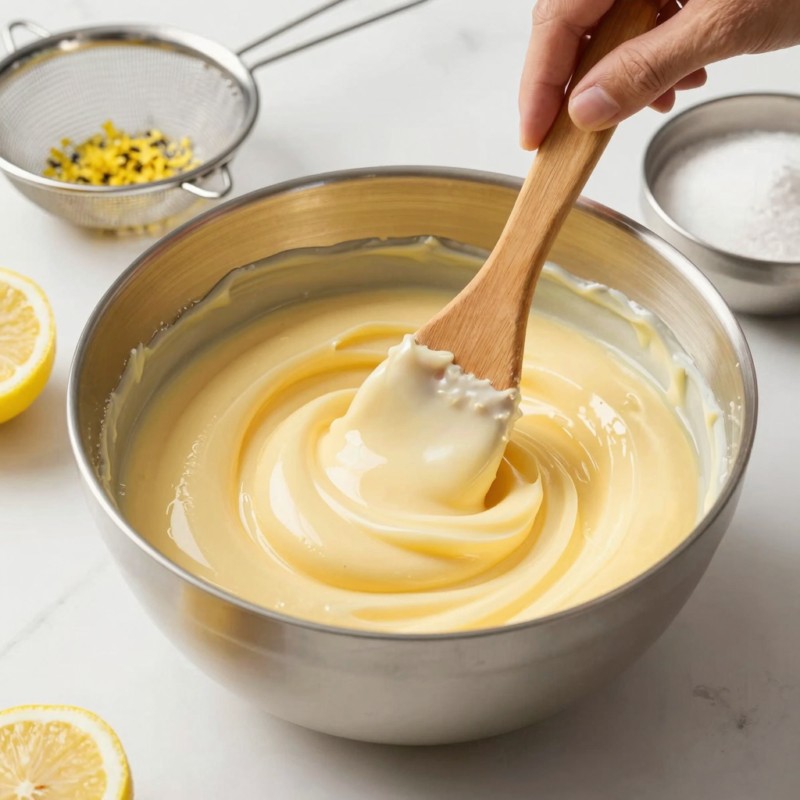
Now for the creamy part. The goal is silky, thick, spreadable cream with strong lemon flavor.
Cream cheese or mascarpone route
Pick one:
- Mascarpone option (more Italian flavor): Use mascarpone for a richer, creamier taste.
- Cream cheese option (easy substitute): Works beautifully when beaten smooth.
How I make it
- In a bowl, beat cream cheese or mascarpone until smooth (about 1 minute).
- Add confectioners’ sugar and beat until creamy.
- Add lemon juice and lemon zest.
- Keep beating until the mixture is smooth and thick.
If your cream cheese seems stiff or lumpy, keep mixing—it should become glossy. This matches what many Italian-style recipes emphasize: beating lemon juice/zest with the creamy base until smooth.
Optional “extra light” filling
If you want it fluffier:
- Whip cold heavy cream to soft peaks, then fold it into the lemon cream mixture.
This keeps the filling airy without breaking.
Consistency targets
- Center layer: aim for a thicker spread. If it feels too soft, chill it 10–15 minutes.
- Outside layer: you can use the same filling but spread thinner so the cake looks neat.
Step 6: Assemble the Cake (Thick Middle, Sleek Outside)
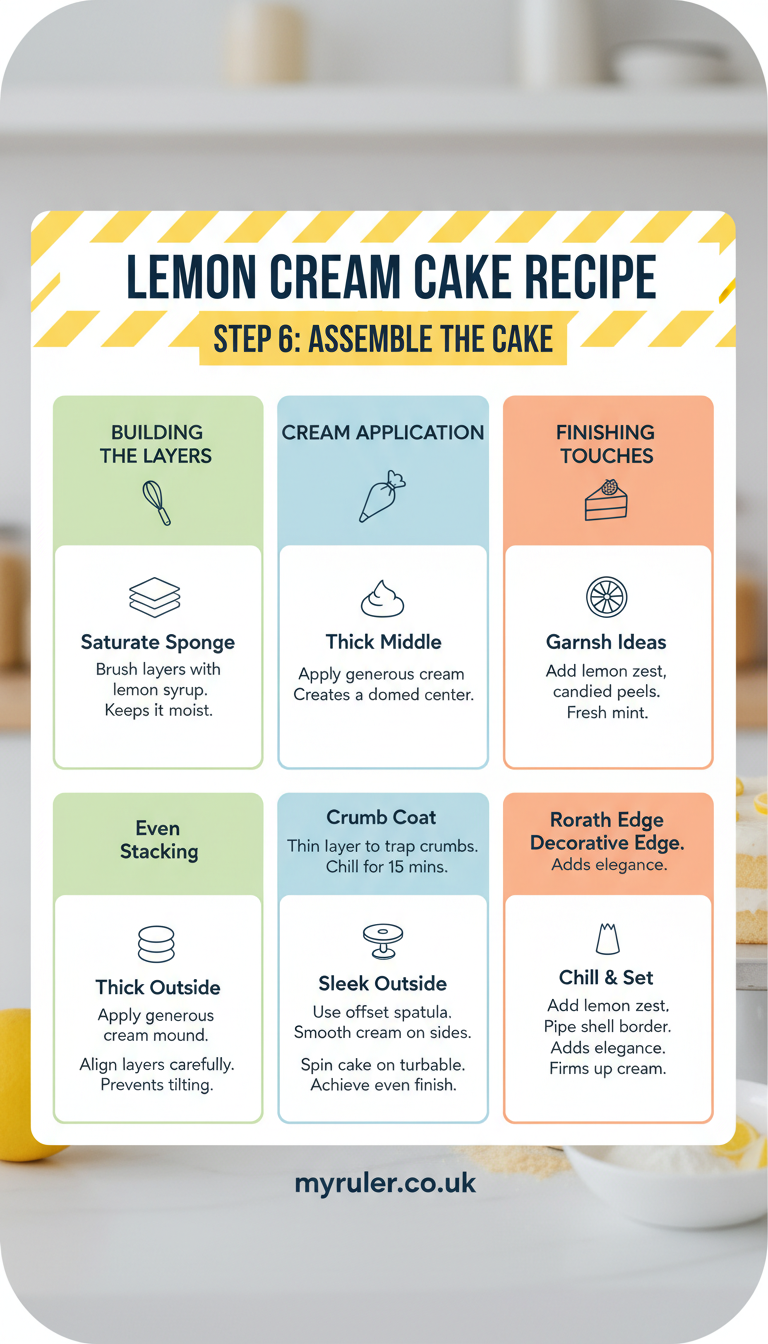
Assembly is where the cake turns from “ingredients” into “wow.”
- Place one cake layer on a serving plate (or cardboard circle).
- Spread a thick layer of lemon cream over the top. I like going close to the edges but not all the way.
- Add the second cake layer on top.
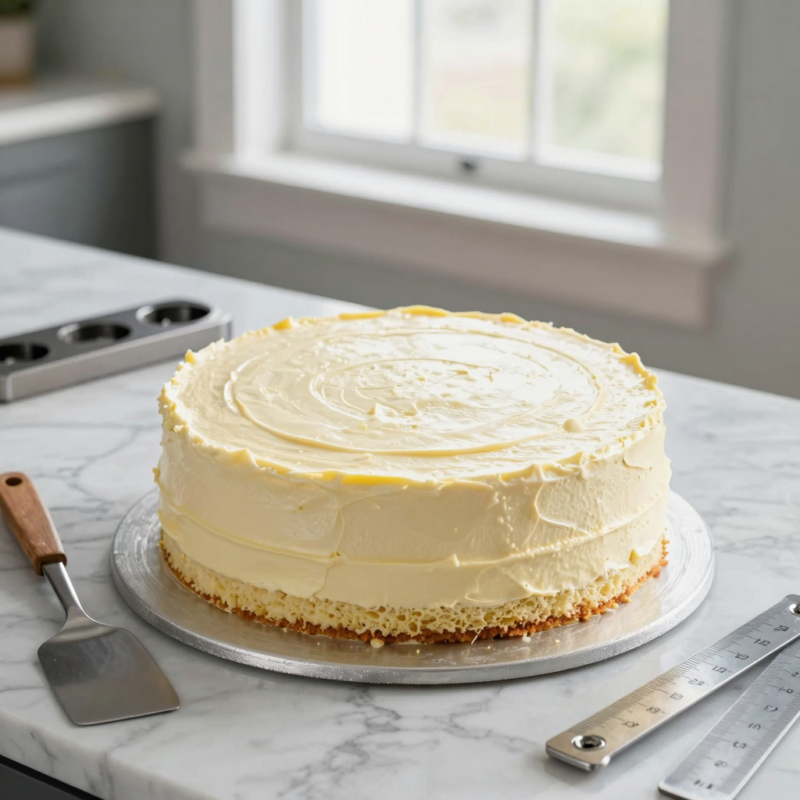
- Spread a thin layer of lemon cream around the sides and top.
An offset spatula helps here. If you want that “Italian cream cake” look, keeping the outside layer more minimal makes the thick center stand out.
Optional crumb topping
If you like the classic texture contrast:
- Make a quick crumb topping (crushed vanilla cookies or cake crumbs mixed with a little butter).
- Sprinkle on the top and/or lightly around the sides.
Step 7: Chill Until Set (So Slices Stay Clean)
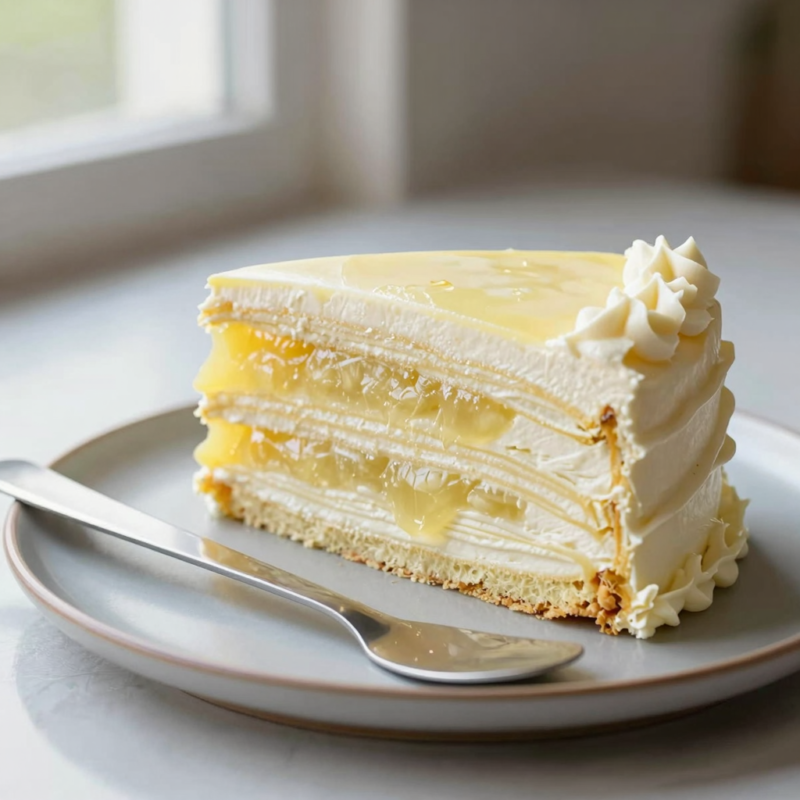
Once assembled, I don’t rush the fridge.
- Cover the cake and refrigerate for at least 2–4 hours, ideally overnight.
- This sets the cream so it slices neatly instead of smearing.
If you’re serving the same day, I recommend chilling at least 3 hours. Lemon cream cakes are best when they’re cold and sliceable.
Step 8: Frosting-Style Finish (Optional If You Want It Extra Lemony)
Some versions frost more generously or use a lemony cream cheese frosting style. If you want a thicker finish, do this:
- Make the same lemon cream mixture as your filling.
- Add a little more confectioners’ sugar (or beat a touch longer) to make it more pipeable/spreadable.
- Frost the top and sides more generously.
Application tip
If the frosting is too thick, I add a teaspoon of milk at a time. If it’s too loose, I chill it 10 minutes and try again.
Tips
- Balance lemon flavor: Use both zest + juice. Zest gives aroma; juice gives tang.
- Avoid warm cake + cold cream problems: Cakes should cool completely. Cream should be cold but spreadable.
- Don’t overmix once flour is added: Mix until just combined for a tender crumb.
- Use room-temp ingredients for the cream: Cold cream cheese can make lumps that are hard to fix.
- Choose milk wisely: Whole milk keeps richness; buttermilk adds a slight tang that feels great with lemon.
- Salt check: If you use salted butter, reduce any added salt in the cake batter.
- Make it easier to slice: For super clean slices, dip your knife in warm water and wipe between cuts.
FAQ
Can I use store-bought cake layers?
Yes. If you use boxed white cake layers or store-bought sponge/white cake, you can still add the lemon cream center and chill. Just make sure the layers are sturdy enough to hold cream.
How do I keep the lemon cream from getting runny?
Usually it’s one of these:
- The cake is warm (so the cream melts).
- The cream base wasn’t beaten smooth enough.
- The cream needs more chilling time.
I always chill assembled layers and avoid spreading right after baking.
What’s the difference between mascarpone and cream cheese here?
Mascarpone gives an Italian-style richness and a very smooth, creamy flavor. Cream cheese is tangier but still tastes great with lemon. If substituting, beat it thoroughly so it becomes smooth like mascarpone.
Can I make this ahead of time?
Absolutely. Lemon cream cake is actually better after chilling. I recommend making it the day before so the cream firms up and the lemon flavor settles.
How long will it last in the fridge?
Typically 3–4 days in the fridge, covered. The lemon cream stays best when stored tightly so the cake doesn’t dry out.
Can I freeze it?
Freezing can work, but the texture of the cream may change slightly once thawed. If you freeze, wrap well and thaw in the fridge overnight.
Conclusion
Making a lemon cream cake recipe that tastes bright and creamy (and still slices cleanly) really comes down to three things I never skip: a well-whipped, tender cake batter, a balanced lemon-to-cream flavor using zest + juice, and smooth, fully beaten lemon cream made with cream cheese or mascarpone. Build it with a thick center layer and a lighter outside layer, then chill until set so the texture locks in. Once you try it, you’ll understand why lemon cream cakes feel like a celebration every time I make one—now it’s your turn.

A Teacher with 5 years of experience. Our Expertise, is reliable to meet your full Academic development needs . Worked on many crafts and construction projects offering services from design to development to deployment over the years. You will find many of my works in my business portfolio on request.