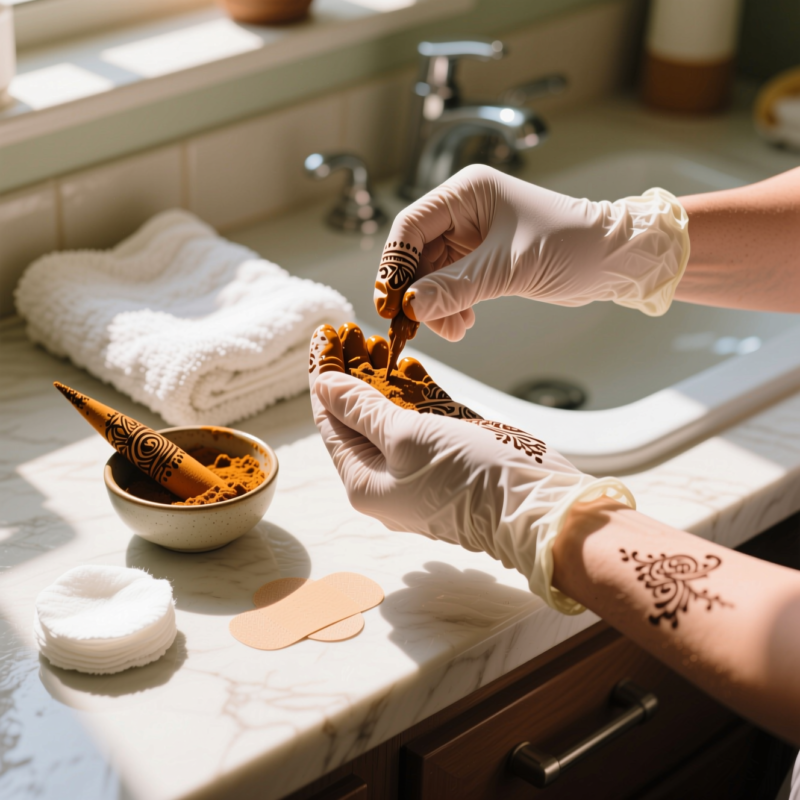
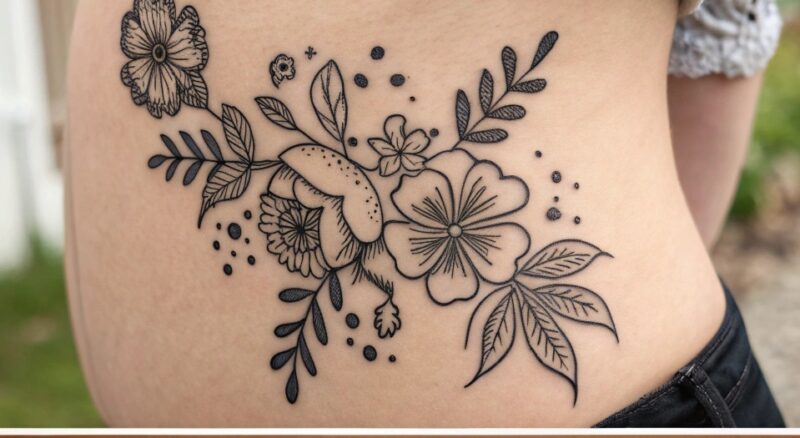

Flower-stomach henna turns your belly into a tiny canvas of art. It’s one of those things that feels both playful and pretty—like instant summer energy. Because floral patterns match the curve of your belly so naturally, they look flattering in so many placements (side, hip, or a lower-belly focal point). I love that it’s temporary, so I can experiment with bold outlines, black-and-white “ink” styles, or soft vine textures without worrying about permanence. If you want a design that looks clean, balanced, and photo-ready, this guide will give you 10 creative ideas plus practical tips for placing, applying, and caring for your henna. Let’s pick your favorite flower concept and make it look amazing.
Key Takeaways
- “Flower stomach” henna usually looks best when floral elements follow your belly’s curve (side blooms, hip bands, or a focal flower with flowy leaves).
- I recommend planning with light sketching and then applying in layers: outline first, then fill.
- Asymmetry often looks more artistic—try an off-center focal flower with balanced smaller buds and leaves.
- Keeping line thickness consistent is the easiest way to make the design look “professional.”
- Protecting the henna while it sets and caring for it after makes a big difference in how long it lasts.
Quick Answer
A “flower stomach” henna design is a floral mehndi pattern placed on your belly area—often along the side, across the hip/waist line, or anchored by one main flower with surrounding buds and leaves. Choose a focal flower idea, match the stem direction to your body curve, outline first, and fill last for the cleanest look.
What You Need
| Item | Purpose | Notes |
|---|---|---|
| Henna cone (or mehndi applicator) | Apply the design | Use a cone with a steady tip so lines stay controlled |
| Henna powder (if mixing) | Create your paste | Make sure it’s ready to use before starting (not watery) |
| Tissue or cotton pads | Cleanup + small corrections | Don’t wipe over fresh lines too much—wait until slightly set if needed |
| Mild soap + water | Clean the skin area | Dry fully before applying |
| Shaping pencil / temporary eyeliner (optional) | Light sketch/placement guide | Great for planning placement without committing |
| Ruler-free measuring mindset | Consistent spacing | You’ll eyeball symmetry—don’t over-stress perfect matching |
| Plastic wrap or breathable cover (optional) | Protect while it sets | Helpful if you need to avoid smudging |
| Moisturizer (after henna sets) | Comfort + longevity | Use once the henna has fully set (timing depends on your process) |
| Cotton swabs | Touch-ups | Best for tiny corrections after initial drying |
Step 1: Pick Your “Flower Stomach” Placement (This Changes Everything)
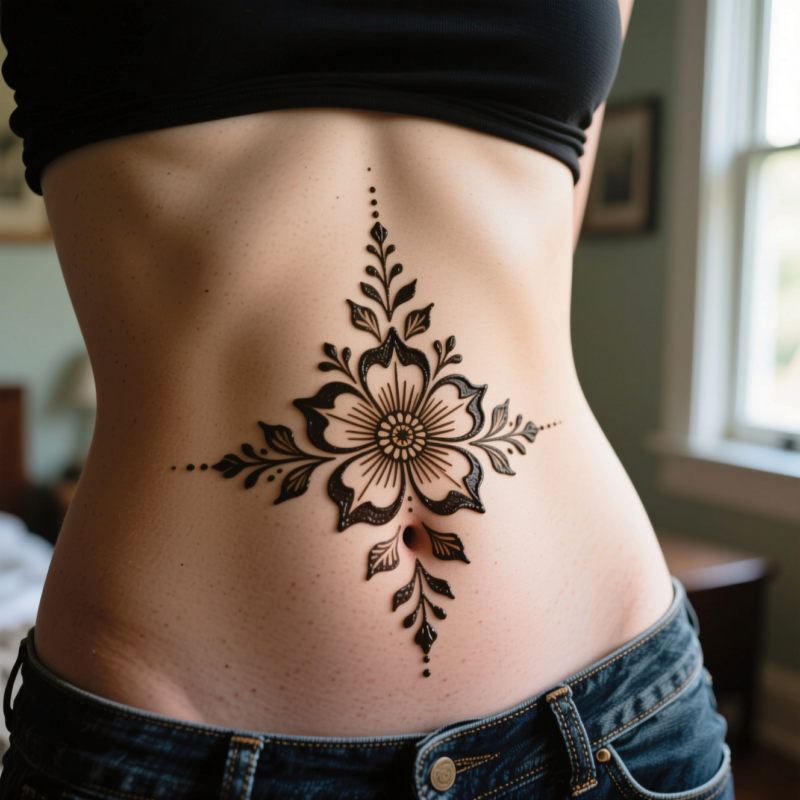
Before I even touch the cone, I decide where the design will live. Most “flower stomach” inspiration focuses on one of these common placements:
- Side of belly: Floral motifs curve from the side toward the waist. This usually looks extra natural because it follows your body’s line.
- Lower belly near the hip: A focal flower sits lower, with leaves or buds extending outward so it still shows when you move.
- Hip-to-waist floral band: Think of it like a horizontal garland—small blossoms, dots, and leaves stretched across the hip line.
If you’re unsure, I start with the side-of-belly option because it’s the easiest to make flow nicely with minimal gaps.
Step 2: Plan the Outline with a Quick “Belly Map”
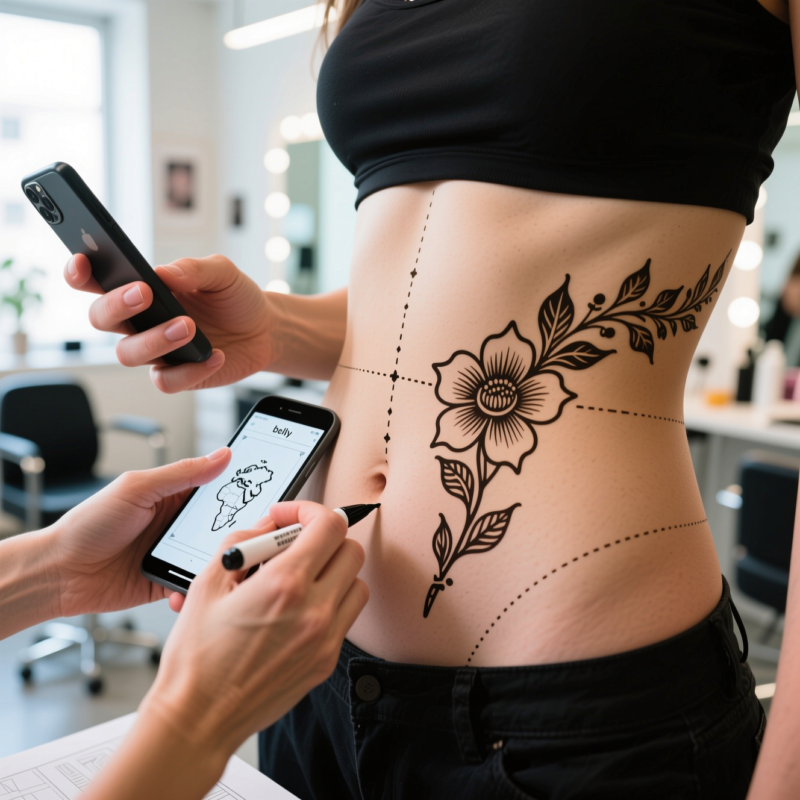
This is where I save myself from uneven spacing. I use one of two methods:
- Light sketch: I draw a faint guide line where the stem or vine will go (optional temporary eyeliner works great).
- Dot guide: I place a few tiny dots to mark where the main flower and supporting buds will go.
Key idea: your belly is curved, so I treat the design like it’s wrapping around you—not like it’s sitting flat. That’s why leaf tips often look best when they “bend” slightly toward your waist.
Also, I keep in mind that asymmetry can look amazing. If Pinterest inspiration has taught me anything, it’s that a design doesn’t have to be perfectly mirrored to look beautiful. (It often looks better when one side is a bit stronger.)
Step 3: Apply in the Right Order (Outline → Fill → Details)
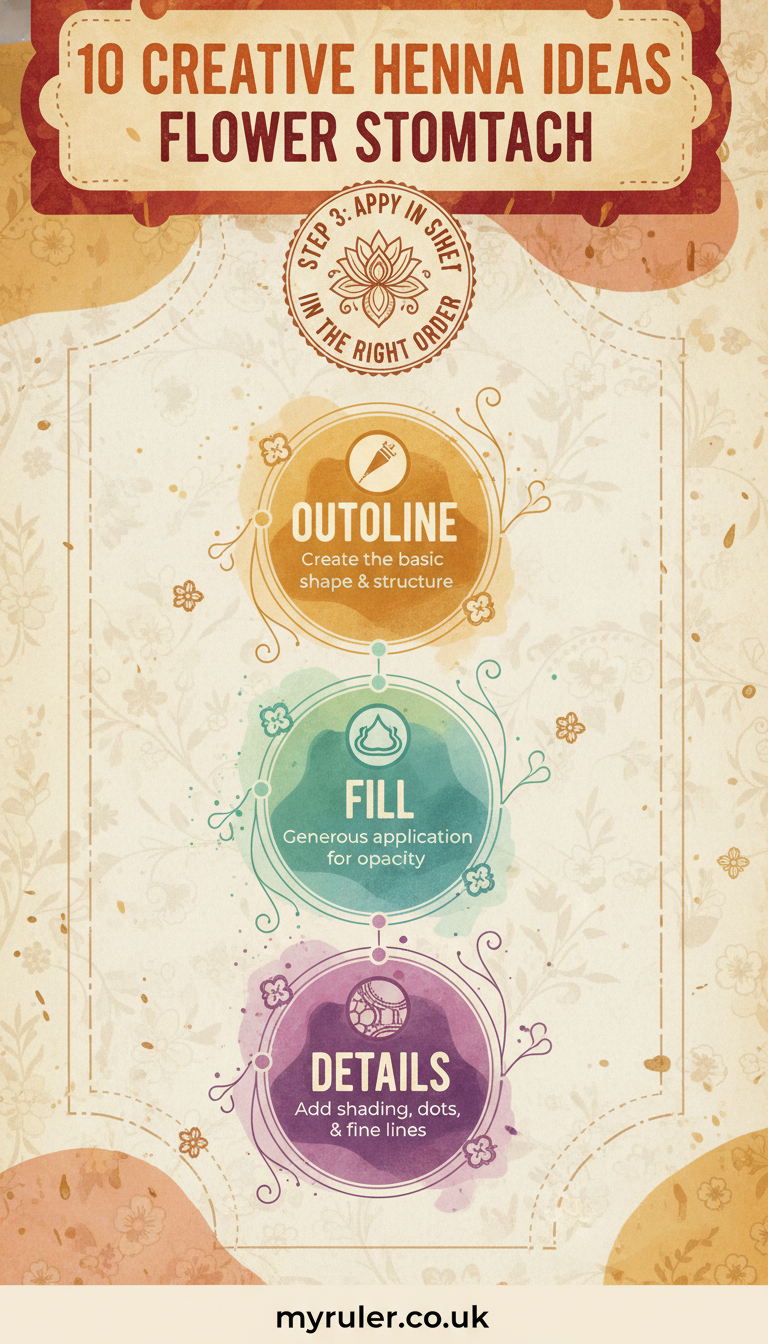
To keep everything clean, I use this order every time:
- Outline first: I start with the main flower outline and the main stem/leaf shapes.
- Fill lightly: If I’m adding fill (or dot patterns), I do it after the lines are laid down.
- Add small extras last: Tiny buds, dots, and swirl curls go at the end so they don’t smear into bigger shapes.
If you rush and start filling right away, your lines can blur—especially on the belly where skin stretches a bit when you move.
Step 4: Try Idea #1 — Side Bloom Connector
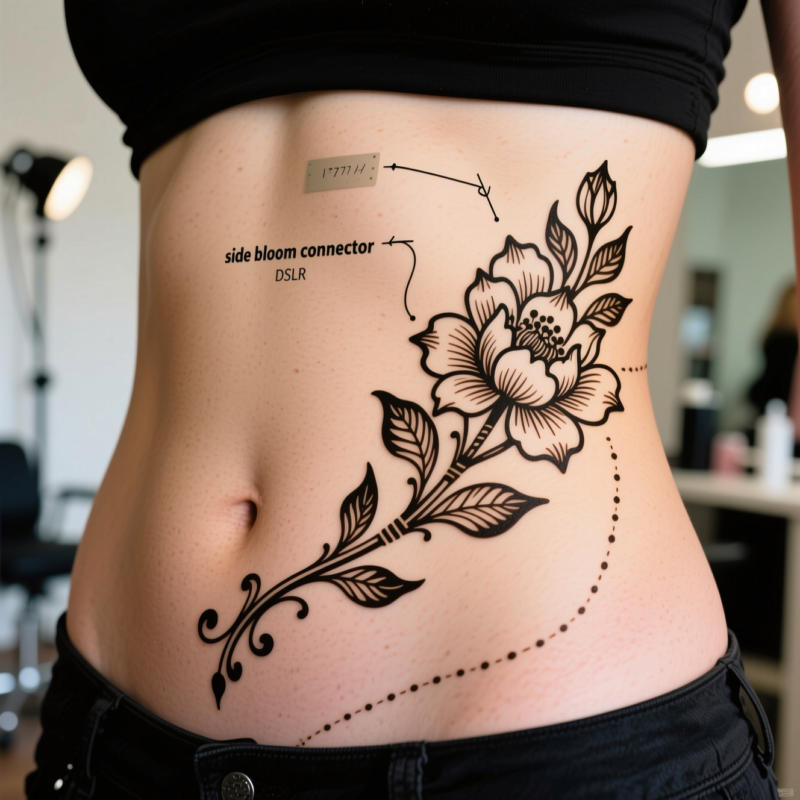
This is one of my go-to flower stomach styles because it looks classy and effortless.
How I do it:
- Place one larger flower on the side of your belly.
- Draw leaf tendrils that curve down and toward your waist.
- Add 2–3 smaller buds between the larger flower and the leaves for a smooth transition.
Why it works: The big flower is the focal point, and the leaves create a “path” that naturally follows the curve of your stomach.
Step 5: Try Idea #2 — Hip-to-Waist Floral Band
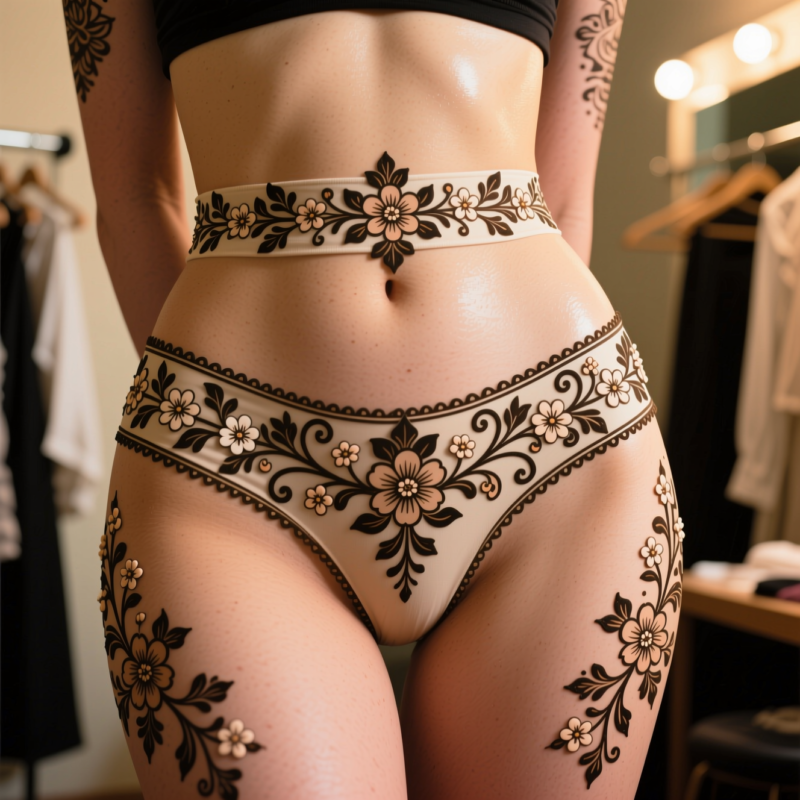
If you want something that looks like a delicate belt of flowers, this one is for you.
How I do it:
- Draw a gentle horizontal arc where the band will sit.
- Add small blossoms and buds along the band.
- Include a few leaf clusters so it doesn’t look like random dots.
Pro tip: Keep the flowers mostly the same size, then make one or two slightly bigger so the band has depth.
Step 6: Try Idea #3 — Black-and-White Branch & Bloom Look
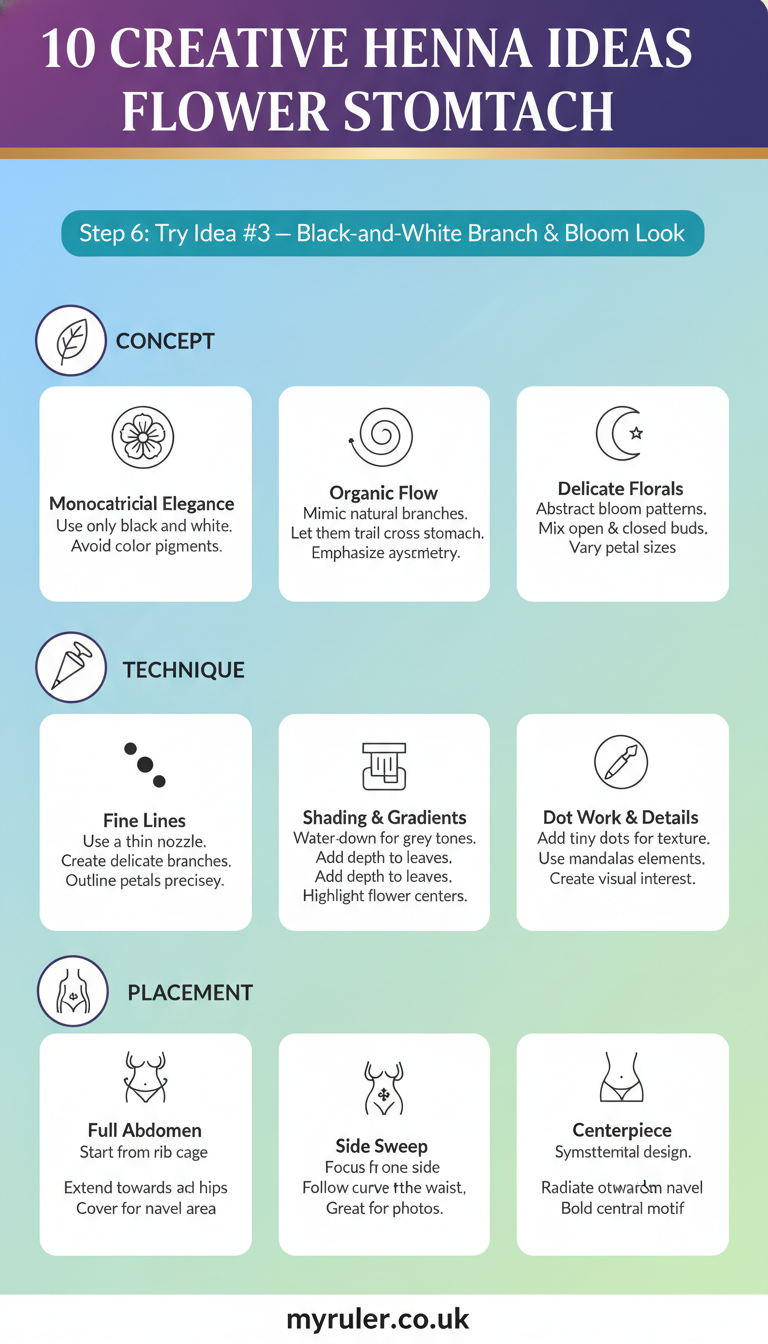
Even if you’re using only henna, you can create that “ink drawing” vibe.
How I do it:
- Draw a thin branch that rises diagonally.
- Add one or two prominent blooms (like you’re placing blossoms on a branch).
- Leave some empty space so the branch looks airy.
Why it’s cool: This style looks modern and clean, and it’s easier to make neat lines because there’s less “filling” to worry about.
Step 7: Try Idea #4 — Center-Point Flower with Surrounding Dots
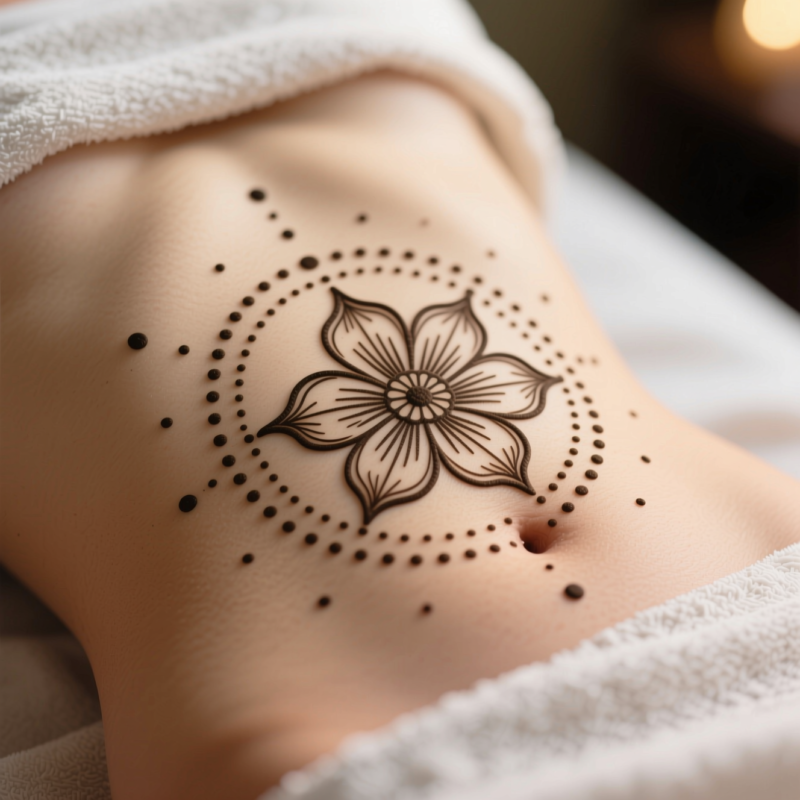
This is perfect if you want a focal flower but don’t want a full floral sweep across your belly.
How I do it:
- Place a focal flower near mid-lower belly (slightly off-center looks great).
- Add small dot clusters around it—like tiny petals made of dots.
- Add a couple of micro leaves or commas to connect the dots to the flower.
My favorite trick: Use fewer elements, but place them thoughtfully. Negative space makes the flower pop.
Step 8: Try Idea #5 — Stacked Petal Cluster (Diagonal Asymmetry)
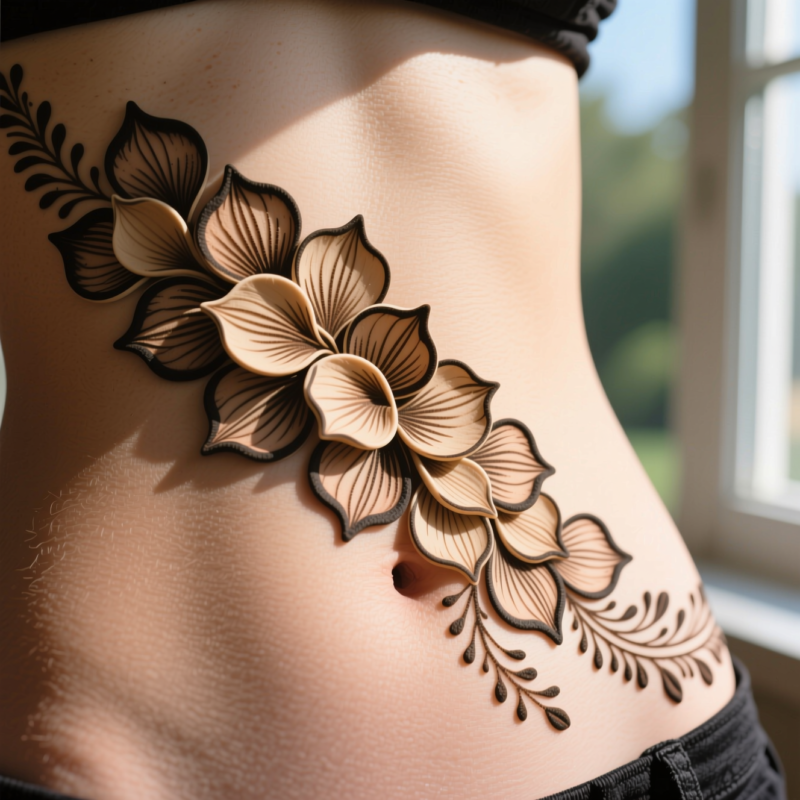
If you want something bold but not too complicated, I love a stacked-petal design.
How I do it:
- Create two medium floral clusters positioned diagonally (not directly above each other).
- Connect them with a thin vine or 1–2 curved lines.
- Finish with a couple of tiny buds at the edges.
Why it looks artistic: Diagonal asymmetry feels intentional and “designed,” not accidental.
Step 9: Try Idea #6 — Swirl-Framework Floral Corner
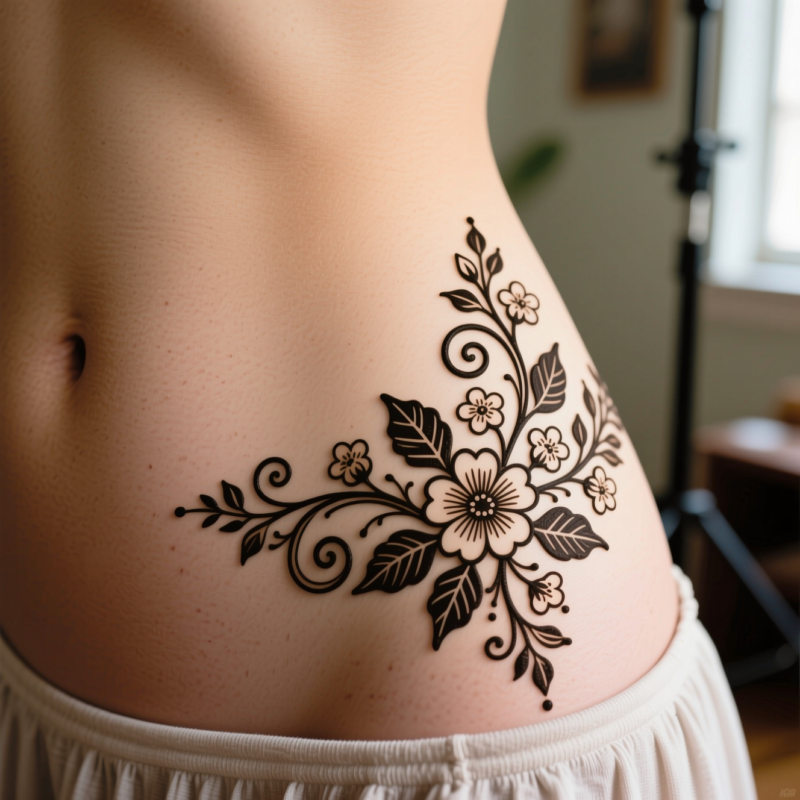
This one uses swirls like a frame, so your design looks structured.
How I do it:
- Start with a few swirls (curvy loops) along one side area.
- Put flowers near the “corner points” where the swirls end.
- Add small leaves in between swirl gaps.
Best placement: Side of belly or upper hip region. The swirl framework gives the pattern a clear shape.
Step 10: Try Idea #7 — Focal Flower + Scattered Buds
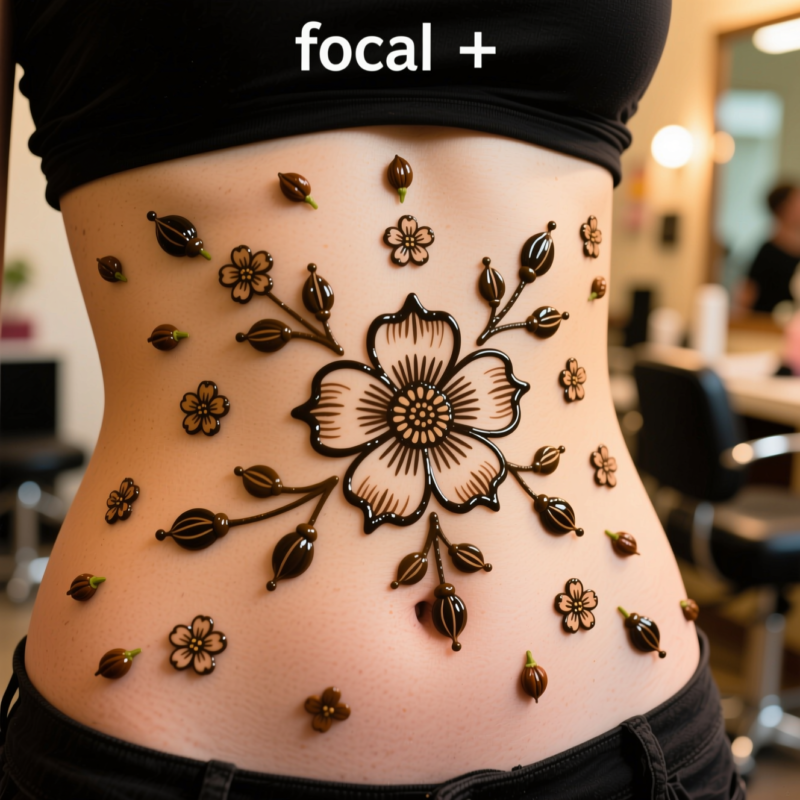
This is a classic Pinterest-style layout: one main flower with mini followers.
How I do it:
- Make a main flower slightly larger than everything else.
- Add 5–8 smaller buds/mini-leaves extending outward like a bouquet.
- Keep the buds from crowding—leave some breathing room.
Why it works: Your eyes go to the main flower first, then glide through the smaller details.
Step 11: Try Idea #8 — Laurel/Vine Fringe Effect
If you want a soft, elegant look, try a vine wrapping and finishing with a fringe.
How I do it:
- Draw a light vine that curves around your belly area.
- End the vine with a “fringe” of small leaves (like a gentle taper).
- Use 1–2 small flowers at the start of the vine, not everywhere.
Cool factor: This style looks romantic and natural, like it grew there.
Step 12: Try Idea #9 — Bold Outline Flowers with Minimal Fills
Sometimes less is more. I use this when I want clean results with a graphic look.
How I do it:
- Use a thicker outline for your flower petals.
- Skip heavy filling; add only small dot or line accents inside.
- Make leaves with simple outlines and minimal interior detail.
Why it’s great: It hides small mistakes because the bold outlines guide the design.
Step 13: Try Idea #10 — Theme-Mix Accent (Floral + Playful Texture)
Want something a little different without losing the floral vibe? This is the “theme mix” approach.
How I do it:
- Keep flowers as the core (main blooms + leaf accents).
- Add a subtle non-floral texture only in border areas, like tiny swirl trails or patterned dots.
- Avoid adding too many “extra themes,” or it can overpower the flowers.
Rule I follow: If the border texture gets too busy, I reduce it. Your flower stomach should still look like it’s mainly flowers.
Tips
- Take your time. This is the biggest difference between “cute” and “wow.” Rushing usually causes uneven line thickness and smudges.
- Embrace asymmetry. If one side has a larger flower, balance it with more small buds or leaf clusters on the other side.
- Match stem direction to your belly curve. Stems that bend wrong make the design feel off even if the flowers are pretty.
- Keep line thickness consistent. Thicker lines for outlines, thinner lines for stems/leaves is a simple way to look polished.
- Let stages dry before adding overlaps. If you overlap wet lines, they merge and blur.
- Use negative space on purpose. Empty skin areas help the floral pattern stand out.
FAQ
How long does henna “flower stomach” art usually last?
It depends on your skin, how much you sweat, and how you care for it. With good aftercare and minimal washing/scrubbing right away, you’ll usually get several days of visible design. Henna fades gradually, so it won’t disappear overnight.
Can I do a flower stomach design even if I’m a beginner?
Yes—start with one focal flower plus a few buds/leaves (Ideas #4 or #7). Beginner-friendly designs focus on fewer elements and clearer placement.
Should I use red henna or black henna?
You can use either depending on your cone color and preference. Classic mehndi looks are often darker/red-brown, while “black-and-white branch” vibes can be achieved through style choices (thin branching, lots of empty space, minimal filling), not just color.
What if my flowers look uneven on one side?
That’s normal! Henna designs often look more natural when they’re not identical. Add a few extra buds or leaves to the lighter side, or make one leaf cluster slightly larger to balance the visual weight.
What’s the safest way to avoid smudging?
Outline first, don’t touch the fresh design, and consider letting it set between steps. Also, wear loose clothing so the henna doesn’t rub against fabric.
Can I hide or adjust the design if I make a mistake?
Yes. Once the lines are slightly set, you can add small leaves/dots to cover tiny gaps. If it’s a bigger mistake, I usually adapt the layout—turn the “problem area” into a leaf cluster or extra swirl rather than trying to erase it.
Conclusion
Flower stomach henna is one of my favorite ways to wear art on my body—because floral motifs naturally follow the belly’s curve and look great in so many layouts. Pick a concept you love (like a side bloom connector, a hip-to-waist band, or a single focal flower with scattered buds) and then customize it with your own size, spacing, and tiny leaf details. Most importantly, I’ve learned that taking your time and embracing intentional asymmetry makes everything look more creative and more “designed,” not rushed. So choose one idea from the 10 above, plan lightly, apply outline first, and let your flowers do the talking.

A Teacher with 5 years of experience. Our Expertise, is reliable to meet your full Academic development needs . Worked on many crafts and construction projects offering services from design to development to deployment over the years. You will find many of my works in my business portfolio on request.