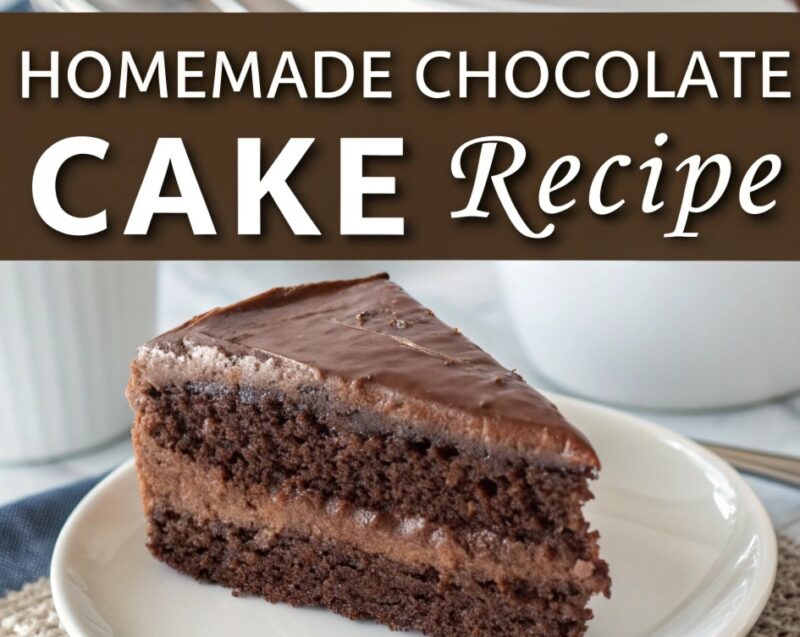

Chocolate cake can be either dreamy or disappointing—mine is always the “never dry” kind. If you want that deep chocolate flavor with a soft, tender crumb that stays moist for days, you’re in the right place. This guide shows you the exact levers that make moisture last: using buttermilk, getting the fat balance right (oil + butter), measuring flour carefully, mixing without overworking the batter, and adding a simple syrup “moisture insurance” step. I also include fixes for the most common reasons chocolate cake turns dry, so you can troubleshoot fast and bake with confidence. Keep reading, because by the end you’ll know how to bake a moist chocolate cake you’ll want to make again and again.
Key Takeaways
- “Moist” chocolate cake comes from tender crumb (buttermilk), smart fat (oil + butter), and accurate flour measuring.
- Too much flour is the most common cause of a dry, tough crumb.
- Mix wet into dry slowly and stop as soon as the batter is smooth—overmixing can lead to dryness.
- Add a small extra amount of oil for extra moisture if you want a more fudgy bite.
- For layered cakes (or if you’re worried about drying), brush with a simple syrup soak after baking.
Quick Answer
To make a chocolate cake recipe moist, I focus on these essentials: full-fat buttermilk for a soft crumb, a combination of oil and butter for lasting moisture, accurate flour measurement (preferably by scale), gentle mixing (stop when smooth), and not overbaking. If I want extra protection—especially for layers—I brush the cooled cake with a quick simple syrup soak.
What You Need
| Item | Purpose | Notes |
|---|---|---|
| Full-fat buttermilk | Creates a tender, soft crumb and helps moisture | Real buttermilk is best; if substituting, use a reliable method |
| All-purpose flour | Provides structure | Measure carefully—too much makes cake dry (weigh if possible) |
| Unsweetened cocoa powder | Delivers deep chocolate flavor | Use unsweetened cocoa for best balance |
| Granulated sugar | Sweetness + moisture retention | Whisk evenly with dry ingredients |
| Baking soda | Helps lift and develop flavor | Works with acidic ingredients like buttermilk |
| Baking powder | Extra lift | Use both baking soda + baking powder as your recipe specifies |
| Salt | Balances sweetness | Don’t skip it—salt boosts chocolate flavor |
| Eggs (with option for extra yolk) | Tenderness + fudgier texture | Extra yolk = richer, more fudgy moisture |
| Neutral oil (plus butter) | Lasting moisture + richness | A small oil boost can make it extra moist |
| Milk | Adds hydration and tenderness | Use what your recipe calls for (often with wet ingredients) |
| Vanilla extract | Enhances flavor | Optional but makes a noticeable difference |
| Boiling water (or hot coffee) | Intensifies cocoa and loosens batter | Batter will be thin—don’t add more flour |
| Parchment paper | Prevents sticking and drying at edges | Grease and line the pan for best results |
| Simple syrup (optional) | Moisture-proofing after baking | Equal parts sugar + water, simmer until dissolved |
Step 1: Start With “Moist” Ingredients (Not Just Vibes)
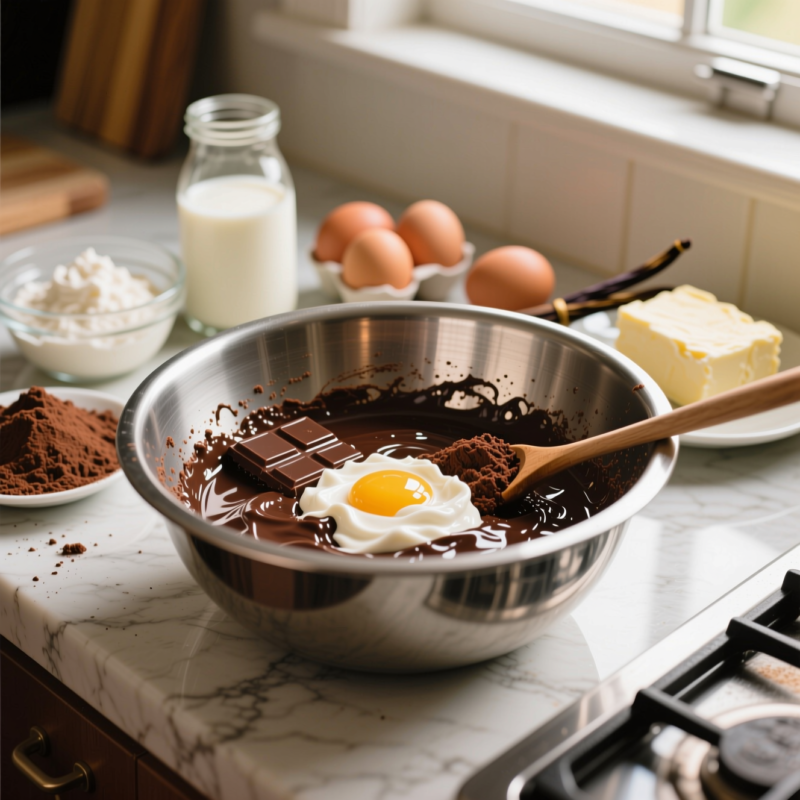
When I say “moist,” I mean the cake stays soft after cooling, doesn’t dry out after a day or two, and slices cleanly without feeling crumbly or stiff. The best way I’ve found to get that is to build the batter around moisture-friendly ingredients.
My go-to moisture team is:
- Full-fat buttermilk for a tender crumb
- Oil + butter for both richness and lasting softness
- Enough eggs for structure that still feels fudgy
If your current cakes are drying out, it’s usually not one thing—it’s the combo. For example, buttermilk helps tenderness, but if flour is overmeasured or the cake is overbaked, the tenderness can’t save you.
Step 2: Measure Flour the Way Moist Cake Demands
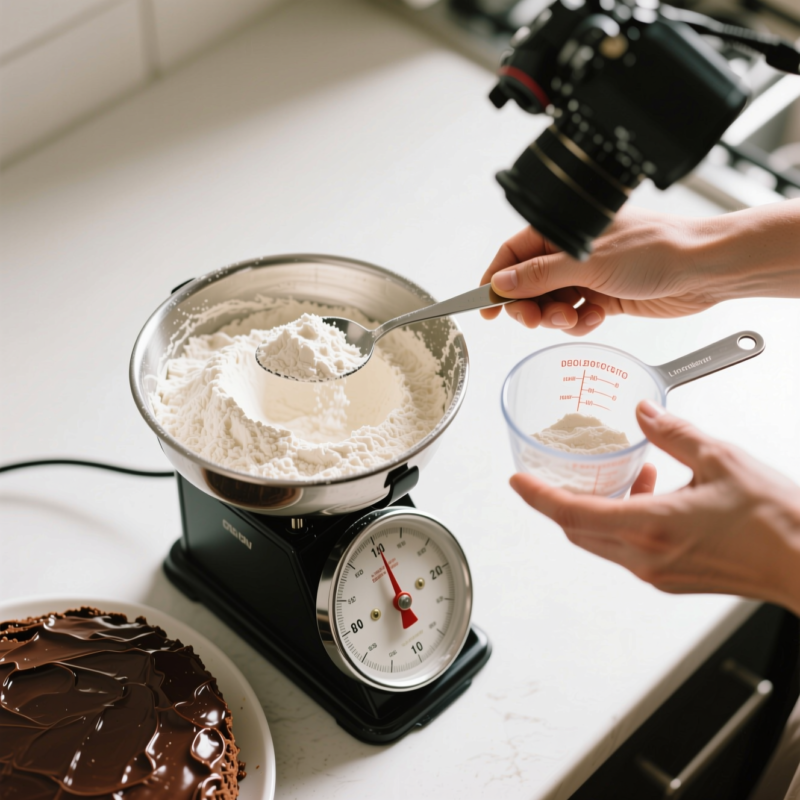
If there’s one step that separates “good” from “wow, that’s moist,” it’s flour measurement.
Too much flour makes chocolate cake dry and firm because it tightens the crumb. I strongly prefer using a kitchen scale, because it removes guesswork. If you don’t have one, here’s what I do to avoid over-flouring:
- Fluff flour with a spoon
- Spoon it into the measuring cup
- Level it off with a knife
I also treat flour like it’s easy to pack by accident. If you scoop directly with the cup, you can add way too much.
Step 3: Whisk the Dry Ingredients Until They’re Even
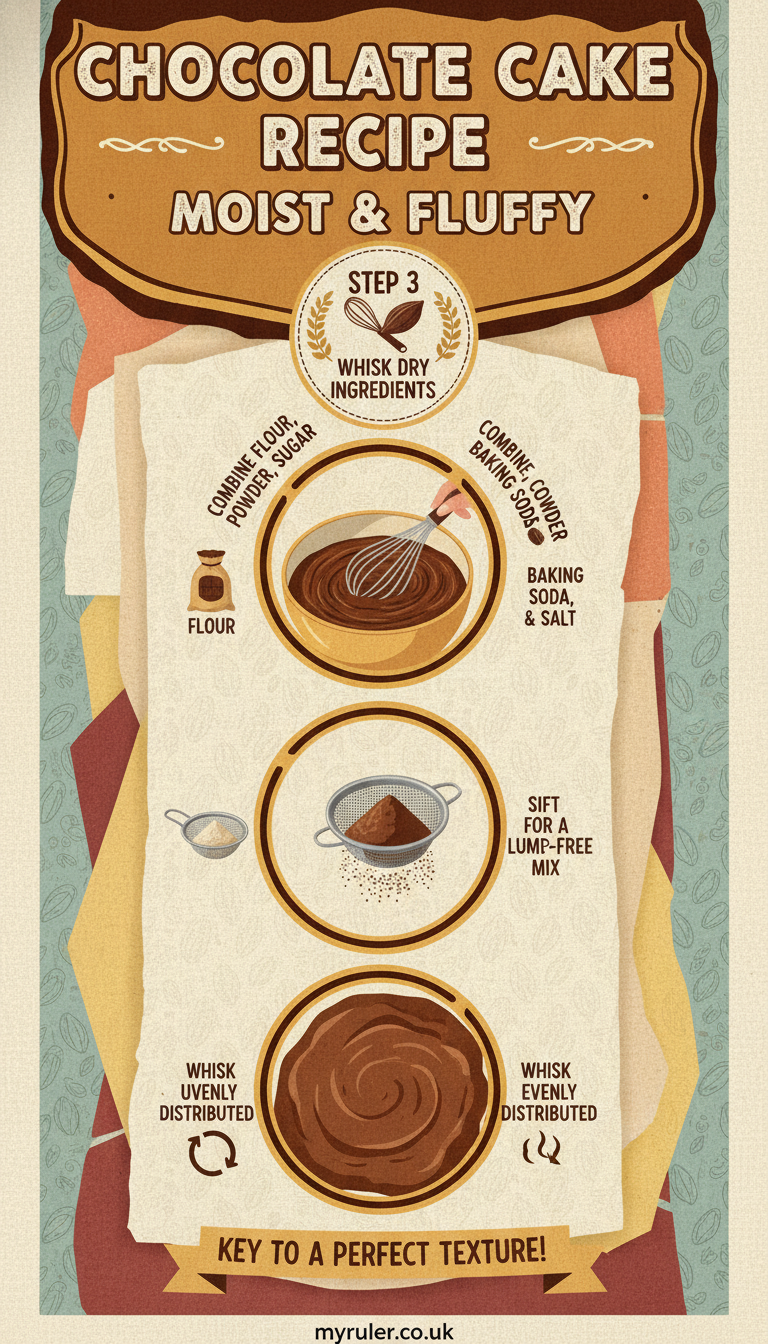
I always whisk the dry ingredients in one bowl so everything is evenly distributed before the wet hits the flour. This helps the cake rise evenly and prevents dry pockets.
In my bowl I whisk:
- flour
- cocoa powder
- sugar
- baking soda
- baking powder
- salt
This step takes just a minute, but it makes the batter behave better.
Step 4: Whisk the Wet Ingredients Separately (Then Combine Gently)
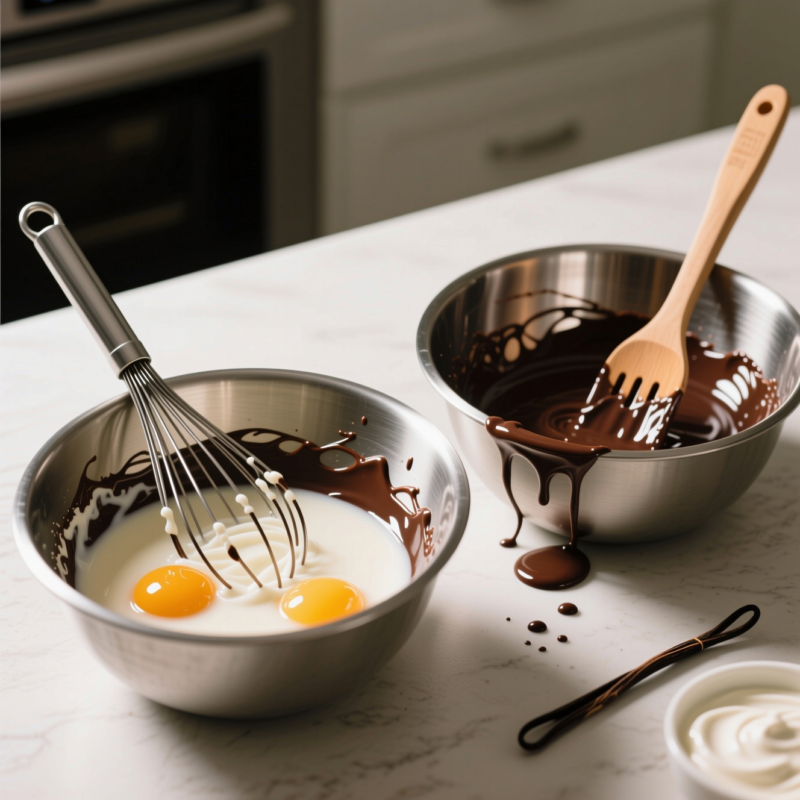
In a second bowl, I whisk the wet ingredients until they look smooth and uniform. Typically that includes:
- eggs
- buttermilk
- milk (if called for)
- oil (and sometimes melted butter, depending on your method)
- vanilla extract
Optional but powerful for a fudgier result: an extra egg yolk. When I add it, I usually notice a richer, moister texture.
Step 5: Combine Wet Into Dry Slowly (Don’t Overmix)
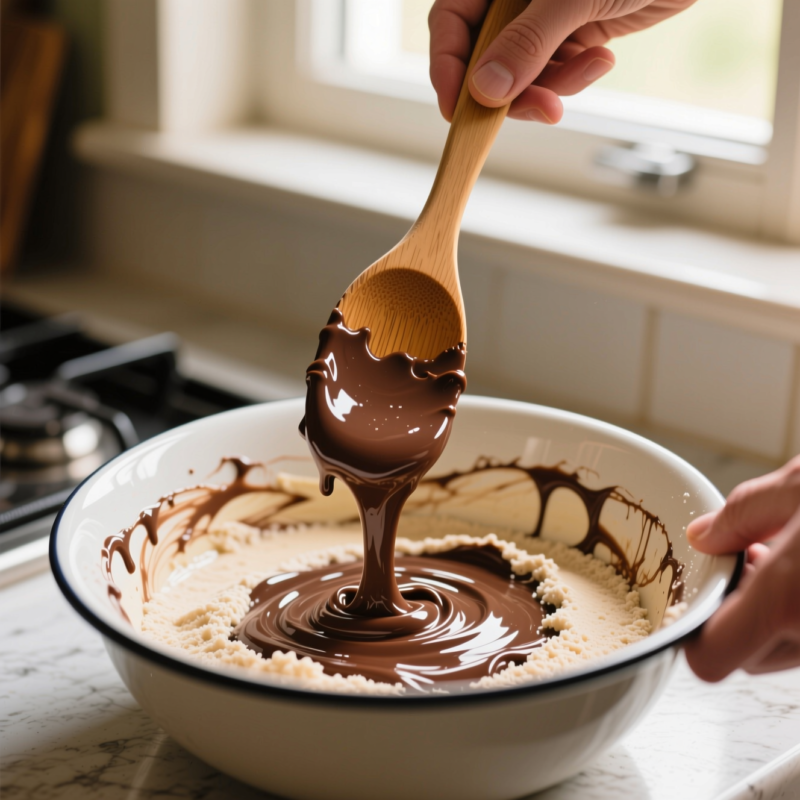
Now I bring the wet bowl to the dry bowl and mix gently. I add the wet into the dry slowly and stop when the batter is smooth.
Overmixing is a sneaky cause of dryness. You don’t want to whip it like cake batter is a science project—just get the mixture combined.
One more thing that might surprise you: many moist chocolate cake batters include boiling water (or hot coffee). The batter will look very thin. That’s normal. When I first learned this, I almost panicked and added more flour—but I resisted, and the cake came out tender.
Step 6: Prep the Pan for Moist Results (Grease + Parchment)
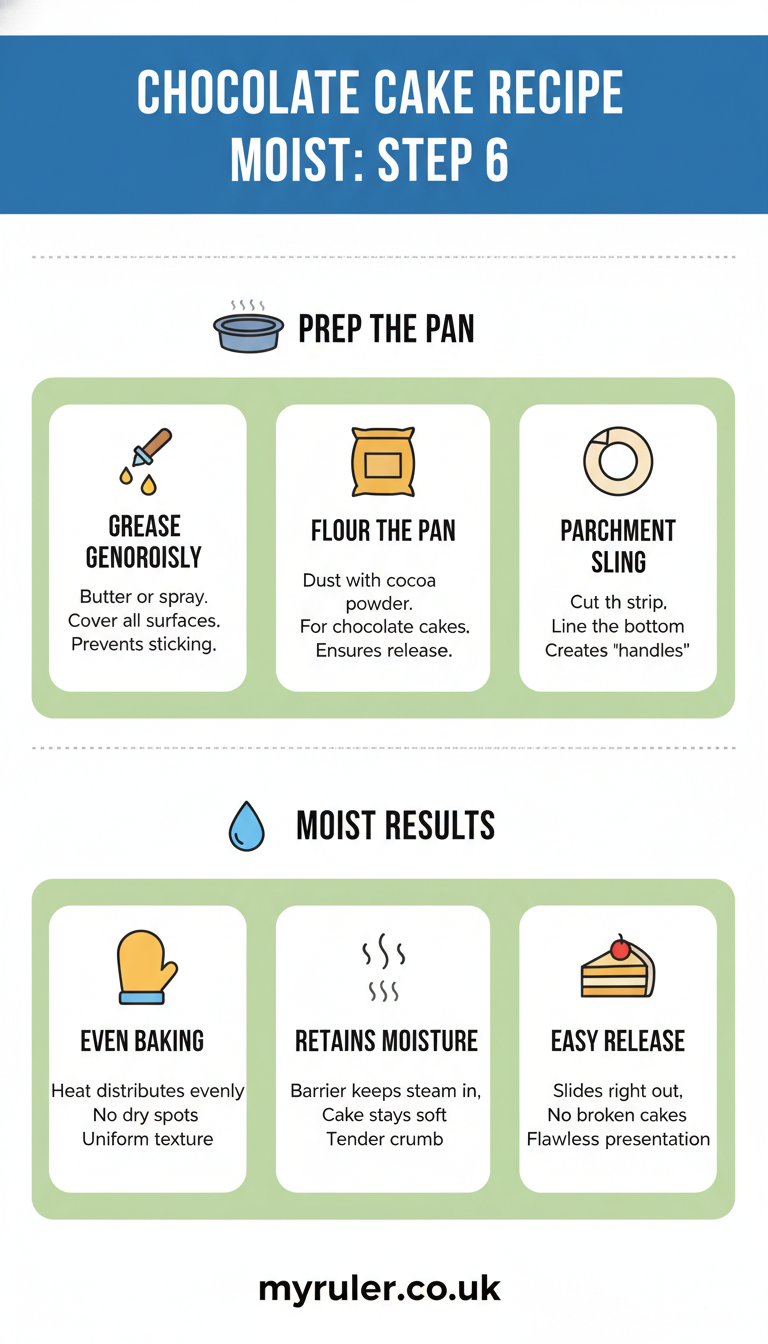
For best texture, I prep my baking pan like it matters—because it does.
I:
- preheat the oven to 350°F
- grease the pan
- line the pan with parchment paper (and grease the parchment if needed)
This helps the cake bake evenly and prevents the edges from drying out or sticking.
Step 7: Bake Until Just Done (Moistness Depends on Timing)
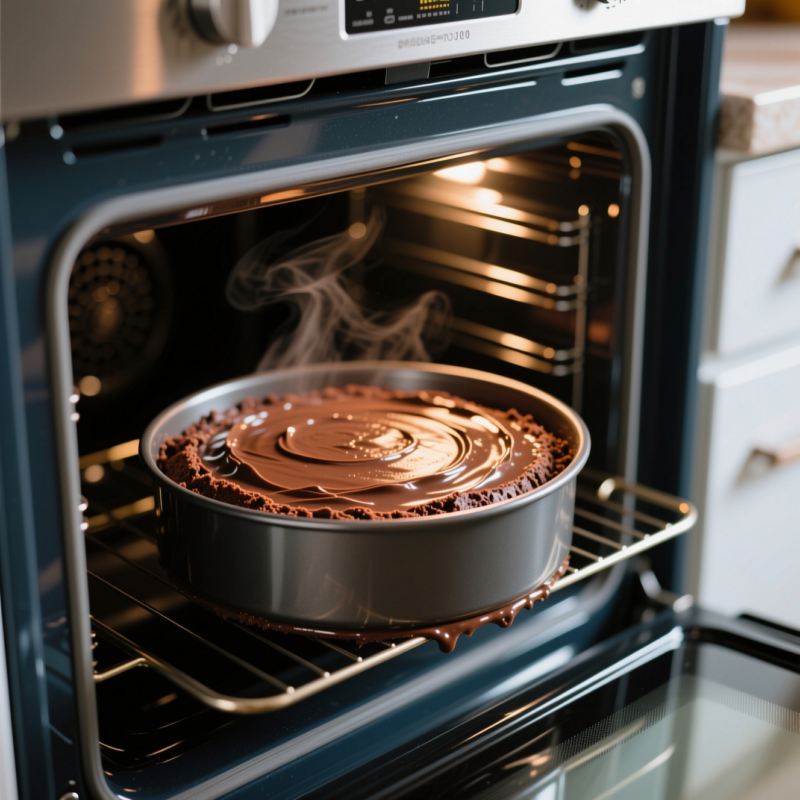
I bake at 350°F, and I treat doneness checks like a moisture safeguard.
Here’s how I tell it’s done:
- the center shouldn’t look wet or jiggly like raw batter
- a toothpick inserted in the center should come out with moist crumbs, not streaks of wet batter
If you overbake, the cake can taste dry even if your ingredients were perfect. I pull mine as soon as it hits that “moist crumbs” stage.
Step 8: Cool Briefly, Then Moisture-Proof With Simple Syrup (If You Want Extra-Extra Moist)
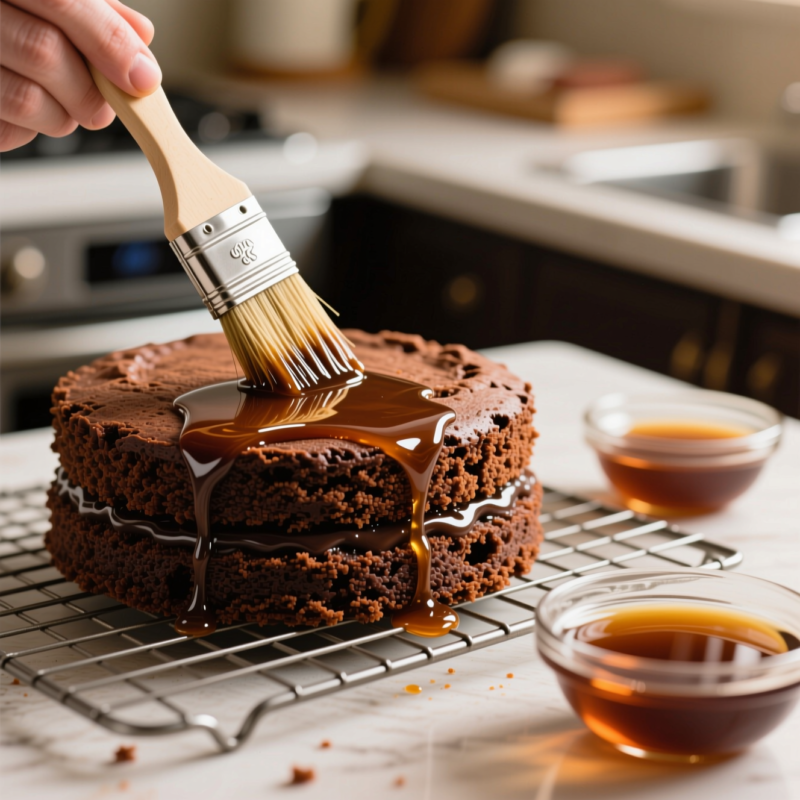
If you’re making a layered chocolate cake—or you know you love cakes that stay soft even after refrigeration—this step is my secret weapon.
I brush layers with a simple syrup soak:
- Mix equal parts water and sugar
- Simmer until the sugar fully dissolves
- Let it cool slightly
- Brush or drizzle onto cake layers (as directed)
This syrup acts like a moisture shield. It keeps the crumb from drying out, especially when cakes chill. I’ve even used it when I needed the cake to still taste great the next day.
Step 9: Slice and Store Like a Moisture Pro
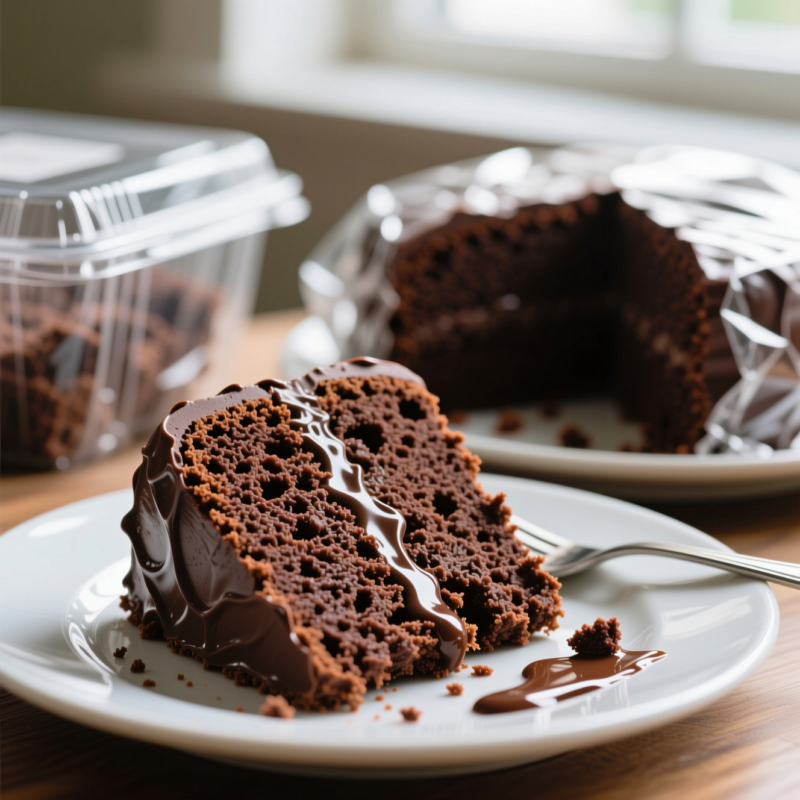
Once baked, I let the cake cool properly before slicing. If I slice too early, steam escapes too fast and the cake can feel less tender.
For storage, I recommend:
- wrapping the cooled cake well to prevent drying
- storing at room temperature for short-term, and refrigerating if your recipe or frosting needs it
- if it’s syrup-brushed, it typically stays softer in the fridge
When I want maximum freshness, I keep the cake sealed so it doesn’t “dry out from the air,” which is what usually happens over time.
Tips
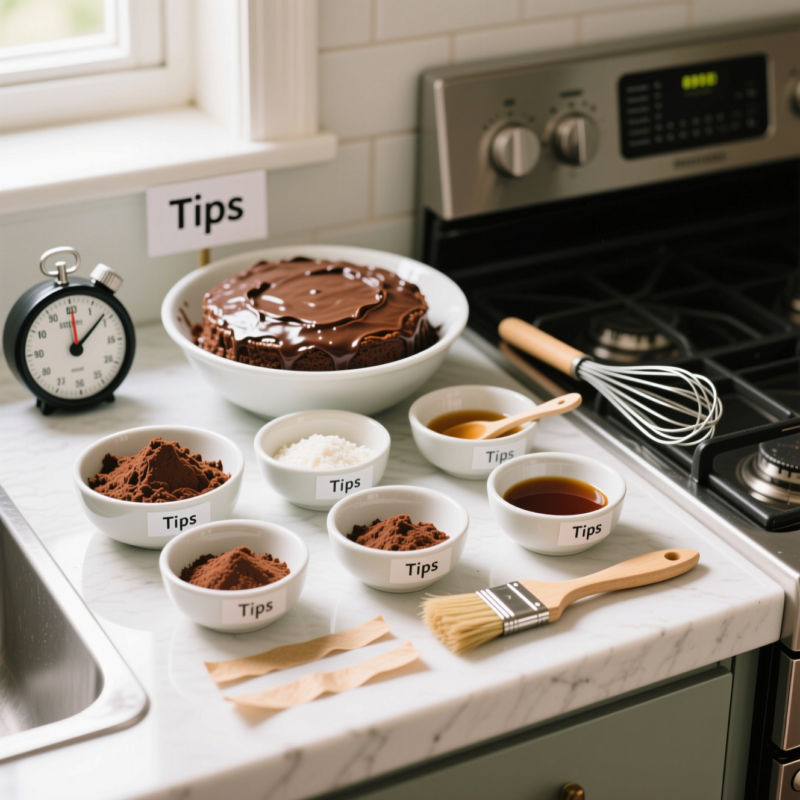
- Use buttermilk when you can. It gives a soft, tender crumb and helps retain moisture.
- Don’t overmeasure flour. If you can, weigh it. If not, spoon and level.
- Mix until smooth, then stop. Gentle mixing = better texture.
- Consider adding a small extra ounce of oil if you like an extra-moist, fudgier cake.
- Add an extra egg yolk if you want that richer bite.
- Use parchment so edges don’t over-dry or stick.
- Embrace the thin batter. If your batter includes boiling water/hot coffee, it should look runny before baking.
FAQ
Why does my chocolate cake turn dry even when I follow the recipe?
The most common reasons are too much flour (from packing or scooping), overmixing, or overbaking. Chocolate cake can look done on the outside but dry in the center if it’s baked too long. Next time, measure flour carefully and start checking for doneness a few minutes early.
Is buttermilk really necessary for a moist chocolate cake?
Buttermilk isn’t the only way to bake chocolate cake, but it’s one of the biggest “moisture levers.” It creates a soft, tender crumb and improves texture over time. If you don’t have it, use a proven substitute method rather than skipping the acid-based ingredient.
Can I make this cake extra moist without changing everything?
Yes. Two easy upgrades:
- Add a small extra amount of oil (like an extra ounce, if your recipe suits it).
- Brush with simple syrup after baking (especially helpful for layered cakes or fridge storage).
What’s the “thin batter” step people mess up?
If your recipe includes boiling water (or hot coffee), the batter will be very thin. That’s normal and helps bloom cocoa and loosen the batter so it bakes into a tender crumb. Don’t add more flour to thicken it.
How do I know when the cake is done without overbaking it?
I look for moist crumbs on a toothpick and avoid a fully wet batter test. I also trust timing—if your oven runs hot, start checking early. Overbaking is the fast track to dry cake, even if your ingredients were perfect.
Can I make an egg-free version and still keep it moist?
You can, but you’ll want a reputable egg replacer or an approach like applesauce substitution. The goal is to keep tenderness and moisture without creating a dense crumb. When I do egg-free versions, I focus on maintaining the batter’s hydration and using gentle mixing.
Conclusion
If you want a chocolate cake recipe moist, I’ve learned it comes down to a clear set of wins: full-fat buttermilk for tenderness, oil + butter for lasting moisture, careful flour measuring (no packing!), gentle mixing, and baking only until moist crumbs show up. And if you want to level up even more, brushing layers with simple syrup is like adding an extra layer of protection against dryness—especially in the fridge. Once you try this method, you’ll taste the difference right away, and you’ll feel confident making it again and again.

A Teacher with 5 years of experience. Our Expertise, is reliable to meet your full Academic development needs . Worked on many crafts and construction projects offering services from design to development to deployment over the years. You will find many of my works in my business portfolio on request.