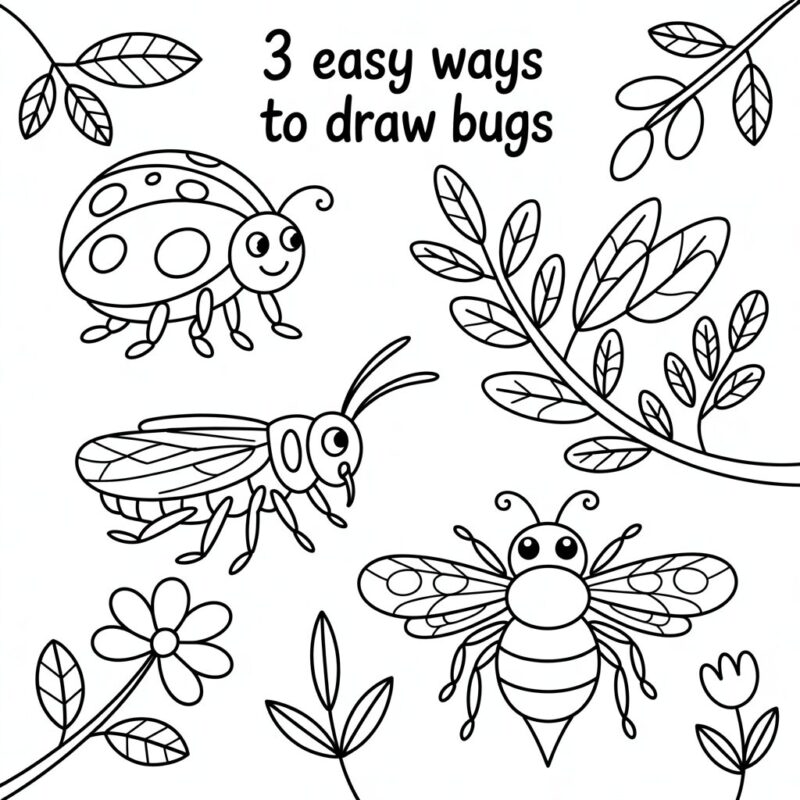
Drawing bugs might sound tricky, but it can be a lot of fun—especially when you break it down into simple steps. In this guide, you’ll learn three easy ways to draw bugs: a cartoon bug, a realistic bug, and a cute bug. Each style uses the same basic ideas at first, then adds its own special touches. You don’t need fancy art tools to start—just a pencil, paper, and a little patience. By following the six steps, you’ll practice shapes, lines, and shading in a way that helps you improve for any subject you choose later.
If you’re new to drawing, don’t worry. We’ll keep things clear and friendly, with tips along the way to help you stay confident. Bugs are great to draw because they come in lots of shapes, sizes, and colors—from a winged beetle to a tiny ant. By the end, you’ll have three finished bug drawings and a better method to tackle any future drawing project. Grab your pencils, pick a bug style, and let’s begin with Step 1.
Key Takeaways
- Learn three distinct bug drawing styles: cartoon, realistic, and cute.
- Follow a straightforward six-step process that works for all styles.
- Build your art from simple shapes to detailed features.
- Discover style-specific tips for exaggeration (cartoon), texture (realistic), and roundness (cute).
- Practice with simple references and color ideas to bring your bug drawings to life.
Quick Answer
This guide shows you how to draw bugs in three easy ways: cartoon, realistic, and cute. You’ll start with basic shapes, move to the body and antennae, add style-specific features, and finish with shading and color. The steps are shared, but each style adds its own unique look. With practice, you’ll be able to sketch quick bugs or create detailed versions you’re proud of.
What You Need
- Pencil (HB is perfect to start)
- Eraser (a soft one works best)
- Plain paper or sketchbook
- Colored pencils, markers, or crayons (optional for color)
- A ruler (optional for neat lines)
- A small reference collection (photos or simple drawings of bugs)
- A quiet space to draw, with enough light
Having a few reference pictures helps a lot. Look for simple bugs with clear shapes, like beetles, ants, or ladybugs. You don’t need to copy every detail—just use them to guide your shapes and proportions. Remember: the goal is practice and fun, not perfection.
Step 1: Decide Your Bug Style
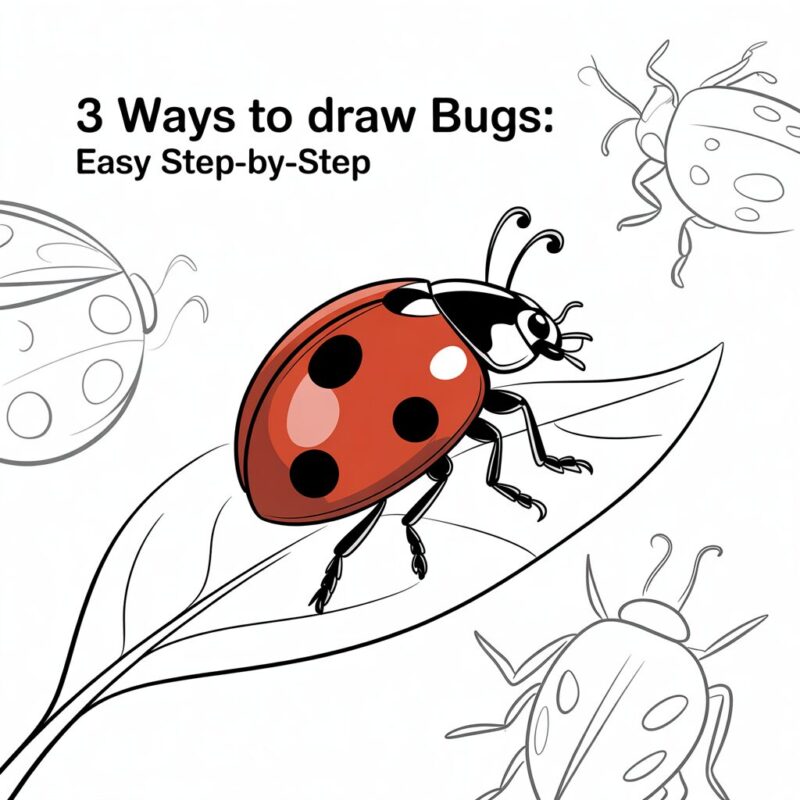
In this first step, you’ll decide which of the three styles you’ll focus on for your drawing session: cartoon, realistic, or cute. You can pick one style and stick with it for the entire drawing, or you can try all three in separate sketches to compare how they feel.
- Cartoon style: Think bold shapes, extra big eyes, a big smile, and rounded edges. The lines can be thicker, and details are simplified to keep the character friendly and easy to read.
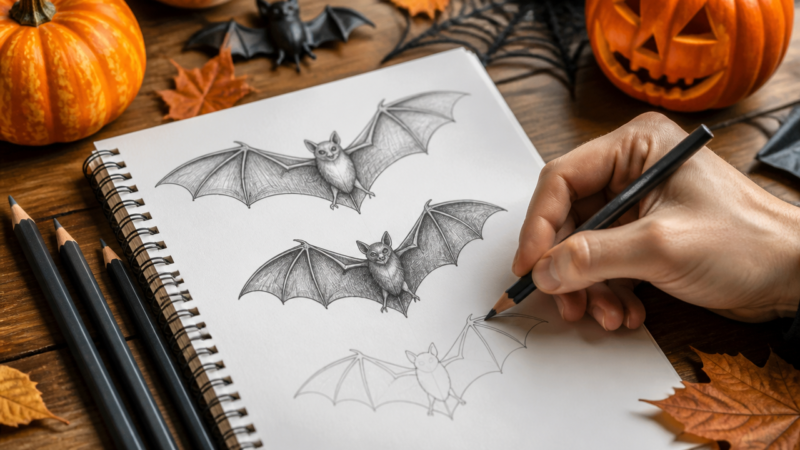
- Realistic style: Focus on accurate body parts, proportions, and textures. Antennae, legs, joints, and the exoskeleton should look believable. Shading should hint at light and form.
- Cute style: Emphasize softness and charm with round shapes, tiny bodies, large eyes, and gentle curves. Colors are often light or pastel, and shading is soft.
Tip: If you’re unsure, start with cartoon—it’s the friendliest and easiest to begin with. You can always switch to realistic or cute in later practice. The important part is choosing a style before you start so your steps stay clear and consistent.
Step 2: Sketch Basic Shapes for All Styles
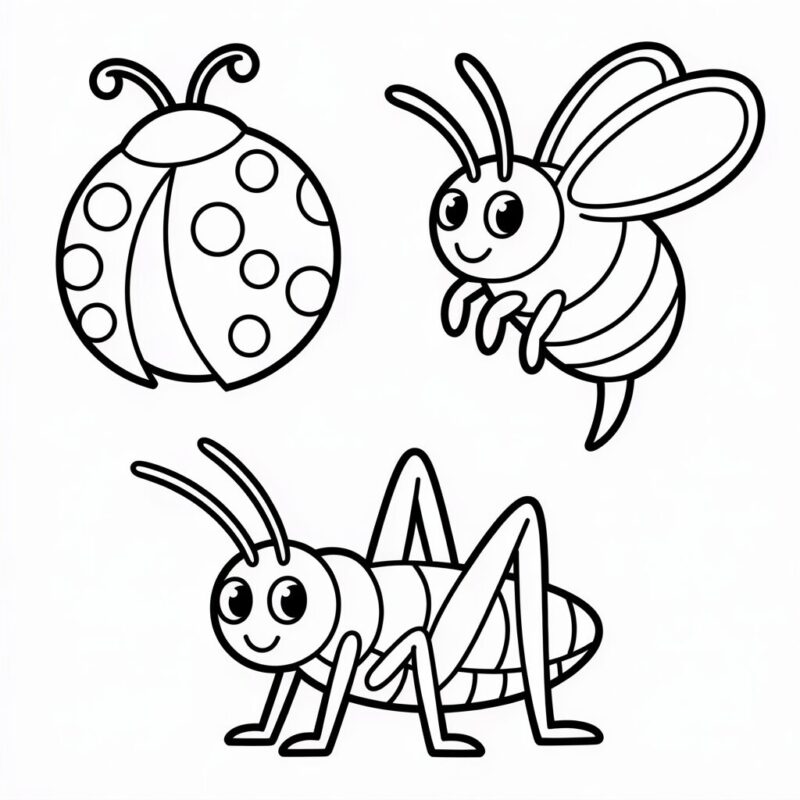
This step lays a simple foundation that works for any bug. You’ll map out the main parts—head, body, and sometimes wings or abdomen—using easy shapes.
- Draw a small circle for the head. Keep it in the upper area so you have space for the body below.
- Draw an oval or larger circle for the thorax (the middle section). The body should look sturdy but not too long.
- Add a larger oval or rounded shape for the abdomen at the back.
- If your bug has wings, lightly sketch an oval or leaf-like shape attached to the thorax.
- Add six simple legs by drawing straight or slightly curved lines coming from the thorax. Don’t worry about every joint yet—just rough lines to show legs.
This step helps you place everything in the right spots. Keep your lines light so you can erase and adjust easily. If you’re drawing a cute or cartoon style, you might make the shapes a bit more rounded. For realistic style, keep them more proportional to real insect anatomy.
Step 3: Outline the Bug’s Body with Simple Shapes
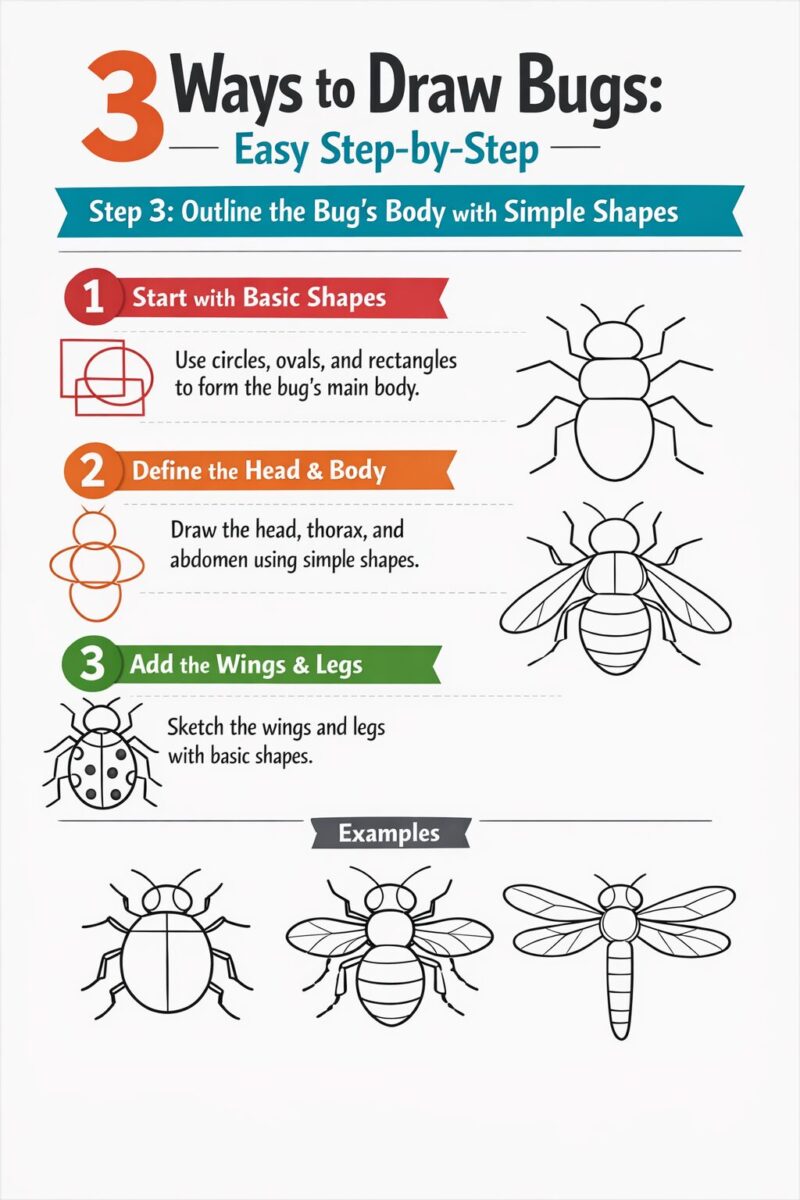
Now you’ll turn those rough shapes into a clean outline, still keeping it simple. This step is about shaping the head, thorax, and abdomen in a way that matches the chosen style.
- Create a smooth outline around the head circle. For cartoon and cute styles, you can make the head larger relative to the body to emphasize expression.
- Connect the head to the thorax with a short neck line or a small spacing. In realistic bugs, you may want a more pronounced thorax with a visible separation.
- Use the thorax to join the abdomen. The abdomen can be a rounded oval behind the thorax, or in some bugs, two connected segments.
- If you’re adding wings, sketch a light, curved shape on or near the thorax. Wings can be transparent in realism or stylized in cartoon or cute versions.
- Re-check proportions. If the head feels too big or the legs look too short, adjust the shapes before moving on.
By this point, you should see a clear bug silhouette. The steps here help you keep the proportions right, no matter which style you choose.
Step 4: Cartoon Style Details
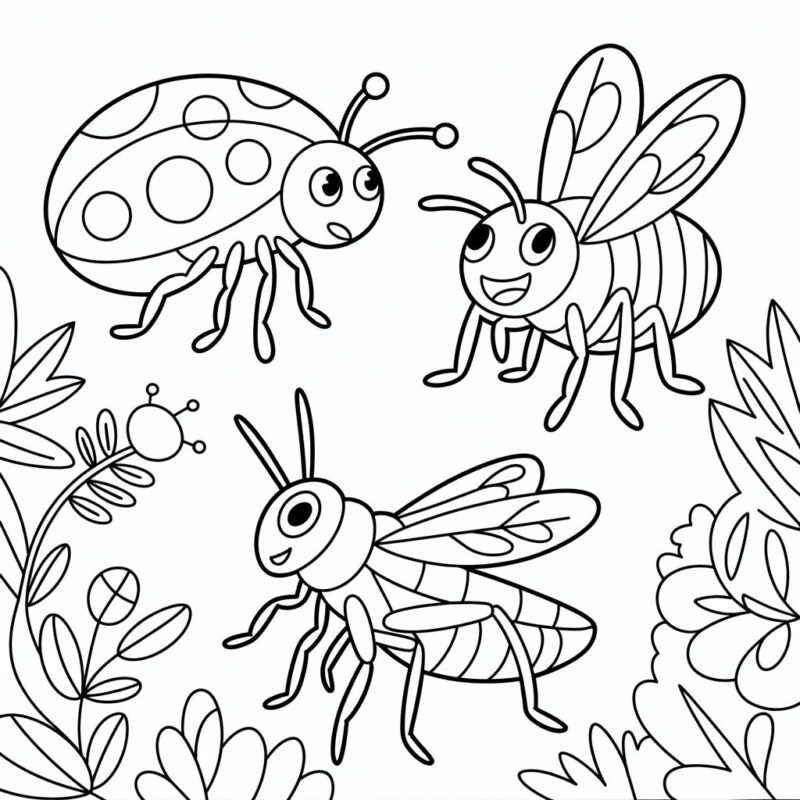
This step dives into the playful side of drawing bugs. The cartoon style thrives on clear shapes, big facial cues, and simple lines. Here’s how to push your cartoon bug into a friendly character.
- Give the head a big, expressive eye or pair of eyes. You can place one large eye for a silly effect or two large eyes to make the bug look surprised or curious.
- Add a big smile or a cute mouth. A simple curved line is enough. A tiny cheek dot can add charm.
- Keep antennae playful. Use curved lines that bend outward, with small rounded tips. You might even give one antenna a bend to show personality.
- Simplify legs. Instead of showing every leg joint, draw short, chunky legs with rounded feet to match the cute look.
- Use bold, clean lines. Thick outlines around the main shapes help the cartoon style feel strong and readable.
- Color blocks help—choose a few bright colors and fill in large shapes. You don’t need tiny shading yet; flat color works well for cartoons.
Practice a few variations (happy bug, surprised bug, sleepy bug) to see how easy it is to communicate emotion with simple shapes. Remember, the goal is to create an approachable and expressive character.
Step 5: Realistic Style Details

Now switch to a more careful, lifelike approach. Realistic bugs look more believable when you add texture, proper proportions, and subtle shading.
- Refine the shape proportions. Real insects have a more defined head size, a distinct thorax, and a tapered abdomen. Adjust the outlines to reflect true anatomy.
- Add texture to the exoskeleton. Use short, light hatch marks or tiny lines along the body to suggest a hard surface. The abdomen may have slight segments or rings.
- Detail the antennae and legs. Antennae should be segmented with clear joints. Legs have multiple joints and small tarsi at the ends. Check a reference to get the angles right.
- Include wings if your bug has them. Draw veins lightly to show a delicate structure. You can shade the wings slightly to suggest translucence.
- Light and shadow. Decide where your light is coming from and add gentle shading to one side of each body segment. Use a light touch so the shading stays subtle.
- Reflect color realistically. If you’re coloring, choose natural tones. A beetle might have metallic hints, while a dragonfly could show iridescent wings. Don’t over-saturate; realism is about nuance, not loud color.
Take your time with this step. Realistic bugs reward careful observation and steady lines. If you’re unsure, pause and compare with a simple reference photo to check proportions and texture.
Step 6: Cute Style Details and Finish

The cute style is all about charm, simplicity, and softness. You’ll keep shapes rounded and add features that convey warmth.
- Round shapes dominate. Use soft curves for the head, body, and wings. Avoid sharp corners for the most cuddly look.
- Big eyes, little nose or mouth. Draw large, round eyes with a tiny sparkle to give a friendly expression. A small dot or curved line for a mouth adds personality.
- Short, stubby legs. Shorter legs with small feet add to the cuteness. You can position them as if the bug is sitting or standing in a playful pose.
- Gentle shading. Use light pencils or soft shading to create a soft feel. Blend gently for a smooth surface, especially on the cheeks or body.
- Pastel or bright but soft colors. Choose light pinks, blues, yellows, or greens. Keep color blocks simple and clean.
- Optional tiny details. Add tiny wings with a soft outline or little freckles on the cheeks. Tiny highlights on the eyes bring the sparkle.
Finish your cute bug with a light touch of color. The aim is a friendly, approachable character that looks inviting to draw and look at.
Tips to practice with all three styles:
- Practice with a single bug shape per day, then try variations in each style.
- Use simple references to verify proportions, then gradually loosen the lines as you gain confidence.
- Keep a small sketchbook to track your progress and compare early attempts with later ones.
- Don’t rush. Short daily sessions beat long, tired sessions. Regular practice builds skill over time.
FAQ
- Do I need fancy art tools to start drawing bugs?
Not at all. A pencil, eraser, and paper are enough. Color is optional, but markers or colored pencils can help you see the differences in each style.
- Can I mix styles in one drawing?
Sure! You can have a cartoon head with a realistic body, or a cute little beetle with bold cartoon eyes. Just be mindful of the overall cohesion.
- How long should I spend on each step?
It depends on your pace. If you’re new, spend 5–15 minutes per step. As you gain confidence, you can go faster but still keep practicing accuracy.
- What if my lines aren’t perfect?
That’s part of learning. Use the eraser to adjust, and redraw the step until you’re happy. Mistakes are normal and helpful for learning.
- Are there good bug references for beginners?
Yes. Start with simple insects like ants, beetles, ladybugs, and moths. Look for clear shapes and not too many tiny details at first.
Conclusion

Drawing bugs can be a fun and rewarding way to practice art. By following these six steps, you’ve learned how to approach three distinct styles—cartoon, realistic, and cute—using a shared foundation of basic shapes and lines. The key is to start with simple shapes, then add style-specific details, and finish with light shading and color that fit your chosen look.
Remember to keep your pencil lines light in the early steps, use references for proportion, and give yourself time to experiment. With practice, you’ll notice your drawings become more confident and expressive. You can apply the same approach to many other subjects, from animals to everyday objects. So grab your tools, pick a bug style, and keep drawing. The more you draw, the more you’ll discover about your own preferences and strengths as an artist.

A Teacher with 5 years of experience. Our Expertise, is reliable to meet your full Academic development needs . Worked on many crafts and construction projects offering services from design to development to deployment over the years. You will find many of my works in my business portfolio on request.