I’ve put together 14 engaging chalk art ideas that kids can do outdoors with sidewalk or driveway chalk. Each idea includes simple steps, tips for blending and shading, and kid-friendly variations. You’ll find animals, landscapes, space, castles, and more—all designed to spark creativity, collaboration, and outdoor play. I’ll walk you through quick setups, safety notes, and ways to keep the art fresh for days of fun.
Key Takeaways
- Chalk art is a low-cost, high-creativity outdoor activity that suits many ages.
- Use washable, non-toxic sidewalk chalk and plenty of water for blending.
- Break ideas into simple steps to help kids plan and execute with confidence.
- Invite collaboration: turn big pieces into group murals or themed scenes.
- Protect your surfaces and weather plans: have towels for cleanup and a plan if rain comes.
Introduction
I love turning ordinary sidewalks into bright, imaginative canvases. Chalk art is accessible, mess-free (mostly), and perfect for encouraging kids to think in color, shape, and perspective. The best part is that we can start with simple shapes, then layer in details as confidence grows. In this guide, I’ll share 14 creative chalk art ideas that work for yards, driveways, and school sidewalks. I’ll also offer practical tips on materials, blending techniques, and how to involve siblings or friends in collaborative murals. Let’s grab some chalk, pick a theme, and get creative together.
1. Sunny Safari Animals
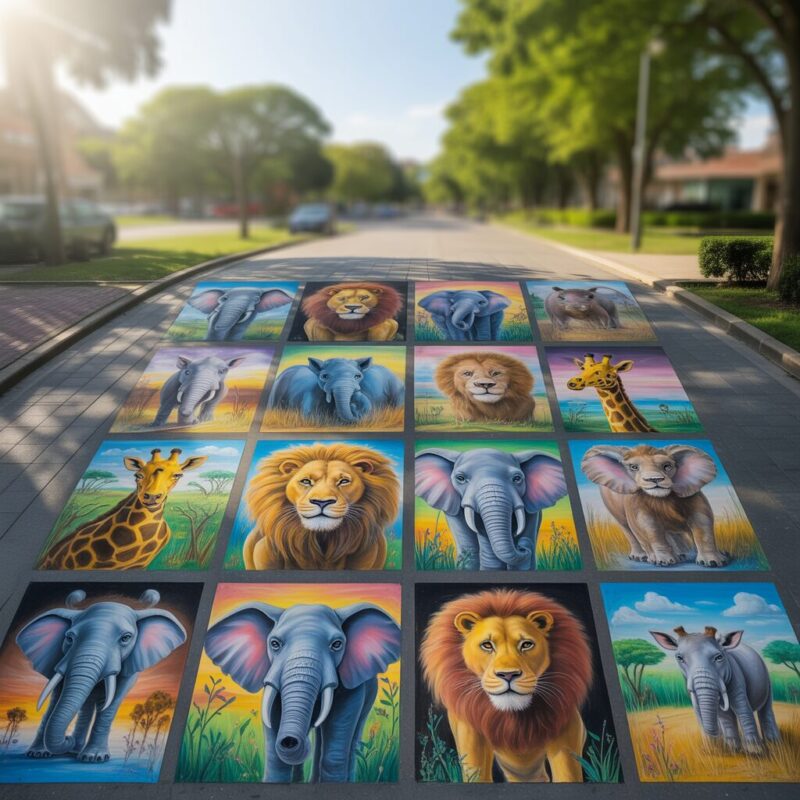
I start with a friendly safari scene that blends bold silhouettes with bright colors. For this idea, I outline a few animals—an elephant, a giraffe, and a lion—using light gray or black chalk. Then I fill in bold colors, leaving room for white highlights and grassy textures. To add depth, I blend with a damp sponge or a soft cloth. I’ll add a sunny background with a gradient sky and tufts of grass. This scene invites kids to mix patterns and learn animal shapes while practicing shading.
2. Layered Rainbow Street Art
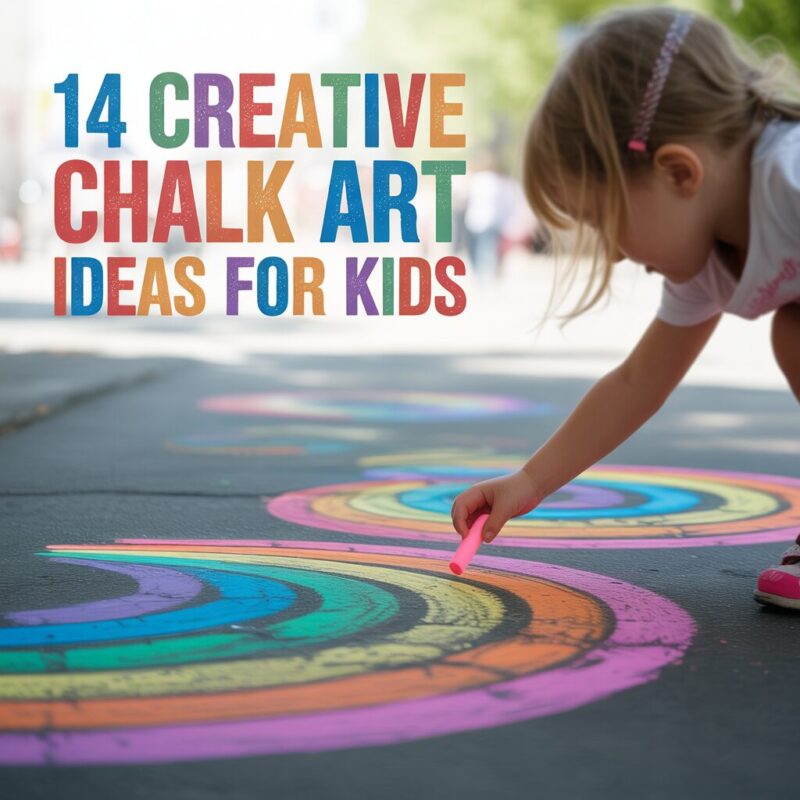
I love a big, inclusive rainbow mural that teaches color order and layering. I begin with a wide base of sky blue and grass greens. Then I lay down the rainbow arcs in bold bands, using at least seven colors. After that, I add clouds, a sun, and small shapes inside the rainbow’s bands to make it pop. For contrast, I outline each color with a thin white line and blend softly at the edges. You can turn this into a collaborative piece by assigning each child a color band to design.
3. Ocean Underwater Scene
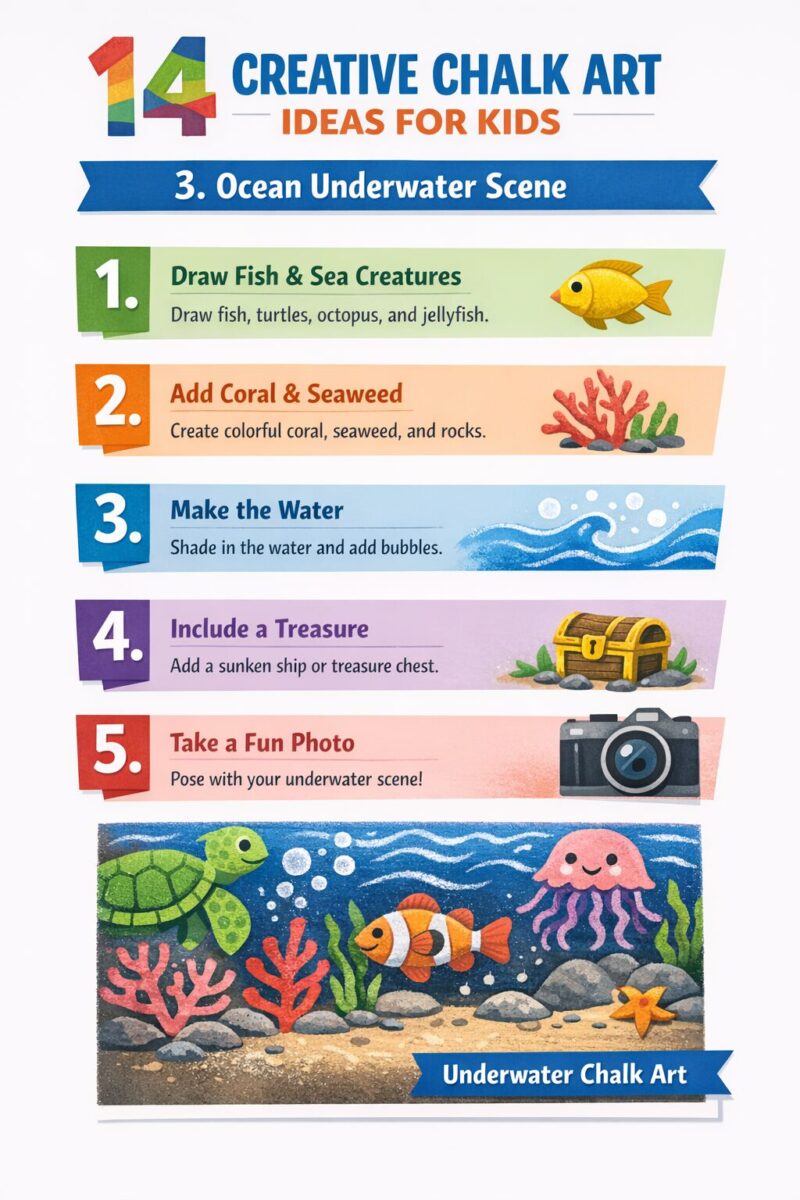
For an underwater vibe, I sketch a large fish or a friendly octopus in the foreground, with seaweed stretching into the distance. I blend blues, teals, and greens to create a water-filled world, and I sprinkle white dots to represent bubbles. I add coral shapes and a smiling mermaid or sea turtle for whimsy. To keep it kid-friendly, I keep lines broad and avoid tiny details that can be frustrating. A light spray of water helps blend colors for a water-like shine.
4. Giant Flower Garden
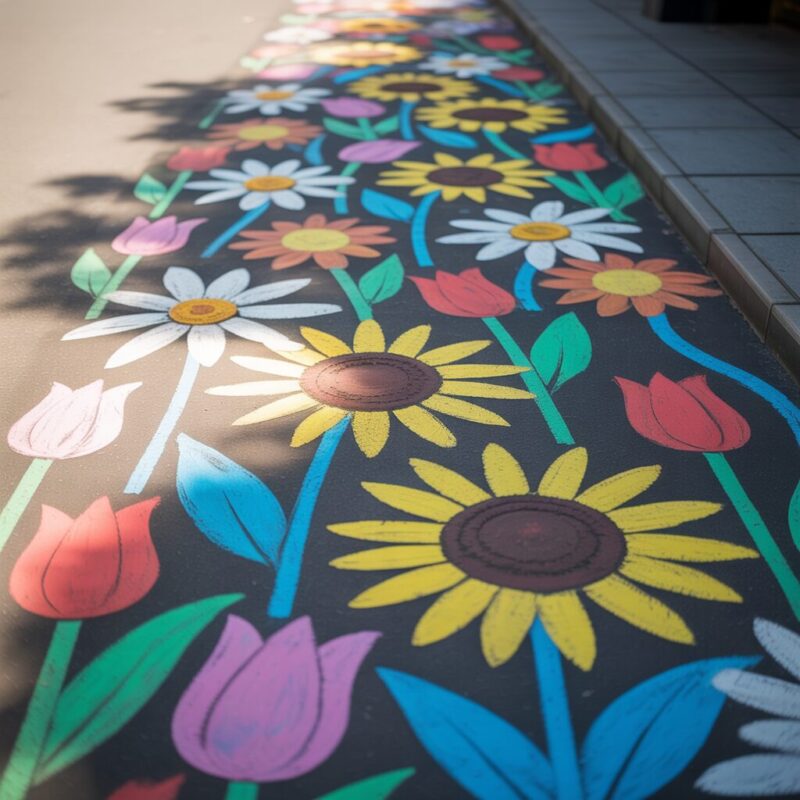
A big, cheerful garden is perfect for practicing color mixing. I begin with oversized flowers—sunflowers, daisies, and tulips—placed in clusters across the sidewalk. I fill petals with different shades of pink, orange, and yellow, then layer greens for stems and leaves. I add accents like ladybugs or bees to bring life to the scene. If kids aren’t fond of drawing many tiny petals, I encourage them to focus on bold shapes and a few large details for maximum impact.
5. Outer Space Adventure
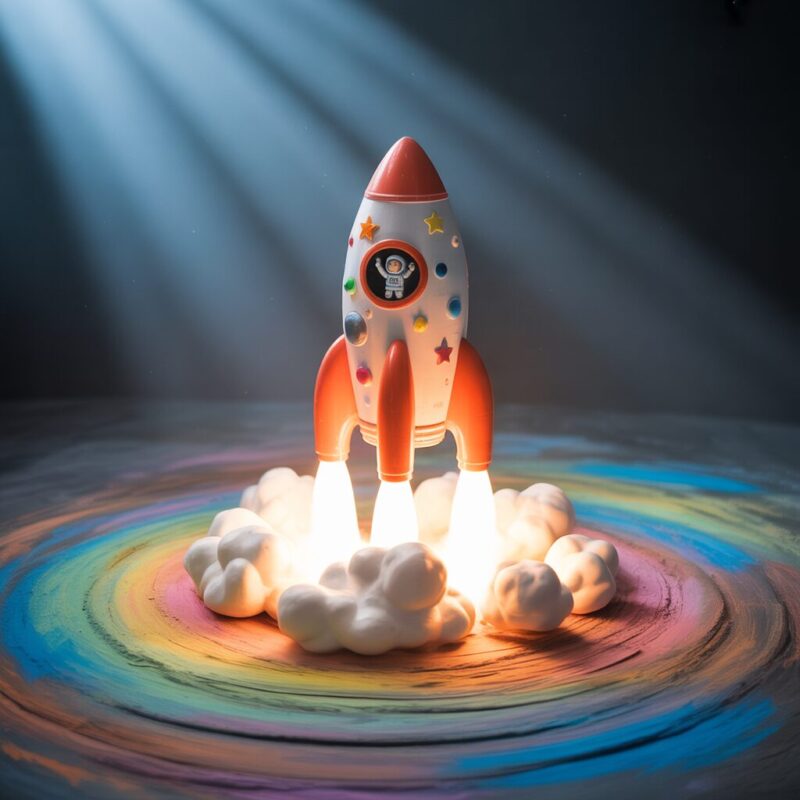
I create a space scene featuring a planet, a rocket, and a rocket trail shooting across a starry sky. I use deep blues and black for the background, then brighten planets with pops of yellow and orange, and add white stars in various sizes. The rocket can be colored in a bold red or silver with a bright flame. We can also add an astronaut floating by using white chalk for the suit and a reflective visor. This theme invites exploration and storytelling.
6. Enchanted Castle
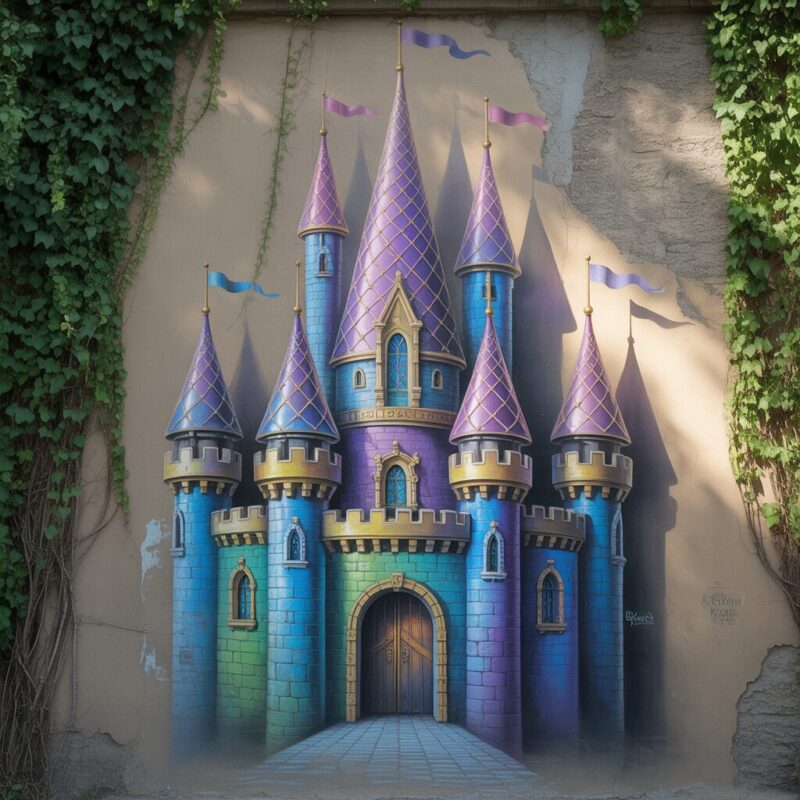
I picture a fairytale castle with towers, flags, and a drawbridge. I use pale blues and grays for the stone, then add colorful banners to give it personality. I’ll draw a moat with wavy blue lines and place a dragon or unicorn nearby to spark imagination. For texture, I add stone patterns on walls and brick lines along the drawbridge. Kids can practice symmetry by replicating windows on both sides of the tower, while I remind them to keep scale consistent for a cohesive look.
7. Silly Monster Parade
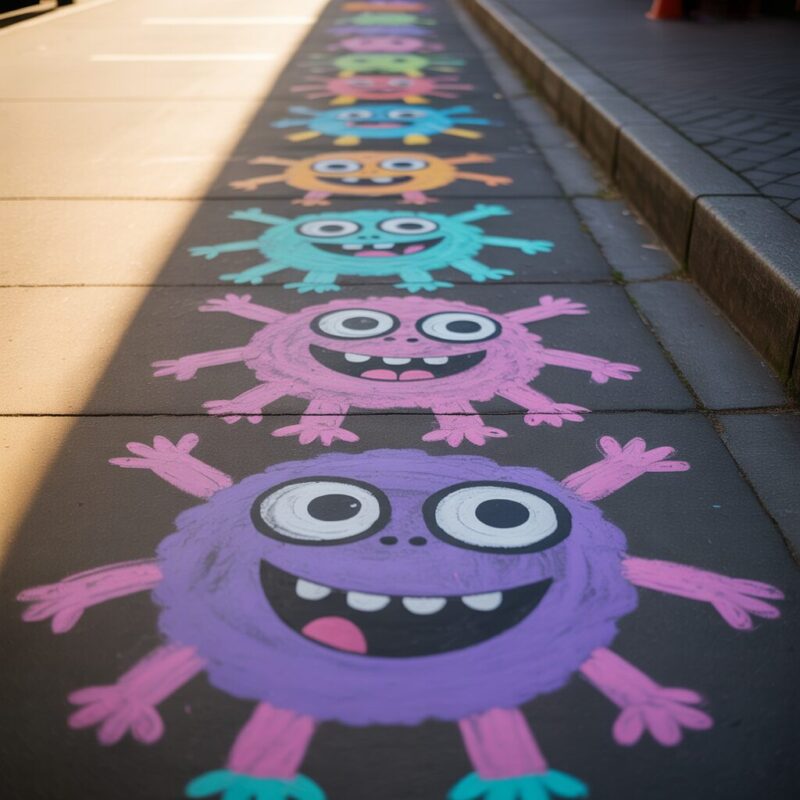
I love a playful parade of friendly monsters with different shapes and colors. I sketch each monster with a simple body and big eyes, then fill in bright colors. I encourage kids to invent quirky textures—polka dots, stripes, or zigzags—on each monster’s skin. We can add hats, bows, or accessories to personalize characters. To keep it easy, I suggest using bold, chunky shapes and avoiding tiny details that can overwhelm younger artists.
8. City Skyline at Sunset
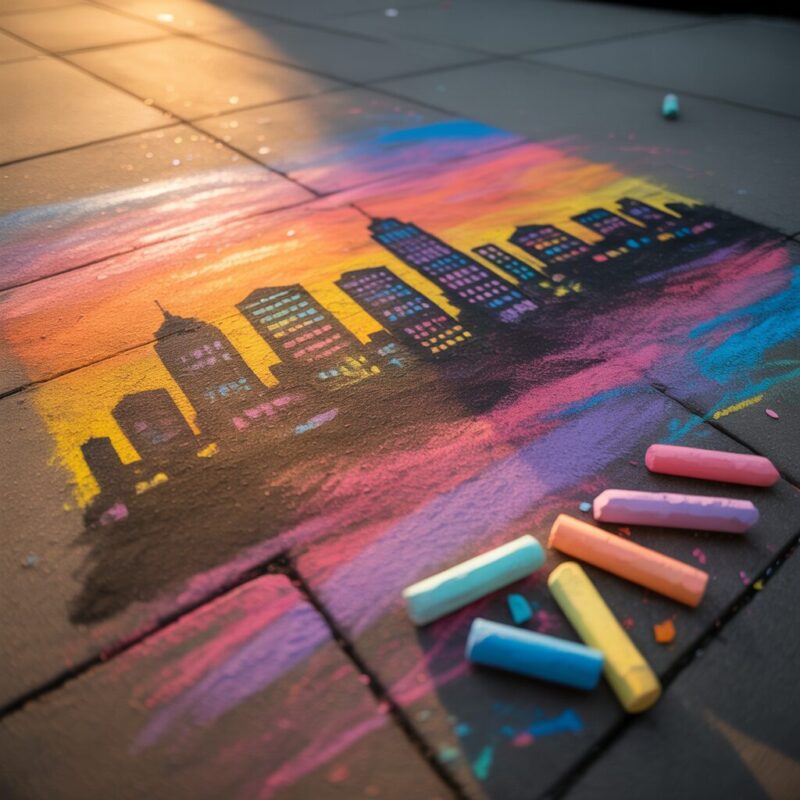
I map a city skyline with tall buildings silhouetted against a warm sunset. I guide kids to plan the horizon line first, then draw the buildings with straight lines and boxy shapes. We fill glass windows with yellow or orange, giving the impression of sunlight. I blend the sky using oranges, pinks, and purples, then add a few clouds. A final touch is a river or road at the bottom to balance the composition. This one teaches perspective and skyline rhythm.
9. Weather Patterns and Seasons
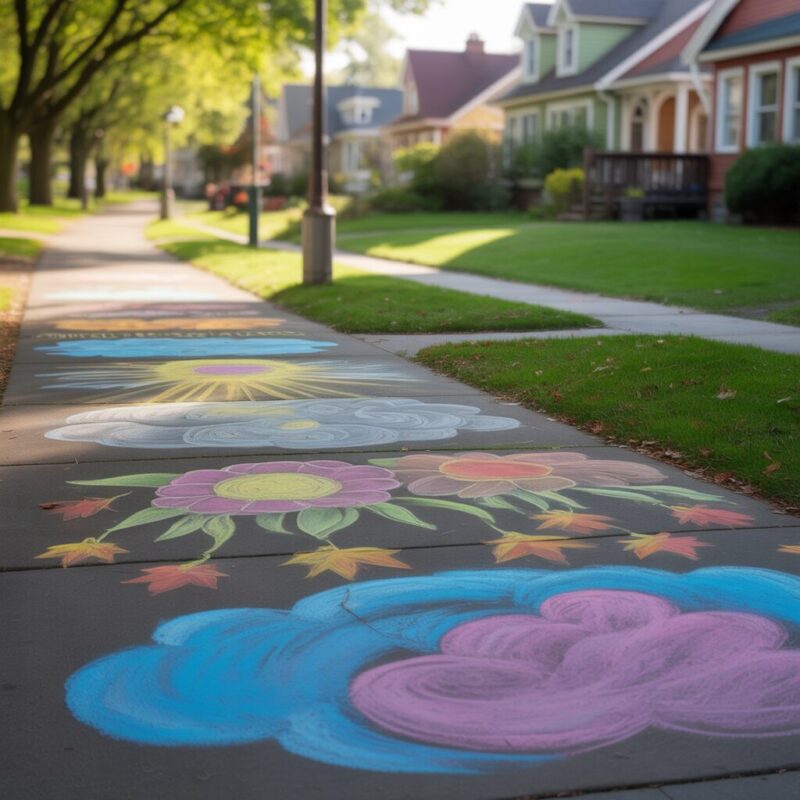
I create a chart-like scene showing weather icons for all four seasons. I assign sections to spring flowers, summer sun and waves, autumn leaves, and winter snowflakes. Each section uses colors that symbolize the season: bright greens and pinks for spring, sunny yellows for summer, warm oranges for autumn, and cool blues for winter. This idea is great for a classroom sidewalk or a family driveway, and it can spark conversations about how weather changes over time.
10. Dino Dig Playground
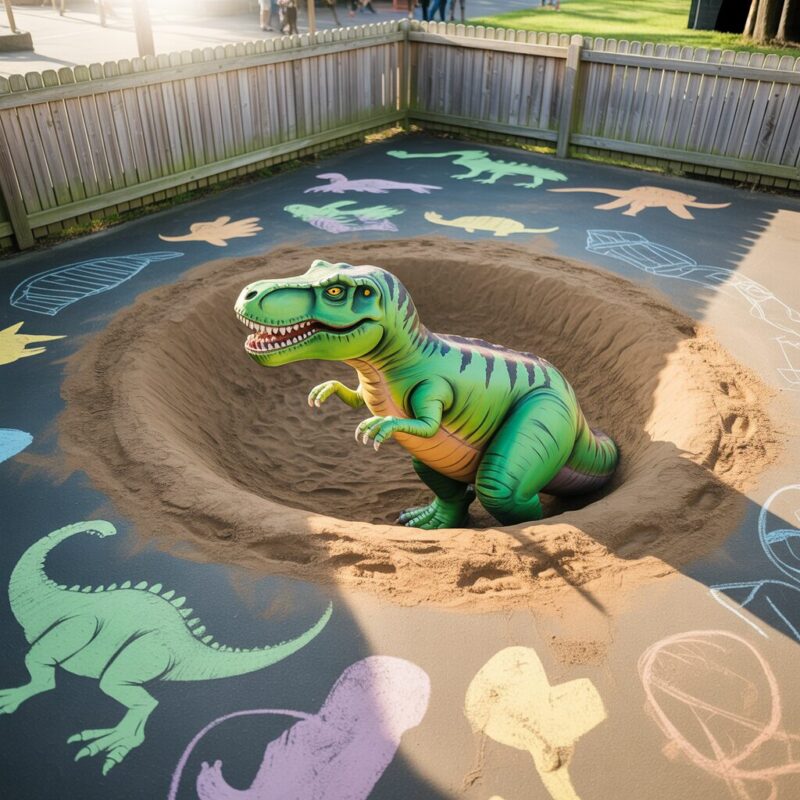
I build a prehistoric world with a friendly dinosaur and fossil outlines. I sketch a large green brontosaurus or a friendly Triceratops, then add dotted footprints leading to fossil shapes. The fossils can be simple bone outlines colored in light beige or gray. I encourage kids to trace the footprints and imagine how the dinosaurs moved. This theme also offers a chance to practice outlining, filling, and creating texture on rocky ground or a grassy hill.
11. Transportation Mix

I stage a busy street scene with cars, bikes, buses, and trains. I start with a simple road and sidewalks, then fill the vehicles with bold primary colors. I add traffic lights, road signs, and crosswalks to teach basic urban layout. Layering helps—first lay the base colors, then add darker shadows and light reflections on the windows. This idea invites kids to plan space, practice scale, and imagine stories about people traveling in their city.
12. Favorite Food Market
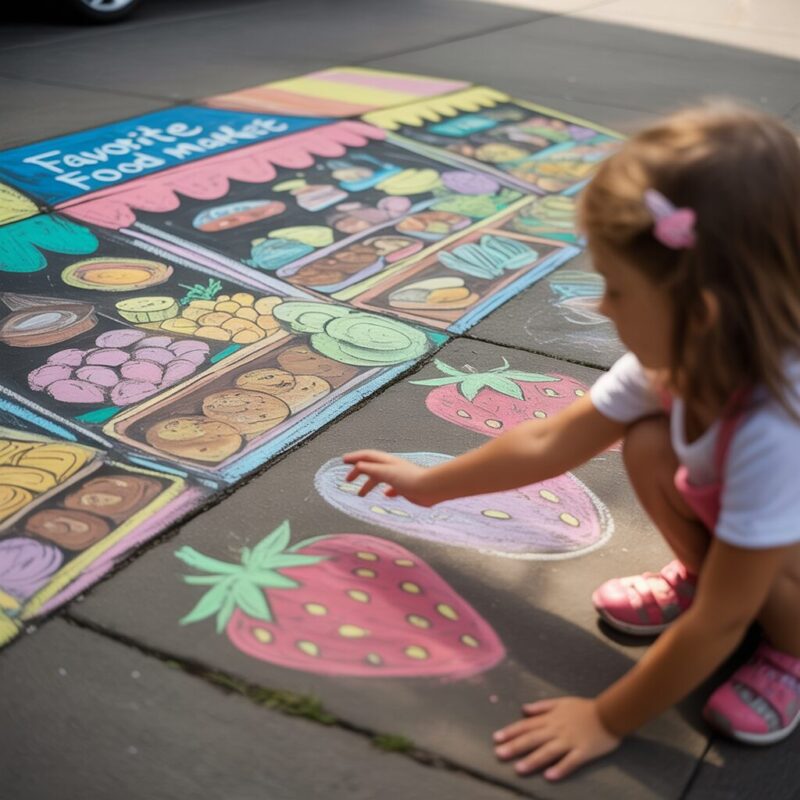
I craft a playful market scene with stalls selling fruits, vegetables, and treats. I draw simple stalls with awnings, baskets of fruit, and price signs. The colors are bright—reds, yellows, greens—to capture the energy of a bustling market. I encourage kids to label items with large, legible letters or numbers. This concept blends math, language, and art as kids compare sizes of fruit or talk about which items are in season.
13. Nature Trail Map
I turn a section of the sidewalk into a nature trail map with trees, rocks, a brook, and a path. I outline winding paths and add a compass rose in one corner. I color trees with varying greens and add small animals peeking from behind trunks. The map format helps kids think about direction, scale, and distance. We can also mark landmarks or pretend treasure spots along the route for extra storytelling.
14. Storybook Characters and Scenes
I choose a favorite story and recreate a key moment with large, simple shapes. I sketch recognizable silhouettes—like a hero, a sidekick, and a dramatic backdrop—and color them with bold hues. I invite kids to add their own details, such as magical effects or dialogue banners. This idea encourages narration and character design while using straightforward lines that stay approachable for younger artists.
Common Mistakes
- Skipping prep or planning: I’ve learned that a quick sketch with light lines saves time and frustration later.
- Overloading with tiny details: I remind myself to keep shapes large and simple so younger kids can contribute.
- Choosing slick surfaces: I prefer dry, clean sidewalks or driveways to avoid color slipping.
- Not testing color blends: I always test blends on a spare panel before applying to the main scene.
- Weather surprises: I check the forecast; if it’s windy or rainy, we delay or move indoors with chalk pastels on large paper.
- Inadequate water for blending: I have a spray bottle or a damp sponge ready for smooth gradients.
- Poor clean-up plan: I keep towels and a gentle soap solution for easy cleanup after the session.
FAQ
- What materials do I need? I’m starting with sidewalk chalk, a spray bottle for blending, a damp cloth or sponge, and protective footwear. A small towel or apron helps keep clothes clean during longer sessions.
- Is sidewalk chalk safe for kids? Yes. Most sidewalk chalk is non-toxic and designed for outdoor play. I still supervise, especially with younger children who might put chalk in their mouths.
- How do I remove chalk from clothes or skin? I tell kids to wipe off excess chalk with a dry cloth, then wash skin with soap and water. For clothes, a quick rinse and a gentle wash usually does the trick.
- How can I preserve chalk art longer? I tell families that chalk art fades with rain and foot traffic. If you want to photograph the design, do so before it fades. For indoor reuse, you can recreate the same design on large paper or cardboard.
- Are there indoor chalk art alternatives? Yes. If weather isn’t cooperative, we can project or trace chalk designs onto large sheets of paper or use chalk pastels on drawing boards for a similar effect.
Conclusion
I believe chalk art is more than just a drawing activity—it’s a gateway to creativity, collaboration, and outdoor play. With these 14 ideas, I’ve shown how to adapt simple shapes into rich, colorful scenes that kids can own and enjoy. The key is to keep the process fun and accessible: start with broad shapes, layer colors, and invite friends to contribute. Whether we’re building a sunny safari or a space adventure, the learning happens as we plan, blend, and reflect on our progress. Next time we head outside, I’m excited to try a new idea, mix in some storytelling, and watch our chalk art come to life.

A Teacher with 5 years of experience. Our Expertise, is reliable to meet your full Academic development needs . Worked on many crafts and construction projects offering services from design to development to deployment over the years. You will find many of my works in my business portfolio on request.