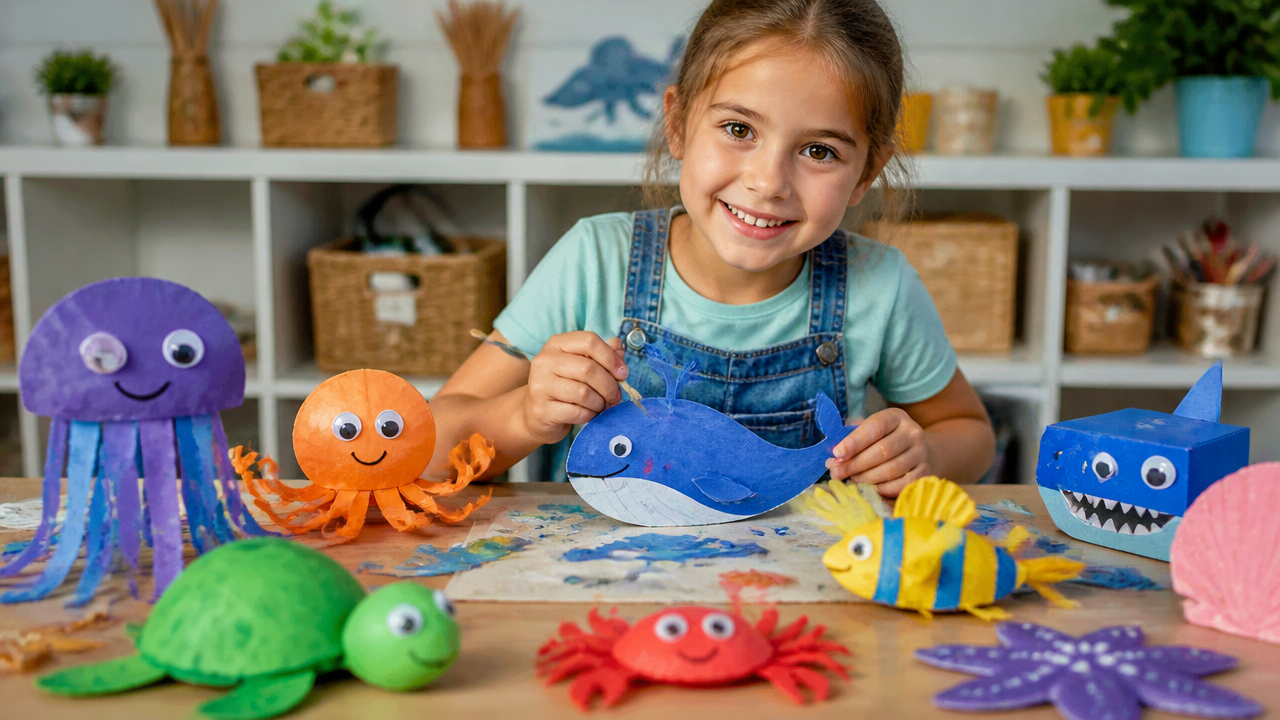
I’ve put together 15 fun, kid-friendly insect crafts that use simple materials you likely have at home or in class. Each project includes easy steps, safety tips, and playful variations, so kids can learn about bugs while building hands-on creativity. Perfect for rainy days, screen-free afternoons, or classroom centers.
Key Takeaways
- 15 beginner-friendly insect crafts using everyday materials.
- Clear, kid-safe steps with optional variations for customization.
- Encourages exploration of bug themes while supporting fine motor skills.
- Most projects need minimal supervision; many can be done independently by ages 5–9 with a bit of help.
- Great for home, classrooms, and birthday party DIY activities.
Introduction
I’ve always loved turning everyday scraps into tiny, amazing creatures. Bugs are everywhere, and with a little imagination, paper, glue, and paint, we can bring ladybugs, butterflies, beetles, and more to life. These projects are designed to be approachable for kids around grade 7 reading/processing level, but they’re also flexible enough for younger kids with adult help. The goal isn’t perfection; it’s discovery, practice with small motor skills, and a lot of creative fun.
In these 15 insect crafts, I’ll guide you through material lists, steps, and kid-friendly tips. I’ll also share a few safety notes and clever substitutions in case you’re missing an item. If you’re a teacher, parent, or caregiver, these projects are perfect for October bug units, spring nature days, or just building a craft corner your kids will beg to visit.
Now let’s dive into the 15 projects. No matter your space or time, you’ll find at least one craft that excites your kids and teaches them about bugs in a hands-on way.
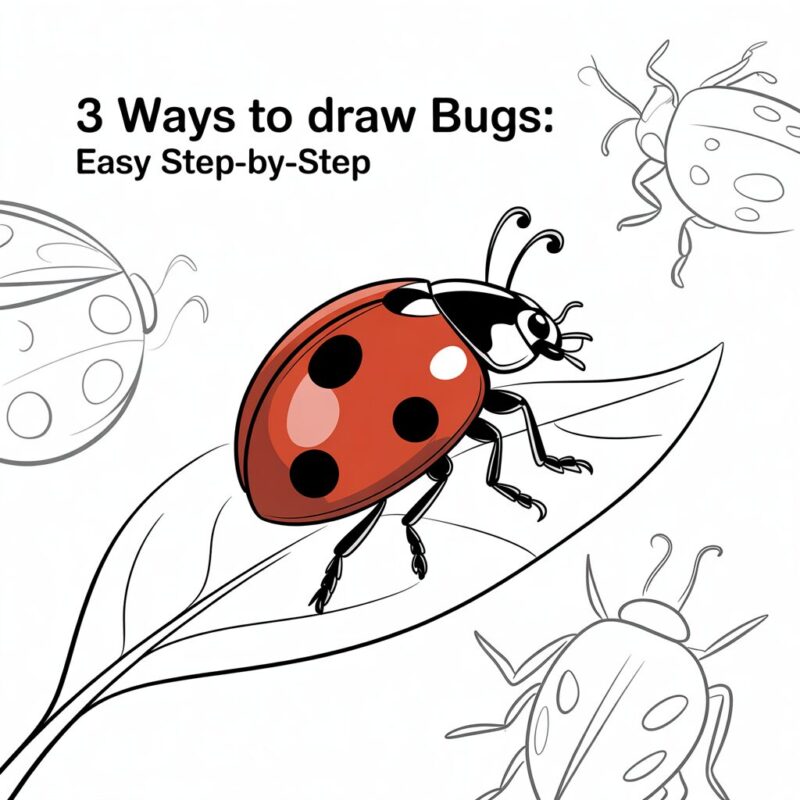
1. Paper Plate Ladybug

Materials:
- Paper plate (red or pink)
- Black paint or marker
- Black paper or construction paper for spots
- Scissors
- Glue
- Googly eyes (optional)
Steps:
- I cut the paper plate in half to form the ladybug’s wings, or I leave it whole for a broader body.
- I color the plate red. Once dry, I add black spots by painting or gluing on black paper circles.
- I draw a head and a tiny black line for the body using a marker, and I glue on googly eyes if I want extra personality.
- I finish by outlining wings and adding a little black line down the middle for the beetle’s body.
Tips:
- Use a hole punch and a chenille stick to make antennae if you want a quick option.
- If you don’t have red paint, red tissue paper scraps glued on work well too.
Variations:
- Create a pair of ladybugs facing each other on a small poster, or make a field of ladybugs on a large sheet for a nature mural.
What it teaches:
- Color matching, symmetry, and basic gluing skills, plus a little bug biology by identification.
2. Tissue Paper Butterfly
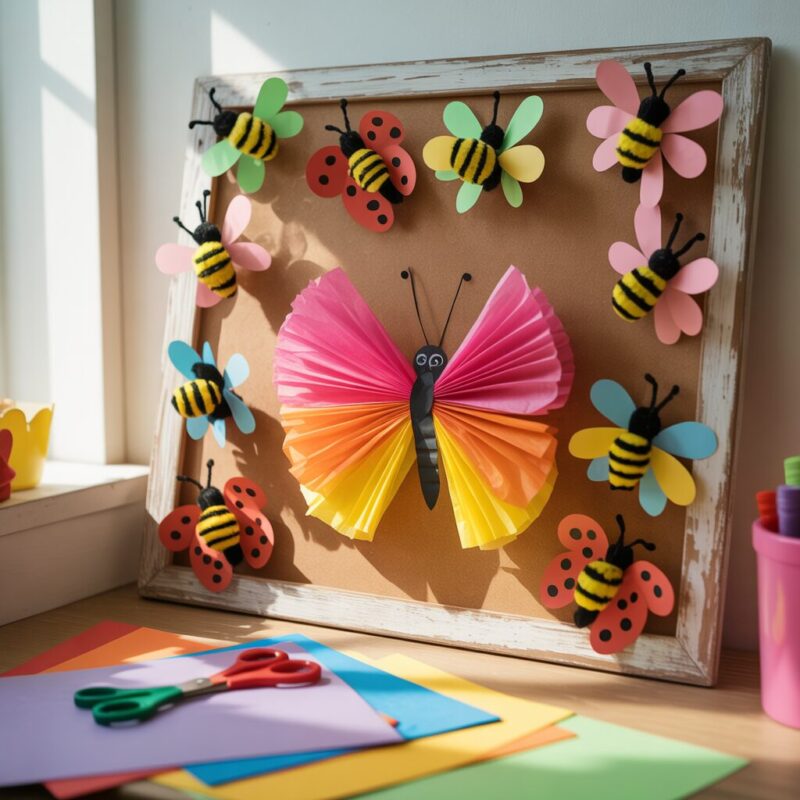
Materials:
- Coffee filters or tissue paper squares
- Markers or paints
- Water spray bottle (optional)
- Pipe cleaner for the body
- Googly eyes (optional)
Steps:
- I color the coffee filter with markers (or paint small patches on tissue squares) in bright butterfly colors.
- If using coffee filters, I mist them with a tiny bit of water to blend the colors for a soft gradient.
- I stack the colored filters and fold them in half, then twist a pipe cleaner around the middle to form the body.
- I bend the ends slightly to create antennae or add a strip of paper as antennae.
Tips:
- For a quick version, skip the filter and use two folded tissue papers tied with a pipe cleaner.
- Let kids experiment with color mixing for a rainbow butterfly.
Variations:
- Create mirrored pairs to make a mini butterfly garden poster.
What it teaches:
- Color blending, symmetry, fine motor control, and pattern design.
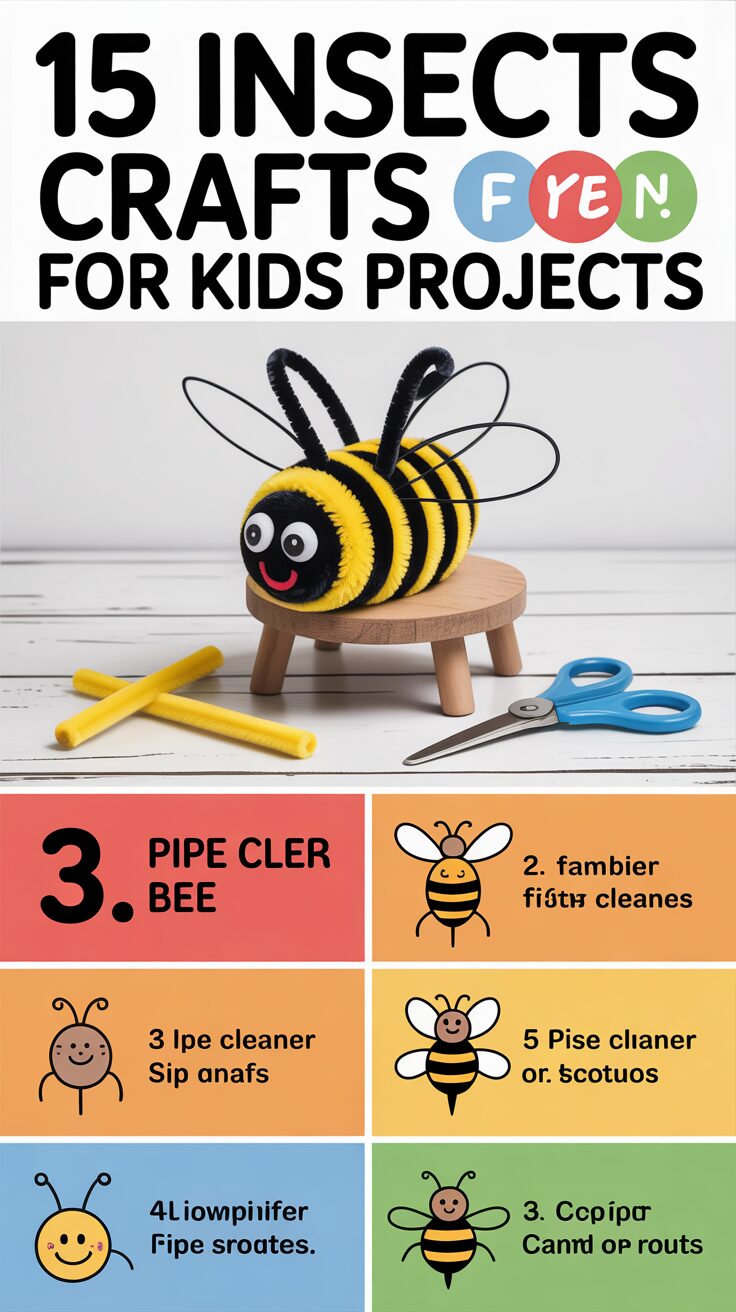
3. Pipe Cleaner Bee
Materials:
- Black and yellow pipe cleaners
- Small pom-pom or bead for the head
- Googly eyes (optional)
- Glue (optional)
Steps:
- I twist a black and yellow pipe cleaner together to form stripes around the body.
- I coil a small yellow loop at the end to resemble a stinger.
- I attach a little head using a bead or pom-pom, and I glue on eyes if available.
Tips:
- If kids have trouble twisting, I pre-cut the pipe cleaners and guide their hands.
- Add tiny wings with two small translucent paper shapes cut into oval forms and glued near the body.
Variations:
- Make a bee family by creating several bees with different stripe patterns.
What it teaches:
- Fine motor skills, pattern recognition, and a little basic anatomy of insects.
4. Egg Carton Caterpillar
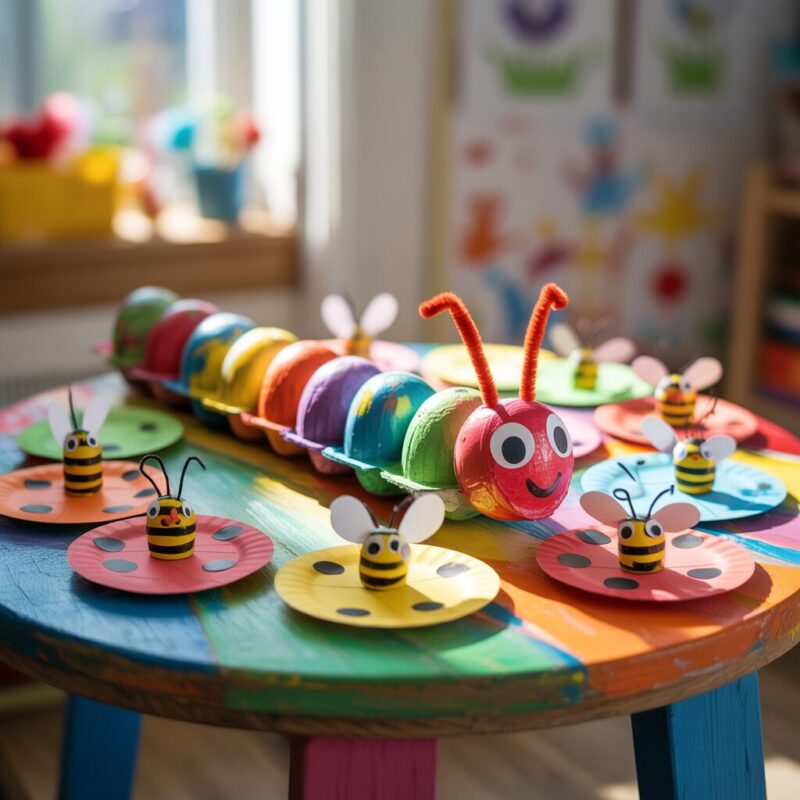
Materials:
- Egg carton
- Green paint or markers
- Pipe cleaners for antennae
- Googly eyes
- Glue
Steps:
- I cut the egg carton into individual cups or long strips to form the body segments.
- I paint them green (or any color) and let dry.
- I glue the segments in a line and add googly eyes on the first segment to become the head.
- I twist a pipe cleaner into two antennae and tuck them into the head segment.
Tips:
- Add small pom-poms as feet between segments to add texture.
- Create a multi-caterpillar line by attaching several of these in a row.
What it teaches:
- Sequencing, color, and motor coordination while learning about metamorphosis in a simple way.
5. Toilet Paper Roll Grasshopper
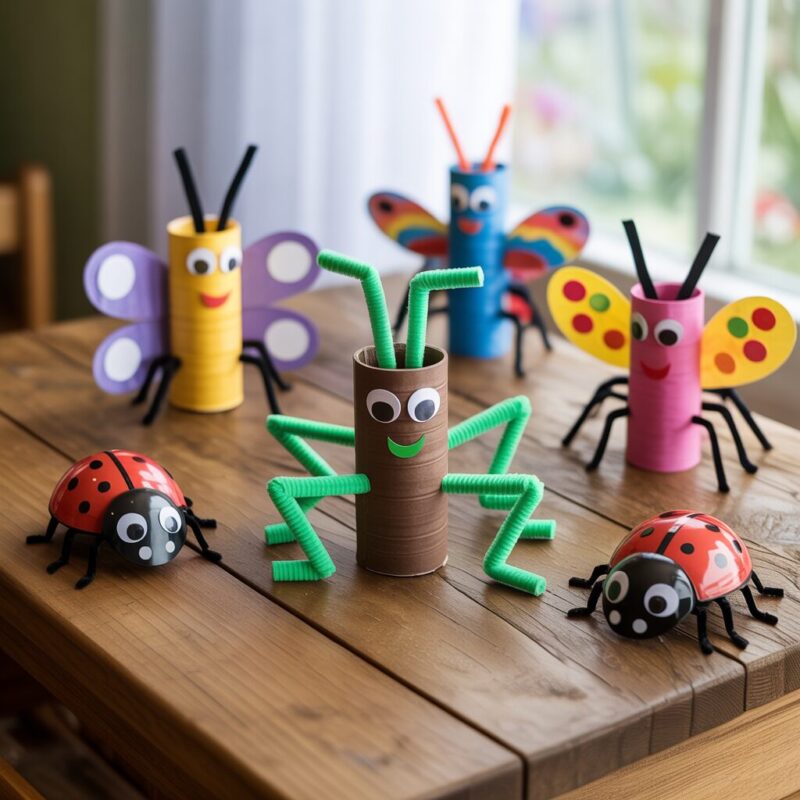
Materials:
- Empty toilet paper roll
- Green paint or paper
- Green construction paper for legs
- Pipe cleaners for antennae
- Glue
Steps:
- I paint the roll green or cover it with green paper.
- I cut six legs from the green construction paper and glue three on each side.
- I add two long antennae using pipe cleaners and a small head with a marker or a tiny bead.
Tips:
- If you don’t have construction paper, cut folded green cardboard from cereal boxes.
- Try different shades of green to mimic a grasshopper’s natural coloring.
What it teaches:
- Proportions of body parts, symmetry, and the idea of insect movement.
6. Monarch Butterfly Coffee Filter Craft
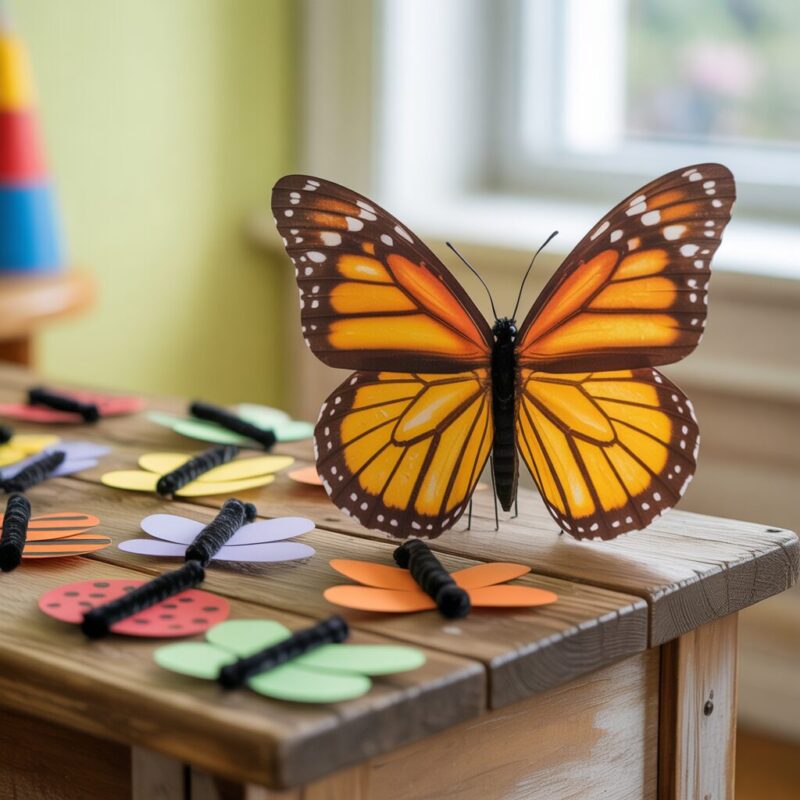
Materials:
- Coffee filters
- Watercolor paints or markers
- Stapler or clothes pin
- Pipe cleaner for the body
- Scissors
Steps:
- I color one coffee filter with orange, black, and white patterns inspired by a monarch.
- I carefully fold, spray with water, and let colors spread for a natural look.
- I fold the filter in half to form the wings and secure it with a staple or clothes pin around the middle.
- I add a black pipe cleaner for the body and a tiny head.
Tips:
- Compare monarch wing patterns with a photo or a simple diagram to make the design fun and educational.
- Use black markers to draw tiny white spots on the wings for detail.
What it teaches:
- Pattern recognition, color coordination, and basic wing anatomy concepts.
7. Clothespin Ant

Materials:
- Wooden clothespins
- Black paint or marker
- Small red or white bead for the head (optional)
- Glue
Steps:
- I paint the clothespin black and let it dry.
- I add a small bead or a white dot as the head at the top end.
- I open the clothespin just a bit and place a tiny red dot as the “neck” or “face.”
Tips:
- You can also decorate each leg with tiny black lines to resemble legs.
What it teaches:
- Fine motor control and the concept of jointed bodies in insects.
8. Dragonfly from Popsicle Sticks
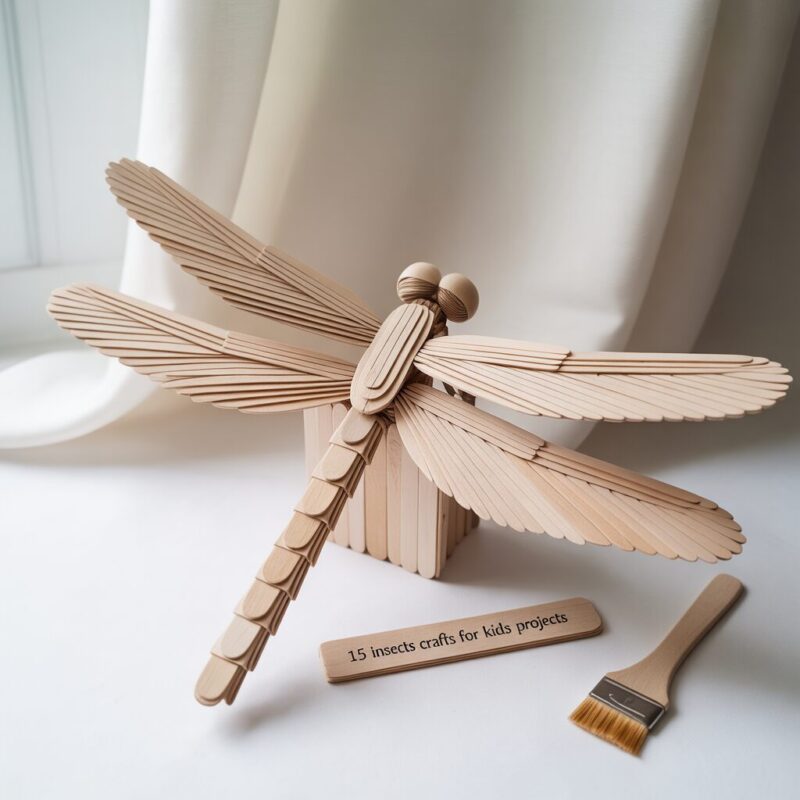
Materials:
- 2–3 popsicle sticks
- Beads for the body
- Pipe cleaners for antennae
- Glue and markers
Steps:
- I glue sticks end-to-end to form the dragonfly’s long body.
- I attach a bead at one end for the head and add two small wings drawn on with markers (or glue on paper wings).
- I twist pipe cleaners into delicate antennae.
Tips:
- Paint the sticks first to match dragonfly colors, or wrap them with colored tape for quickness.
- Add two small felt or paper wings to give texture.
What it teaches:
- Symmetry, balance, and cross-material crafting.
9. Button Beetle

Materials:
- Buttons in different sizes
- Cardboard or thick paper
- Glue
- Marker for legs and antennae
Steps:
- I arrange buttons in a beetle shape on cardboard, layering the biggest buttons as the body.
- I glue them down and use a marker to draw six legs and two antennae.
Tips:
- Use a large button as the head and add a smaller one for eyes.
- You can twist two pipe cleaners into legs for a 3D effect.
What it teaches:
- Shape recognition and simple collage composition.
10. CD Firefly
Materials:
- A used CD
- Black or dark paint
- Yellow or green paint for the glow
- Googly eyes (optional)
- Wire or string for hanging
Steps:
- I paint the CD dark to give a nighttime look.
- I add a small, bright glow on the edge with yellow/green paint to mimic the firefly’s glow.
- I glue on a little head with eyes if available, and I attach a string for hanging like a sun catcher.
Tips:
- If you can, use a glow-in-the-dark paint for extra sparkle.
- Add a small LED or glow stick behind the CD for extra glow (with adult supervision).
What it teaches:
- Light and color contrast, plus a playful take on bioluminescence.
11. Mantis Mask (Praying Mantis)
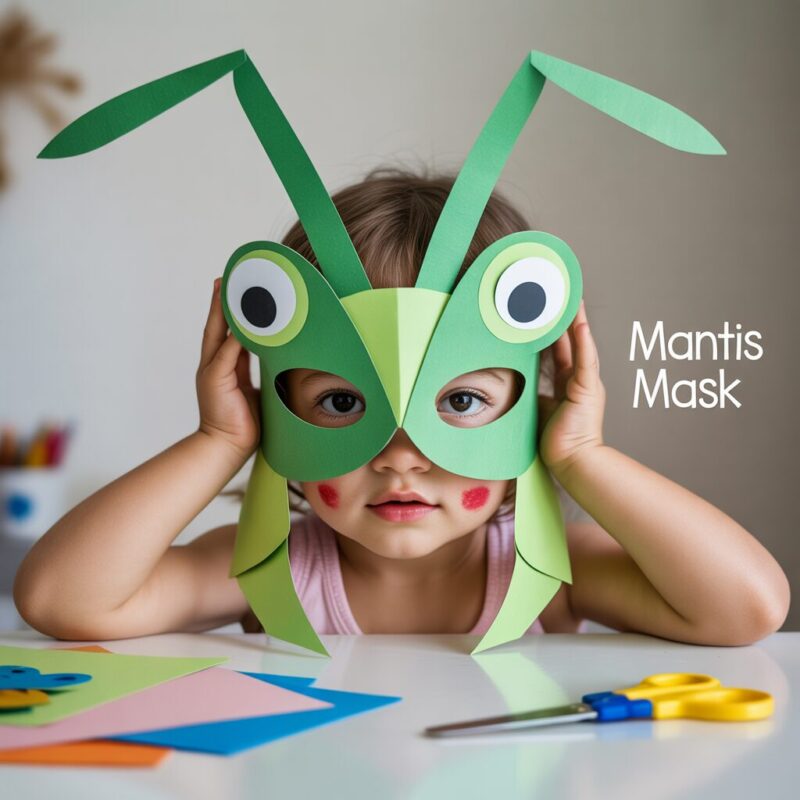
Materials:
- Cardboard or cardstock
- Scissors
- Glue
- Markers
- Optional: green tissue paper for texture
Steps:
- I cut a large mask shape in cardboard and shape two long front legs as part of the mask’s design.
- I draw a mantis face with a friendly expression or add eyes using markers or googly eyes.
- I attach long antennae and fold-out “legs” to create the praying mantis look.
Tips:
- Let kids decorate with greens or leaf textures to camouflage better.
- Use string to wear the mask or simple headbands.
What it teaches:
- Shape design, facial expression drawing, and imaginative play.
12. Firefly Jar (Glow Jar)
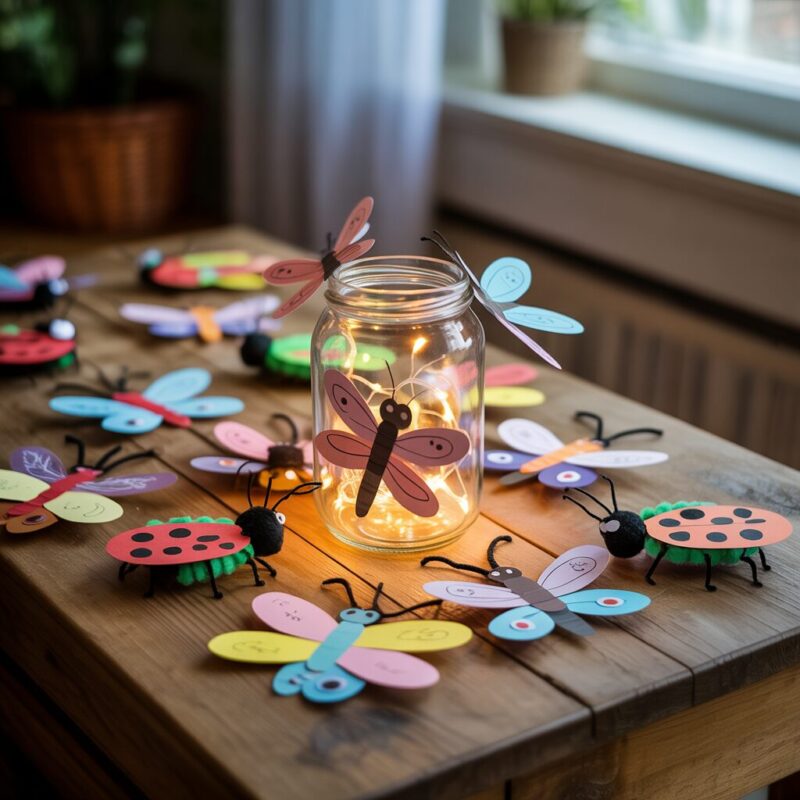
Materials:
- Small jar with lid
- Battery-operated tea light or glow sticks
- Yellow tissue paper or paint
- Glue or tape
Steps:
- I glue yellow tissue paper around the inside of the jar or paint it with glow colors.
- I place a small LED light or glow stick inside the jar to create a glowing “firefly” effect.
- I secure the lid and decorate the outside with small stars or dots.
Tips:
- Add a handful of glitter or translucent confetti to mimic tiny firefly specks.
- Use a dim room to showcase the glow effect.
What it teaches:
- Light diffusion, color layering, and a gentle hands-on science vibe about bioluminescence.
13. Beetle Bookmark (Bottle Cap Beetle)
Materials:
- Bottle caps
- Small googly eyes
- Glue
- Cardstock or laminated paper for the bookmark
- Paint or markers
Steps:
- I decorate the bottle cap with paint to look like a beetle back.
- I glue on two eyes and a simple face.
- I attach the cap to a longer strip of cardstock to create a bookmark.
Tips:
- Add a small hole at the top and a tassel for flair.
- Use resin or clear glue for durability if available.
What it teaches:
- Upcycling everyday items into useful crafts and basic design.
14. Cricket Paper Chain
Materials:
- Colored construction paper
- Scissors
- Glue or tape
- Marker
Steps:
- I cut long strips of paper, then cut small “cricket” heads

A Teacher with 5 years of experience. Our Expertise, is reliable to meet your full Academic development needs . Worked on many crafts and construction projects offering services from design to development to deployment over the years. You will find many of my works in my business portfolio on request.