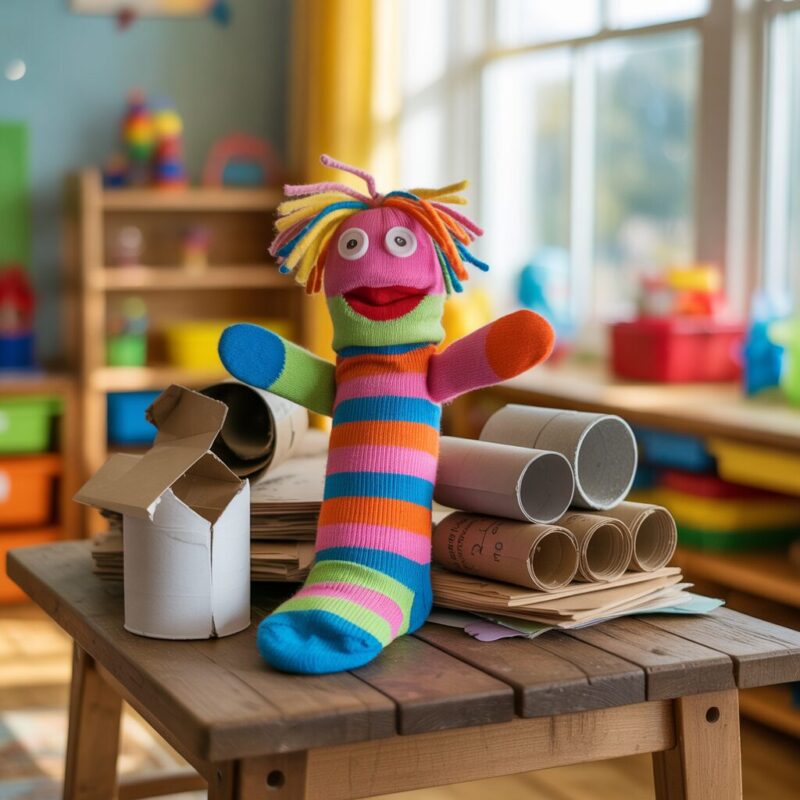
Here are ten fun, easy, and safe paper roll crafts kids can do with common supplies. Each idea uses recycled toilet paper or paper towel rolls, turning simple tubes into colorful, imaginative projects. From playful animals to space-age rockets, these crafts boost creativity, fine motor skills, and confidence while keeping cleanup quick and simple.
Key Takeaways
- Paper rolls are versatile, affordable, and kid-friendly for creative projects.
- Most crafts require minimal supplies: paint, scissors, glue, markers, tissue paper, and string.
- Each project can be scaled for different ages with supervision and simpler steps.
- Finishing touches like ribbons, googly eyes, or stickers add personality and pride in completed crafts.
- These activities are great for at-home enrichment, classroom centers, or rainy-day fun.
In this list, you’ll find ten crafts that are easy to set up, kid-tested, and surprisingly engaging. Each item includes simple materials, quick steps, and ideas to adapt for different ages or what you have in your craft bin. Use these as a starting point, then invite kids to personalize each project with their favorite colors, themes, and stories. Grab a roll of tape, a splash of color, and get ready to transform everyday tubes into something magical.
1. Unicorn Lantern from a Paper Roll
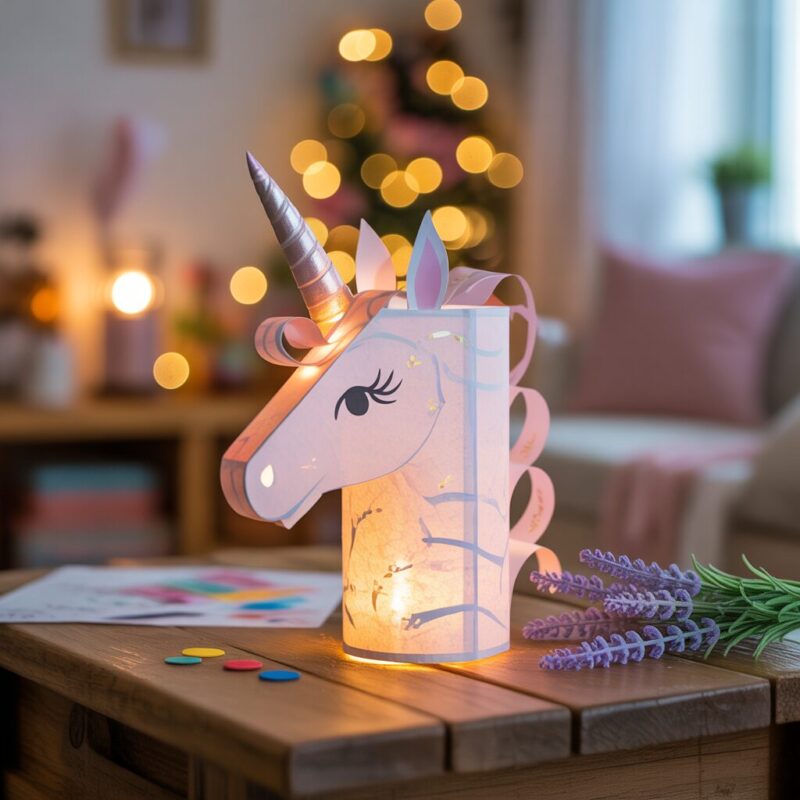
A unicorn lantern is a friendly, glowing project perfect for darkening rooms to create a cozy space for storytelling. It’s a wonderful mix of painting, cutting, and decorating, and you can customize colors to each child’s preference.
Materials (approximate):
- One empty toilet paper roll or paper towel core
- White acrylic paint (or any light color)
- Tissue paper in pastel shades
- White, pink, and gold construction paper
- Googly eyes (optional)
- Metallic or glitter glue (optional)
- A LED tealight or battery-powered light
- String or yarn for hanging
- Scissors, glue, and a pencil
What to do: 1) Clean and dry the roll. Paint it white or the shade you want and let it dry completely. A second coat helps the colors pop. 2) Create ears by cutting two small triangles from paper and glue them to the top of the roll. Add a small pink inner ear piece. 3) Make a unicorn horn by rolling a thin strip of gold paper into a cone and gluing it to the center top above the ears. 4) Cut a mane from tissue paper in colorful strips. Glue the strips along the top edge and down one side to simulate a flowing mane. 5) Add a face with marker, or glue on googly eyes and a small pink circle for a nose. 6) If desired, wrap the tube with tissue paper or paint a soft gradient to enhance the magical look. 7) Punch a small hole near the top and thread string through to hang as a lantern. Tip: For added glow, tuck a small LED tea light inside when you’re ready to display. Never leave a lit candle unattended.
Why kids love it: The transformation from a plain tube to a shimmering unicorn feels like magic, and the lantern makes bedtime storytelling extra special.
2. Planet Mobile: Solar System from Paper Rolls
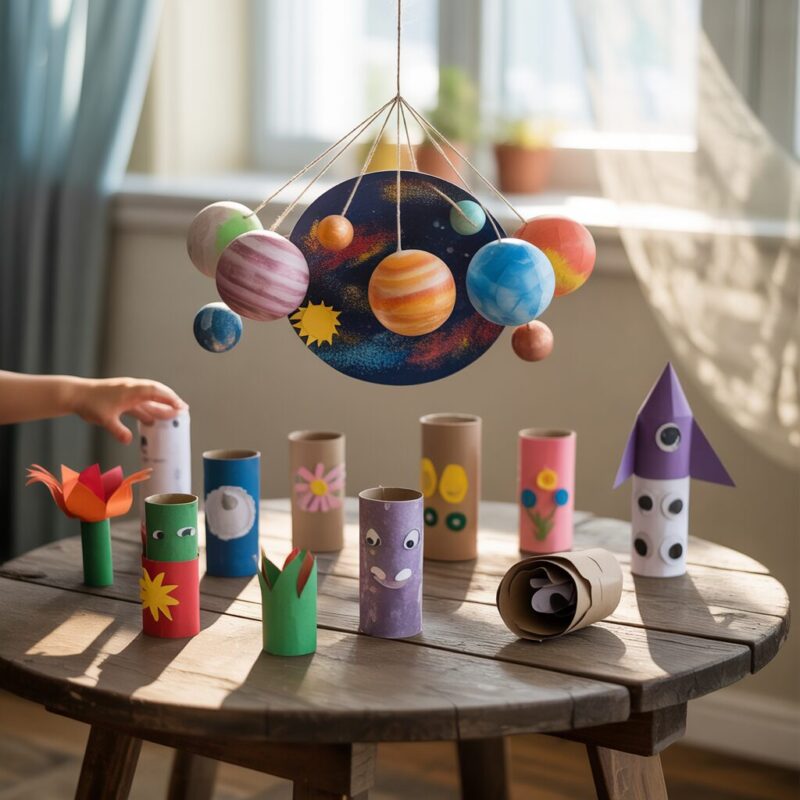
Turn a stack of tubes into a tiny mobile that teaches planets while decorating a room. It blends science and craft in a hands-on, decorative project.
Materials:
- Several toilet paper rolls
- Paints or markers in blue, green, orange, gray, and yellow
- Black construction paper (for space background)
- String or fishing line
- Paper for cutouts of the planets (or printouts)
- Tape or glue
- Scissors
What to do: 1) Paint each roll to represent a planet or planet color. Let them dry completely. 2) Cut out circular shapes from colored paper to represent the planets. You can create more accurate sizes as you like. 3) Attach the planet cutouts to short pieces of string. Secure the top ends with small pieces of tape. 4) Create a small wire/branch framework or use a sturdy hanger as the mobile base. 5) Tie the strings at varying lengths to the base so the planets “float” in space. 6) Decorate the base with stars drawn or pasted on black paper for extra depth. Tip: Add a label card for each planet with a short fact to turn this into a mini learning station.
Why kids love it: Watching the planets sway gently teaches about space, gravity, and order, while the colors and shapes spark curiosity.
3. Animal Friends: Owl, Fox, and Bunny from Paper Rolls
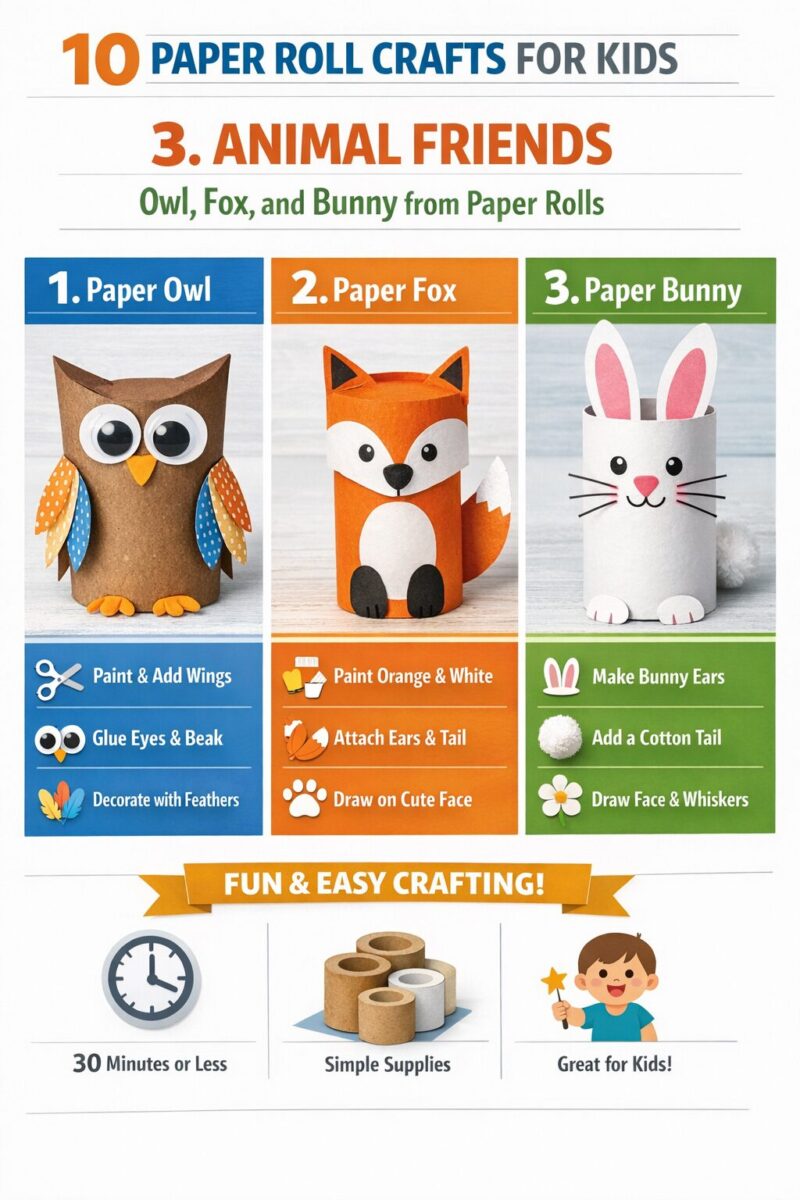
This craft turns a handful of tubes into a woodland crowd. It’s perfect for a nature or animal-themed day and easily adjustable to different animals.
Materials:
- 3-6 toilet paper rolls
- Paints or markers
- Paper scraps for ears, eyes, noses
- Googly eyes
- Glue and scissors
- Optional: felt or fabric scraps for texture
What to do: 1) Paint each roll a base color (brown for a fox, gray for an owl, white for a bunny). Let dry. 2) Cut ears and small facial features from colored paper or felt. Attach them with glue. 3) Add eyes using markers or googly eyes and a small nose. 4) Glue small feet or paws to the bottom of each roll to finish the look. 5) Arrange the animals in a little parade or create a tiny nature scene on a table or shelf. Tip: You can add flower crowns, scarves, or other accessories to personalize each animal.
Why kids love it: Kids enjoy giving each animal its own personality and then playing with them in pretend scenarios.
4. Kaleidoscope Viewer Made from a Paper Roll
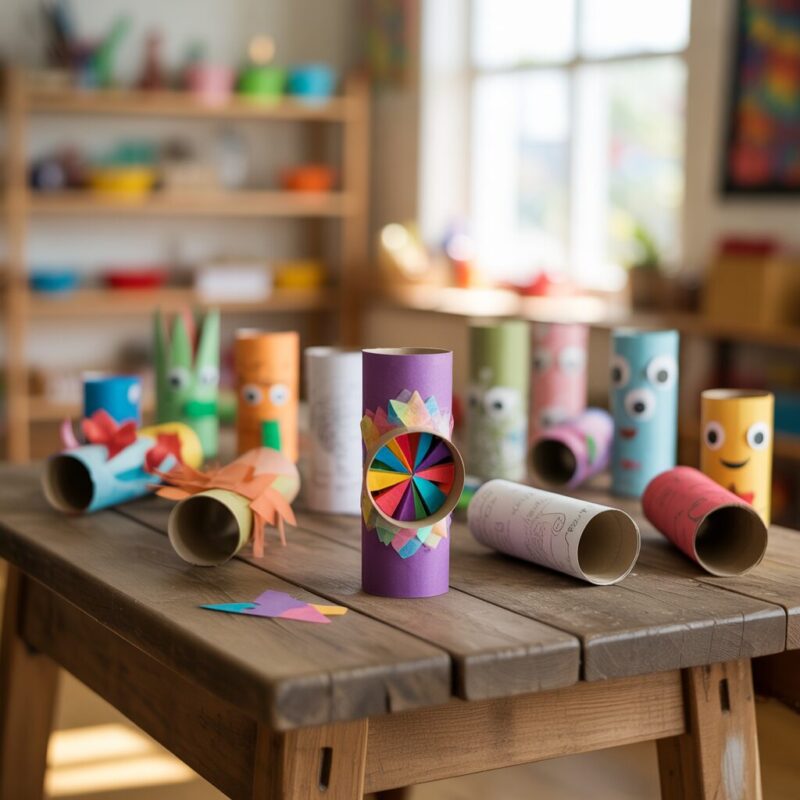
A kid-friendly kaleidoscope offers colorful visuals and a lesson in light, color, and reflection without needing complex materials.
Materials:
- One clean paper towel roll
- Clear plastic wrap or a small clear plastic pouch
- Decorative paper or tissue for the outside
- Beads, small colored sequins (optional)
- Tape
- Scissors
- A small mirror or reflective surface sample (optional, for simple demonstrations)
What to do: 1) Cut a small square window in one end of the roll. Tape a piece of clear plastic wrap over the window, securing it with tape. 2) Stuff a few decorative beads and sequins between the plastic wrap and the opposite end of the roll. 3) Decorate the outside with paper or tissue to create a bright, inviting look. 4) Look through the filled end and twist the tube to watch the patterns shift as the beads and colors move around. Note: If you have a small mirror, you can place it inside the end to enhance reflections. Keep the beads contained for safety.
Why kids love it: The swirling colors and moving beads give a magical, almost hypnotic effect that’s perfect for curious minds.
5. Explorers’ Binoculars: Paper Roll Edition
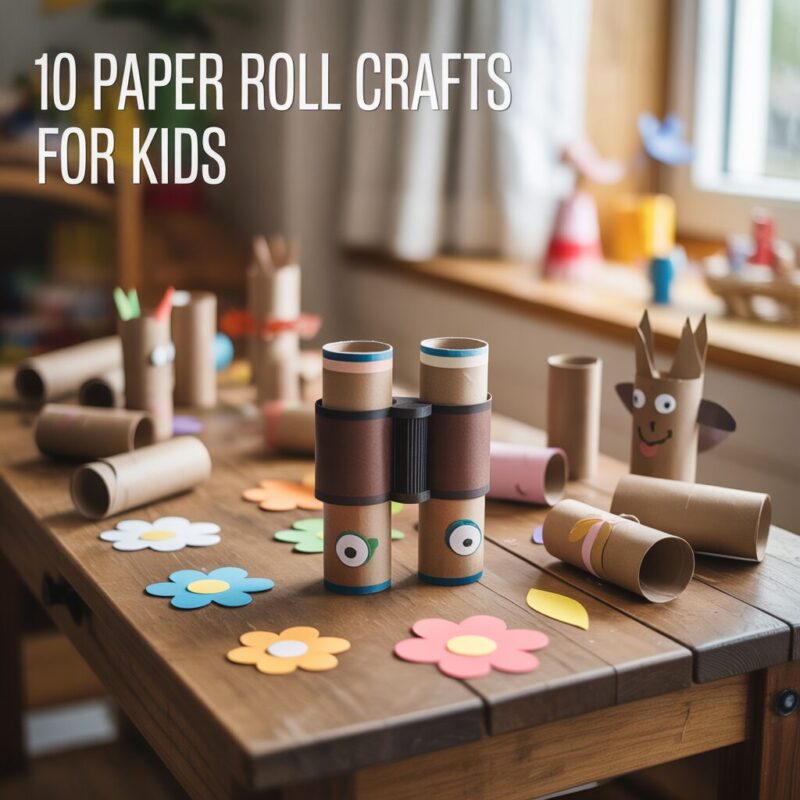
Children love pretend play, and a pair of binoculars makes explorers out of anyone. It’s a quick, practical project that’s easy to customize.
Materials:
- Two toilet paper rolls
- Paint or markers
- Glue
- String or a strap (optional)
- Cardboard, stickers, or decorative tape
- Scissors
What to do: 1) Paint the two rolls in matching colors. Let dry. 2) Glue the ends of the two rolls together side by side, forming a pair with a gap between them for the nose. 3) Add a strap by threading string through holes near the outer ends or simply tie around the neck. 4) Decorate with stickers or patterned tape. You can also add a small sight window using a scrap of cardboard above the tubes for a more polished look. 5) Demonstrate how to “spot” objects from far away and discuss what explorers might see on a nature walk.
Why kids love it: It’s a blank canvas turned into a real tool for fantasy play, encouraging imagination and outdoor exploration.
6. Rocket Ship Craft from Paper Rolls
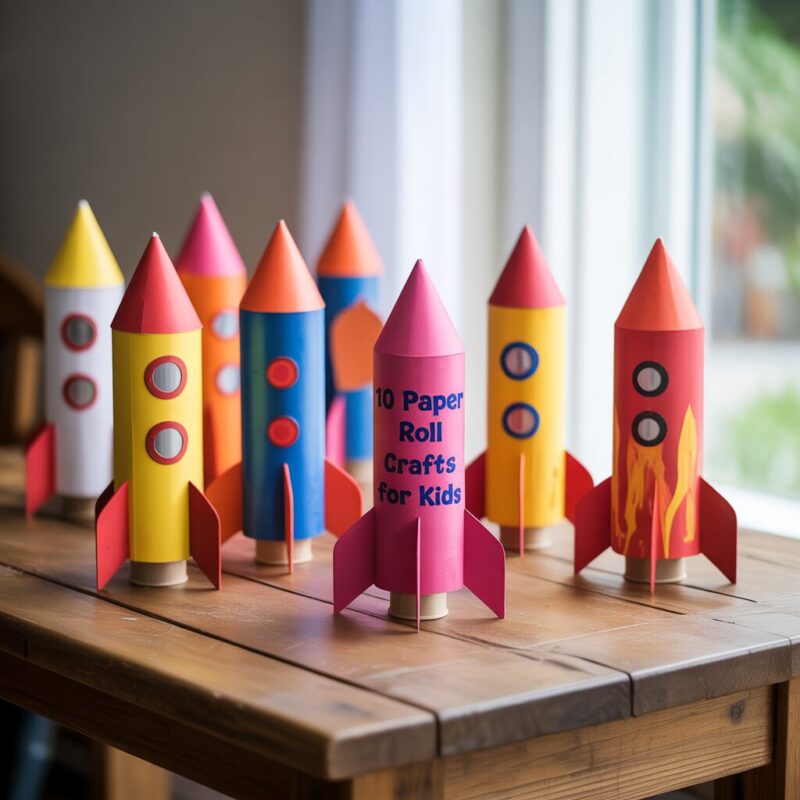
Space adventures begin with a rocket you can hold in your hands. This craft is a crowd-pleaser and easy to scale up with extra decorations.
Materials:
- Two toilet paper rolls
- Red, blue, and silver paint
- Paper for fins and nose cone
- Glue/tape
- Scissors
- Optional: foil scraps for a metallic look
What to do: 1) Glue one roll onto its side as the main body. Attach the second roll perpendicularly to form a launch shape. 2) Create fins from paper and attach to the sides. Cut a nose cone from paper and place on top, then secure with glue. 3) Paint the rocket in a bold color scheme: red-bodied with silver or blue accents. 4) Add stickers, foil, or marker details to evoke windows, flames, and control panels. 5) Let it dry and pretend to launch it into a star-filled pretend universe.
Why kids love it: It’s a classic toy turned into a flashy model you can actually play with. The process of building and then pretending to blast off is irresistible.
7. Shadow Puppet Theater with Paper Roll Puppets
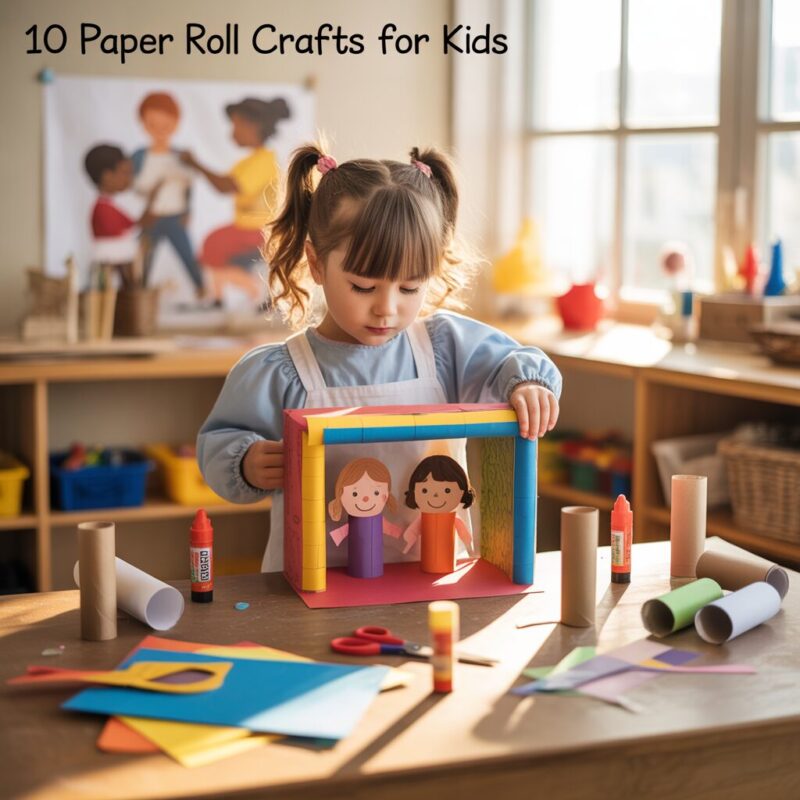
Puppet theaters support storytelling and creative drama. Use paper rolls to create a family of shadow puppets and a mini stage.
Materials:
- Several toilet paper rolls
- Construction paper for bodies, costumes, and accessories
- Scissors
- Glue or tape
- Markers or crayons
- A white sheet or curtain for the “screen”
- A flashlight or lamp for shadow play
What to do: 1) Create silhouettes by drawing bodies on craft paper and cutting out silhouettes that can slide over the top of the roll. Add cut-out hands, hats, or props. 2) Attach the silhouettes to sticks or dowels using tape, so they can be moved behind the screen. 3) Decorate the puppets with colors and facial features. 4) Hang a white sheet or curtain on a wall or door as the stage. 5) Shine a light from behind to cast shadows. Kids can act out short stories using their puppets. Tip: Practice a short performance to build confidence and timing.
Why kids love it: They become storytellers, creating unique characters and scenes with simple supplies.
8. Suncatcher Collage: Window Art with Paper Roll Beads
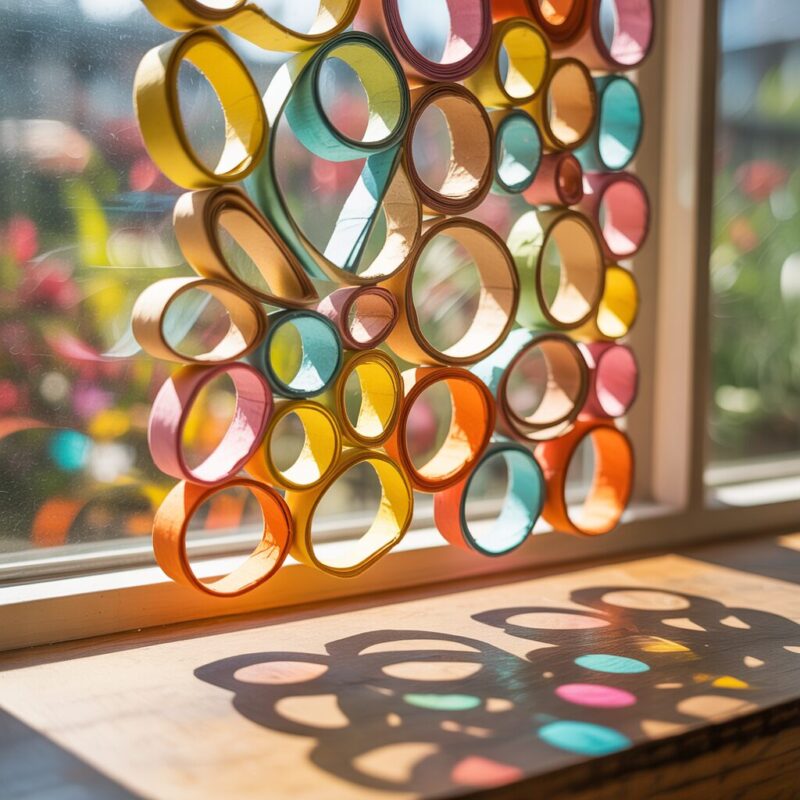
Bright, sunny, and accessible, this project turns tubes into a vivid window decoration that catches the light.
Materials:
- Cardboard tubes (cut into rings or smaller segments)
- Tissue paper in bright colors
- Clear contact paper or lamination sheets
- Scissors
- String for hanging
- Optional: paint or markers for added color
What to do: 1) Cut the tubes into rings or strips. Flatten to create a “bead” surface. 2) Tear tissue paper into small pieces and glue these onto the rings in patterns. Let dry. 3) Peel off the backing of contact paper and press the tissue-covered rings to the sticky side to form a colorful collage. 4) Add string or a ribbon to hang in a sunny window. Tip: Arrange the rings by color to create a rainbow effect that glows when the sun hits.
Why kids love it: The colors glow with natural light, and the project doubles as a decorative, cheerful reminder of their creativity.
9. Robot Buddy: Cardboard Tube Automaton
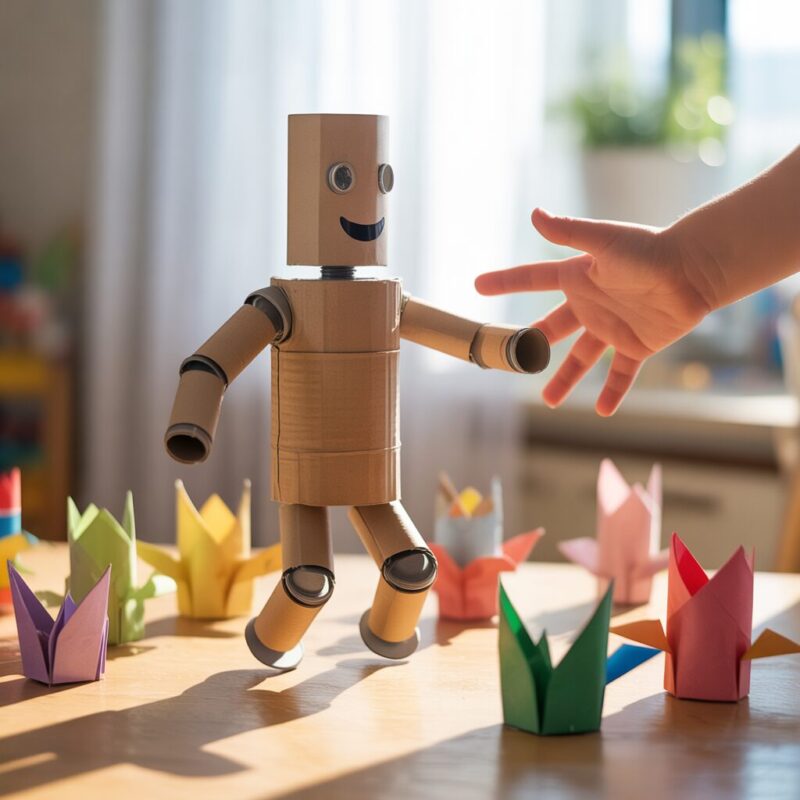
A friendly robot made from paper rolls makes a great display piece and a fine motor challenge.
Materials:
- 2-3 toilet paper rolls
- Aluminum foil or metallic paper
- Paints or markers
- Small buttons, bottle caps, or caps for decoration
- Glue and tape
- Scissors
- Googly eyes (optional)
What to do: 1) Paint the rolls in metallic colors or cover them with foil to mimic a robot body. 2) Assemble the robot by joining two tubes side by side with tape to create a tall “torso.” 3) Add arms and legs using flat cardboard or extra roll segments. 4) Decorate with buttons, bottle caps, and marker details to resemble a robot’s control panels. 5) Add eyes or a small face using markers or

A Teacher with 5 years of experience. Our Expertise, is reliable to meet your full Academic development needs . Worked on many crafts and construction projects offering services from design to development to deployment over the years. You will find many of my works in my business portfolio on request.