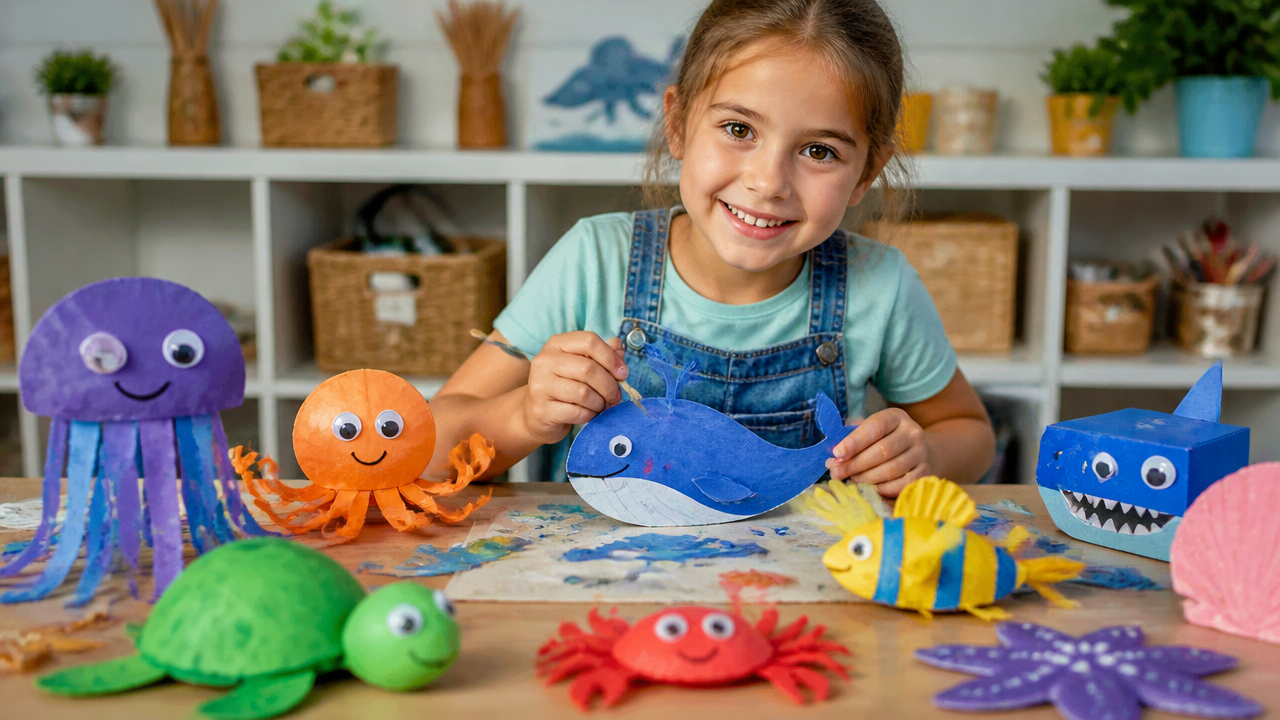
This list is a set of simple, low-cost crafts that reuse common household items. Each project includes easy-to-find materials, kid-friendly steps, and ideas to customize. They’re designed to spark creativity, teach basic recycling concepts, and keep little hands busy in a fun, safe way.
Key Takeaways
- Reusing items reduces waste and teaches resourcefulness.
- Most crafts use everyday materials like cardboard, bottles, lids, and paper rolls.
- Projects are designed for kids with simple tools and clear, step-by-step instructions.
- Safety first: supervise scissors, hot glue, and sharp edges.
- Each craft can be personalized with color, texture, and themes.
Introduction
Kids love to make something with their own two hands, and turning old stuff into new treasures makes that feeling even better. Recycling crafts are a smart way to teach kids about the environment while building fine motor skills, creativity, and problem-solving. This guide offers 12 easy recycle crafts that use items you probably already have around the house: socks, bottles, cardboard, paper rolls, lids, foil, and more. The projects are kid-friendly, with simple steps and lots of room for imagination. You can tailor each activity to your child’s age and interests, add a storytelling twist, or invite friends for a mini craft session. Ready to turn trash into treasure? Let’s dive into these fun, eco-friendly crafts.
1. Recycled Sock Puppet
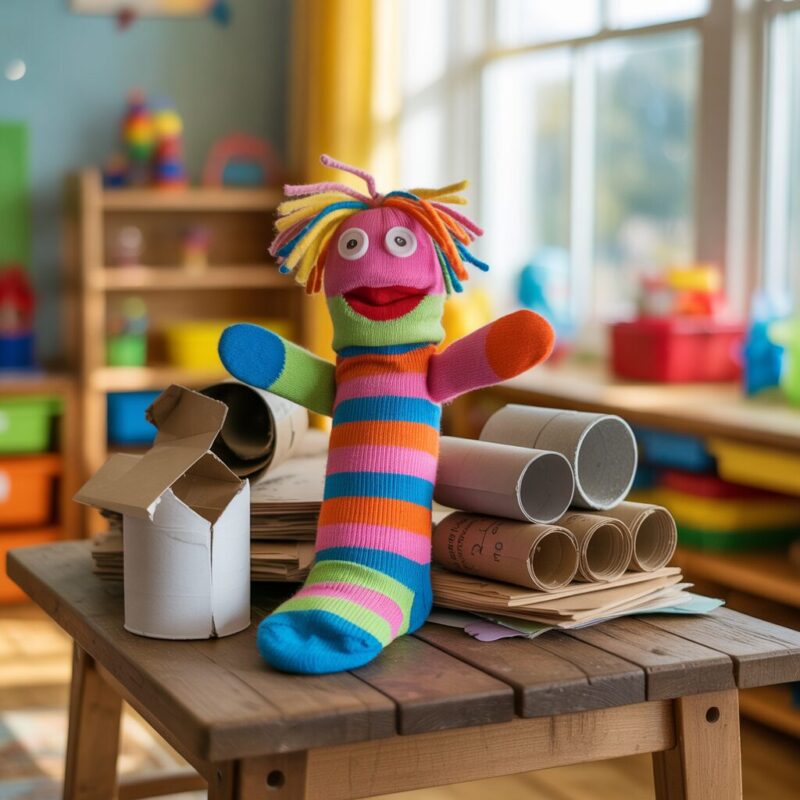
Materials: an old sock, buttons or felt, fabric scraps, yarn, glue, scissors, markers. Steps: Place a sock on a flat surface. Add two buttons or stitched eyes. Glue on a nose (a small button or puff of fabric) and a mouth with marker. Stuff the toe lightly with fabric scraps to shape a mouth area. Create hair with yarn or paper strips. Add ears or fun accents with bits of felt. Let glue dry before playing. Tips: Use colorful socks for extra fun. Let kids choose facial expressions to match a story. If sewing is comfortable, stitch eyes or a mouth instead of gluing for a sturdier puppet. Age note: Great for ages 4–9 with adult supervision for small parts and glue. Why it’s a win: It’s inexpensive, highly customizable, and perfect for pretend play and storytelling.
2. Tin Can Robot
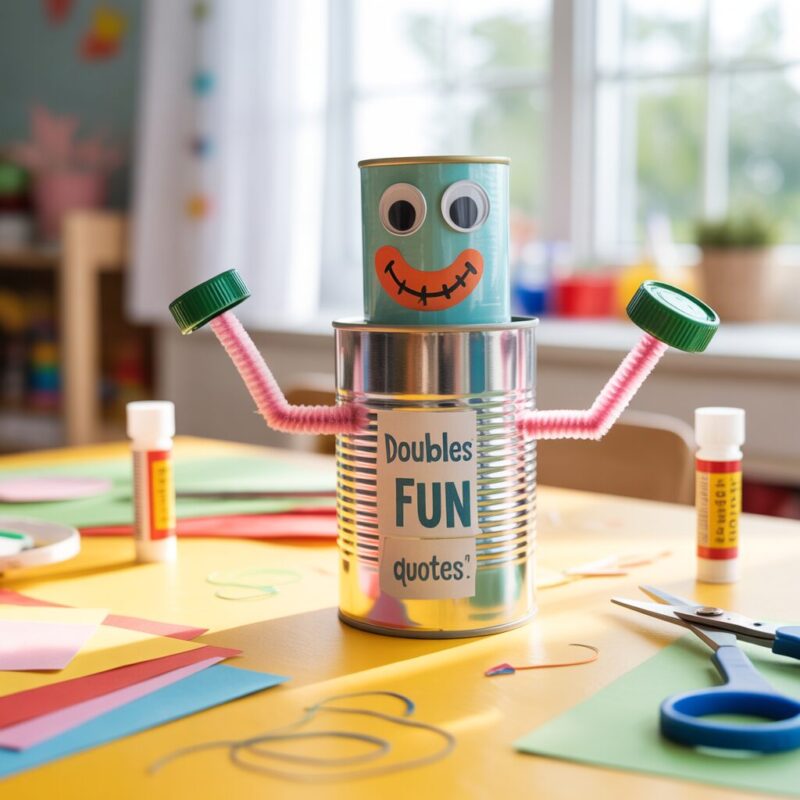
Materials: clean tin cans, acrylic paint, brushes, paper scraps, googly eyes, glue, string (optional), safety gloves if needed. Steps: Rinse and dry the cans. Paint them as robots with bold colors. Add paper scraps to make arms, legs, or panels. Attach googly eyes with glue. You can drill tiny holes in the rim to thread string for a hanging robot or simply place it on a shelf as a buddy. Safety: Be careful with sharp edges; adults should sand or cover rims if needed. Adaptations: If you don’t have cans, use small yogurt cups or cardboard tubes painted gray. Why it’s a win: Recycles metal and adds a sci-fi twist to a kid-friendly project. It’s easy to scale up with more cans for a robot community.
3. Cardboard Marble Run
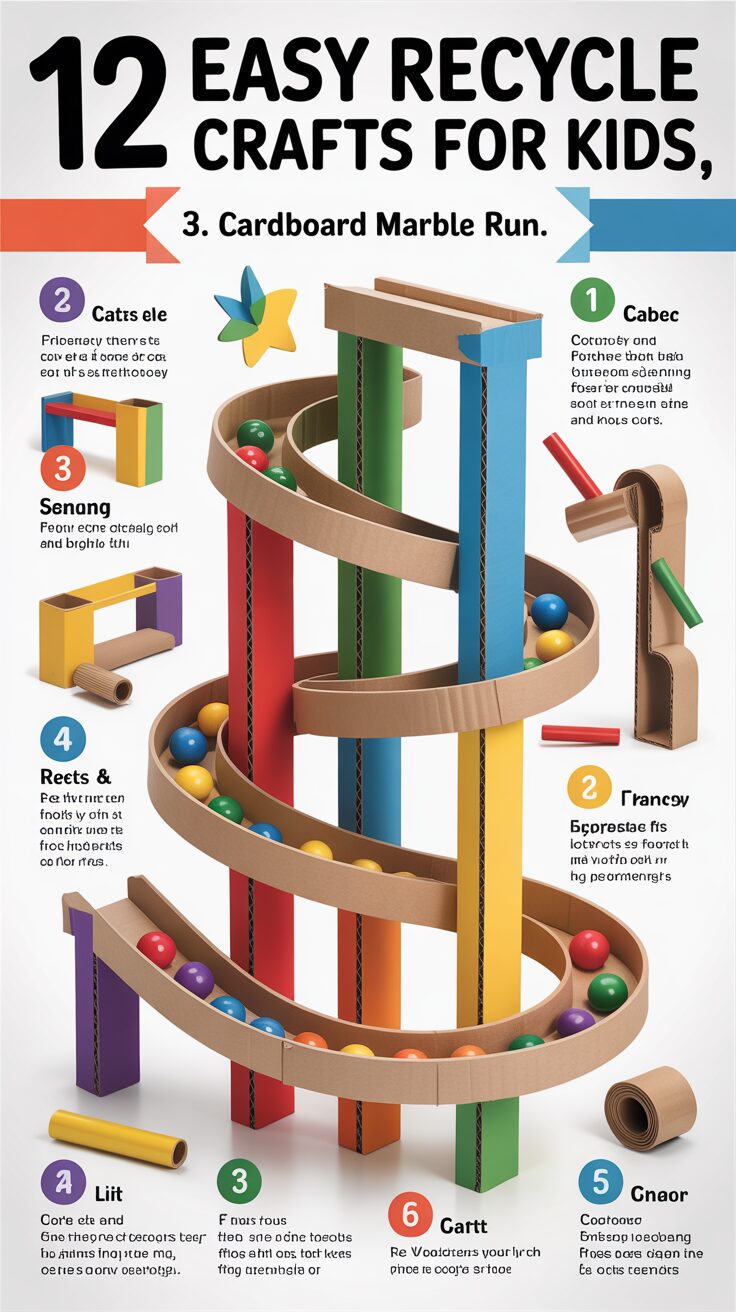
Materials: a sturdy cardboard box (or multiple boxes), scissors, masking tape, marbles, markers or stickers for decorating. Steps: Cut channels into the box to create a gravity-based path. Use tape to secure a launch area and to hold the tracks in place. Decorate the tracks with markers or stickers. Test marbles, adjust the slope, and add loops or additional lanes if desired. Safety: Supervise scissors and ensure no sharp edges remain. Use child-safe scissors for younger kids. Variations: Build a multi-level course using stacked boxes; small balls or bottle caps can replace marbles. Why it’s a win: It’s hands-on engineering fun that teaches basic physics (gravity, slope, friction) and problem-solving as kids adjust routes.
4. Paper Roll Kaleidoscope
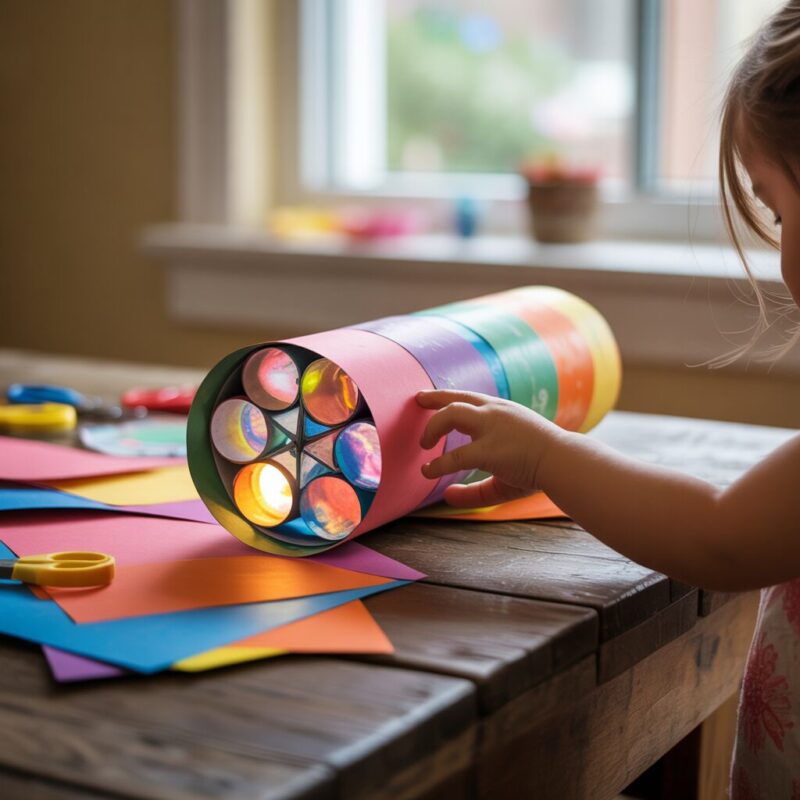
Materials: empty paper rolls, reflective foil or shiny paper, clear plastic wrap or cellophane, tape, markers or stickers, small beads or confetti. Steps: Line the inside of the roll with reflective foil or shiny paper to reflect light. Seal the ends with clear plastic wrap and secure with tape. Add a small strip of patterned paper or tissue at one end. Add beads or confetti between layers for colorful views when held to light. Look through to see a sparkling pattern. Safety: Be mindful of small beads; supervise younger children to prevent choking. Customizations: Try different colors of foil or add translucent paper to change the light effect. Why it’s a win: It’s a low-cost, visually appealing way to experiment with light and color; kids love the glow and patterns.
5. Plastic Bottle Bird Feeder
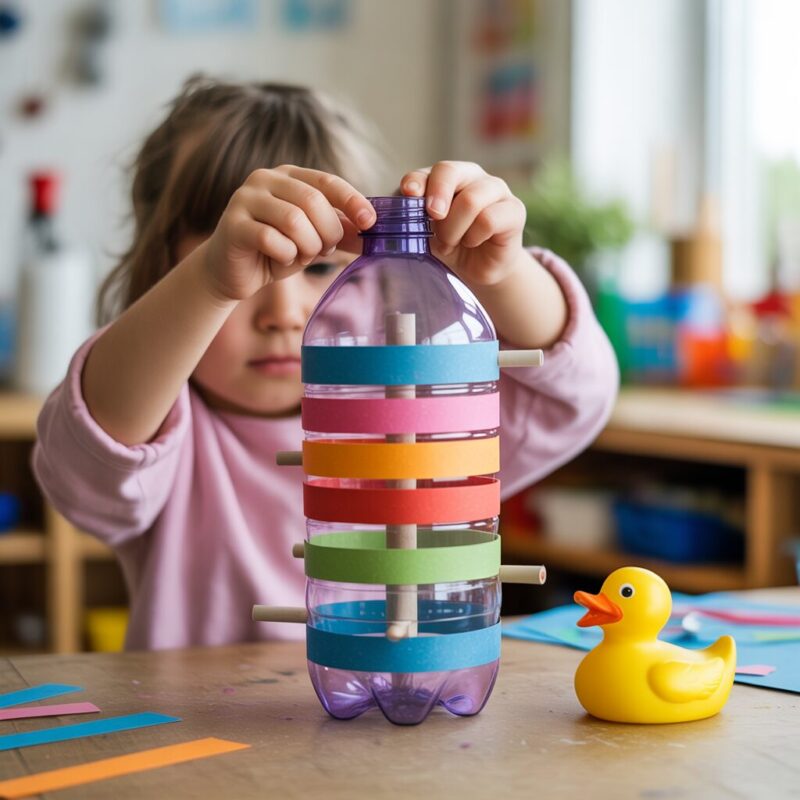
Materials: a plastic bottle, wooden spoon or dowel for a perch, string or sturdy thread, scissors, birdseed. Steps: Clean and dry the bottle. Cut small holes for perch and seed access. Push a spoon through a hole to act as a perch. Fill with birdseed and hang from a tree branch using string. Safety: Use kid-friendly scissors and remove any sharp edges or rough plastic after cutting. Tips: Decorate the bottle with paint or stickers before assembling. Keep the feeder away from strong winds and ensure it’s stable. Why it’s a win: It helps kids connect with nature and teaches responsibility as they watch birds visit their creation.
6. Jar Lid Mosaic Art
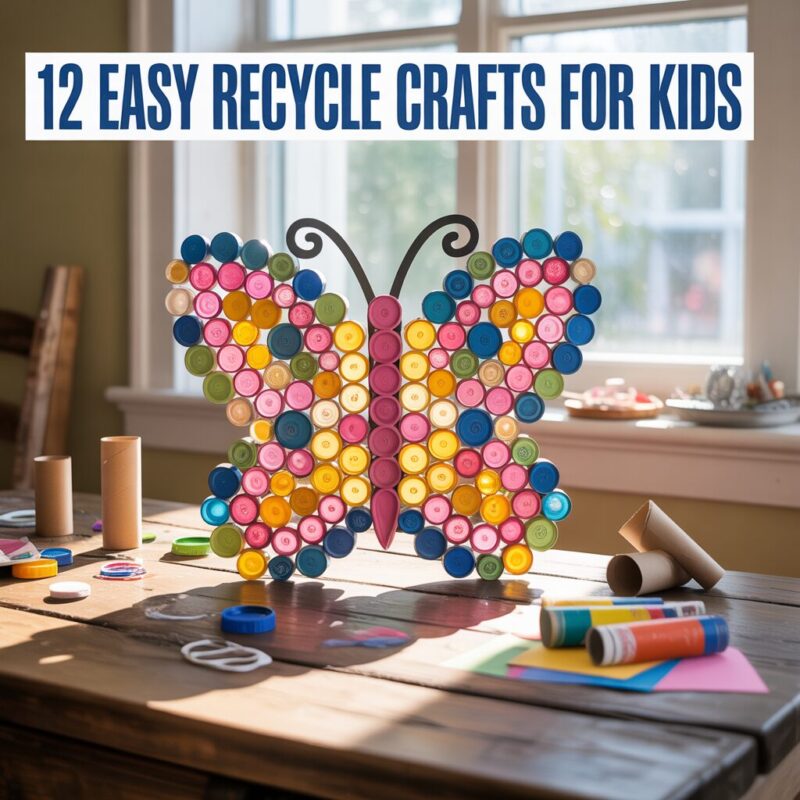
Materials: jar lids (various sizes), colored paper, glue, markers, paint, cardboard or a base board. Steps: Collect colorful lids and plan a simple mosaic design. Glue paper shapes or painted lids into a pattern. Finish with markers or paint to add details. Let dry, then assemble the lids in a frame or on a board for display. Safety: Clean lids before use to remove any residue; supervise glue and small pieces with younger kids. Ideas: Create a seasonal mosaic (flowers in spring, suns in summer, leaves in fall). Why it’s a win: It uses small, colorful pieces that fit many art styles and creates a striking wall decoration.
7. Egg Carton Caterpillars
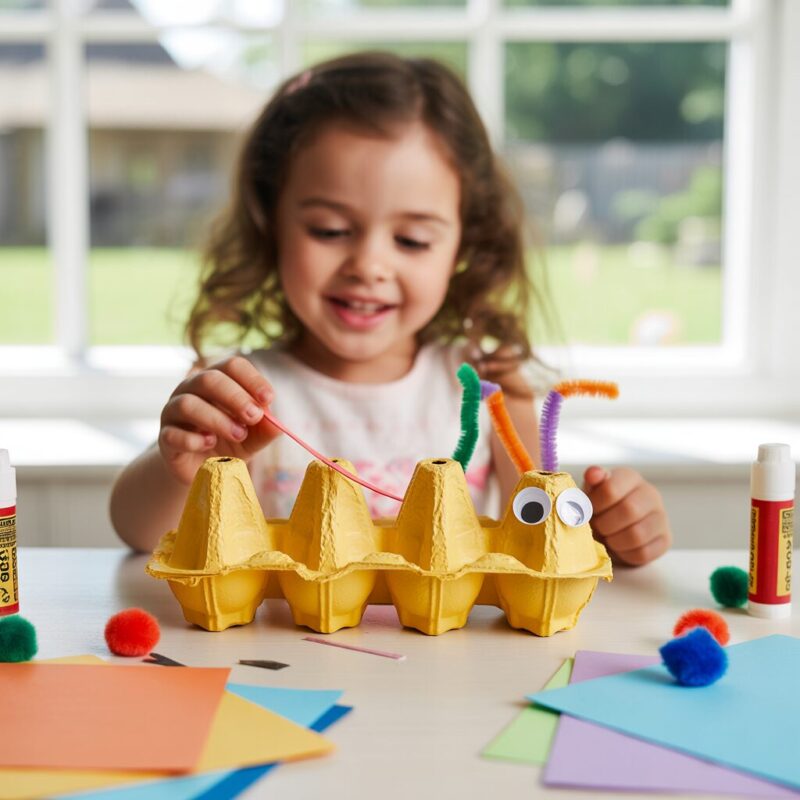
Materials: egg carton cups, pipe cleaners, googly eyes, paint or markers, scissors. Steps: Cut egg carton cups into strips. Color each cup and glue them together to form a caterpillar body. Add eyes and antennae using small pieces of pipe cleaners and markers. Attach a string at the back to hang as a mobile. Safety: Adults should help cut the cups and handle scissors for younger kids. Why it’s a win: This project turns a common packing item into a bright, friendly insect and helps practice counting and color recognition.
8. Bottle Cap Magnets
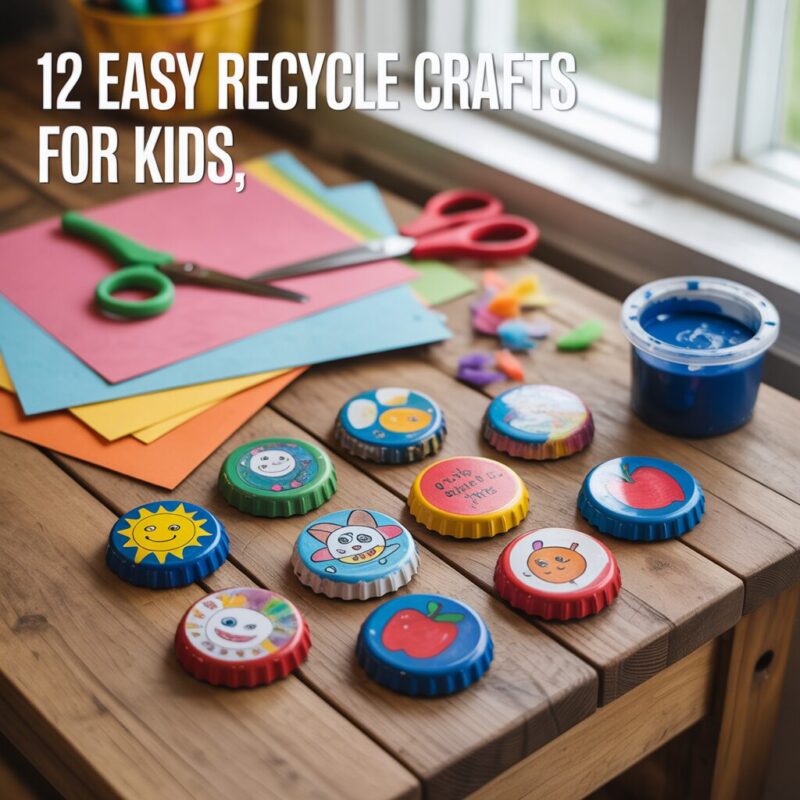
Materials: bottle caps, strong glue or epoxy (adult use only for adhesive), small decorative papers or photos, magnets, optional resin or glue for a glossy finish. Steps: Cut a decorative circle that fits inside the bottle cap. Glue it inside, then seal with glue or resin for a smooth top. Glue a magnet on the back and let set. Safety: Use adult supervision for the adhesive steps; ensure caps are clean to avoid glue problems. Why it’s a win: These make cute fridge magnets, and kids can personalize them with photos or doodles.
9. CD Suncatcher
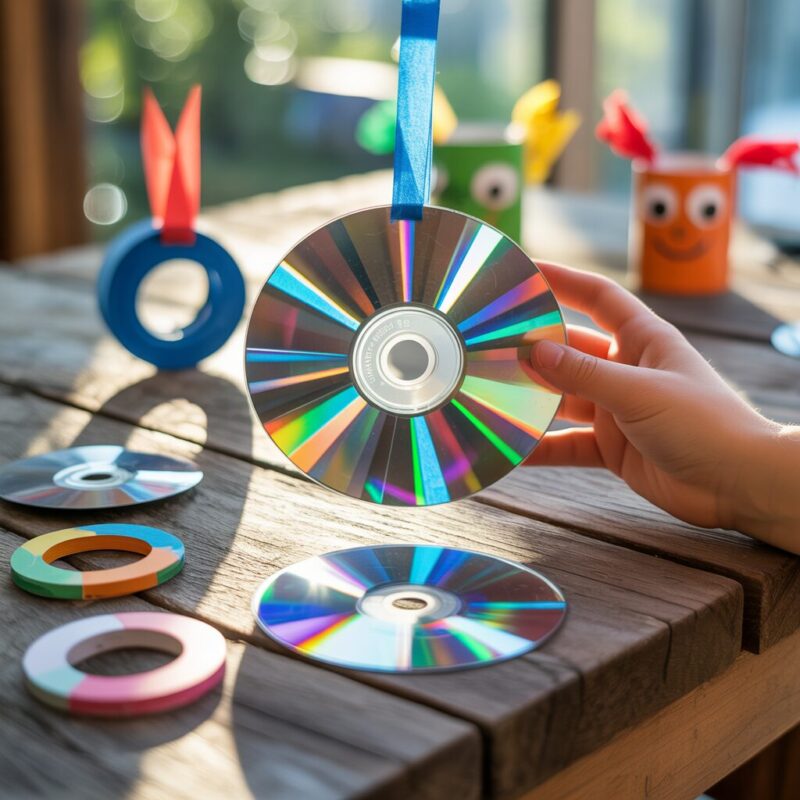
Materials: old compact discs, permanent markers or paint, beads or tissue paper for color accents, string to hang, glue or Mod Podge. Steps: Decorate the shiny side of the CD with markers or paint. Add small beads or tissue to create a stained-glass look on the other side. Glue a loop of string to hang in a sunny window. Safety: Avoid sharp edges; handle CDs carefully to prevent cuts. Use non-toxic markers. Why it’s a win: It recycles a disc that’s no longer used and turns it into a bright, shimmering window decoration.
10. Newspaper Bead Jewelry
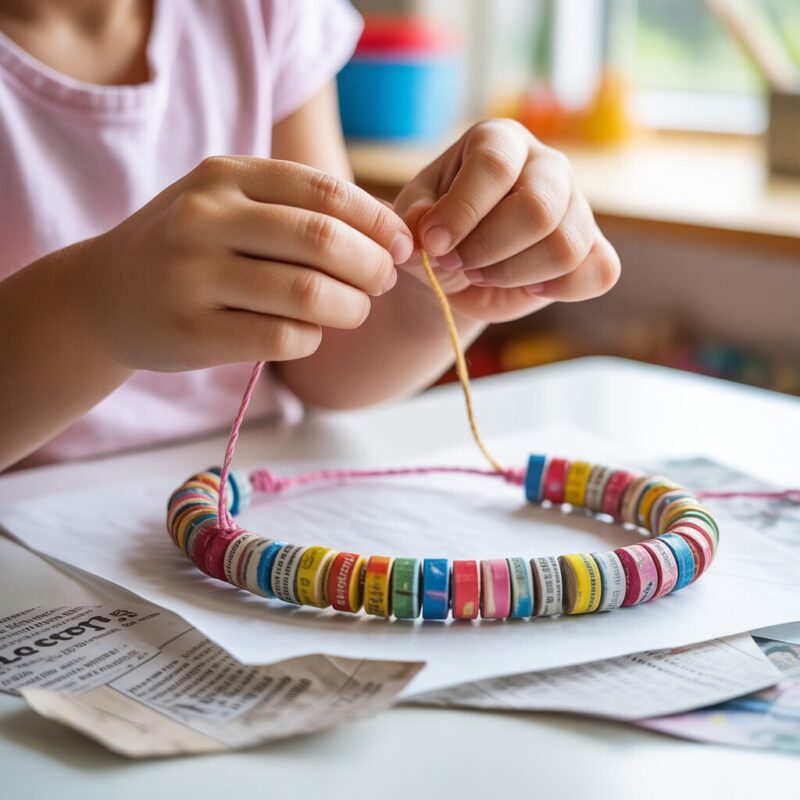
Materials: newspaper strips, glue, water, small beads or colorful paper for coating, string or yarn for threading, acrylic paint (optional). Steps: Roll strips of newspaper into small beads and dry. Strengthen by sealing with glue or a lightweight coat of paint. Thread beads onto string to create a necklace or bracelet. Safety: Use non-toxic glue and supervise younger kids during the rolling and drying steps. Variations: Add color with paint or decoupage a decorative pattern on the beads. Why it’s a win: It teaches weaving and beading basics while producing wearable art from recyclable material.
11. Milk Carton Planter
Materials: cleaned milk carton, soil, seeds or small plants, scissors, tape or string for mounting or hanging. Steps: Rinse the carton, cut out a window as a display face, and fill with soil. Plant seeds or small plants. Decorate the carton and add a label with the plant name. Place in a sunny spot and water as needed. Safety: Careful with scissors; supervise to avoid sharp edges. Avoid overwatering. Why it’s a win: It combines craft and gardening, and kids can watch plants grow, teaching responsibility and patience.
12. Cardboard Box Puppet Theater
Materials: small cardboard box, markers or paint, colored paper, scissors, glue, string for a curtain (optional). Steps: Cut a rectangular “stage” opening on the front and decorate the outside of the box. Create a tiny curtain by cutting a slit and attaching a strip of paper or fabric. Add simple puppets on sticks or use sock puppets from Item 1 to perform a short show. Safety: Use child-safe scissors; supervise for any glue use or tiny parts. Why it’s a win: It combines crafts with imaginative play, encouraging storytelling and performance as kids invent a show with their own props.
Common Mistakes
- Rushing steps or skipping safety: Always supervise scissors, hot glue, and small parts to prevent accidents.
- Using non-durable adhesives: Some glues don’t hold well on shiny surfaces; roughen the surface or use stronger glue when needed.
- Not letting glue dry: Rushing can cause pieces to detach; give time for every layer to set.
- Overloading items: Too many embellishments can weigh down a project; keep a simple balance for stability.
- Not planning color schemes: Jumping between colors can make a project look busy; pick a palette before you start.
- Not cleaning materials: Residues can ruin paint or glue; clean items before reuse when possible.
- Ignoring safety with small parts: Put away choking hazards from younger children and supervise when necessary.
- Skipping cleanup: Recycling crafts are fun, but a quick cleanup keeps the workspace safe and ready for the next activity.
FAQ
- Are these crafts safe for kids?
Yes, with supervision. Choose age-appropriate tools, avoid small parts for younger kids, and use kid-friendly adhesives.
- What if I don’t have some materials?
You can substitute with similar items. For example, use bottle caps or corks, or substitute with cardboard tubes for many projects.
- How long do these crafts take?
Most projects take 20–60 minutes, depending on age and complexity. Plan for one or two short sessions.
- Can these crafts be educational?
Absolutely. Many projects teach counting, colors, shapes, and basic physics (like gravity and balance in marble runs).
- How can I store finished crafts?
Use labeled bins or a display board. For items with drying glue, lay them flat on parchment to dry and avoid smudges.
Conclusion
Turning everyday trash into treasure is not only a fun way to spend time with kids, it’s a practical lesson in recycling and creativity. These 12 easy recycle crafts for kids use common items you already have around the house, turning them into playful, educational, and beautiful creations. Whether your child loves animals, space, or color, there’s a project here to spark curiosity and pride in making something with their own hands. Gather the materials, set up a cozy crafting space, and let imagination lead the way. As you work through each activity, you’ll reinforce important skills—planning, problem-solving, fine motor control, and environmental awareness—while building memories that last longer than the crafts themselves.

A Teacher with 5 years of experience. Our Expertise, is reliable to meet your full Academic development needs . Worked on many crafts and construction projects offering services from design to development to deployment over the years. You will find many of my works in my business portfolio on request.