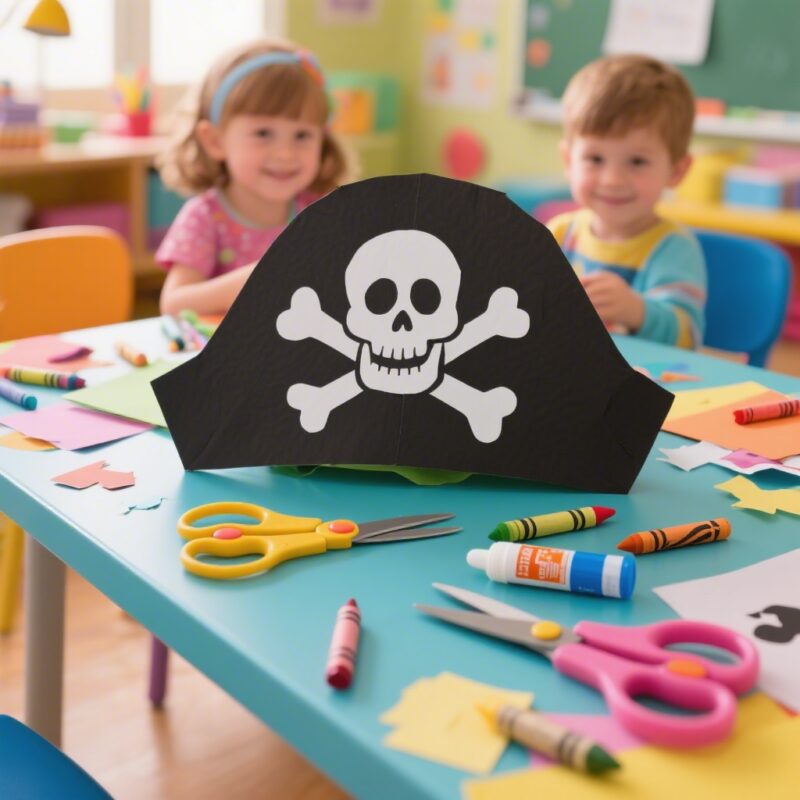
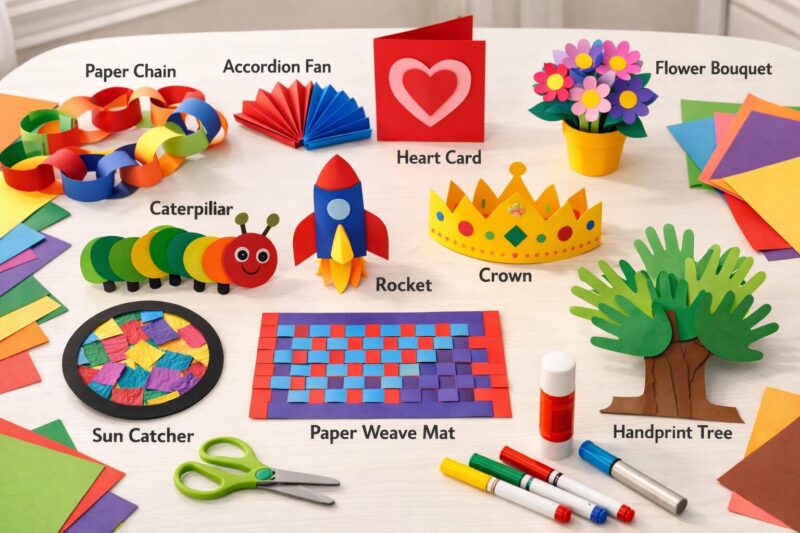
If you’re looking for easy, kid-friendly princess crafts, you’ve found a treasure chest. This list has 10 fun princess crafts that use simple, safe materials and turn into hours of imaginative play. Each craft comes with quick steps, budget-friendly supplies, and little tips to keep things moving smoothly. Whether your child loves dress-up, sparkle, or storytelling, these projects spark creativity and confidence without needing professional art time. Most can be done with common household items, and you can customize colors to match favorite princesses. Gather a few supplies, set up a cozy craft corner, and watch tiny designers bring magical ideas to life.
Key Takeaways
- Simple, safe supplies can become magical princess crafts with a little creativity.
- Most projects don’t require sewing or heavy tools; glue sticks and tape work for many.
- Personalization makes crafts feel special: colors, patterns, and names matter.
- These activities build fine motor skills, planning, and storytelling during play.
- Group crafting supports teamwork and sharing, while solo projects boost confidence.
- Always supervise younger kids and adapt projects to age and skill level.
Introduction
Princess crafts aren’t just cute; they’re fuel for imagination. When kids design and build their own royal toys, they practice problem solving, color choice, and storytelling—all in a playful, low-stress setting. The best part is how quick and affordable these ideas are. You can raid the recycling bin, raid the craft closet, and still end up with sparkling results kids will adore. In this list, you’ll find a range of projects—from wearable crowns to decorative trinkets and pretend-play props. Each item includes simple materials, straightforward steps, and optional tweaks so you can tailor the activity to your child’s interests and age. So roll out the paper, set up a comfy crafting space, and let the princess adventures begin.
1. DIY Princess Tiara from Felt and Glitter

If your child loves the idea of being a crown-wearing queen, this tiara project is perfect. It’s safe, soft, and easy to customize with favorite colors and gems.
Materials:
- Felt sheets in crown-friendly colors
- A plain headband or a stretchy elastic strip
- Glitter glue or fabric glue with fine glitter
- Small sequins or imitation jewels
- Scissors and a marker
- Optional: hot glue (for adult use only)
Steps: 1) Trace a simple crown pattern on the felt and cut out two matching crown shapes. For extra sparkle, cut small decorative arrows or points to add detail. 2) Glue the two crown pieces together with the felt facing each other to create a double-layer crown that won’t tear easily. Let dry briefly. 3) Decorate the top edge with glitter glue, sequins, and jewels. Use a steady hand or help from an adult for the glueing of heavier decorations. 4) Attach the crown to the headband or elastic band using glue or a few stitches if you’re comfortable sewing. Make sure the band fits comfortably around the head with some wiggle room. 5) Allow the tiara to dry fully before wearing. Add a ribbon bow at the back if you want extra flair.
Tips and Variations:
- Use metallic or holographic felt for a more magical look.
- Try a pirate-inspired color theme by incorporating navy blue and gold with anchor-shaped gems.
- For younger kids, skip the small jewels and focus on large, easy-to-attach shapes.
Common Pitfalls:
- Using too much glue can warp the felt or take forever to dry. Apply a thin layer and let it set.
- Crown size matters—test fit before embellishing too heavily.
Why it’s great:
- Encourages role-play and storymaking.
- A soft accessory that’s comfortable to wear during playtime.
2. Royal Cape from Old T-Shirts
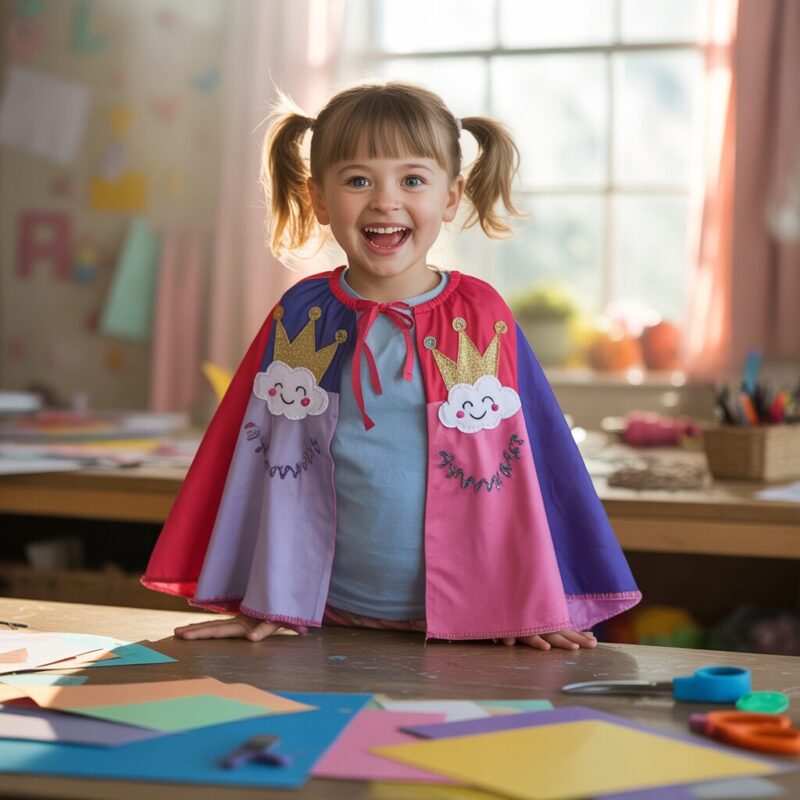
Turn an old shirt into a fluttery, dragon-free cape that matches any princess vibe. No sewing required; this is easy and quick.
Materials:
- Old t-shirt in your chosen color
- Fabric glue or a bonding agent (like iron-on fusible tape)
- Scissors
- Ribbon or fabric ties
- Optional: decorative trim or fabric paint
Steps: 1) Lay the shirt flat and cut off the sleeves, leaving shoulder seams intact to form a cape shape. 2) Cut a neck opening large enough to slip the child’s head through. Round the edges to avoid sharp points. 3) If you’re using fabric glue, seal the edges with a thin line of glue along the cape’s sides. Add a decorative trim along the edge if you’d like. 4) Attach ribbons or fabric ties at the front corners to tie around the neck. Let dry completely. 5) Decorate the cape with fabric paint, glitter glue, or iron-on designs if you prefer a customized look.
Tips and Variations:
- If you want a more dramatic cape, cut a longer length and swirl the hem to create a dramatic sweep.
- For a faster option, use a thrifted satin scarf or a kid-sized shawl as a cape.
- Add a hidden pocket or small bow on the inside for a little surprise.
Common Pitfalls:
- Neck opening too tight can be uncomfortable. Check fit and adjust as needed.
- Glue-on decorations might peel if the cape gets wet; seal decorations with clear fabric sealant.
Why it’s great:
- Reuses clothes you already have.
- Builds confidence in making a prop that can be worn during pretend play.
3. Cardboard Glass Slippers

These “glass slippers” celebrate Cinderella vibes without risk—just cardboard, foil, and a splash of glitter.
Materials:
- Cardboard shoe shapes (cut from a cereal box or shoe pattern)
- Aluminum foil or silver wrapping paper
- Glue or glue sticks
- Ribbons or elastic for straps
- Scissors, marker
- Optional embellishments: sequins, gems, or fine glitter
Steps: 1) Trace or draw simple slipper shapes on cardboard; cut them out twice for each slipper. 2) Cover the cardboard with aluminum foil or silver paper; smooth out wrinkles. 3) Glue the two pieces of each slipper together to create a little “shoe” thickness. Add a small strip of foil on top to resemble a buckle. 4) Attach elastic or a ribbon to the sides so the slippers can be worn as pretend footwear. 5) Decorate with a few sequins or a glitter-glue buckle.
Tips and Variations:
- Paint the slippers with metallic silver paint first, then wrap with foil for extra shine.
- Create different sizes for siblings or friends to share the magical moment.
Common Pitfalls:
- Wrinkled foil can look messy; carefully smooth the surface and cut precise shapes.
- Slippers should be lightweight and comfortable; avoid sharp edges.
Why it’s great:
- Reinforces fine motor skills with cutting and gluing.
- A fun prop for fairy-tale play and photos.
4. Princess Castle Cardboard Playhouse
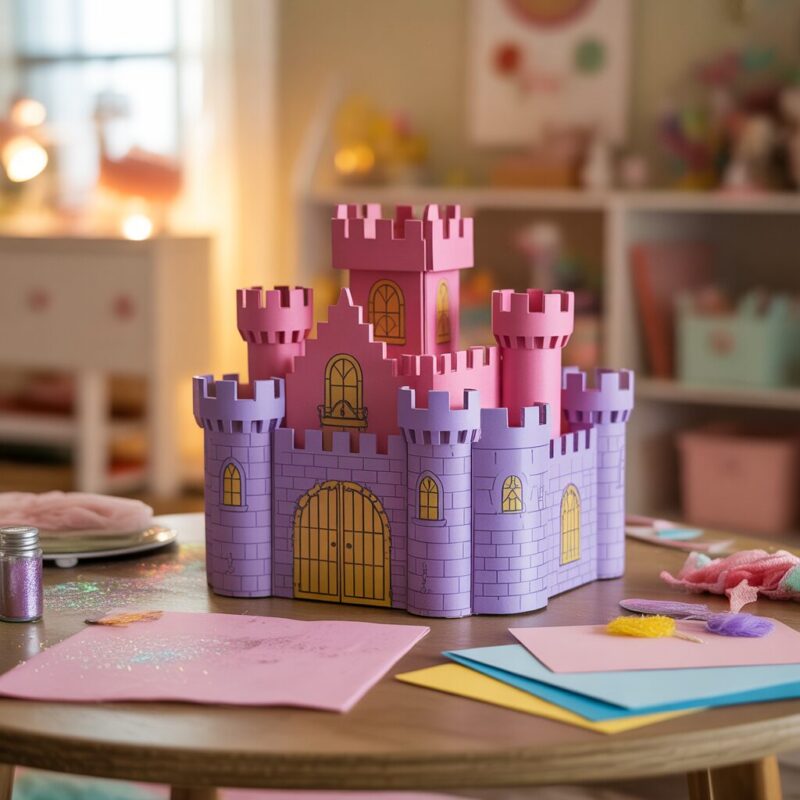
A cardboard castle offers endless pretend-play space. It’s big, bright, and surprisingly simple to assemble.
Materials:
- Large cardboard box or multiple boxes
- Craft paint or markers
- Scissors or craft knife (adult supervision)
- Tape or hot glue (adult use)
- Construction paper, stickers, and cardboard tubes for towers
- Optional: tissue paper for banners, string lights (LED)
Steps: 1) Plan your castle layout. Decide where the towers, drawbridges, and windows will be. 2) Cut out doorways and window openings. Round corners to reduce sharp edges. 3) Paint the exterior in princess colors. Add windows and doors with contrasting colors. 4) Create towers from rolled cardboard or tubes and attach them to the main structure with strong tape or glue. 5) Decorate with banners, flags, and stickers. Add a drawbridge with a string and a small weight for fun. 6) Place the playhouse in a cozy corner and invite a few dolls, plushes, or action figures to the royal gathering.
Tips and Variations:
- If you don’t have a large box, you can build a smaller “castle corner” using a cardboard arch and two towers.
- Use fabric scraps to drape over the box for more texture and color.
Common Pitfalls:
- Too many taped seams can collapse; reinforce with extra layers of cardboard or tape.
- Sharp edges; ensure all cut edges are smoothed or covered.
Why it’s great:
- Large-scale crafts invite friends and siblings to join in.
- Teaches planning, measuring, and collaboration.
5. Magic Wands with Ribbon and Beads

A classic princess accessory that’s quick to assemble and perfect for pretend spellcasting.
Materials:
- Wooden dowels or sturdy craft sticks
- Ribbon strips
- Beads or star-shaped pendants
- Glue, tape, and markers
- Paints (optional)
Steps: 1) Decorate the wand sticks with markers or paint a base color. Let dry. 2) Thread beads onto a long piece of ribbon and tie knots to create a beaded ribbon. 3) Attach the ribbon to the wand tip with glue or tape, then secure with a dab of hot glue (adult supervision). 4) Glue a star or crown-shaped charm at the top of the wand for a regal finish. 5) Wrap the bottom of the wand with a decorative ribbon for extra flair and grip.
Tips and Variations:
- Create a “confetti wand” by packing the ribbon with small, safe-to-use paper shapes.
- Use a glow-in-the-dark paint on the wand for a magical nighttime effect.
Common Pitfalls:
- Beads can come loose if glue isn’t set. Apply enough glue and allow ample drying time.
- Ribbons can fray; trim ends and seal with a small dab of glue.
Why it’s great:
- Encourages imagination and role-play.
- Easy to personalize for different princess themes.
6. Paper Plate Princess Mask
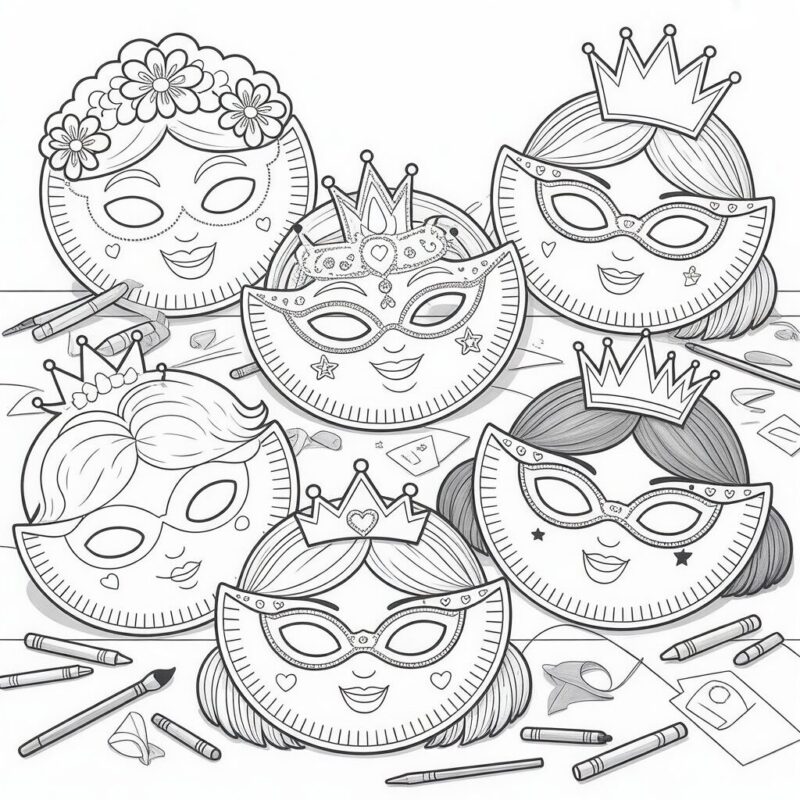
Dress-up in a face-friendly mask that doubles as a keepsake.
Materials:
- Paper plates
- Scissors
- Markers, crayons, colored paper
- Elastic string
- Glue sticks or liquid glue
- Decorative extras: stickers, glitter, gemstone stickers
Steps: 1) Cut two eye holes on the plate and trim the edges so there are no sharp corners. 2) Decorate the plate to resemble a princess’ face or crown. Add a paper crown cutout on the forehead or edge. 3) Attach elastic string to the sides so the mask fits snugly around the head. 4) Add finishing touches with markers and decorative bits. 5) Let the mask dry before wearing.
Tips and Variations:
- Create a family of masks (queen, princess, fairy) for a fun group activity.
- For younger kids, pre-cut eye holes and help with gluing.
Common Pitfalls:
- Mask edges can be rough; sand lightly with a soft child-safe sanding block or trim carefully.
- Elastic should be comfortable; opt for a soft stretch band.
Why it’s great:
- Quick, affordable, and perfect for a rainy-day craft.
- Encourages pretend play and costume design.
7. Mason Jar Lantern with Glitter and LED Light

A gentle glow adds magic to any princess room. This project is decorative and safe with LED lights.
Materials:
- Clean mason jar
- Tissue paper in princess colors
- Mod Podge or school glue
- Glitter or sparkly confetti
- LED tea light or battery-operated candle
- Ribbon or twine for the handle
Steps: 1) Tear tissue paper into small pieces and cover the jar with a thin layer of glue. 2) Apply tissue pieces to the jar in a mosaic pattern. Let some white jar show through for contrast. 3) Spread a light layer of glue and sprinkle glitter for a twinkling surface. Let it dry. 4) Add a ribbon or twine handle by tying around the neck of the jar. 5) Place an LED tea light inside and switch on for a soft princess glow.
Safety and Variations:
- Always use LED lights for kids. Do not use real candles.
- Swap tissue paper for a glass-friendly paint job if you prefer.
Why it’s great:
- Creates a warm, magical ambiance for bedtime stories.
- Teaches layering and color blending in a tactile way.
8. Beaded Princess Bracelet or Necklace
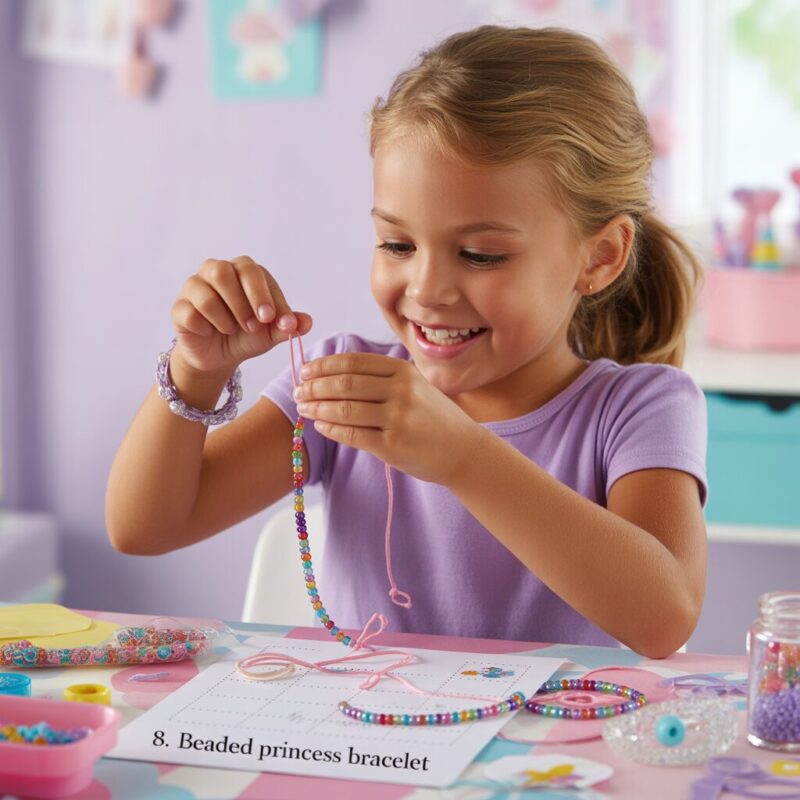
A simple jewelry project that doubles as a sweet gift or party favor.
Materials:
- Pony beads in pastel or metallic colors
- Stretchy jewelry cord
- Scissors
- Optional charms or letter beads
Steps: 1) Measure a comfortable length for the wrist or neck and cut the cord. 2) Tie a simple knot at the end or use a clasp if you have one, ensuring it’s secure. 3) Let kids string beads in any pattern they like, or show them a simple repeating motif (e.g., two beads of one color, one of another). 4) Finish with a knot and trim the excess cord. 5) If you’re using letters, spell out “PRINCESS” or the child’s name for a personalized touch.
Tips and Variations:
- Use larger beads for younger kids to improve grip and control.
- Add a safety breakaway clasp for younger children to prevent choking hazards.
Common Pitfalls:
- Cord may stretch out; tie secure knots and test the bracelet pressure.
- Beads can roll away; keep a small tray handy.
Why it’s great:
- Develops counting, patterning, and fine motor skills.
- A wearable keepsake that motivates kids to finish a craft.
9. Princess Banner Garland
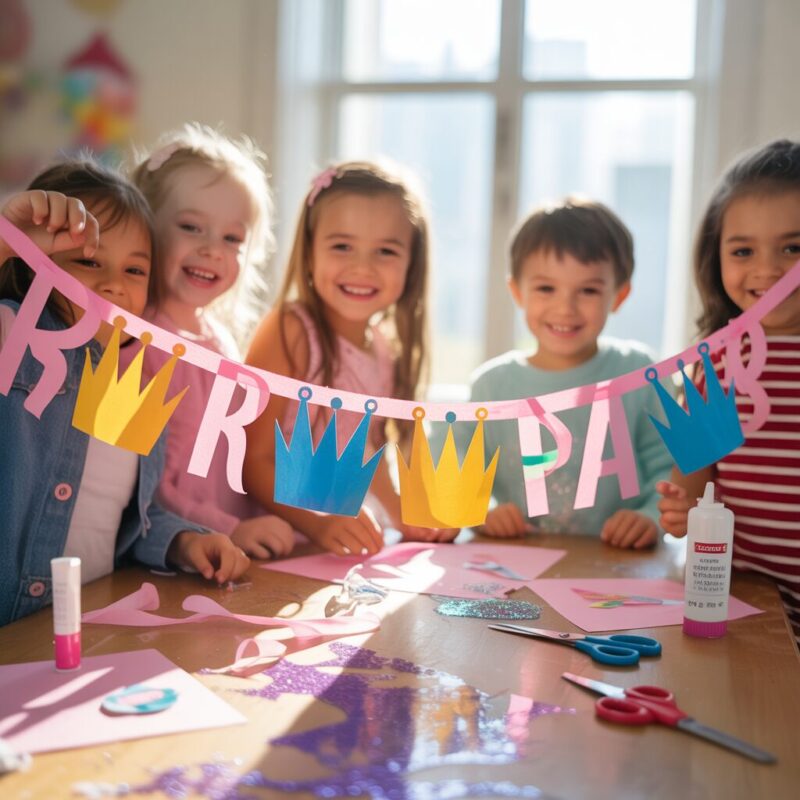
Decorate a room with a cheerful crown-themed banner that welcomes the royal residents.
Materials:
- Construction paper in multiple colors
- Scissors
- String or ribbon
- Hole punch or tape
- Markers, stickers, and glue
- Optional: cereal-box cardboard for stiffening shapes
Steps: 1) Cut crown shapes from colored paper. You can draw the crown shapes or trace a simple template. 2) Decorate each crown with markers, stickers, and small drawings. 3) Punch holes at the top of each crown or tape a strip of paper to create a loop. 4) Thread the crowns onto a length of string or ribbon, or tape them to the wall in a garland line. 5) Space crowns evenly and adjust length to fit your space.
Variations:
- Make a themed banner for a birthday or princess night. Use the child’s name or a favorite quote.
- Add glitter or foil stickers for extra sparkle.
Common Pitfalls:
- Crowns bending or tearing if cut too thin; reinforce with a second layer or use cardstock instead of thin construction paper.
Why it’s great:
- A group project that can brighten a room for celebrations.
- Teaches sequencing and patterning when arranging crowns.
10. DIY Princess Bookmarks
Generating image 10…