
So you bought a Cricut and now you’re eyeing that wood burning tool thinking, “Wait, can my fancy cutting machine actually burn wood?” Plot twist: your Cricut can’t directly burn wood, but it can help you create some seriously impressive wood burning projects with way less stress and way more precision. Let me show you how these two crafts team up like the ultimate creative power couple.
The Real Deal: Understanding the Cricut and Wood Burning Partnership
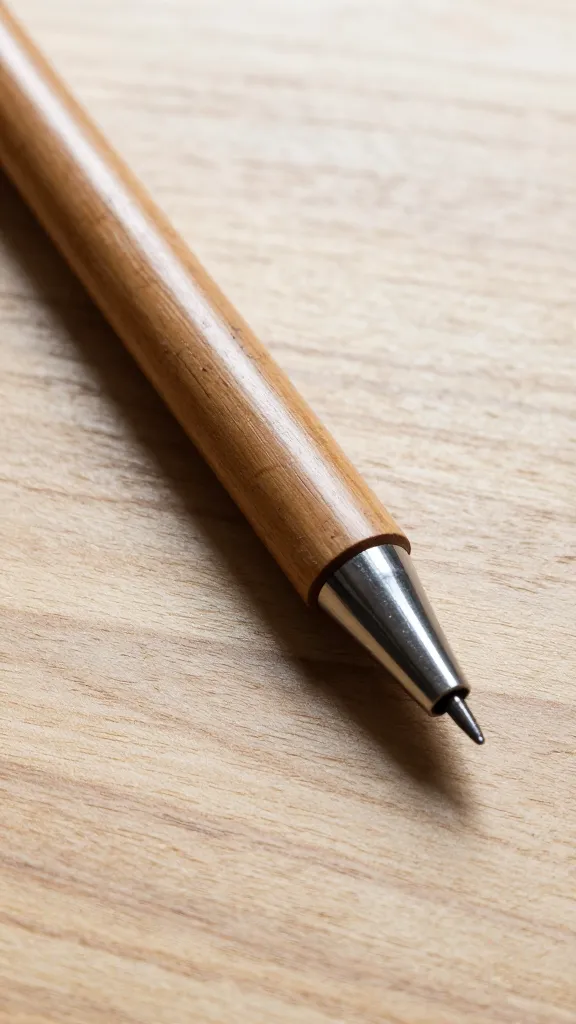
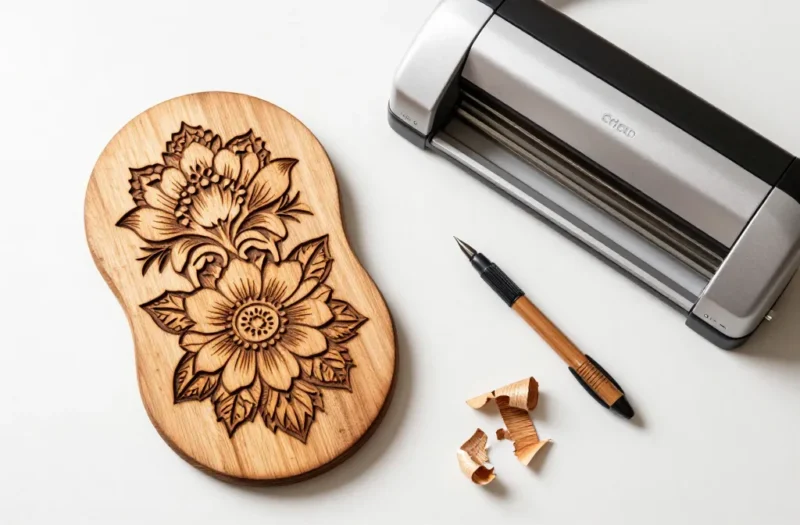
Here’s the thing—your Cricut machine isn’t going to set anything on fire (thankfully, because that would be a terrible product design). What it DOES do is create perfect stencils, guides, and templates that make wood burning projects go from “well, I tried” to “holy cow, you made that?”
Think of your Cricut as the planning department and your wood burning tool as the execution team. The Cricut cuts out your design with robotic precision, and you follow those lines with your pyrography pen. No more freehand disasters or wonky lettering that looked way better in your head.
This combo is perfect because wood burning requires a steady hand and good spatial awareness—qualities that, let’s be honest, disappear the moment we get excited about a project. The Cricut removes that guesswork entirely.
What You’ll Actually Need to Get Started
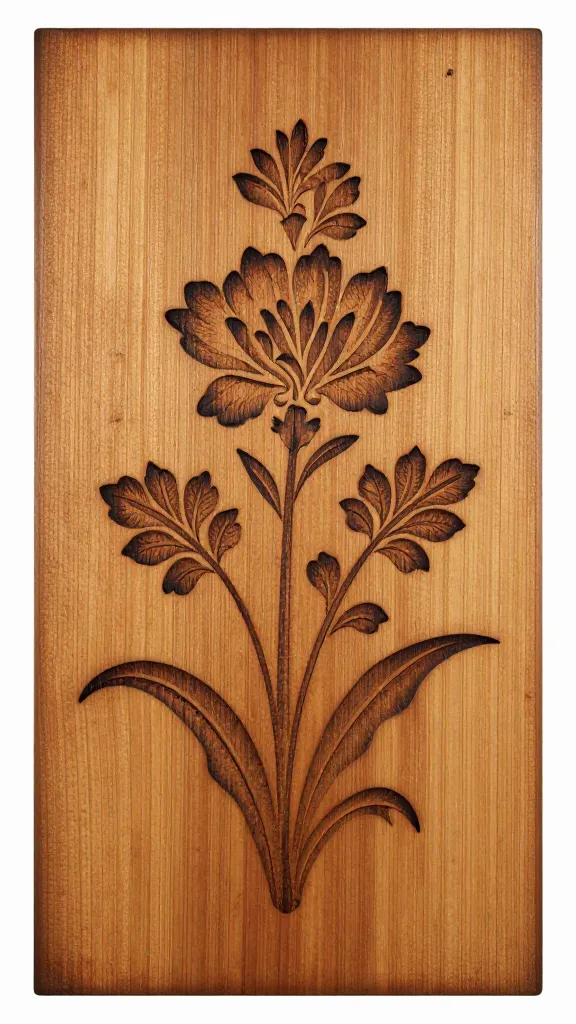
Before you dive in, let’s talk supplies. You can’t MacGyver your way through this with just hopes and dreams.
Your Essential Tools
- A Cricut machine (any model works—Maker, Explore, Joy, whatever you’ve got)
- A wood burning tool (also called a pyrography pen—you can grab one for $20-$50)
- Basswood or birch plywood (softer woods are way more forgiving for beginners)
- Transfer paper or vinyl (this is how you get your design onto the wood)
- A cutting mat (standard grip works for most projects)
- Weeding tools (because nobody enjoys peeling tiny vinyl pieces with their fingernails)
FYI, you’ll also want to work in a well-ventilated area. Burning wood smells rustic and crafty at first, but after an hour, your nose will disagree with your creative ambitions.
Method One: Using Vinyl as Your Stencil
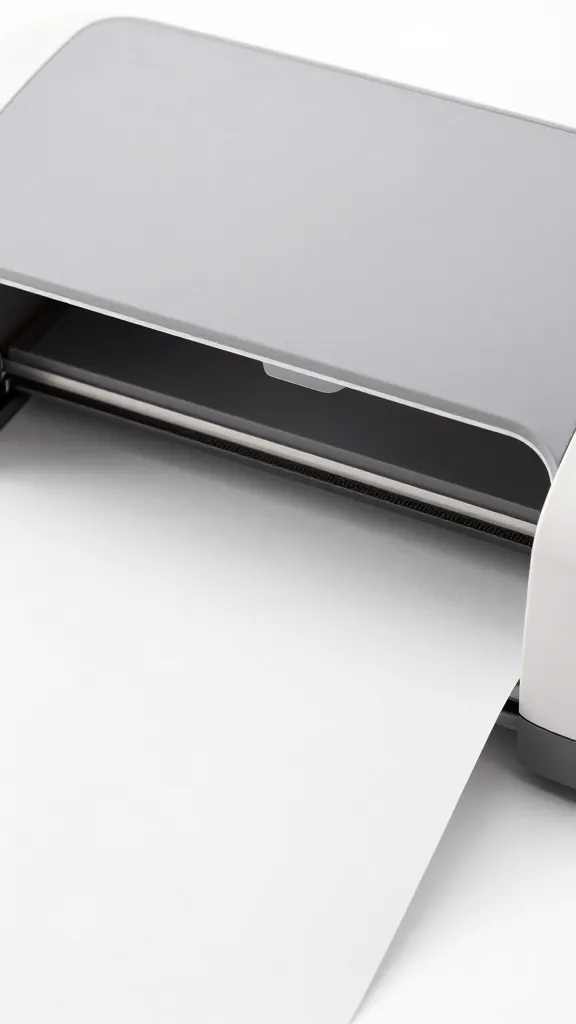
This is honestly the most popular method, and for good reason—it’s foolproof and gives you clean, crisp lines.
Start by creating or finding your design in Cricut Design Space. Upload an SVG file or use one of their images (just make sure it’s not too intricate for your first rodeo). Size it to fit your wood piece and hit that magical “Make It” button.
Cut your design from vinyl—regular adhesive vinyl works great. Weed out the parts where you want to burn, leaving the vinyl that will protect the wood. This is basically creating a negative stencil.
Apply transfer tape to your weeded vinyl and stick it onto your wood surface. Press it down firmly because the last thing you want is vinyl lifting while you’re trying to burn. Remove the transfer tape carefully, leaving just the vinyl stuck to the wood.
Now grab your wood burning tool and trace around the vinyl edges. You’re basically using the vinyl as bumpers—like bowling with the gutters blocked. Once you’ve outlined everything, peel off the vinyl and admire those crispy clean edges.
Method Two: Transfer Paper Magic

If you’re working with a super detailed design or just prefer seeing exactly where to burn, transfer paper is your best friend.
Cut your design from regular printer paper using your Cricut. Yep, just plain paper—nothing fancy needed here. Make sure you’re cutting the actual design lines, not creating a stencil.
Place the paper design face-down on your wood and tape it in place. Use a pencil or pen to scribble firmly over the back of the paper. The friction transfers a light outline onto the wood. Some people use graphite transfer paper sandwiched between the design and wood, which gives even clearer lines.
Once you’ve transferred your design, remove the paper and you’ll see faint guidelines on your wood. Follow these lines with your wood burning tool, and boom—precision without the vinyl.
Pro Tips for Transfer Success
Don’t press too hard when transferring, or you’ll indent the wood. Also, always do a test burn on scrap wood first to get your temperature and speed dialed in. Different woods burn at different rates, and you don’t want to learn this the hard way on your final piece.
Actually Burning the Wood (Without Burning Your House Down)
Let’s talk technique because just jamming a hot pen into wood doesn’t exactly create art.
Set your wood burning tool to a medium temperature to start. Too hot and you’ll scorch everything in sight; too cool and you’ll just be pushing around a fancy pen that smells weird. Start with lighter pressure and build up the darkness gradually—you can always go darker, but you can’t undo a burn.
Work in smooth, continuous strokes when possible. Stopping and starting creates little dots and inconsistent lines that scream “amateur hour.” Keep your hand steady and move at a consistent speed.
Shade by adjusting your pressure and speed, not by cranking up the heat. Lighter pressure creates lighter tones, while pressing harder gives you darker burns. You can create some seriously impressive depth this way.
Flip your wood piece around instead of contorting your hand into weird angles. Your wrist will thank you, and your lines will look way better.
Finishing Your Masterpiece
Once you’ve finished burning, let everything cool completely. Then lightly sand the surface with fine-grit sandpaper (220 grit works great) to remove any rough edges or ash residue.
You can leave your piece natural for that rustic vibe, or seal it with polyurethane, wax, or mineral oil depending on what you’re making. Cutting boards need food-safe finishes; wall art can handle regular poly.
IMO, a light coat of paste wax gives wood burning projects the perfect subtle sheen without looking too glossy or hiding your hard work.
Common Mistakes (That Everyone Makes at First)
Let’s save you some heartache and ruined wood pieces, shall we?
Using the wrong wood is mistake number one. Pine has resin pockets that burn unpredictably and smell terrible. Stick with basswood, birch, or maple for consistent results.
Not testing your vinyl adhesion is another classic blunder. If your vinyl lifts while burning, you’ll get bleeding and fuzzy edges. Press it down like your craft reputation depends on it.
Rushing the burn is tempting but deadly. Take your time. A slower, more controlled burn always looks better than speed-running through your design like you’re late for something.
Forgetting to ventilate your space will give you a headache and potentially worse. Crack a window, use a fan, or work outside when possible.
Frequently Asked Questions
Can I use my Cricut Maker with the knife blade to carve wood instead?
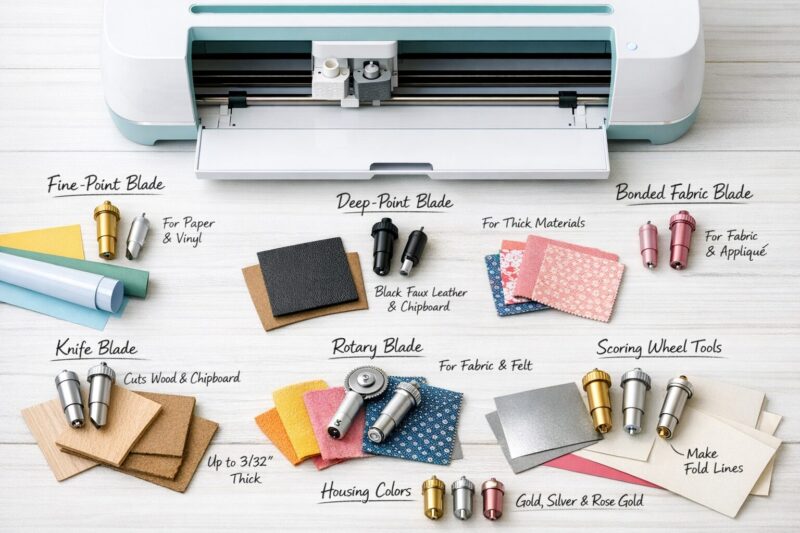
Technically yes, but that’s a different technique entirely. The knife blade can score and carve basswood sheets, but it won’t give you the burned, darkened effect that pyrography creates. They’re two separate crafts that both look amazing but achieve totally different aesthetics.
What temperature should I set my wood burning tool to?
Most tools work best between 600-800°F for general burning, but start lower and increase if needed. Every brand runs a bit differently, so experimentation on scrap wood is crucial. Some cheaper tools don’t have adjustable temps, which makes them trickier but still usable.
How do I keep my vinyl from melting when I burn next to it?
Work carefully and don’t linger too long in one spot. Keep your burning tip moving and try not to actually touch the vinyl with the hot tool. If you’re really worried, you can trace slightly inside the vinyl edge and then remove the stencil to finish the edges freehand.
Can I burn on stained or painted wood?
You can, but results vary wildly. Some stains and paints release nasty fumes when burned, and the chemicals can gunk up your burning tip. Raw, unfinished wood is always your safest and best-looking option. If you want color, burn first and then apply stain or paint around your design.
Why does my wood burning look blotchy?
Usually this happens because of inconsistent speed or pressure, or because you’re working with wood that has varying density. Cheap plywood with knots and grain variations burns unevenly. Invest in better quality wood, and practice maintaining steady pressure and speed.
Do I need an expensive wood burning tool?
Not when you’re starting out. A basic $20-30 tool from a craft store works fine for learning. Once you’re hooked (and you will be), you can upgrade to fancier models with interchangeable tips and precise temperature controls.
Wrapping This Up
Combining your Cricut with wood burning opens up a whole new world of personalized gifts, home decor, and craft fair bestsellers. The Cricut handles the precision planning while you bring the artistic execution with your burning tool—it’s honestly the perfect collaboration.
Start simple with basic designs and text, master your technique, and then level up to more complex patterns and shading. Before you know it, you’ll be burning custom cutting boards for every person you’ve ever met and wondering why you didn’t try this sooner. Just remember to ventilate your space and maybe warn your household about the smell. Happy burning!

A Teacher with 5 years of experience. Our Expertise, is reliable to meet your full Academic development needs . Worked on many crafts and construction projects offering services from design to development to deployment over the years. You will find many of my works in my business portfolio on request.