
Every year when fall arrives, I find myself looking out the window more often. The leaves slowly shift from green to fiery reds, warm oranges, and golden yellows. It feels like nature is painting a picture just for us. I always want to capture that beauty and bring it indoors, and one of my favorite ways to do that is by making fall leaf suncatchers with kids.
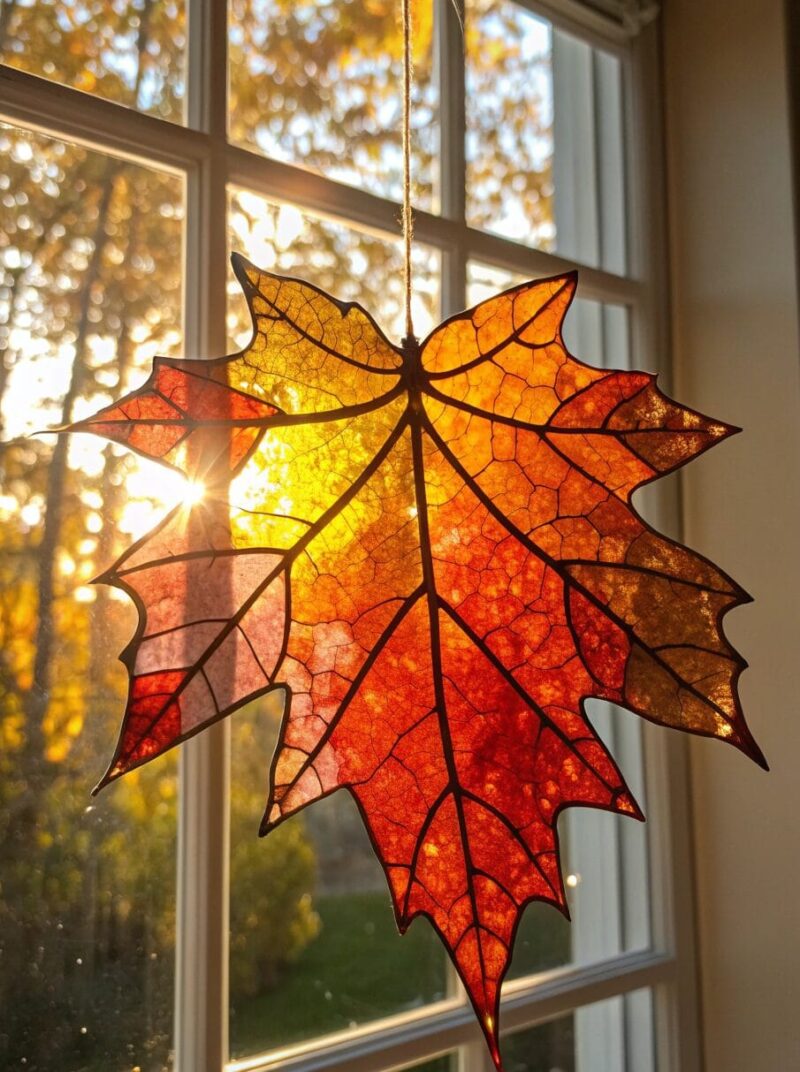
Suncatchers are magical. When the sunlight shines through, the colors glow and make the whole room feel warmer. What I love about this project is how simple it is. With just a few supplies, children can create glowing pieces of art that reflect the season. It’s a craft that combines creativity, color, and even a little bit of science, and I can’t wait to share exactly how I make them.
Materials You’ll Need
The best part about this project is that the supplies are inexpensive and easy to find. You don’t need anything fancy to get beautiful results. Here’s what I usually gather before starting:
- Clear contact paper or wax paper
- Tissue paper in fall colors like red, orange, yellow, and brown
- Scissors
- Glue stick or tape
- Black construction paper for frames
- Optional: real pressed leaves, glitter, sequins, or stickers
I like to give kids a choice between using real leaves or tissue paper because both create different effects. Real leaves capture the natural texture of autumn while tissue paper makes the suncatchers extra bright and colorful.
Step-by-Step Instructions for Leaf Suncatchers
Preparing the Base
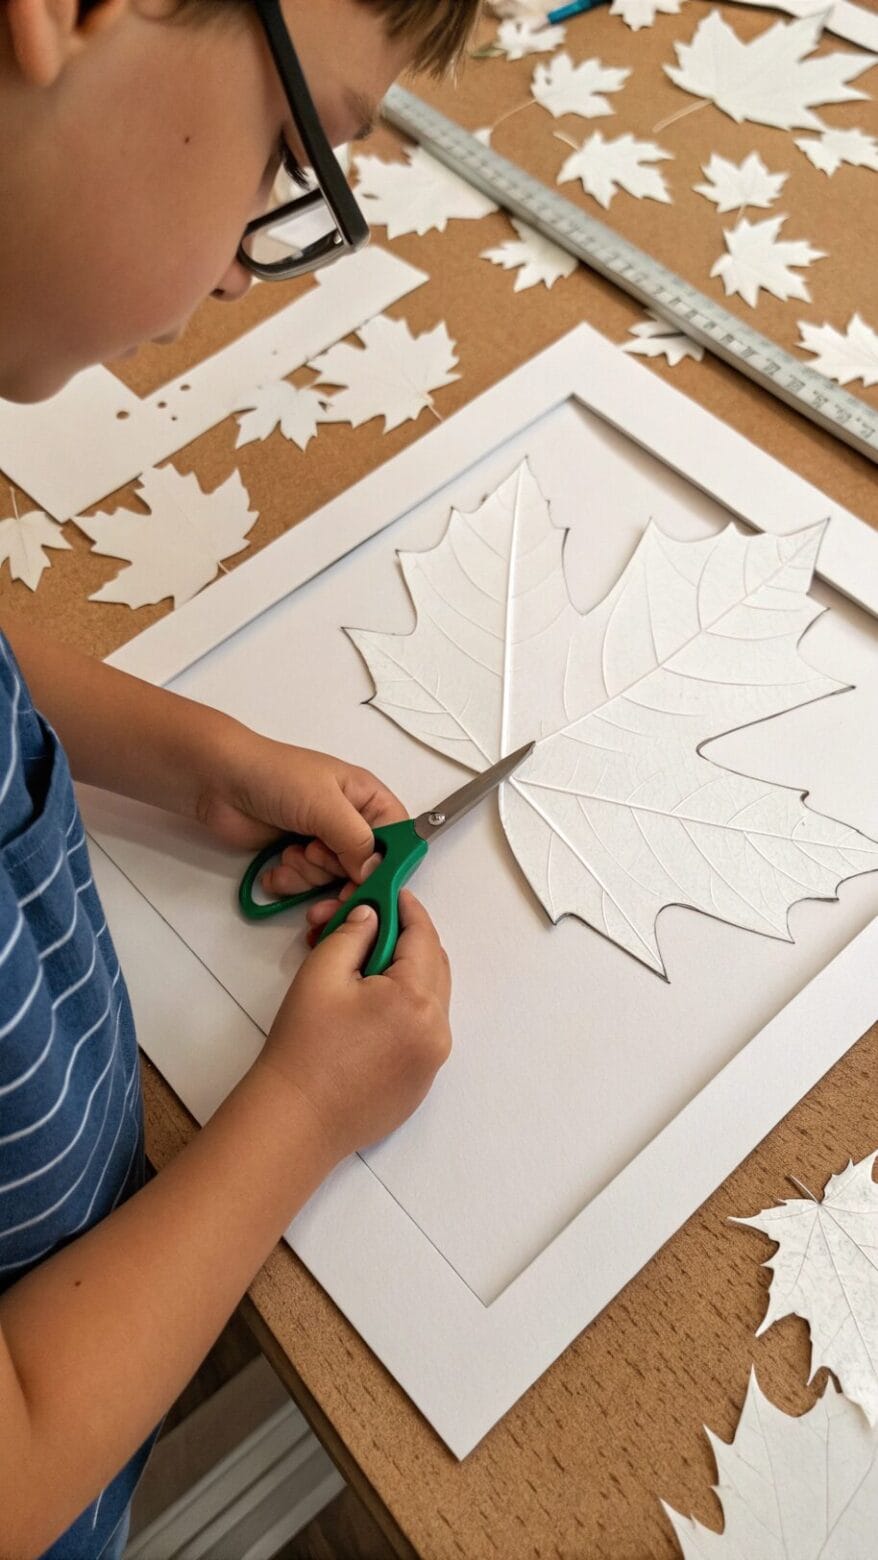
I start by cutting two sheets of contact paper or wax paper into rectangles or squares. These will sandwich the leaves or tissue paper inside. If I use wax paper, I tape it to the table so it doesn’t slide around. Kids sometimes get frustrated if their base moves while they’re working, so this little step helps a lot.
Adding the Colors
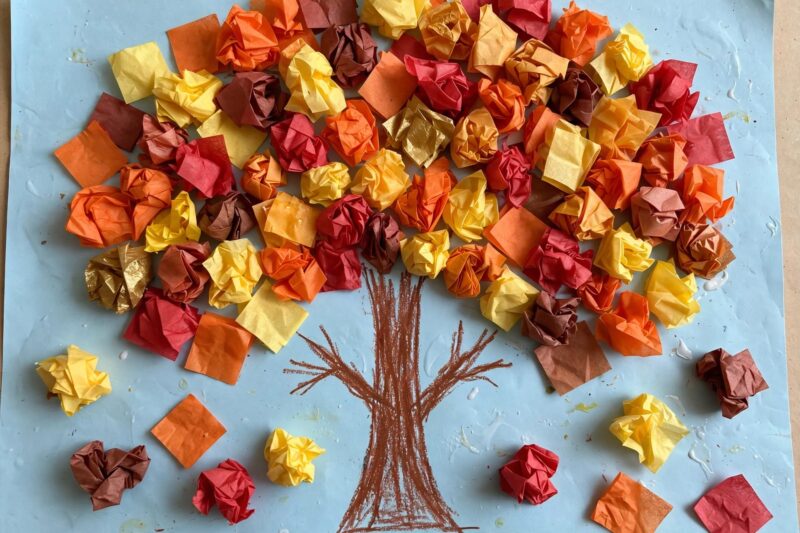
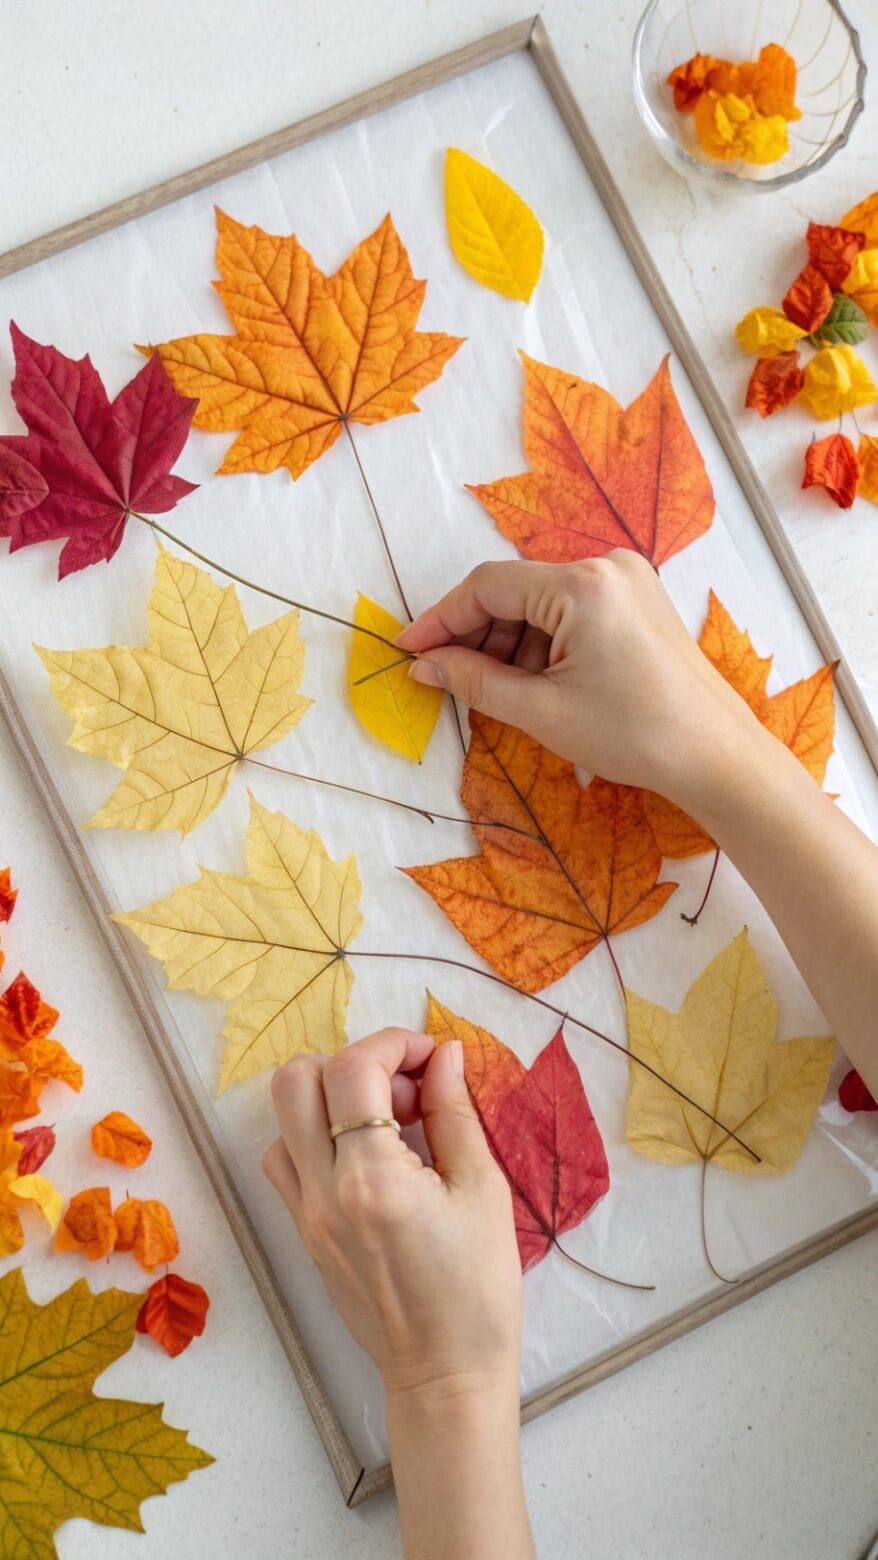
Now comes the fun part. Kids tear tissue paper into small pieces and arrange them onto the sticky contact paper. I encourage them to overlap the colors because when the sun shines through, the blended sections look like watercolor paintings. If we’re using real leaves, I make sure they are dry and pressed so they don’t crumble. The combination of both real leaves and tissue paper is stunning too.
Sealing the Artwork
Once the design is ready, I place the second sheet of contact paper on top to seal everything inside. If I’m using wax paper, I gently press it with a warm iron to fuse the layers together. This part is always supervised by an adult, but kids love watching their creation turn into a finished suncatcher.
Cutting Shapes
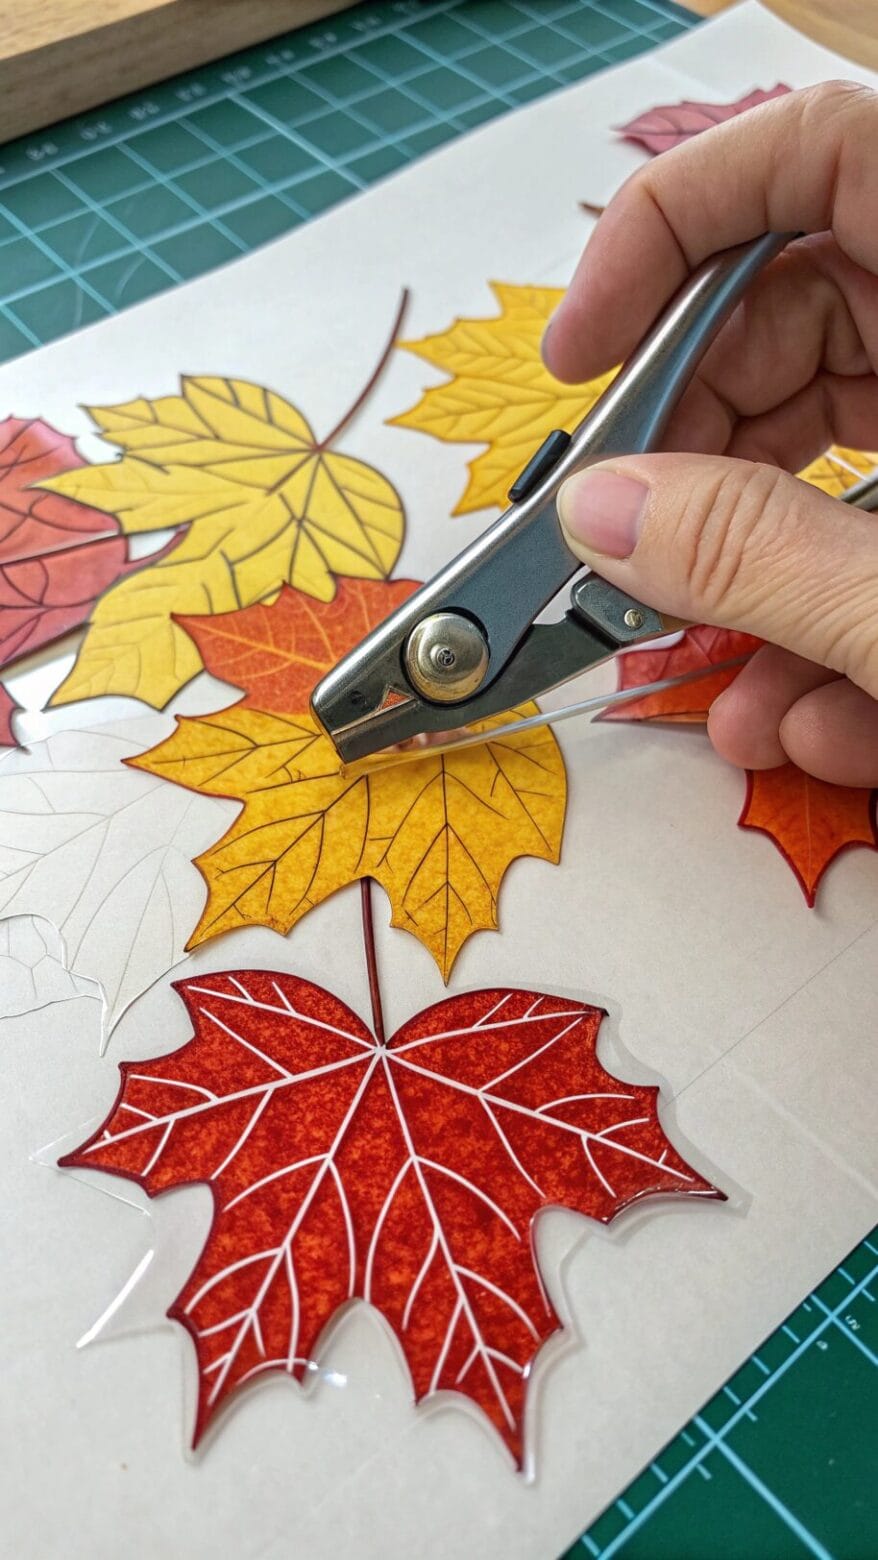
After sealing, I cut the paper into fun shapes. Sometimes I cut out leaf outlines using black construction paper as a frame. Other times I make simple circles, hearts, or even pumpkins. The shapes give the suncatchers a polished look, and kids get excited to choose their favorites.
Tips for Working with Real vs. Paper Leaves
I’ve learned a few things over the years about using natural materials. Real leaves work best if they’re freshly fallen and pressed flat in a book for a day or two. Otherwise, they can curl or break apart inside the suncatcher. Tissue paper, on the other hand, is always reliable and comes in so many colors. Younger kids especially enjoy tearing it into pieces because it feels less precise and more playful. Sometimes I mix both real leaves and tissue paper in the same project for a layered effect.
Creative Variations to Try
The beauty of this craft is how flexible it is. Once kids get the hang of making basic suncatchers, I like to introduce a few variations:
- Glitter Leaves: Sprinkle a little glitter before sealing the paper so the suncatcher sparkles in the sun.
- Mixed Media: Add sequins, stickers, or bits of foil for extra shine.
- Seasonal Shapes: Instead of only leaf shapes, try cutting pumpkins, acorns, or even apples.
- Framed Suncatchers: Use black construction paper to make window frames or outlines. This makes the colors pop even more.
These variations keep kids excited and give them a chance to explore their own style.
Hanging Ideas: Windows, Doors, and Class Displays
Once the suncatchers are ready, it’s time to show them off. I love taping them directly to sunny windows because the light brings out their full beauty. They also look lovely hanging from string in front of a window, almost like floating ornaments. In classrooms, I’ve strung them together as garlands across the room. They add such a cheerful, seasonal touch to the space and make kids proud to see their work displayed.
Teaching Kids About Seasons Through Crafts
One of the reasons I love making leaf suncatchers is because it’s more than just art. It’s also a learning opportunity. While we craft, I like to talk about why leaves change color in the fall. I explain photosynthesis in a simple way, telling kids that leaves are like little food factories for trees and that when autumn comes, the trees take a rest. This sparks curiosity and makes them see the world outside in a new way.
For younger kids, it can also be a lesson in colors. We talk about blending red and yellow to make orange, or about how light shining through tissue paper looks different from when it’s flat on the table. It becomes part craft, part science experiment.
Why I Keep Coming Back to This Craft
Over the years, I have done countless fall crafts with children, but leaf suncatchers are the one project I always come back to. They are simple enough for young kids but still creative enough for older kids to enjoy. No two ever look alike, and every window decorated with them feels cozy and festive.
I also love how inclusive this craft is. Whether you have fancy supplies or just the basics, you can still create something beautiful. Whether you’re in a classroom, at home, or even doing a nature walk, this craft adapts to the setting. Kids feel proud of what they make, and adults love how it transforms the space.
Conclusion: Brightening Your Home with Fall Colors
Every time I finish a fall leaf suncatcher, I feel like I’ve captured a little piece of the season and brought it indoors. They glow in the sunlight, they celebrate the beauty of autumn, and they remind me that simple crafts often bring the most joy.
If you’re looking for an activity to do with kids this fall, I highly recommend giving leaf suncatchers a try. They’re easy, affordable, and full of creative possibilities. More than that, they give you a chance to slow down, appreciate the beauty of the changing seasons, and make memories with the kids in your life.
So grab some paper, gather some leaves, and let the sunshine do the rest. Your windows will thank you, and so will your little crafters.

A Teacher with 5 years of experience. Our Expertise, is reliable to meet your full Academic development needs . Worked on many crafts and construction projects offering services from design to development to deployment over the years. You will find many of my works in my business portfolio on request.