Halloween has always been one of my favorite times of year because it gives me an excuse to go all out with decorations. Some people buy plastic bats or inflatable pumpkins, but I love making my own crafts that feel a little more personal and homemade. One of the best decorations I’ve ever created is a paper skeleton garland. Instead of one skeleton, I make a whole row of them linked together like a spooky parade. The garland can hang across a mantel, along a window, or even on a classroom bulletin board, and it always gets compliments. What I love about this craft is that it’s inexpensive, easy to make, and a great project for kids. Every skeleton can have its own personality, so the finished garland ends up being full of character. Today, I’ll walk you through how I usually make one, along with some fun tips and creative twists.
Gathering Materials
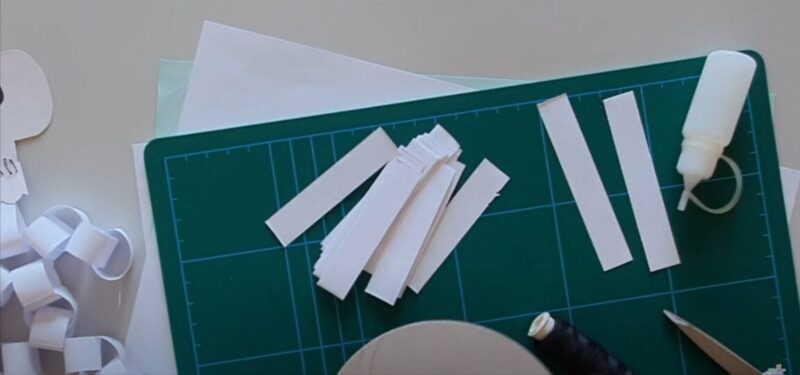
When I first started making paper skeleton garlands, I thought I’d need special supplies, but it turns out all you really need is paper, scissors, glue or tape, and some string. White printer paper works just fine, but if I want the garland to last longer, I use cardstock. I also like having black paper on hand for contrast. A hole punch can be useful if you want to tie the skeletons onto the string neatly, but tape works just as well. Markers or paint pens are perfect for decorating, and brads are great if you want to make movable skeletons that dance. The best part is that most of these supplies are already in my craft drawer, which means this project is almost always free for me to start.
Drawing and Cutting Skeletons
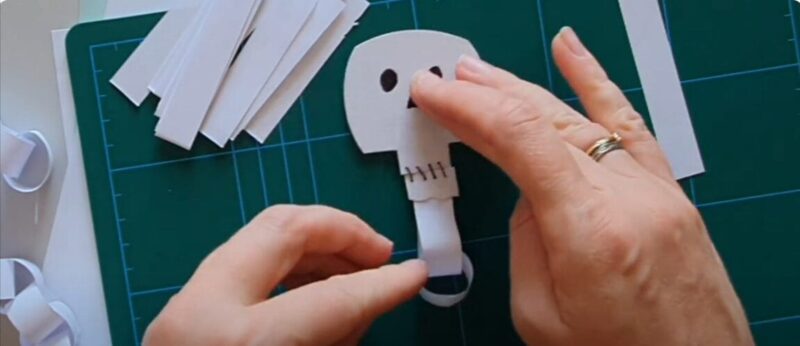
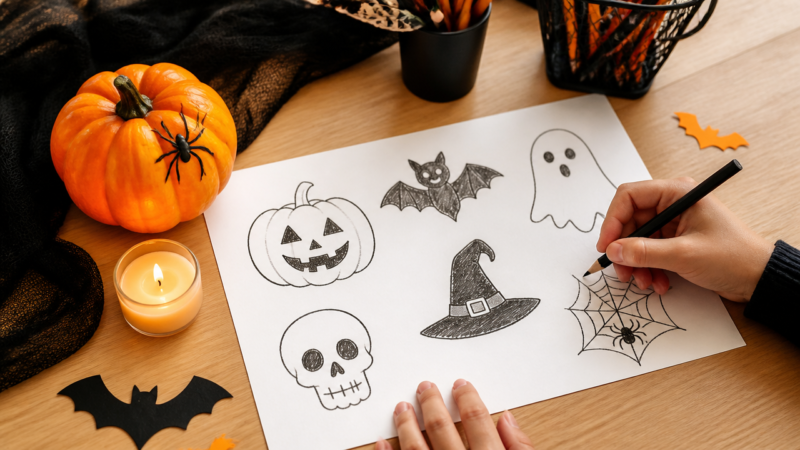
The fun begins with drawing the skeletons. Sometimes I use a printable template, especially if I’m making a lot of them quickly. Other times I freehand the bones, which makes each skeleton look different and a little quirky. I start with the skull, adding big round eyes and a silly grin. Then I sketch out the rib cage, arms, legs, and sometimes little bony hands and feet. Once the pieces are drawn, I carefully cut them out. Cutting can take some time, but I find it relaxing. If I’m doing this with kids, I often let them decorate the skulls first before cutting because they love giving each skeleton its own personality. One will have a bow tie, another might have glitter on the head, and sometimes I even see skeletons with googly eyes glued on. No two ever look the same, which makes the garland feel lively.
Assembling the Skeletons
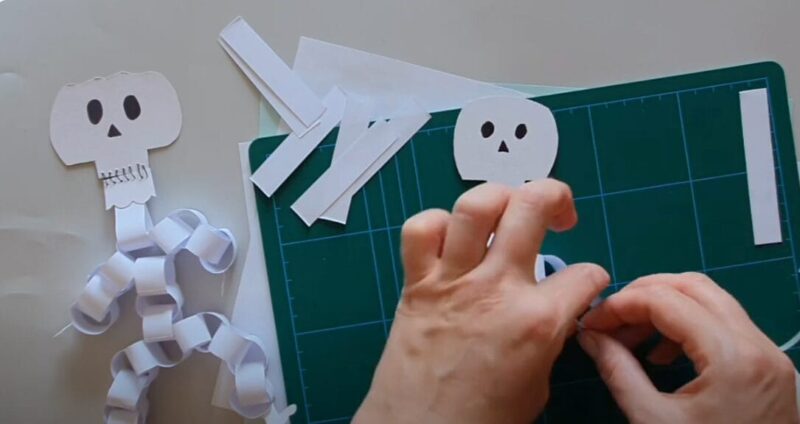
Once the pieces are cut, I lay them out like a puzzle to make sure everything looks right. If I’m going for simple, I’ll glue the parts together in a fixed position. But when I want extra fun, I use brads to connect the joints so the arms and legs can move. A garland of dancing skeletons always makes me laugh. Even if the arms end up mismatched or the legs are crooked, the charm is in their imperfections. Sometimes I just cut the skeletons as one piece—like a folded paper chain—so they’re already connected. Other times, I make individual skeletons and attach them later. The flexibility of this craft means I can keep it simple or go all out depending on how much time I have.
Connecting the Skeletons into a Garland
Now comes the part where the skeletons turn into a garland. I usually take a piece of yarn, twine, or ribbon and lay it flat on the table. Then I attach each skeleton along the string, leaving a little space between them. Tape works if I’m in a hurry, but sometimes I punch holes in the top of the skulls and tie them on with small loops of string. I love the way the skeletons sway when they’re tied—it makes them look like they’re dancing in the air. For longer garlands, I’ll make ten or more skeletons and connect them across the string. Shorter ones with just three or four skeletons work great for doors or small windows. No matter how many I make, I always step back after hanging the garland and smile. Seeing all those skeletons lined up together makes the room instantly feel festive.
Decorating and Adding Personality
One of my favorite parts about this project is adding personality to each skeleton. Sometimes I make them spooky with sharp teeth and dark eye sockets. Other times I go silly and give them mustaches, top hats, or funny expressions. Kids love this part because they get to be as creative as they want. I’ve seen skeletons with eyelashes, ones with tiny paper capes, and even one wearing a crown. A garland with each skeleton dressed differently is always a hit because it feels like a little Halloween party strung across the wall. You can also add color by outlining the bones with markers or painting the skulls in bright hues. Last year, I made a rainbow skeleton garland where each one was painted a different color, and it looked amazing against the black background of my mantel. It doesn’t have to be scary—sometimes cute is even better.
Fun Variations
The classic skeleton garland is great on its own, but I’ve found a few variations that make it even more fun. One idea is to make mini skeletons and string them along for a shorter garland. These look adorable hanging across a classroom chalkboard. Another is to make giant skeletons out of poster board and create a garland big enough to fill a wall. I’ve also tried making glow-in-the-dark skeletons by painting the bones with glow paint, and they looked incredible once the lights were off. A movable skeleton garland is probably my favorite, where each skeleton is jointed and can be posed. They look like they’re dancing or striking silly poses, and everyone who sees them gets a good laugh. No matter what variation I try, the basic craft stays the same, and that’s what makes it so versatile.
Using the Garland for Halloween
Once the garland is finished, I love finding the perfect place to hang it. Draping it across the fireplace mantel instantly sets the mood for Halloween. Hanging it along a window lets the skeletons be seen from outside, which always makes trick-or-treaters smile. In classrooms, I’ve seen skeleton garlands hung along bulletin boards or strung across the ceiling for a festive look. For parties, I sometimes add two or three garlands in different lengths and hang them in the entryway so guests walk through a skeleton parade as they arrive. The garland is lightweight and easy to move around, so I can use it year after year. It’s one of those decorations that always gets noticed and always brings joy.
Why I Love Making Skeleton Garlands
What I enjoy most about this craft is that it combines everything I love about Halloween crafts: it’s simple, playful, and leaves plenty of room for creativity. Unlike store-bought decorations, a handmade garland feels unique and personal. Each skeleton tells its own little story, and together they create something that makes people stop and smile. I also love that this is a craft I can do with anyone—kids, friends, or even on my own when I’m in the mood to get crafty. It’s affordable, doesn’t require much skill, and always ends up looking great no matter how much or how little effort I put in. That’s what makes it one of my go-to Halloween projects.
Conclusion
Making a paper skeleton garland has become one of my favorite Halloween traditions. It’s more than just a decoration—it’s a fun activity that brings people together and fills the house with laughter. Whether I’m making a quick garland with a few skeletons or spending the afternoon creating a long parade of silly characters, the process is always enjoyable. The best part is hanging it up and seeing how it transforms a room. It’s proof that you don’t need fancy supplies or expensive decorations to create something memorable. With just paper, scissors, and a little creativity, you can make a decoration that feels handmade, charming, and full of spirit. If you’re looking for a craft that’s both spooky and fun this Halloween, I highly recommend giving a paper skeleton garland a try. It’s a simple project that guarantees big smiles.
A Teacher with 5 years of experience. Our Expertise, is reliable to meet your full Academic development needs . Worked on many crafts and construction projects offering services from design to development to deployment over the years. You will find many of my works in my business portfolio on request.