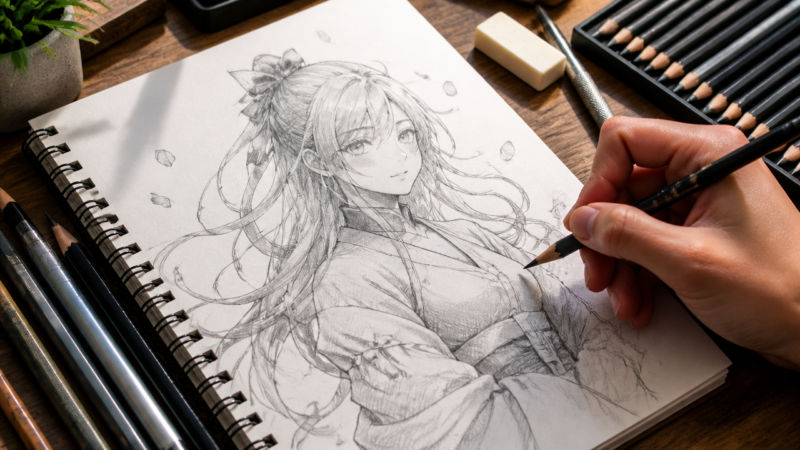
When I first picked up a set of colored pencils, I thought, “How hard could this be?” Turns out, there’s a whole world of technique behind those vibrant little sticks. I pressed too hard, blended too fast, and ended up with muddy colors and broken leads. But once I slowed down and learned a few key tips, everything changed. Colored pencils became my favorite medium—versatile, portable, and surprisingly powerful.
This guide is for anyone just starting out. Whether you’re coloring in a sketchbook, designing greeting cards, or dreaming of realistic portraits, these beginner tips will help you build confidence and control. We’ll cover everything from choosing the right pencils and paper to layering, blending, and avoiding common mistakes. And don’t worry—I’ve included video tutorials that walk you through each technique step by step.
So grab your pencils, Esther, and let’s turn that blank page into a canvas of color. You don’t need fancy tools or years of experience—just curiosity, patience, and a willingness to play. Let’s dive in!
A complete guide to mastering colored pencils with purpose and play
📚 Table of Contents
Choosing the Right Colored Pencils
Essential Tools and Materials
Pressure Control and Layering
Blending Techniques
Color Mixing and Swatching
Common Mistakes to Avoid
Practice Exercises
Video Tutorials
Final Thoughts
1. 🎨 Choosing the Right Colored Pencils
Why it matters: The type of pencil you use affects everything—color vibrancy, blending ability, and how smoothly it glides across paper.
Tip: Start with soft-core pencils like Prismacolor or Faber-Castell Polychromos. They’re easier to blend and layer than hard-core student-grade pencils.
Example scenario: If you’re coloring a flower petal and want a smooth gradient from pink to white, soft-core pencils will let you layer gently and blend seamlessly. Hard pencils might scratch the paper or leave streaks.
2. 🧰 Essential Tools and Materials
Why it matters: Good tools prevent frustration and elevate your results. Paper texture, sharpeners, and erasers all influence how your pencils behave.
Tip: Use smooth Bristol paper for detailed work, and textured paper for expressive shading. Always sharpen with a handheld sharpener to avoid breaking the core.
Example scenario: You’re drawing a realistic apple. On smooth paper, you can layer red, yellow, and green with precision. A kneaded eraser lets you lift highlights without smudging.
3. ✍️ Pressure Control and Layering
Why it matters: Beginners often press too hard, which flattens the paper and limits layering. Light pressure gives you control and flexibility.
Tip: Build color gradually. Start with light strokes and increase pressure only when burnishing (final blending).
Example scenario: You’re shading a sky. Begin with light blue, layer in purples and pinks, and only press hard at the end to smooth the transition. This avoids waxy buildup and keeps colors vibrant.
4. 🔄 Blending Techniques
Why it matters: Blending creates smooth transitions and depth. Without it, drawings can look flat or patchy.
Tip: Blend by layering, using a colorless blender pencil, or applying solvent (like baby oil) with a cotton swab.
Example scenario: You’re drawing a portrait. To blend skin tones, layer peach, pink, and brown lightly, then use a blender pencil to smooth the transitions. Solvent can soften harsh lines and make the skin look natural.
5. 🎨 Color Mixing and Swatching
Why it matters: Colored pencils don’t mix like paint—you layer to create new hues. Swatching helps you predict how colors will interact.
Tip: Always test colors on scrap paper before applying them to your artwork. Try layering complementary colors to create shadows or depth.
Example scenario: You want to shade a green leaf. Instead of using black, layer dark blue and red over green to create a rich shadow. Swatching first helps you avoid muddy results.
6. 🚫 Common Mistakes to Avoid
Why it matters: Knowing what not to do saves time and frustration.
Tip: Avoid pressing too hard early, skipping swatches, using poor-quality paper, or blending too aggressively.
Example scenario: You’re drawing a sunset and press hard with orange right away. Now you can’t layer pink or purple over it, and the paper is too waxy to fix. Starting light would’ve kept your options open.
7. 📝 Practice Exercises
Why it matters: Practice builds muscle memory and helps you understand how pencils behave.
Tip: Try these exercises:
Gradient scales (light to dark)
Color wheels
Layering two colors to make a third
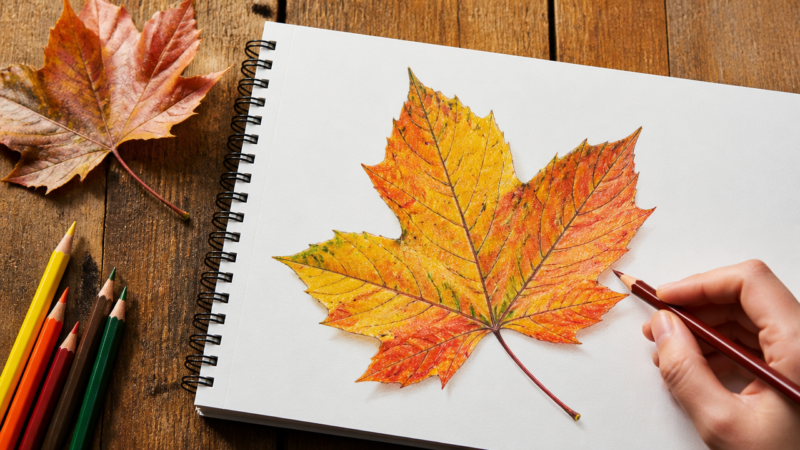
Drawing simple objects like fruit or leaves
Example scenario: You draw a banana using yellow and brown. Practicing gradients helps you shade the curve realistically, while layering teaches you how to create shadows without using black.
8. 🎥 Video Tutorials
Why it matters: Seeing techniques in action reinforces learning and boosts confidence.
Example scenario: You’re stuck on how to blend skin tones. Watching a tutorial shows you how to layer peach, pink, and brown, and how to use a blender pencil for smooth transitions.
🎨 Final Thoughts
Colored pencils are deceptively powerful. With patience and practice, you can create artwork that rivals paint or digital media. Every tip here is designed to help you build a strong foundation—from choosing the right tools to mastering blending and layering.
So Esther, whether you’re sketching in your journal or dreaming up your next masterpiece, remember: start light, layer slow, and let your colors tell the story. You’ve got this.
Would you like me to turn this into a printable guide or add illustrations next?
A Teacher with 5 years of experience. Our Expertise, is reliable to meet your full Academic development needs . Worked on many crafts and construction projects offering services from design to development to deployment over the years. You will find many of my works in my business portfolio on request.